


The Art of Contact Printing on Zebra Dry Plate Tintypes
Adrian Anderson has been using Zebra Dry Plates for quite some time now, and he absolutely loves them. While he plans to use a camera to expose them eventually, the cost of large-format photography has led him to explore an alternative approach: contact printing. This method allows him to produce beautiful positive plates using digital images, and I want to take a moment to appreciate Adrian Anderson’s invaluable contribution to this process. His meticulous research and experimentation have provided a solid foundation for anyone looking to try this technique. Thanks to Adrian’s work, it’s clear that you don’t need an expensive camera to work with Zebra Dry Plates. By using a flash exposure technique, he has achieved fantastic results in a much more affordable way. The process is straightforward, and with the right tools and techniques, anyone can create stunning dry plate positives. Here’s how he does it, based on his insights.
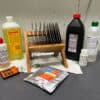
What You need to Get Started
- A flash unit – capable of manual power adjustments (Adrian used a Canon EX 530 II set to 1/64th power)
- A darkroom – This doesn’t have to be a dedicated space, just somewhere light-tight.
- A red safe light – You can find an affordable one HERE.
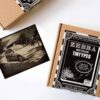
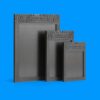
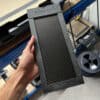
- Zebra Dry Plate Tintypes or Glass Dry Plates – Available in standard and custom sizes HERE.
- Developing trays – For processing the plates. Available HERE.
- Chemicals for development:
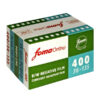
- Printer and suitable transparencies – Adrian used Pictorico Film and an Epson SC P-600 printer. You can also get these made in a local print shop.
- A computer and graphics program – Photoshop or similar to prep images.
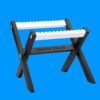
- A Drying Rack – Available HERE.
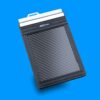
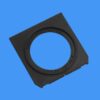
- A piece of glass or a printing-out frame larger than the plate. Available HERE.
- A flash meter – Helps to dial in accurate exposures, or you can also experiment manually.
With these tools, the process will become incredibly accessible and repeatable.

The Process: A Step-by-Step Guide
1. Creating the Positive on Transparency
Why a positive you might ask if we are making one? I know it sounds funny but in reality what we are aiming for is for a white negative on a black background which then renders out as white highlights resulting in a positive image.
There are two ways to create a positive on transparency:
- The traditional analog method: This involves making a positive on transparency using Zebra Standard Glass Dry Plates or photographic film. There are plenty of instructions and videos on the website to guide you through this process.
- The modern digital approach: This method involves digitally inverting the image and printing it onto a transparency.
Here’s how to do it:
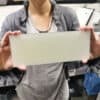
Start by editing your image in Photoshop (or similar software), converting it to monochrome to get a better idea of how it will appear on the plate. Once satisfied, resize and crop it to match your plate dimensions, then flip it horizontally before printing. This ensures that the final positive is not reversed and that the ink side is in direct contact with the plate, preventing any loss of sharpness.
Always print at the highest quality possible. If available, use a color profile suited to your transparency and printer combination for the best results.


2. Preparing for Exposure
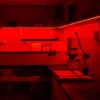
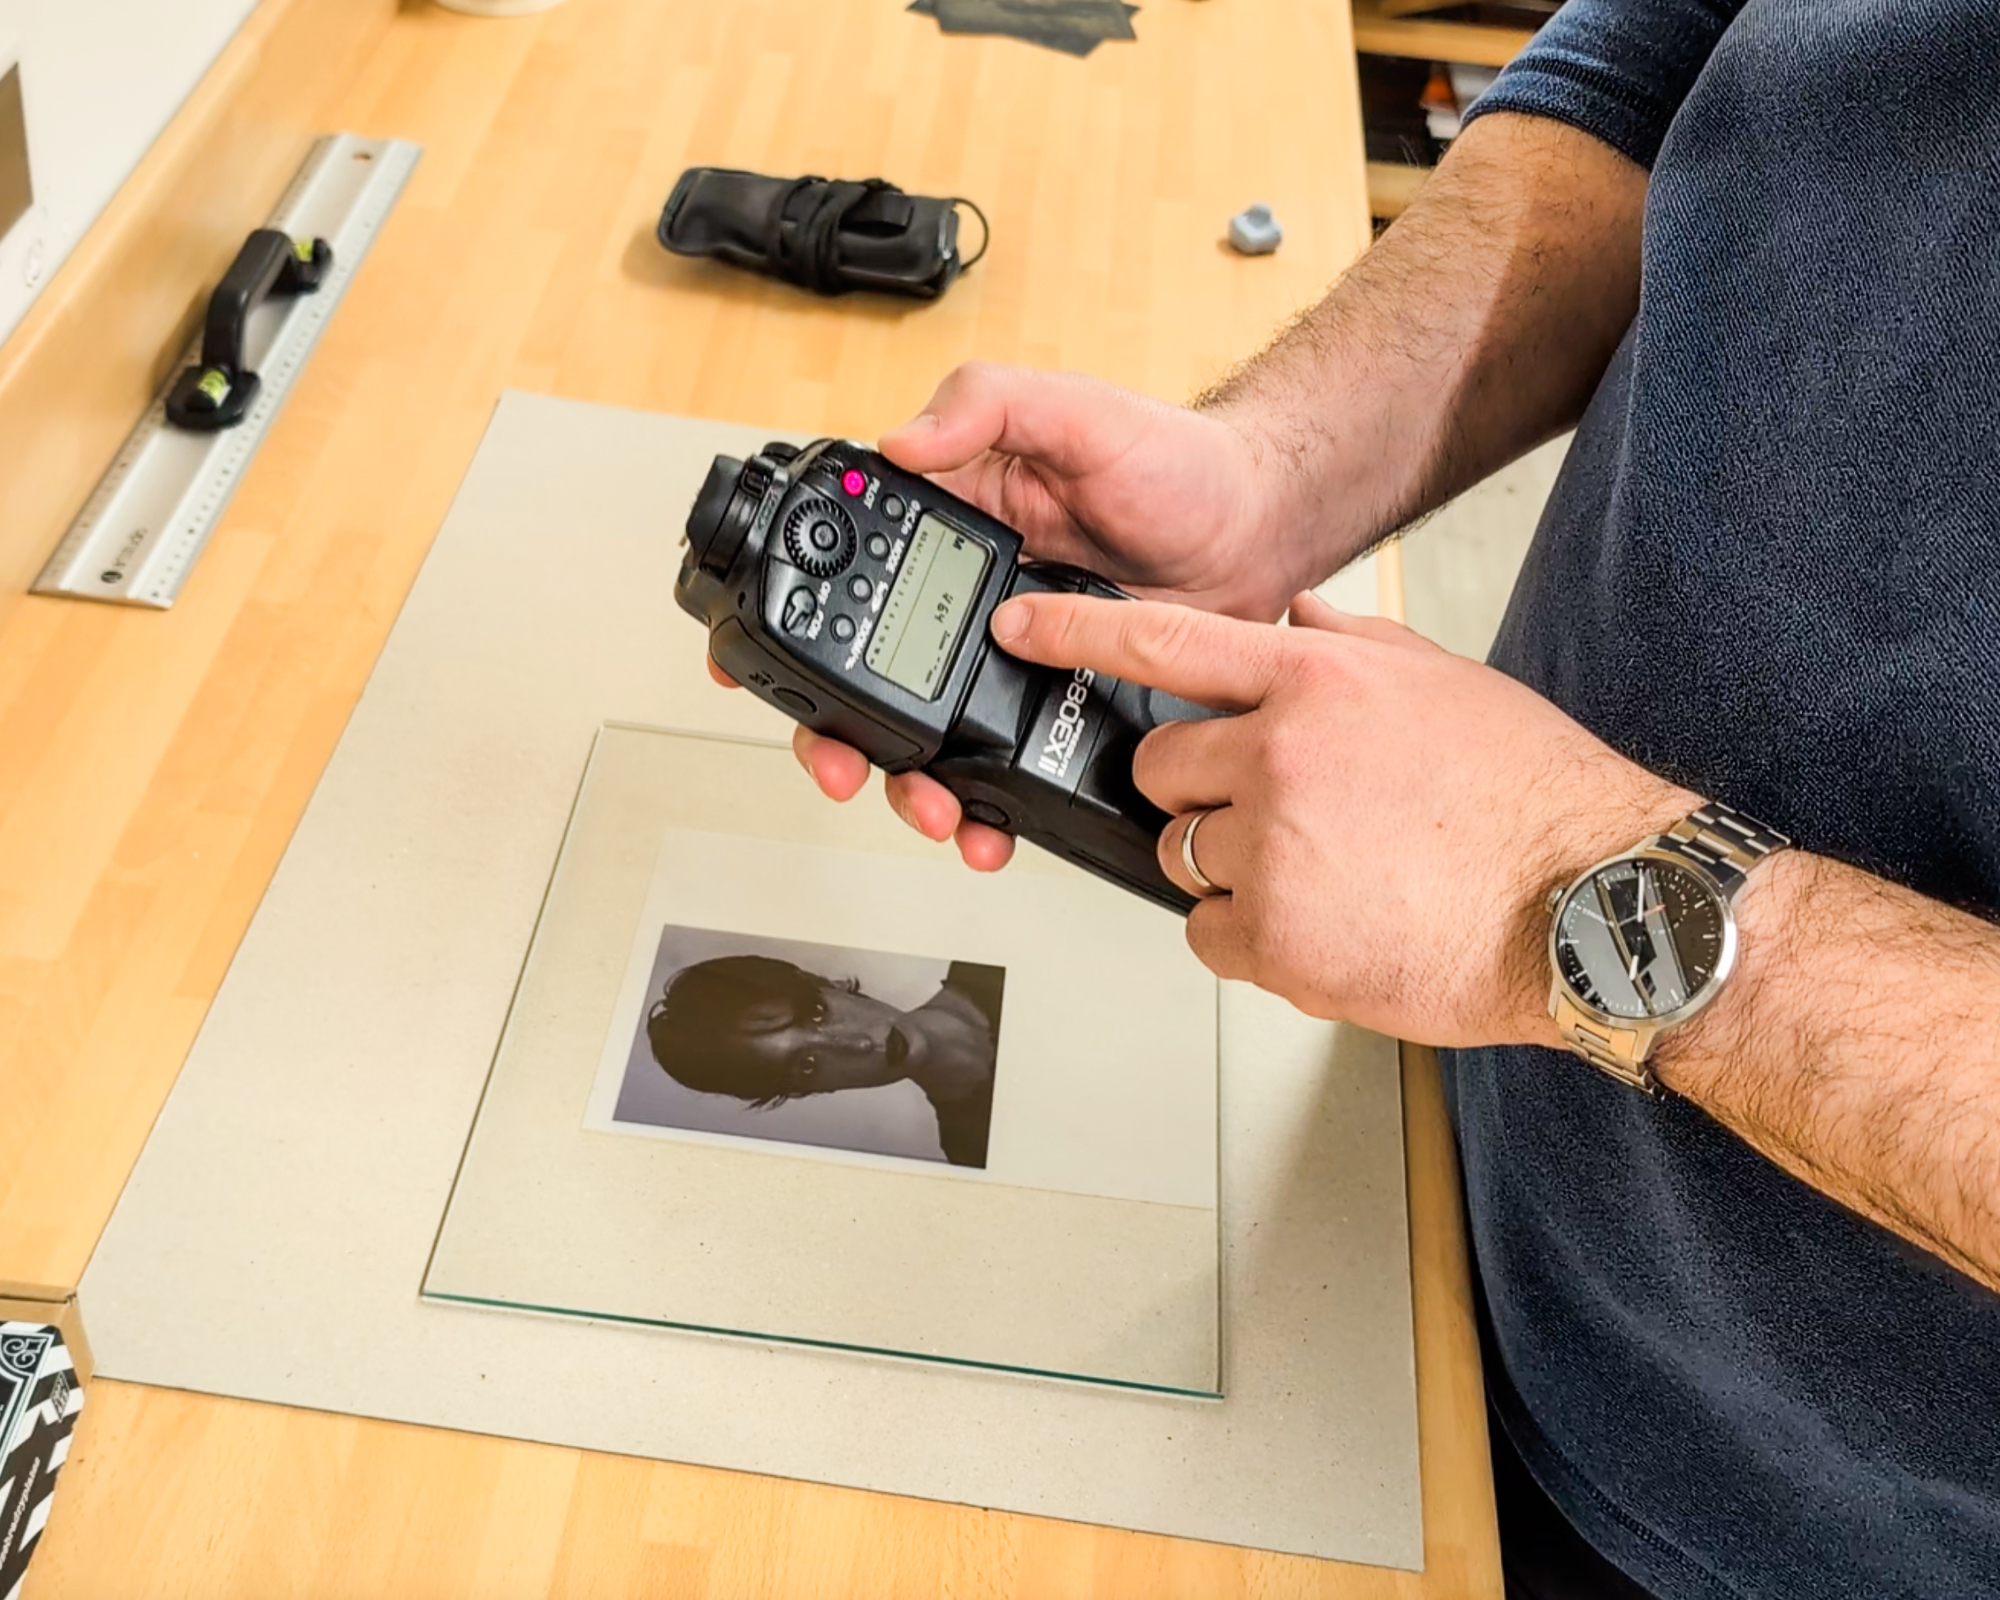
Before making the exposure, Adrian ensured that the positive transparency was properly overlaid on an unexposed Zebra Dry Plate tintype or glass plate. This step required working under red safelights! Here are the essential materials he kept at hand:
- Zebra Dry Tintype or Glass Plates
- Positive Transparency
- Exposure source (flash or an enlarger)
- Piece of glass or a contact printing frame to ensure good contact between the transparency and the plate
- Light meter or a piece of cardboard to perform a step wedge exposure test
Once everything was ready, he turned the safelights on and carefully took a fresh Zebra plate from the box, positioning it above the exposure source. He then placed the positive transparency on top of the unexposed Zebra plate, ensuring complete contact—printed side to emulsion side. If using a glass or film positive, it was emulsion to emulsion side.
With everything aligned, he overlaid this “sandwich” with a piece of glass to press it down or, if using a printing frame, he locked the springs in place. Once all was set, he could proceed to the next step—exposure.


3. Exposure: Getting It Just Right (UNDER RED SAFELIGHTS)
There are several ways to contact print your positive transparency onto another glass plate.
Using a Flash
To measure exposure, set your flash meter to ISO 2 (if your meter only goes as low as ISO 3, simply add one extra stop to your exposure). Adjust your flash power until you get an F-stop of 0.5. Since there’s no lens involved, this serves as a good starting exposure.
If you don’t have a flash meter, here’s a simple method that works:
- Holding a Canon EX 530 II flash above your head at 1/64th power provides a perfect exposure. (For reference, this flash emits about 60 Ws of power.)
- If you end up with blank plates, it might be because some modern flashes block UV light, though this isn’t always an issue. If needed, you can use older flash units or a UV light box as alternatives.
- If your flash is too strong, use an ND gel filter or Baader astro film to reduce the output.
- You can also use multiple flashes, as long as the transparency does not shift during exposure.


Using an Enlarger
If you don’t have access to a flash, you can also work with a darkroom enlarger. However, you’ll need to run exposure tests (such as using a step wedge) since each enlarger produces different power output depending on the light source, projection lens, distance from the print surface, and other factors.
Tip: Ensure your positive transparency is in direct contact with the plate to achieve maximum sharpness!

4. Developing: Bringing the Stunning Positive Image to Life (UNDER RED SAFELIGHTS)
Once exposure is complete, develop the plate under red safelight conditions.
Standard Development Process:
- Developer: 510 Pyro, HC-110, or any developer recommended in the DEVELOPING CHART.
- Stop bath: Just water.
- Fixer: Ilford Rapid Fixer (5 minutes).
- Wash: Rinse thoroughly in water to remove all fixer.
- Drying: Leave to dry for a few hours on a drying rack. (Avoid using a hairdryer, as it can melt the emulsion!)
Tintype Developer Recipe (510 Pyro)
510 Pyro works best for me, so here’s a developer recipe for 4×5 plates (adjust volumes for larger plates):
- Mix 2 ml of 510 Pyro into 300 ml of water at 20°C (stir well).
- Add 3 g of Ammonium Thiocyanate (about 3 scoops).
A full developing chart for other tintype developers is available HERE.


Finishing Touches
Once the plate is dry, decide on its final presentation.
- For tintypes (metal plates): You may want to varnish the surface to protect the image.
- For glass plates: You can either leave them transparent or spray-paint the back for increased contrast.
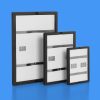
This flexibility allows for various creative effects. Both glass and tin positives can be displayed using the newly released Zebra Plate Stands, available HERE.


Final Thoughts
Adrian Anderson’s insights into contact printing have made this process more accessible than ever. His method enables photographers to create dry plate prints without expensive cameras or complex darkroom setups. Instead, they can quickly print transparencies, expose plates using a simple flash setup, and produce a one-of-a-kind positive image in just an hour or two.
What’s most remarkable is the unique character of dry plates. Unlike digital images that strive for clinical perfection, dry plates embrace depth, tonality, and imperfection. Adrian no longer tries to match digital contrast levels—he allows the plates themselves to shape the final image.
Thanks to Adrian’s guidance, incorporating dry plate photography into a busy life is easier than ever. He can print a few transparencies one day, prepare chemicals the next, and develop plates in a short session—without the hassle of setting up a camera or waiting for a subject.
Good luck! Don’t forget to share your results with Zebra and the Dry Plate Community—we’d love to see your beautiful creations!🎥 A video of this process is already in the making! Stay tuned!
A very interesting technique that facilitates tintype creation and opens up new creative experimentation.
Thanks to Adrian for sharing this.
Should I use any color filters on my enlarger or should I stick to bulb / white light only?
White light will do fine!
CONGRATULATIONS KEEP UP THE GOOD WORK
2026 IS A MILESTONE FOR PHOTOGRAPHY
The first photo ever taken is the “View from the Window at Le Gras,” captured by French inventor Joseph Nicéphore Niépce in 1826 or 1827. This surviving photograph was taken from a window at his estate in France and was made using a process called heliography, which required a very long exposure time of several hours I DO OWN TWO BOX CAMERA AND ONE STUDIO5X7 CAMERA I DO PRACTICE WET PLATE PHOTOGRAPHY SOON IL PLACE AN ORDER FOR MY NEXT PRINTS
GEORGE PAPAGEORGIOU GREECE