


How to Coat Glass Dry Plates with Silver Gelatin Emulsion
In this blog post, I’ll guide you through the process of coating glass dry plates with silver gelatin emulsion. When I first started coating my own plates a few years ago, I really wished I had come across a clear, step-by-step tutorial like this. Most of the information I found was scattered across forums, blog posts, and bits of video. I had to experiment a lot, and along the way, I made plenty of mistakes and wasted quite a bit of emulsion. But in the end, I figured out a method that worked for me, mastering a syringe coating technique that made the whole process much easier and far more controllable.
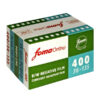
So now, I’m putting together the guide I wish I had when I was starting out. No secrets, just a straightforward breakdown of the entire process for anyone who wants to give it a try. If you’re curious about this magical craft, this post is for you. There are plenty of commercially available emulsions on the market, such as Foma, Liquid Light, and Rollei, and they all work well for hand-coating plates.
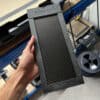
If you’d rather skip the process and get started right away, I also offer ready-to-shoot pre-coated dry plates, availablehere.
Now let’s dive into the tutorial.
Step 1: Warming the Emulsion
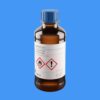
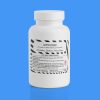
We are currently using Foma emulsion, which is a great choice for hand-coating plates and is available in our shop if you’d like to try it yourself.
Commercially produced emulsions usually come in light-tight black plastic containers. The main ingredient in all photographic emulsions is gelatin, which starts to liquify at temperatures above 30°C. This is helpful, as you can take the black container with emulsion straight from the fridge and place it into a hot water bath to melt it gradually.
I usually place the container in a larger plastic container filled with hot tap water and let the emulsion slowly melt. You may need to refresh the warm bath once or twice, depending on how cold your emulsion is.
What you don’t want is for the water to be too hot or boiling, as this can damage the emulsion and ruin its properties. Give it time, and remember it’s always better to melt only the amount you plan to use, rather than heating a large container over and over again. First, a larger volume takes longer to melt, and second, repeatedly heating the same emulsion can affect its characteristics, like speed, for example.


Step 2: Cleaning the Glass Plates
While the emulsion is melting, you can start preparing your glass plates. Be sure to wear gloves, not just for safety, but also to prevent contaminating the glass with oils or fingerprints.
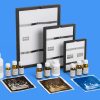
I get my plates from a local framing shop that cuts high-quality thin glass to size. The glass I use is 2 mm thick float glass, which works great for photographic use. If you can not find glass locally you can always order it pre-cut from our store right here.
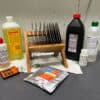
There are a few ways to clean glass, but this is the method I’ve found most reliable. I clean each plate using a mix of calcium carbonate, dish soap, and warm water. Sometimes I combine them into a paste, but more often I apply them separately.
Start by placing the plate on a non-slip surface. Add a small amount of calcium carbonate to the center, followed by a drop of dish soap. Then, using a cotton pad, or even a folded piece of paper towel, gently scrub the surface in circular motions. Be sure to clean both sides of the plate, and try to handle it only by the edges to avoid reintroducing any oils or smudges.
Once scrubbed, rinse the plate thoroughly under warm running water until all residue is gone and the surface is clean and clear.


Step 3: Drying the Glass Plates
After rinsing, the plates need to dry completely before coating. I place them on a drying rack to let any excess water drip off first. If you don’t have a rack, I offer a simple one in the shop as well.
Once the water has drained, dry each plate thoroughly with paper towels. To check if the surface is really clean, breathe gently onto the glass. The fog should disappear evenly without streaks. Once they pass this test, place them back on the rack until you are ready to coat.


Step 4: Preparing Your Workspace and Entering the Darkroom
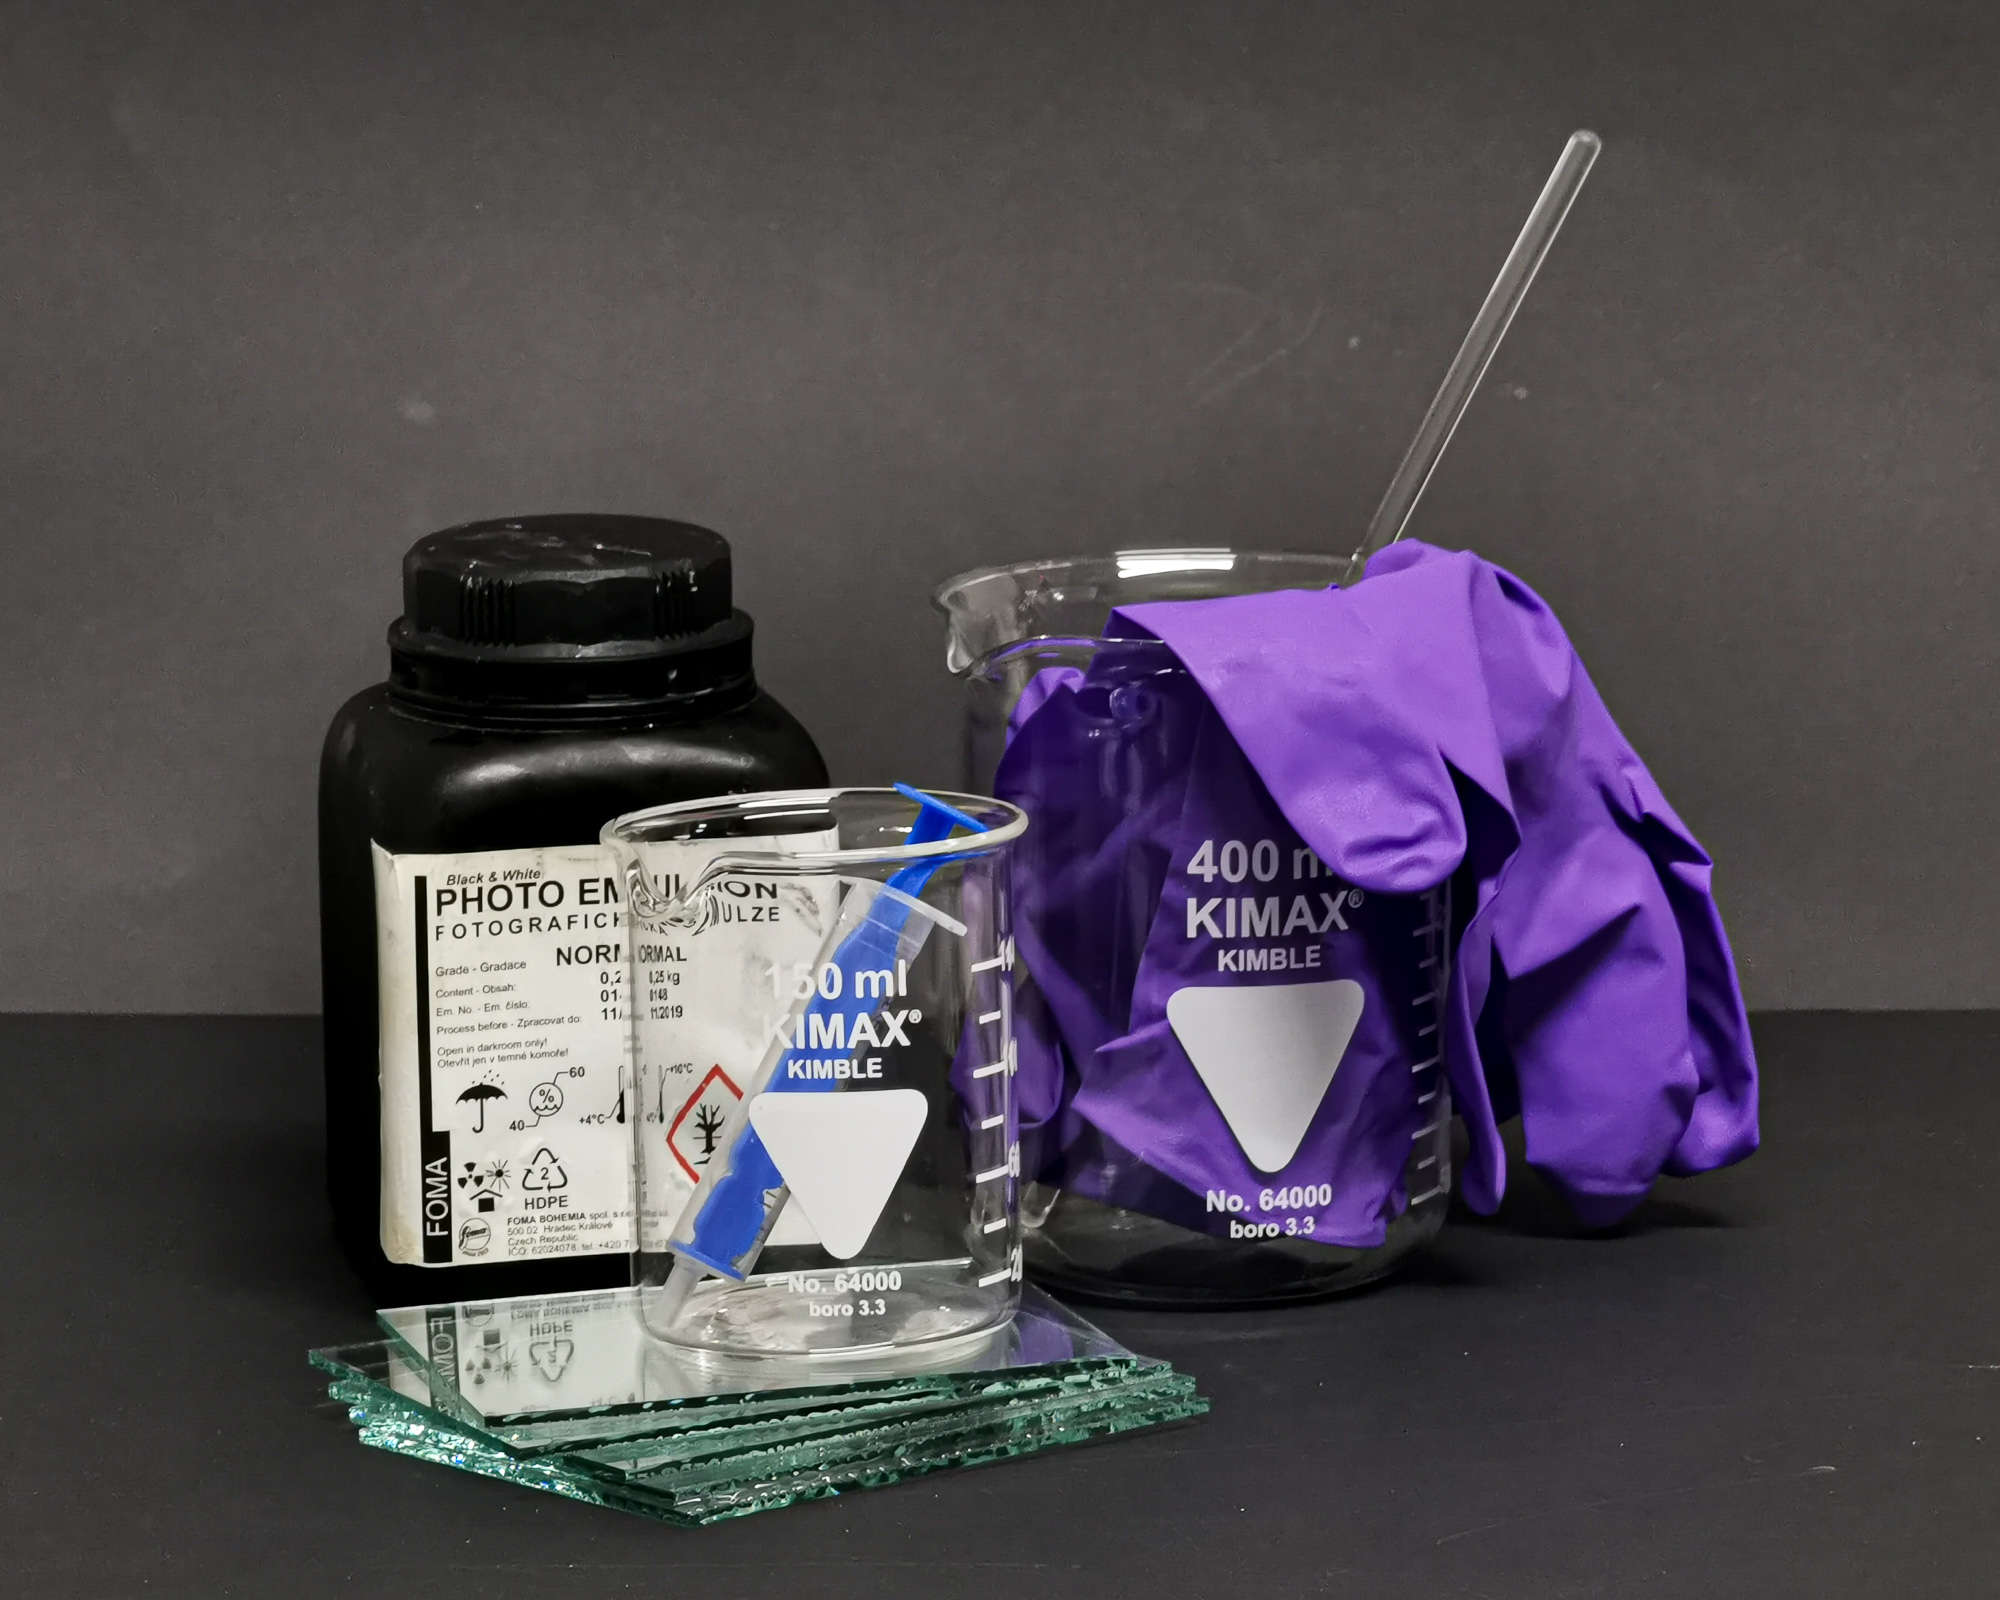
Before the lights go off you should also prepare your work area by placing down some paper towels or newspapers as things can quickly get very messy. Also for coating make sure you wear an apron and shoes you don’t mind getting dirty from emulsion. I also prepare myself one larger and one smaller beaker. The smaller one will carry our melted emulsion which we will place in the larger beaker filled with hot water to keep our emulsion nice and warm during the process.
TIME TO TURN LIGHTS OFF - RED SAFELIGHTS ON
Now that everything is clean and your emulsion is fully melted, it’s time to switch to safelight conditions. At this stage, make sure to turn off all other light sources and continue working only under red safelights.
How Much Emulsion Do You Need?
For 4×5 inch plates, I typically use about 1.5 ml of emulsion per plate. The exact amount can vary depending on the emulsion’s thickness and consistency, so it’s a good idea to run a few tests to get a feel for it. You can always apply a bit more than needed and drain off the excess afterward.
Different Ways to Coat
There are several ways to coat plates:
– The traditional method of pouring and tilting
– Using a glass rod or puddle pusher
– Spin coating
I’ve tried all of them, but over time I’ve found that the method that works best for me is a combination of syringe application and careful tilting. It’s a technique I’ve refined over the years, and it’s also how I teach my students during workshops.
Using a syringe gives you much more control, especially when working with smaller amounts of emulsion. It allows you to precisely apply more emulsion in thin or uncovered areas, and you can easily suck back in any air bubbles that form during coating.
Just make sure your syringe is sterile, completely clean, and free from any contaminants before you begin.
Step 5: Getting the Emulsion Ready (Adding Hardener)
Once the emulsion is fully melted, it’s a good idea to add a hardener. A hardener like Chrome Alum helps create additional bonds between the emulsion and the glass surface, making the dried plate far more resistant to temperature changes during development. It also helps prevent common issues like frilling, lifting, or the emulsion floating off the plate during processing. You can find the recipe for the hardener on the Chrome Alum product page right here.
I use a 10 ml syringe, which holds enough emulsion to coat several plates. Once filled, I squeeze the emulsion into a smaller beaker placed in a warm water bath. This setup helps maintain a stable working temperature and prevents the emulsion from setting or gelling while you coat the plates.


Step 6: Coating the Glass
Prepare your cleaned glass plates. Draw around 10 ml of emulsion into the syringe and begin applying it to the surface. It’s always better to have a bit more emulsion in the syringe than you think you’ll need; spills can happen quickly, and you don’t want to be stuck trying to refill it one-handed while holding a half-coated plate in the other!
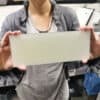
How to hold the plate? Rest it gently on your fingers from below. This gives you control and allows you to tilt the plate smoothly, guiding the emulsion across the surface. I usually start pouring from one corner and let the emulsion flow in an even wave from left to right.
Make sure both the emulsion and the glass plate are warm enough. Cold surfaces will cause the gelatin to set too quickly, which ruins the evenness of your coating. If necessary, use the syringe to direct emulsion into any thin or uncovered spots, this is one of the major advantages of using a syringe. And if your plate feels too cold, a quick pass with a hairdryer can help warm it up and remove any surface dust. Just be careful not to expose the plate to any unwanted light during this step!
Once the plate is evenly coated, gently tilt it to drain the excess emulsion back into the beaker. I usually stop draining right when it starts to drip. Then, level the plate again to help the coating settle evenly. Finally, wipe the underside of the plate so that no stray drops cause it to stick permanently to your drying surface. If you’re just starting out, placing a sheet of baking paper under the plate is a smart precaution, it can save you from a mess.


Step 7: Setting the Emulsion
After coating, place the plate on a completely flat and level surface. I use a marble slab for this because it’s perfectly smooth/even and it absorbs the heat from the plate much faster.
Let the plate rest for a few minutes while the gelatine begins to harden. During this time, you can move on to coating additional plates.


Step 8: Drying and Storage
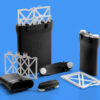
Once the emulsion has set, the plates are ready for drying. You can place them in a light-tight drying cabinet, or, if your darkroom has double-door entry, simply leave them to dry in a dust-free area. I built a custom drying cabinet that holds up to 300 4x5in plates and includes a fan and heater to speed up the process. You can check it out here.
Ideally, the plates should dry for 24 hours or even longer if there’s a lot of humidity in the air. If you have a dehumidifier, it’s worth using it, but make sure there are no lights or displays on it that could accidentally expose your plates! Once they’re completely dry, they’re ready for storage.
When removing the plates from the cabinet, handle them with care. I store mine in black, light-safe paper bags, reused from old photo paper or film packs. Each plate is wrapped individually in acid-free waxed paper to prevent sticking or scratching.
One of the advantages of working with dry plates is that once the emulsion is set and dried, it becomes very stable. If stored properly, especially in the fridge, they have a long shelf life and can last for years!

WORKSHOP INVITATION
I know from experience that learning these techniques is much easier in person, under someone’s guidance. That’s why I also run private Dry Plate workshops, where I share the skills I’ve developed over the years, after coating tens of thousands of plates by hand.
During the workshop, we go through the full process together: from preparing and cleaning glass, to coating with silver gelatin emulsion, shooting with large format cameras, and developing the exposed plates using traditional methods. Whether you’re a beginner or already have some experience, you’ll leave with the confidence to start creating your own dry plates from scratch.
You can learn more or book your spot here.


For an even easier understanding of this technique, I also made a video tutorial, which you can follow below or on my YouTube channel here.
And if the idea of coating your own plates feels overwhelming, you can always skip the process and purchase our ready-made dry plateshere.
Where do you purchase that emulsion? Can you send me a link?
From us right here: https://zebradryplates.com/?s=emulsion&post_type=product