


Salt print – Detailed Step by Step Walkthrough
Introduction
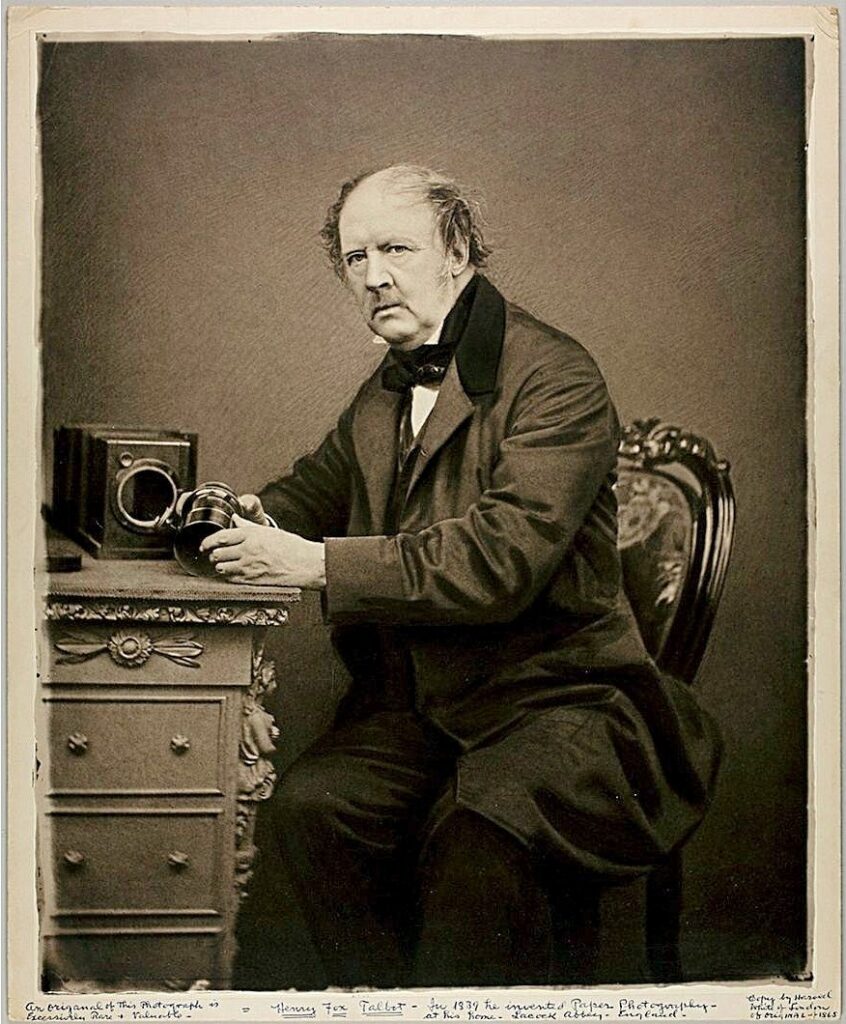
I love working with alternative printing processes because they require only a few ingredients and are perfect for those interested in learning the fundamental principles of recording light. One of the earliest alternative printing techniques for transforming negatives into positive prints was salt printing, a process pioneered in the mid-1830s by Henry Fox Talbot. Talbot’s method involved soaking plain writing paper in a weak solution of ordinary table salt, followed by a strong silver solution. This treatment rendered the paper light-sensitive, allowing it to darken upon exposure to sunlight. Once fixed with a hypo solution, the image became permanent. Salt printing is recognized as one of the defining techniques that marked the birth of photography.

How does it work?
Salt printing is a relatively straightforward process, requiring only three main ingredients: salt, silver nitrate, and water. When salt and silver solutions combine, they form light-sensitive silver chloride (a halide), which reacts with light to produce an image.
MATERIALS NEEDED FOR A BASIC SALT PRINT
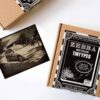
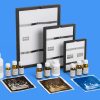
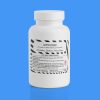
Ready made Zebra Salt Print KIT:
Before you start mixing your own solutions, I have to point out that you can also get a ready made Zebra Salt Printing Kit designed to provide you with all the essential materials and knowledge needed to create stunning salt prints, just as Talbot did over 180 years ago
Mixing Solutions from scratch and choosing the Right Salt:
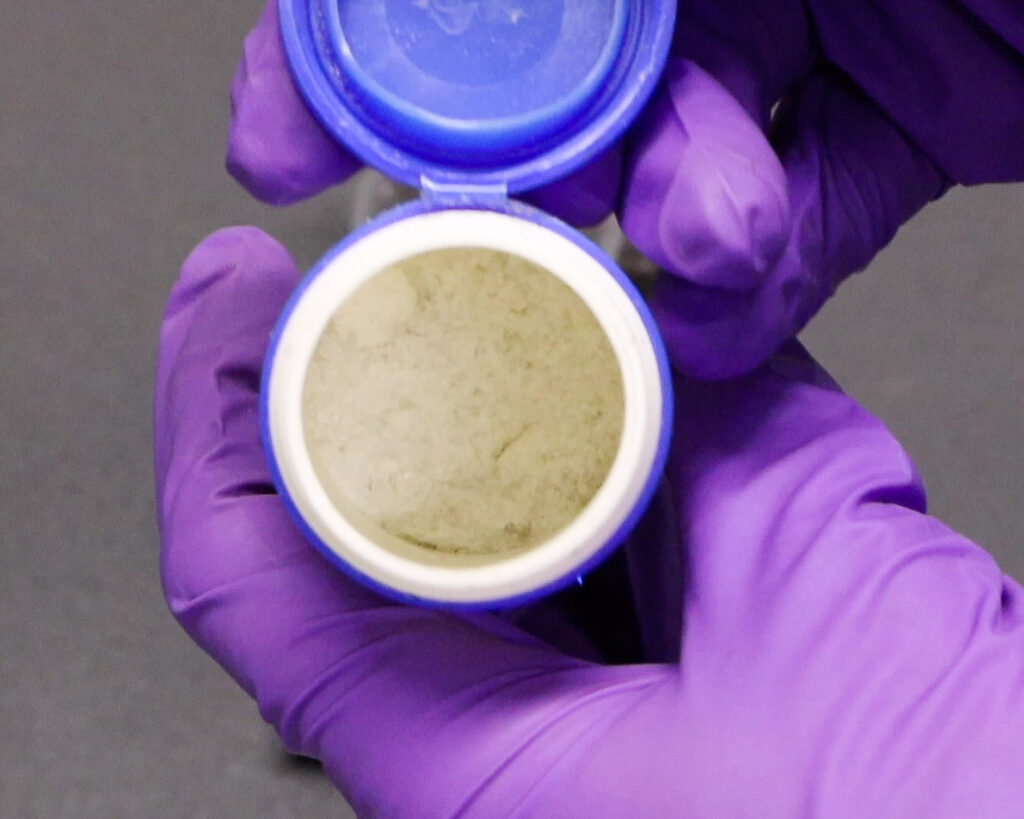
Not all salt is suitable for this process. It must be pure and free from additives. While photographic-grade salt is the best option, sea salt is an excellent, budget-friendly alternative that works just as well.
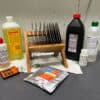
Additional Supplies:
- Protective gloves
- Distilled water
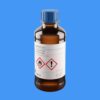
- Silver nitrate
- Precise scale
- Mixing containers
- Mixing rod or magnetic stirrer
- Storage bottles
- High-quality paper (preferably watercolor paper, such as Fabriano 5, which holds the solution well)
- Masking tape (to secure the paper during coating)
- A coating tool, depending on your preferred coating technique
- A stable UV light source (sunlight or a UV lamp)
- A printing frame (available HERE).
- A dense negative (either made on Zebra Glass Dry Plates or printed on transparency film). If you don’t have a negative, you can create a photogram using flowers or other objects.
- Developing trays (available HERE).
- A Hypo or Rapid Fixer (available HERE).


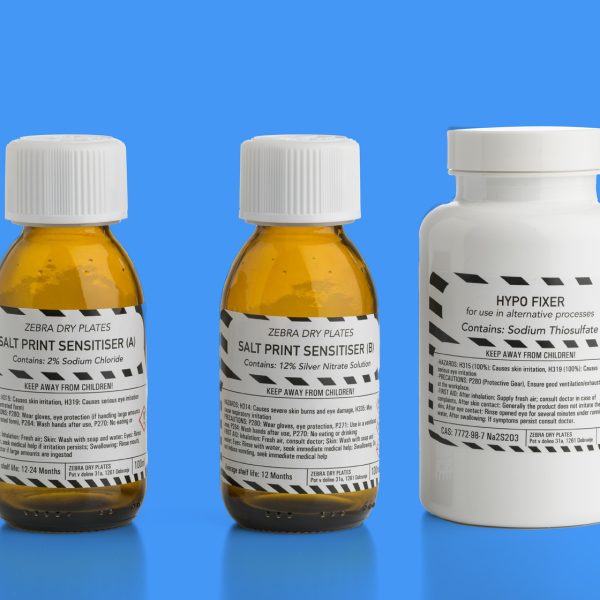
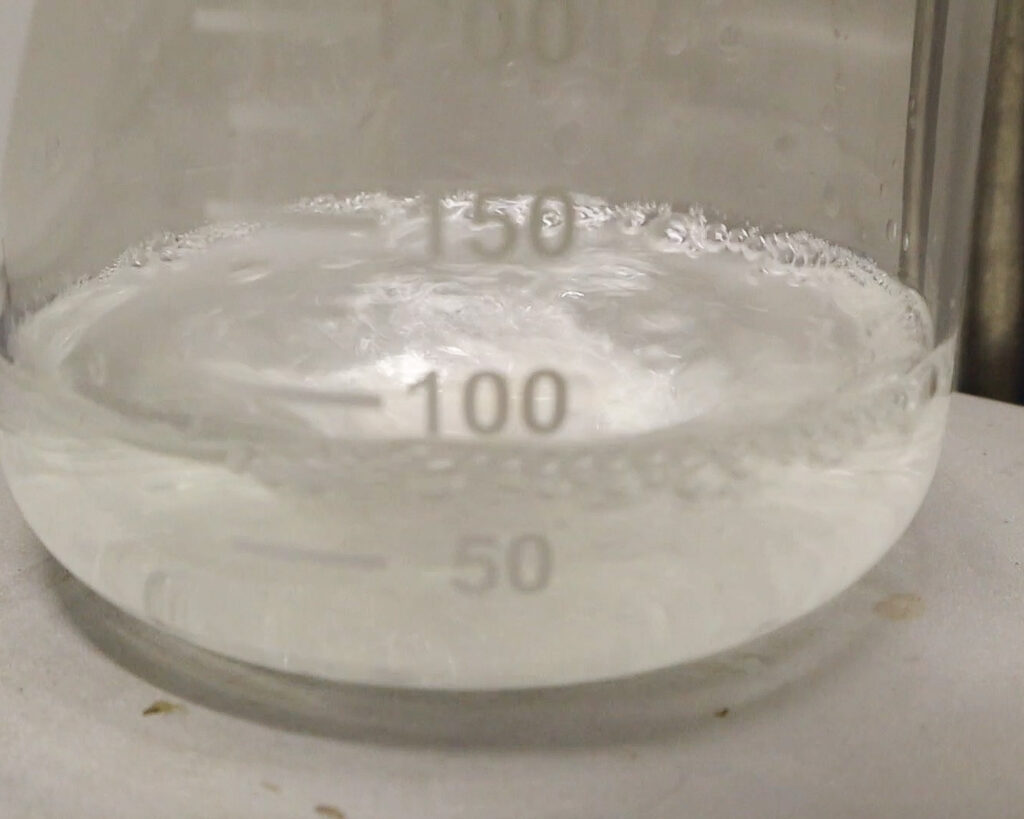
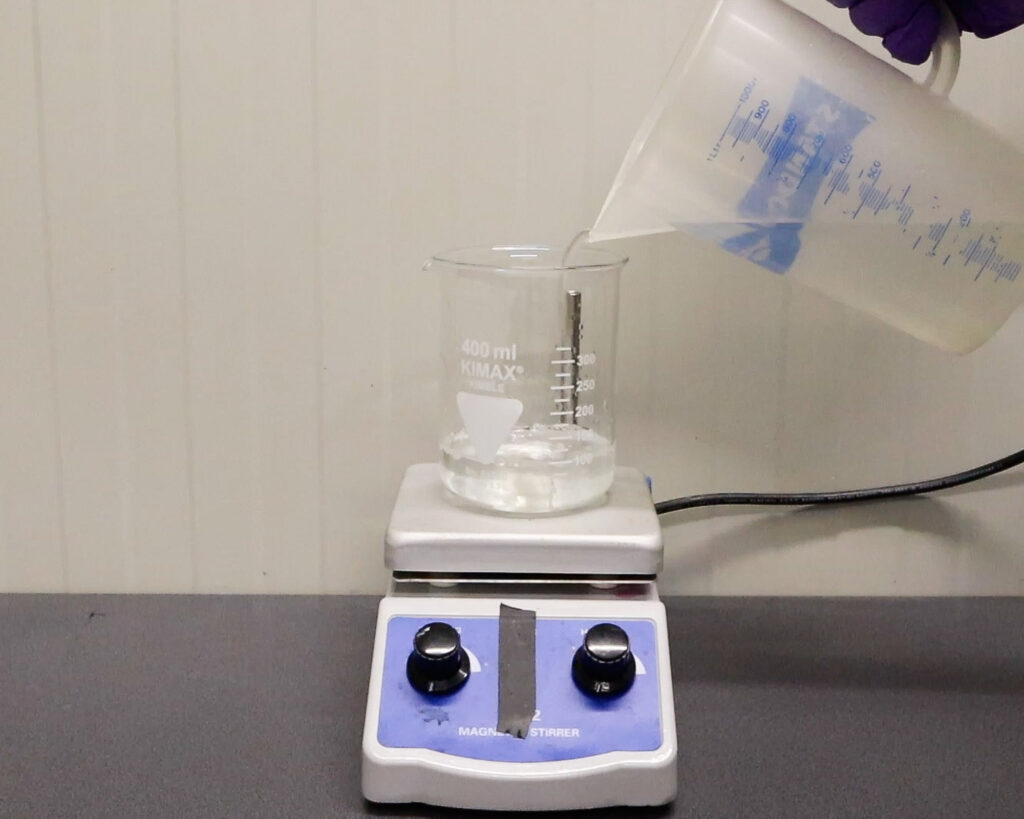
PREPARING A & B SOLUTIONS
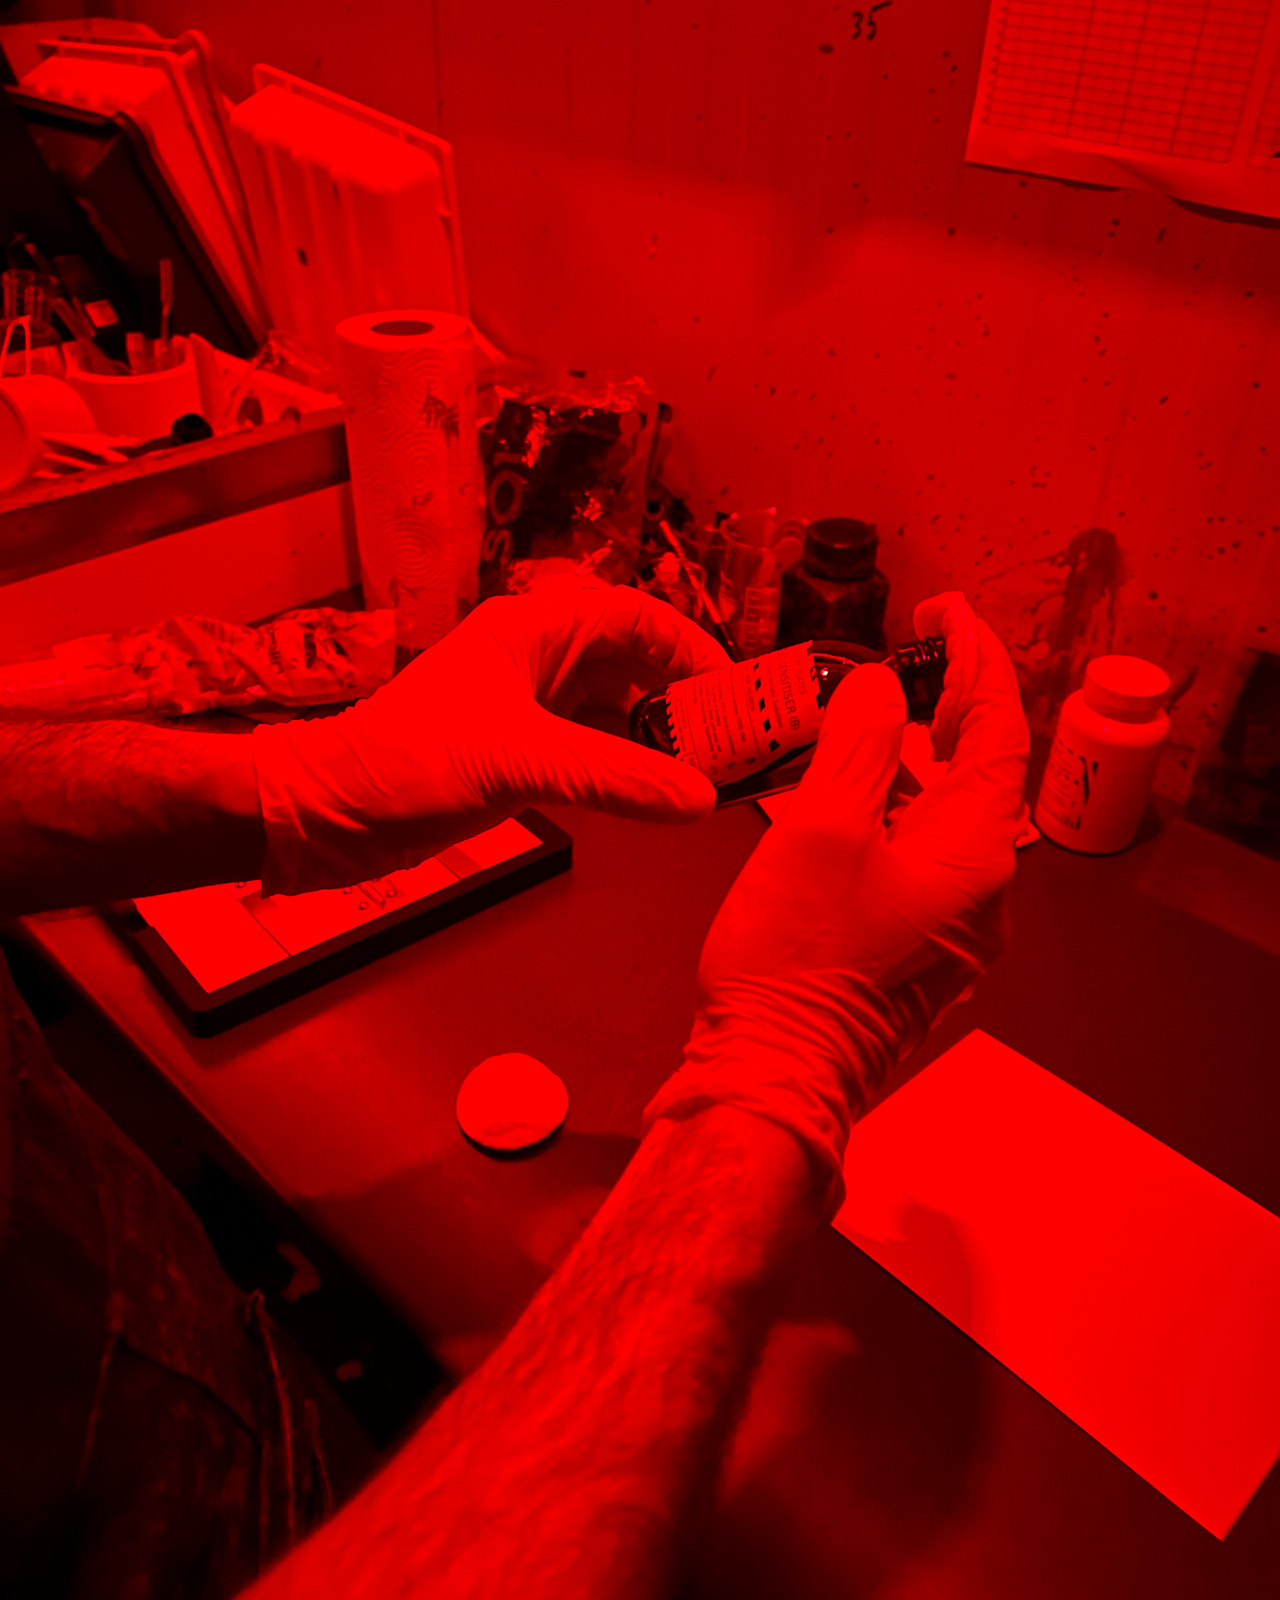
Safety First!Before handling silver nitrate, always wear protective gloves. Silver nitrate stains skin and surfaces, and these stains may take over a week to fade.


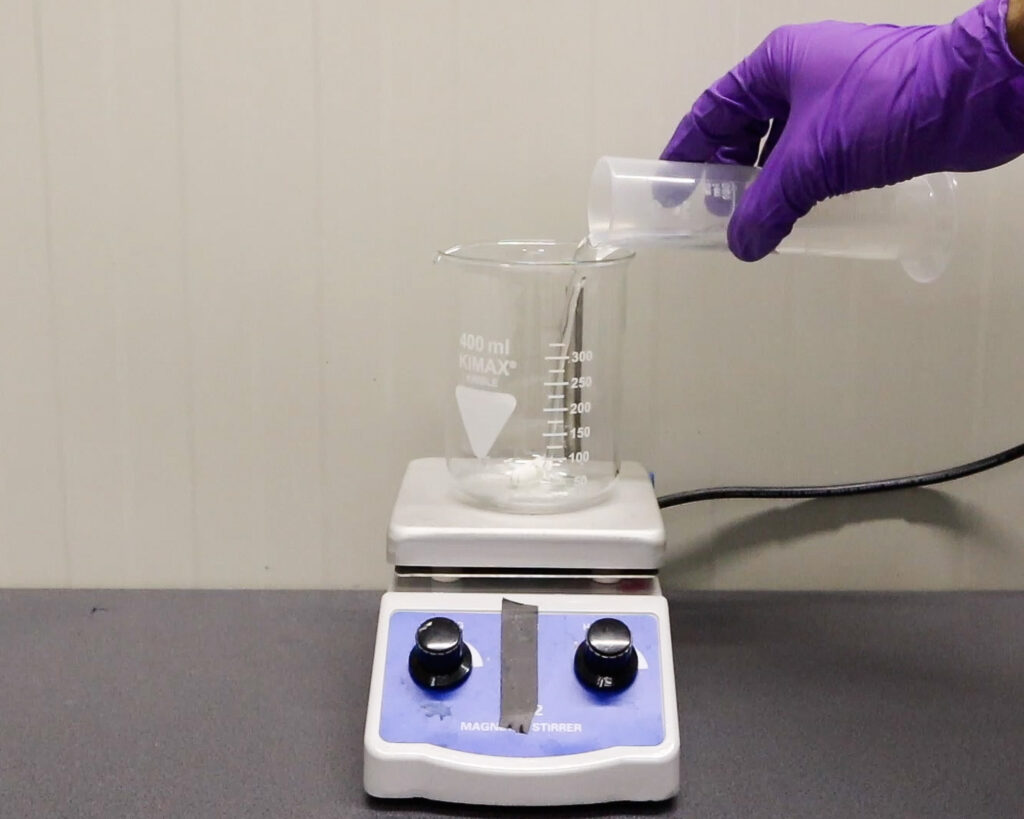
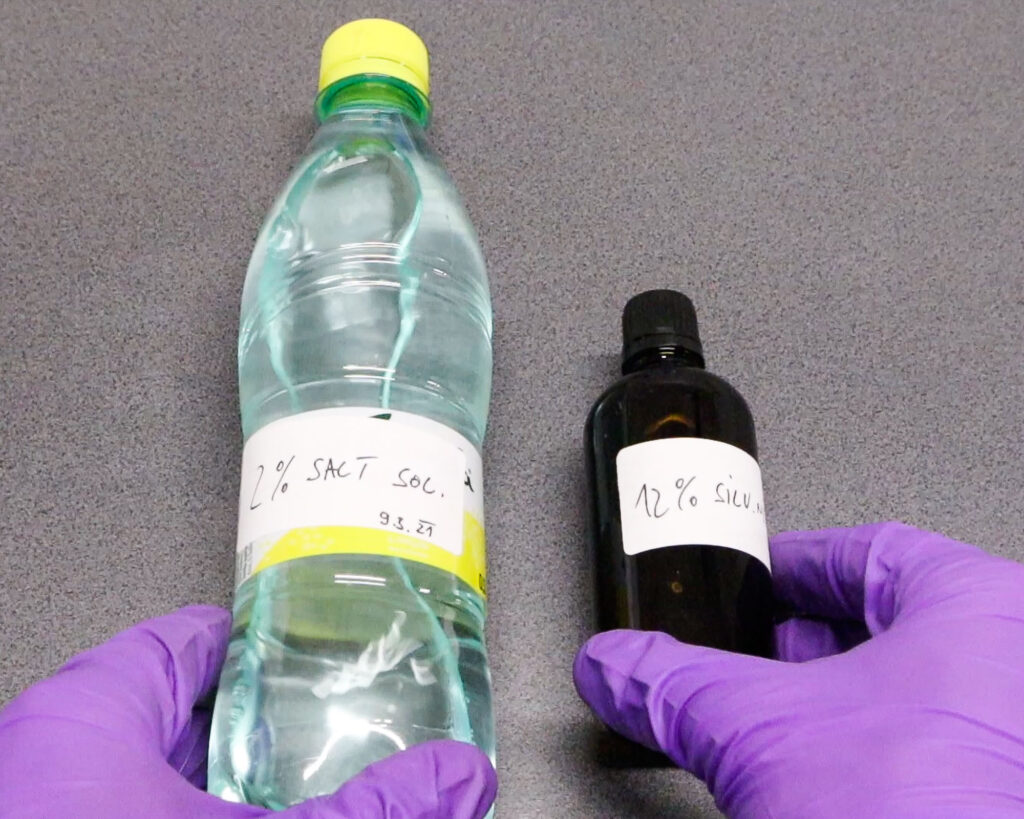
Solution A: 2% Salt Solution
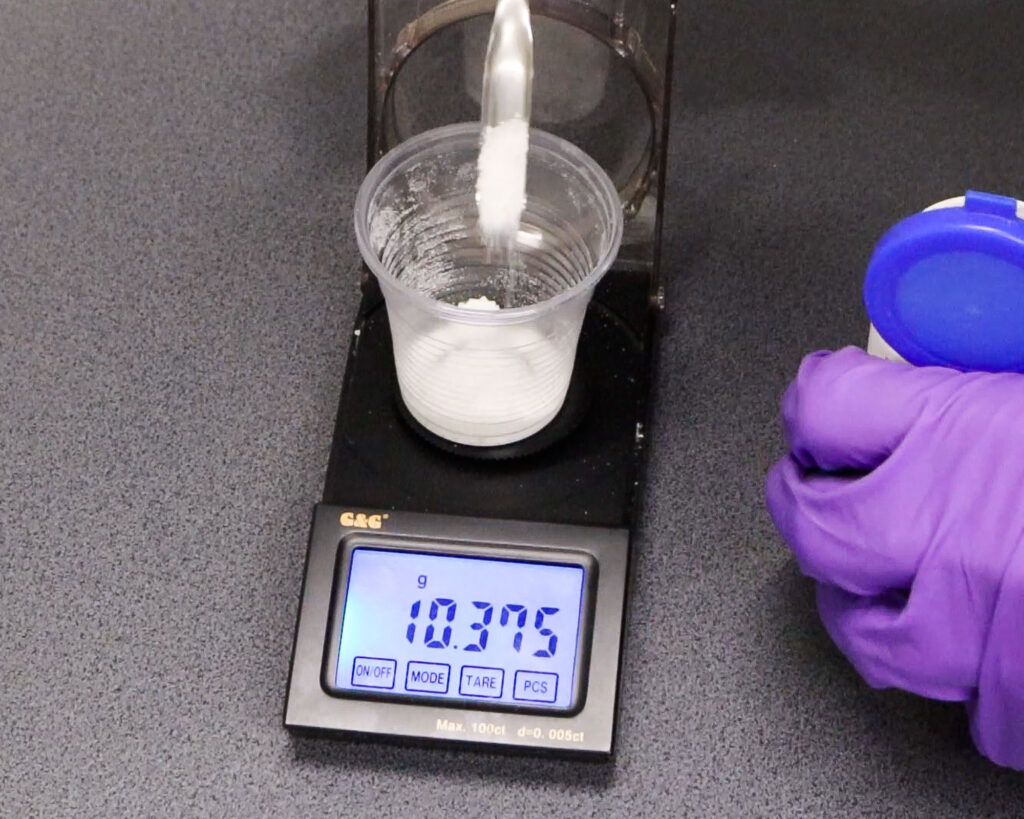
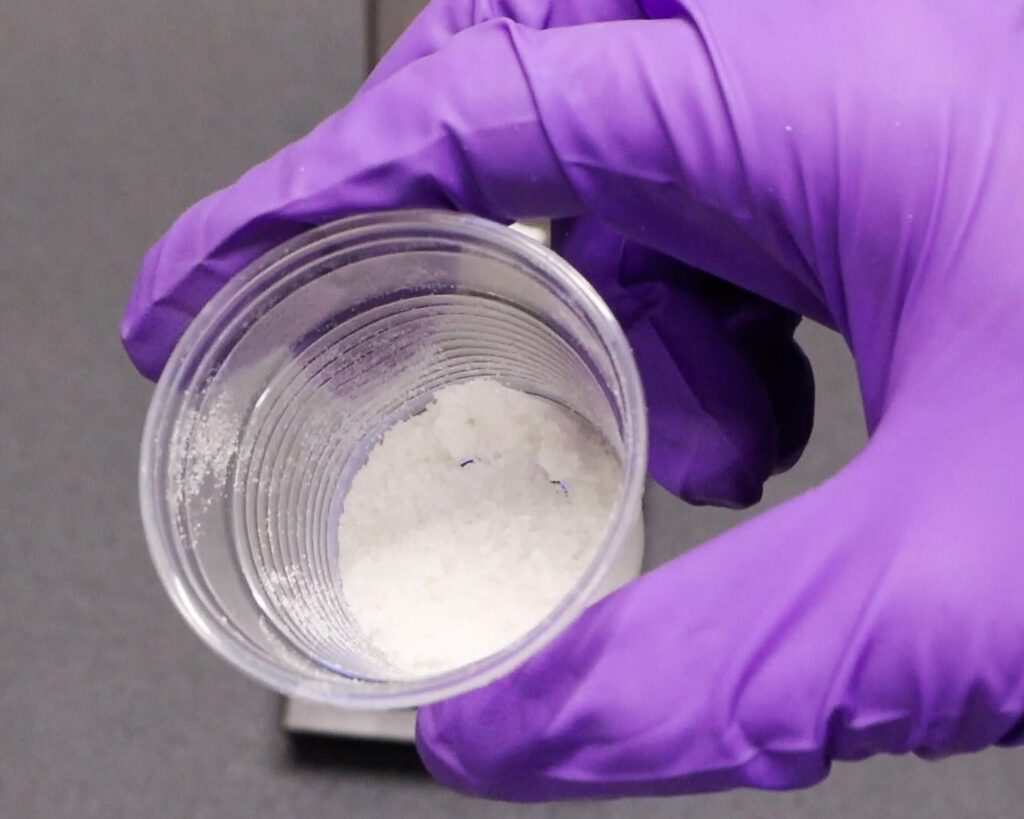
Ingredients: 2g of sea salt, distilled water to make 100ml.
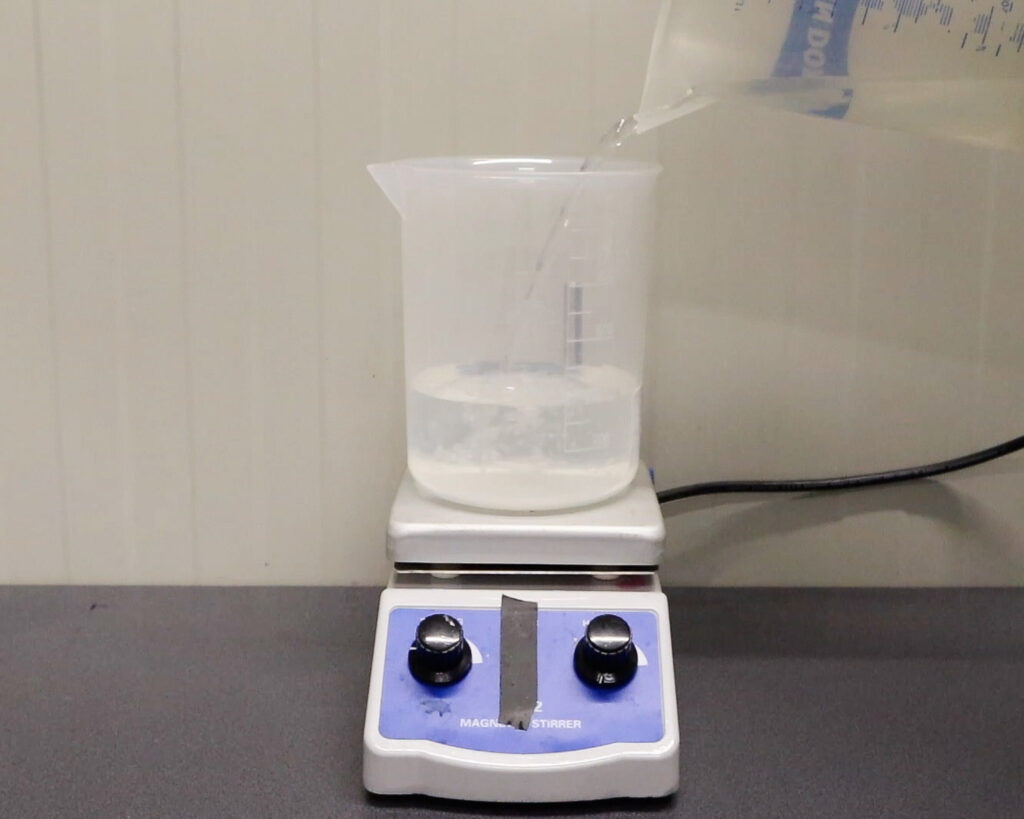
Method: Dissolve 2g of sea salt in 50ml of warm distilled water for faster dissolution. Once fully dissolved, add more distilled water until the total volume reaches 100ml. Store in a plastic or glass bottle.


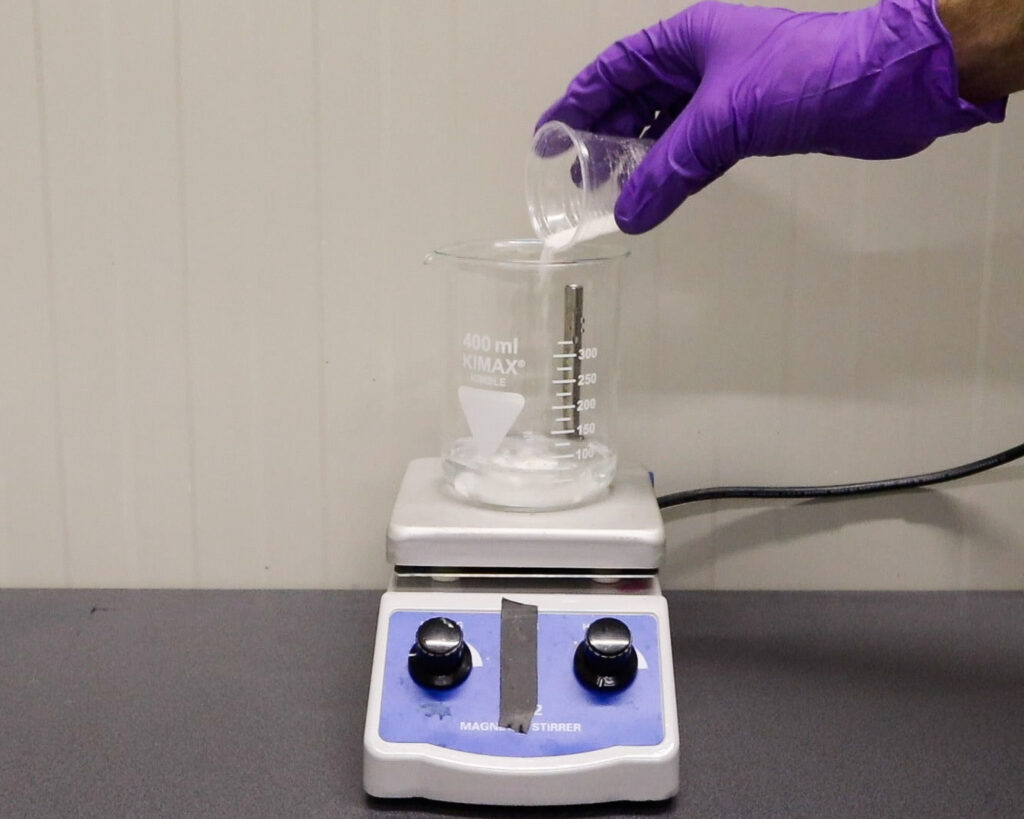
Solution B: 12% Silver Nitrate Solution
Ingredients: 12g of silver nitrate, distilled water to make 100ml.
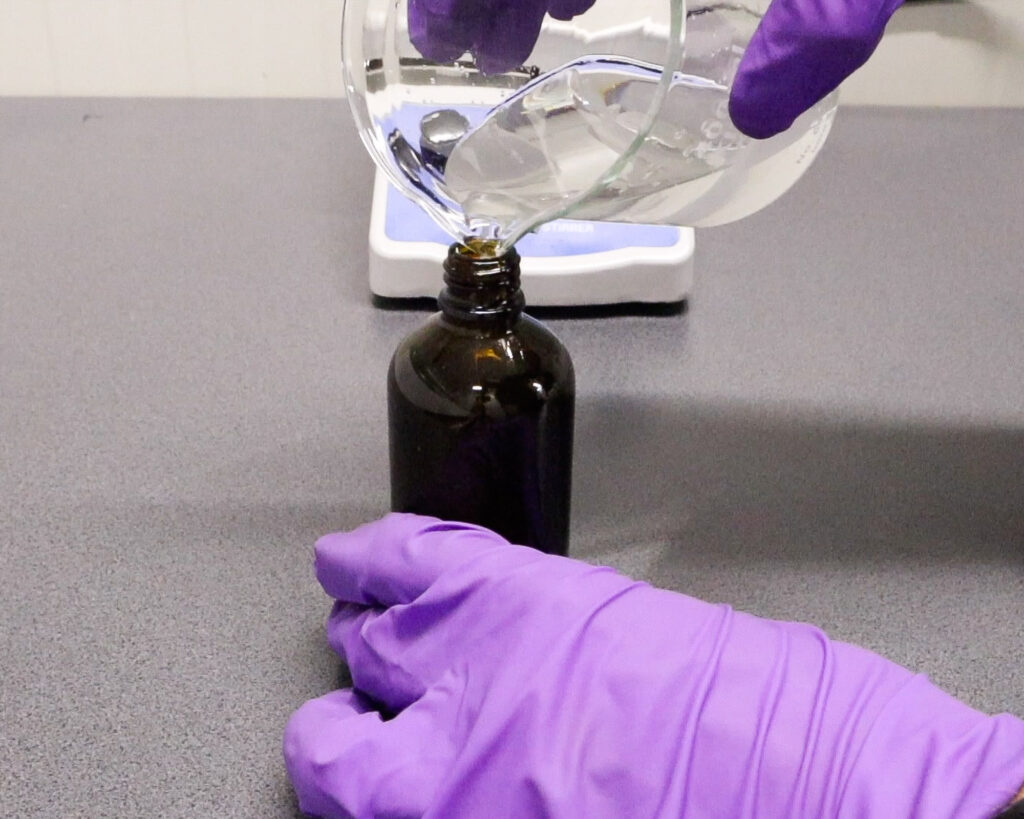
Method: Dissolve 12g of silver nitrate in 50ml of distilled water. Once dissolved, add more distilled water to reach 100ml. Store this solution in a brown bottle to minimize light exposure and prevent contamination. Label the bottle with the concentration and date for reference.


COATING TECHNIQUES
To coat the paper there are many coating techniques and in these tutorial I will go through the ones that are most commonly used.
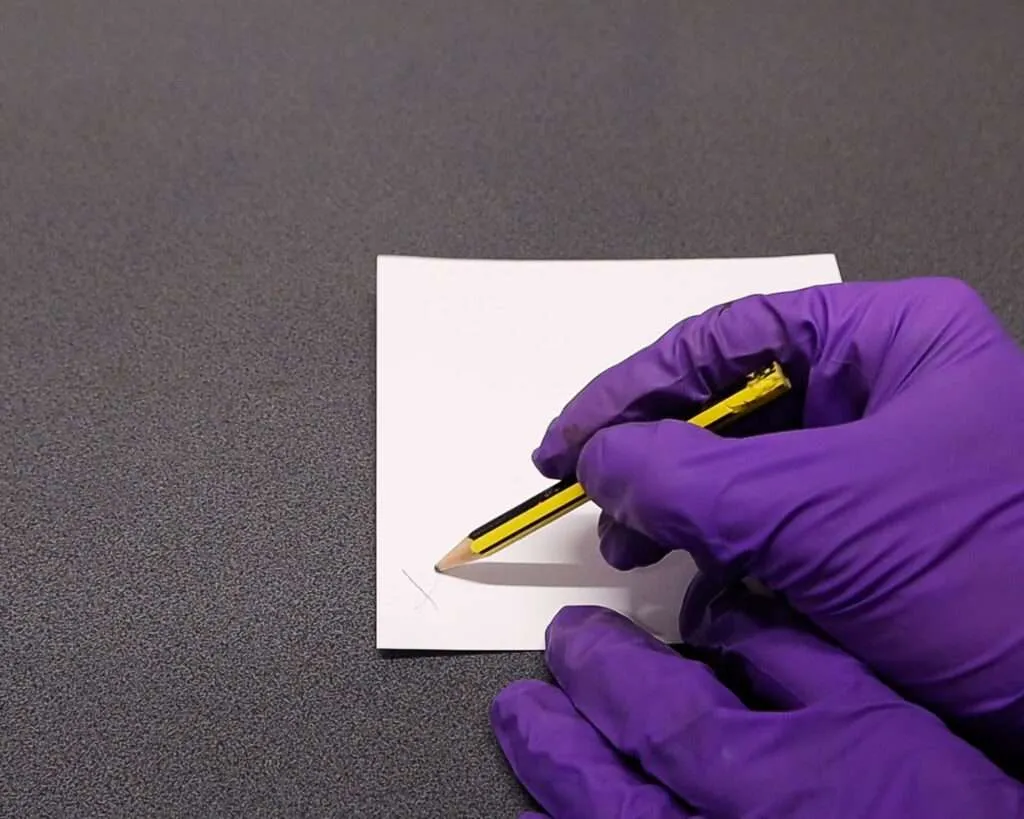
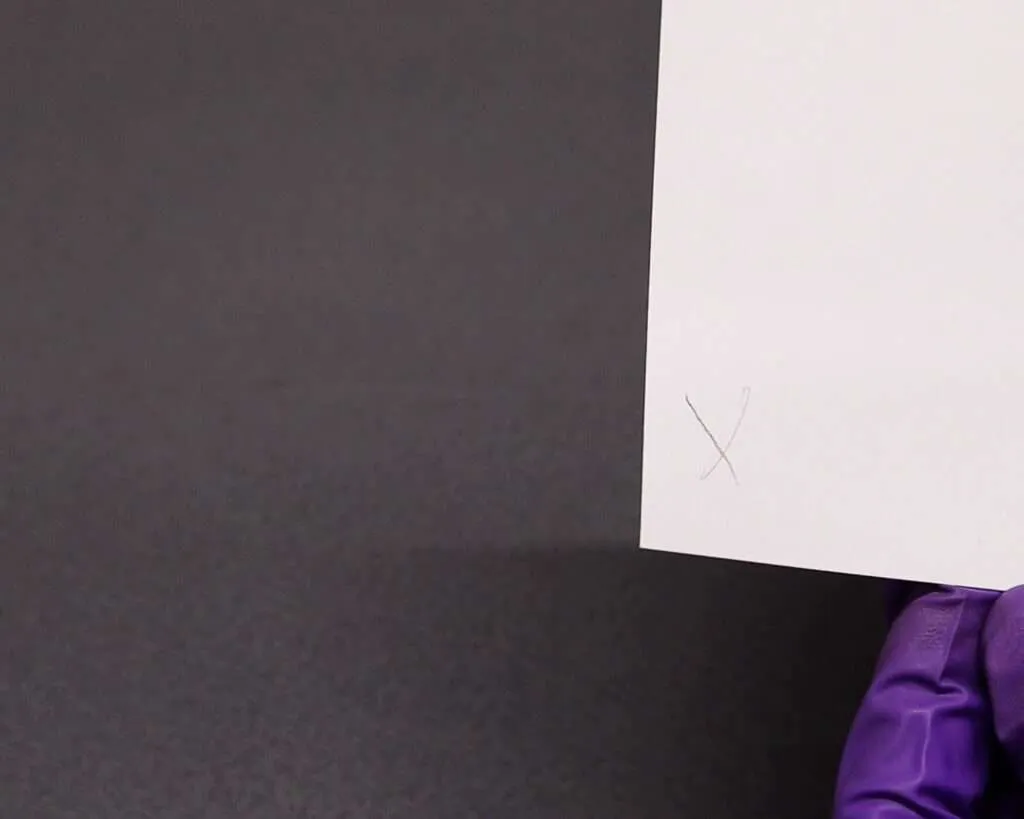
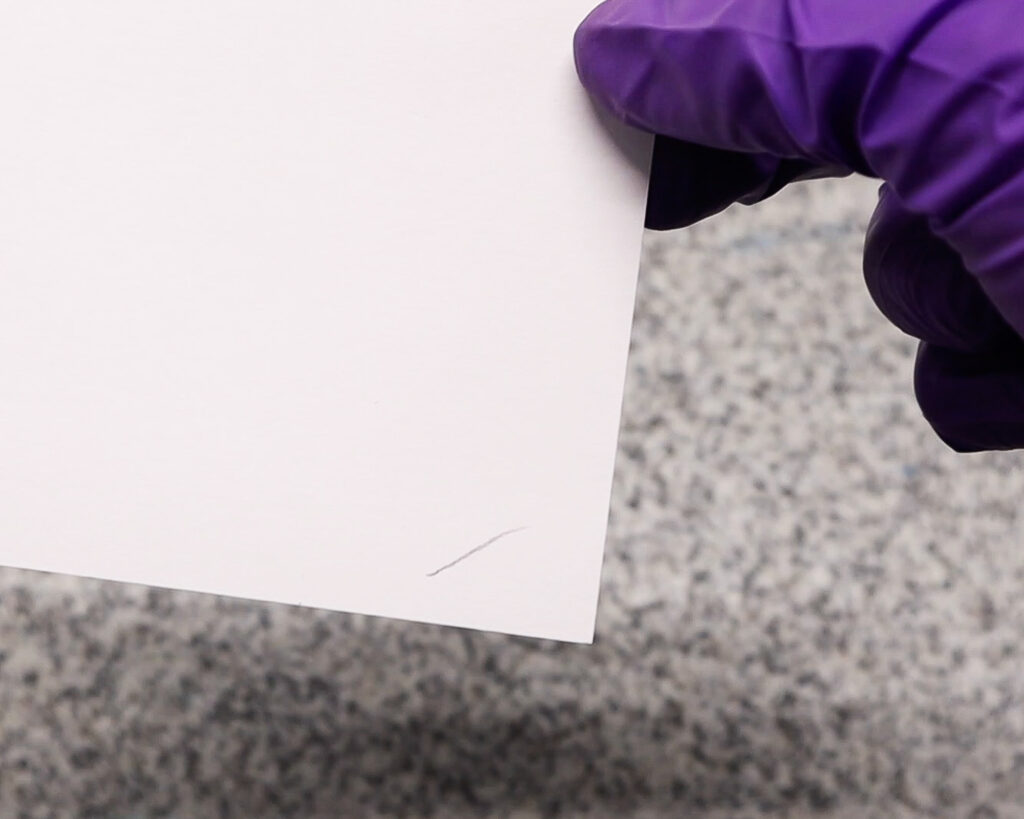
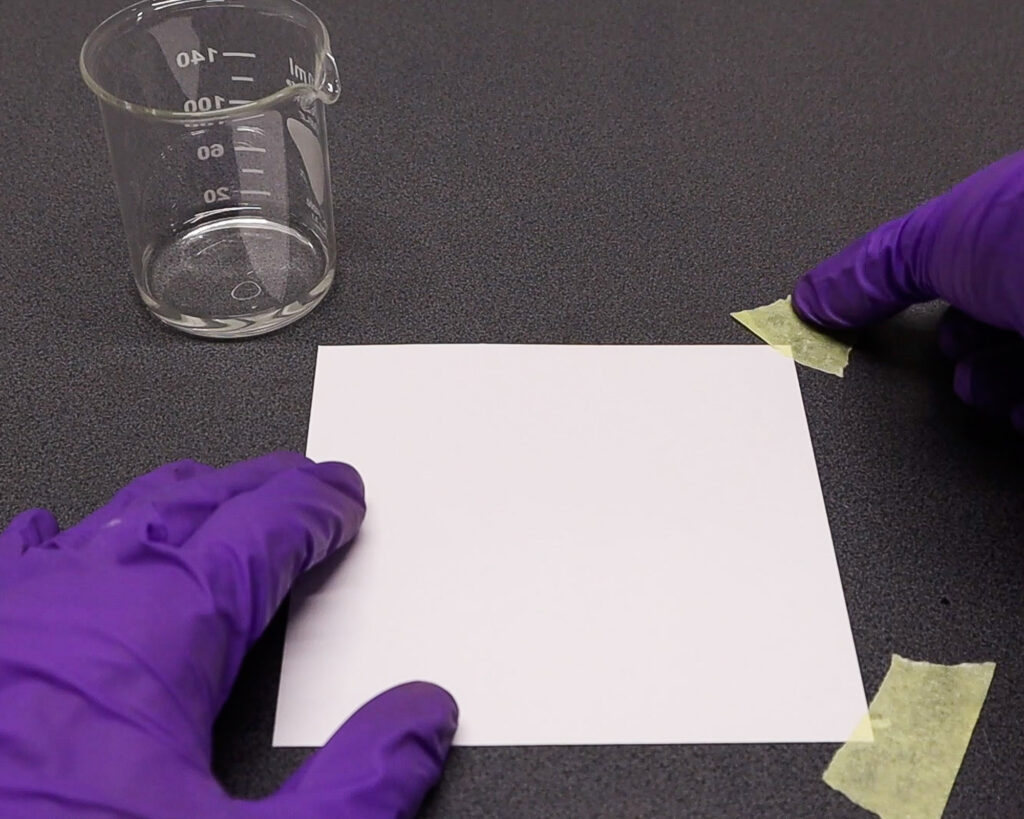
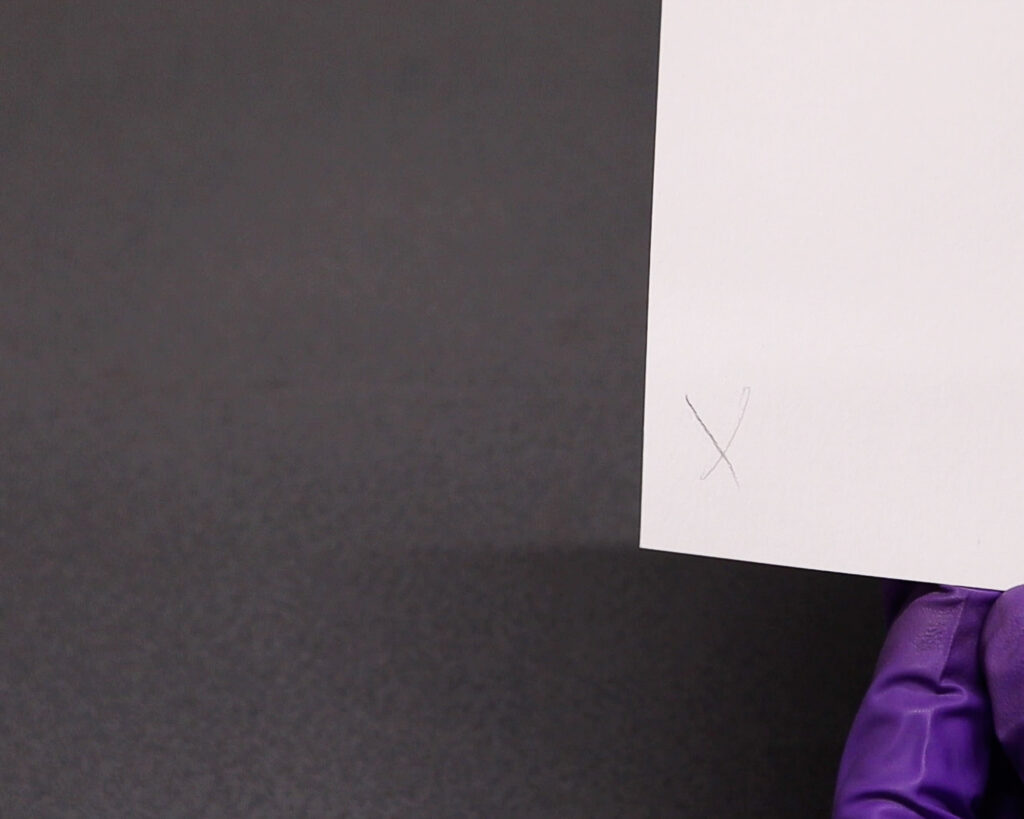
Before you start with the coating process, take a pencil and make a mark on the back of the paper so you will not be coating one side with salt and the other with sensitying solution by mistake. You need to make sure you coat the same side with both solutions or you will have no image!


Common Coating Methods:
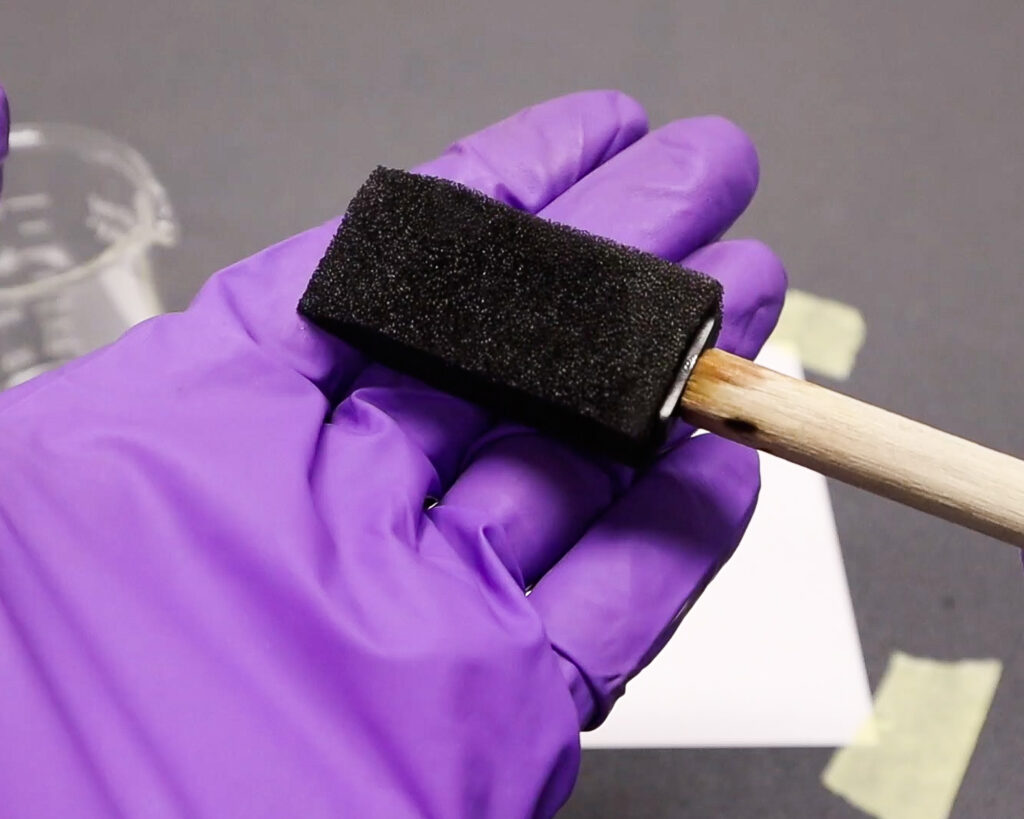
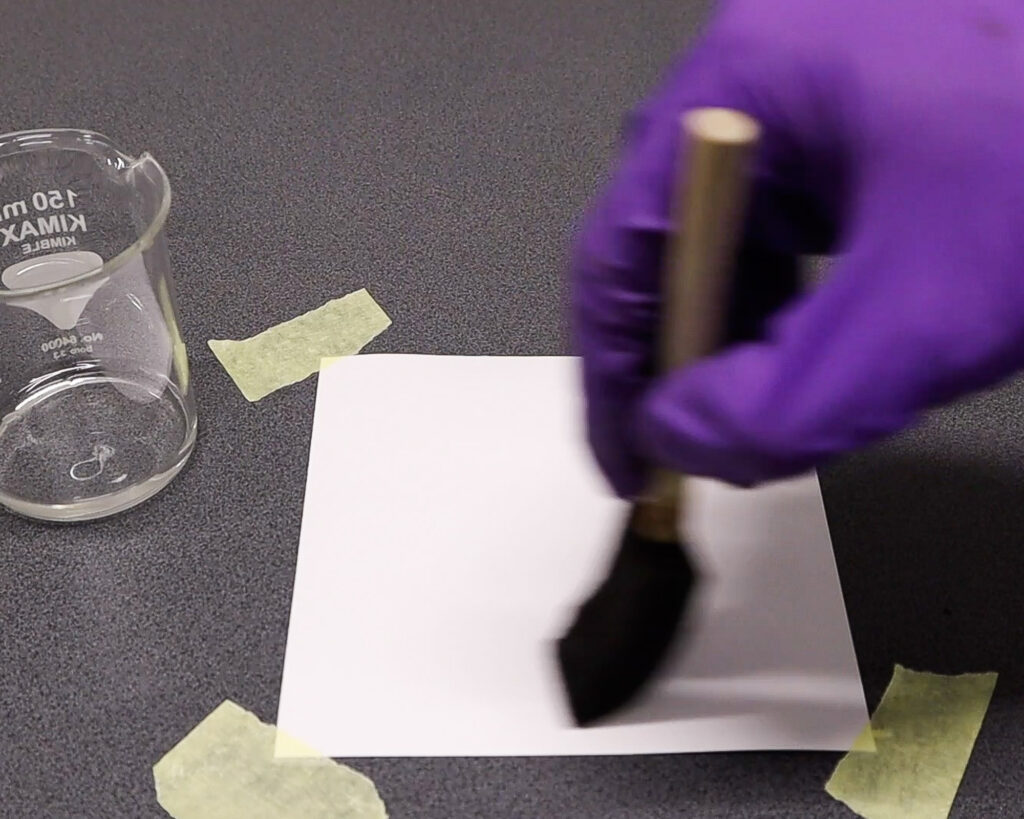
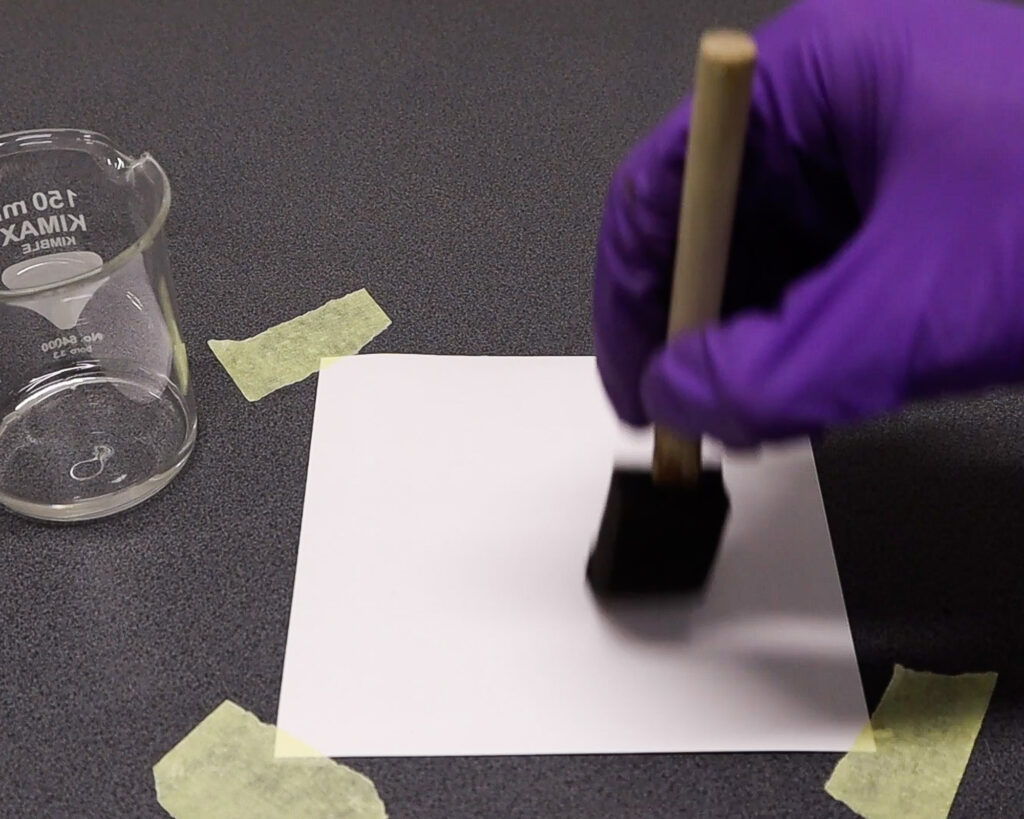
Foam or Fine Bristle Brush: Creates an artistic, textured look with visible brush strokes. Secure the paper with masking tape to prevent movement.


Cotton Tab: A traditional but messy method that makes it difficult to control the coating.


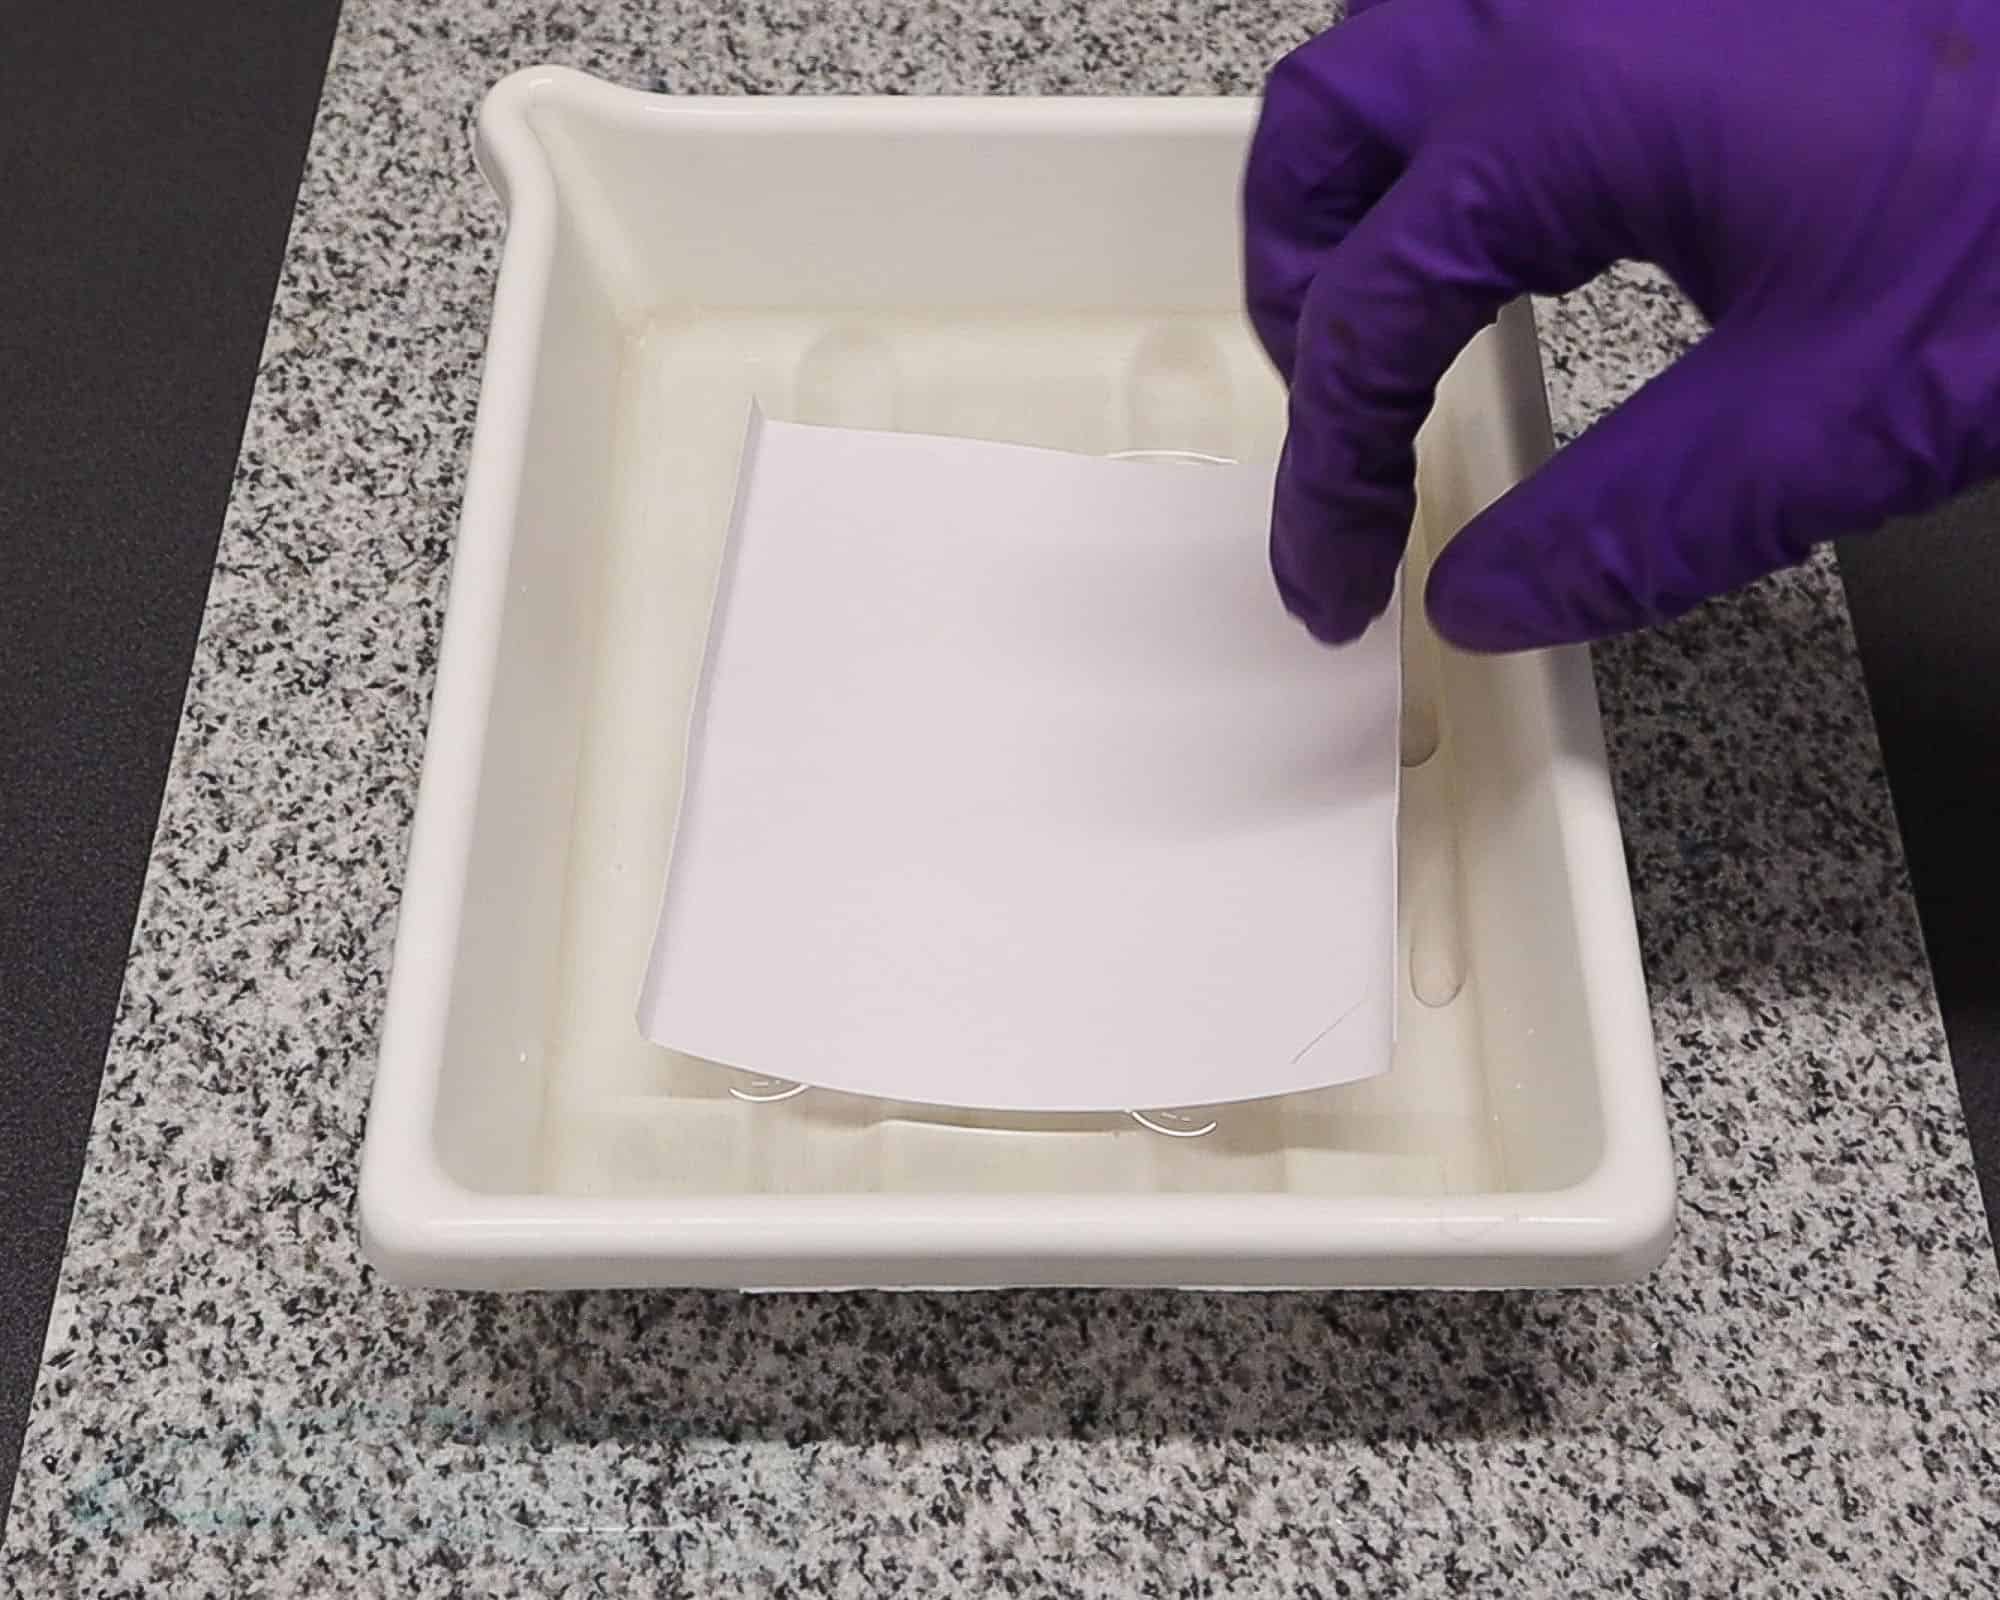
Floating Technique: Produces an even coating as the paper absorbs the solution naturally. Simply float the paper on the salt solution, allowing the fibers to soak it in before drying.


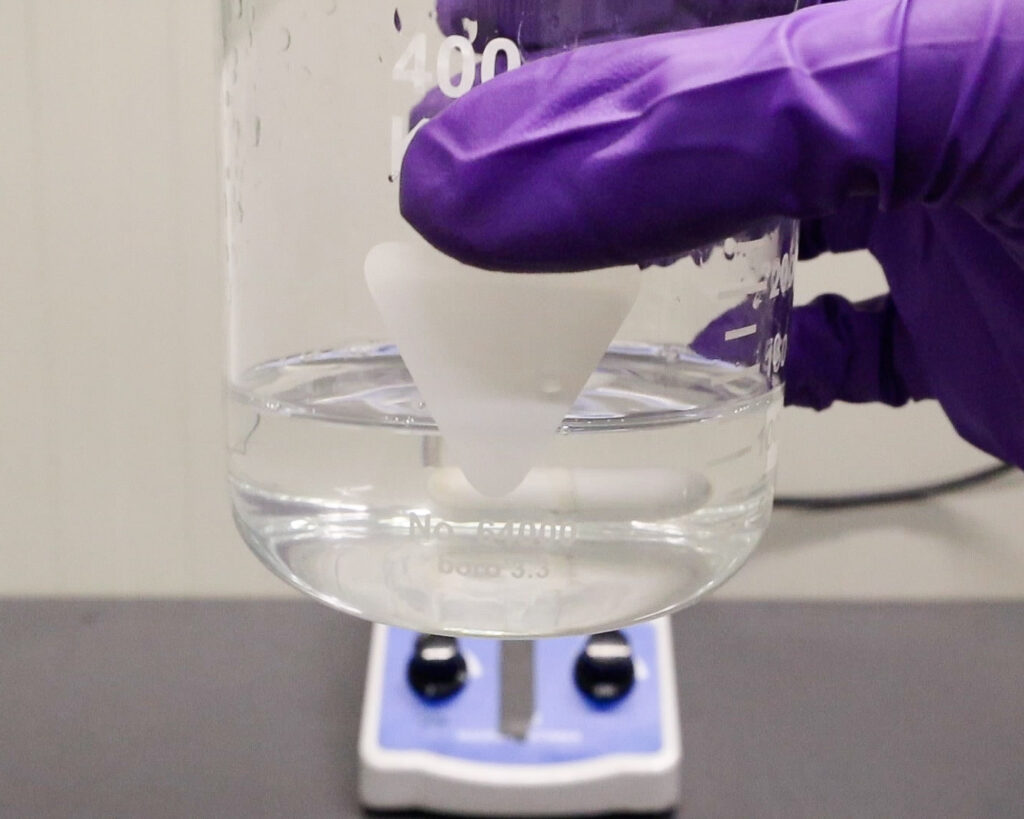
Rod Technique: Ideal for those seeking a smooth, even coating. This technique requires a cylindrical rod (approximately 1cm thick) to evenly distribute the solution across the paper.


APPLYING BOTH SOLUTIONS
Step 1: Coating with Salt Solution
Let the coated paper dry for about 30 minutes.
Pour the salt solution into a small cup.
Place the paper on a flat surface with the marked side facing down.
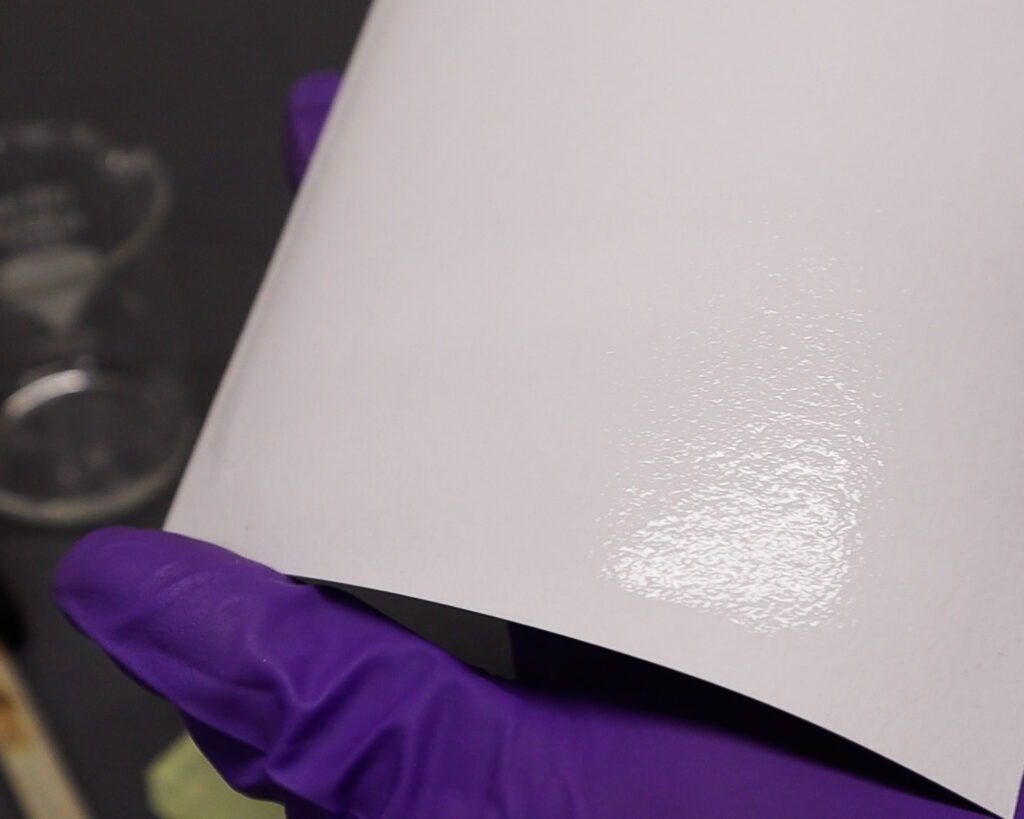
Dip your brush into the solution and coat the paper evenly, using consistent strokes.


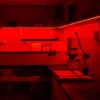
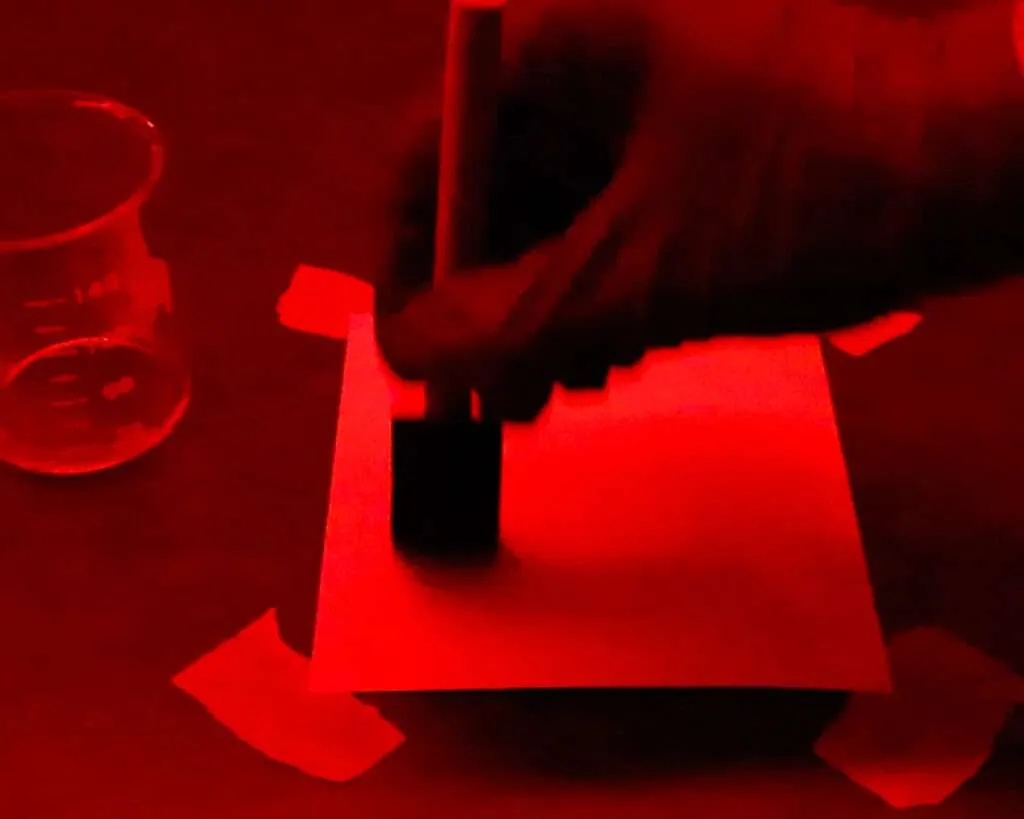
TIME TO TURN LIGHTS OFF - RED SAFELIGHTS ON
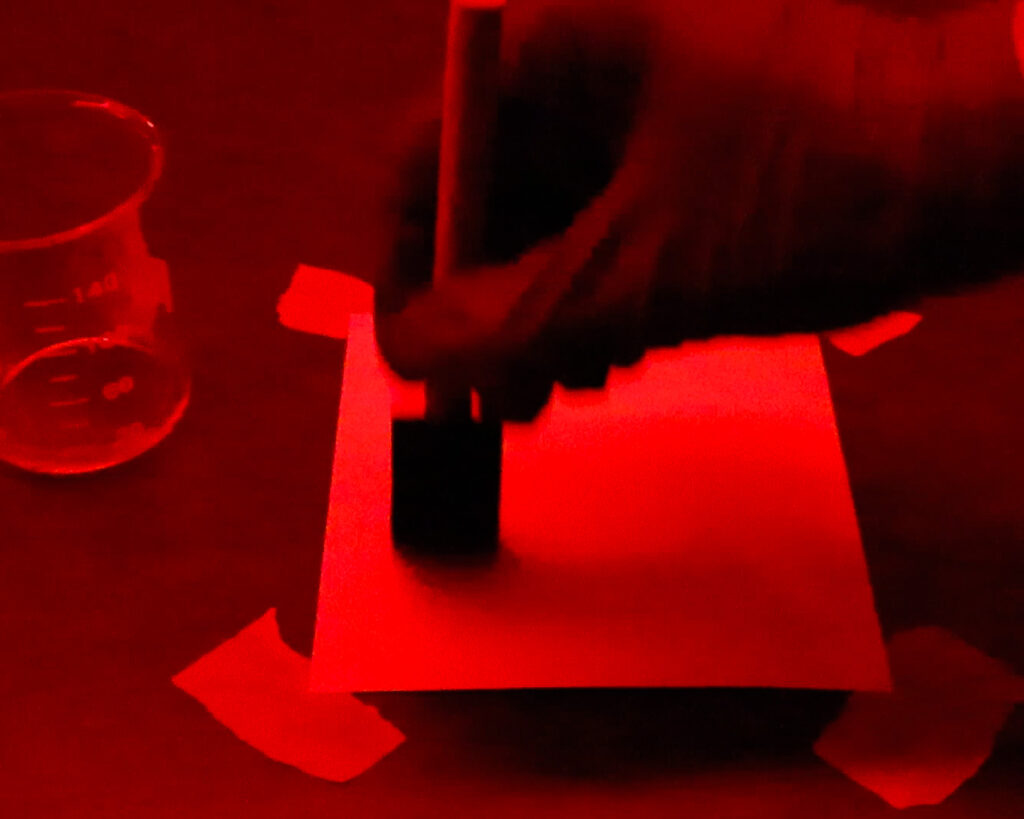
Step 2: Coating with Silver Nitrate Solution
Next step in the coating process is the sensitization where sodium chloride and silver nitrate will form light sensitive silver halides. This is where you should dim down your light as much as you can or ideally work under red safe light to prevent any unwanted fog. I am keeping my lights on just so you can see better 😉
- Work in dim light or under a red safe light to prevent premature exposure.
- Mark the back of the paper again to indicate that it has been sensitized.
- Use the same coating method as before, ensuring full and even coverage.
- Allow the sensitized paper to dry in darkness for approximately 30 minutes


EXPOSURE
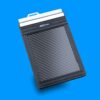
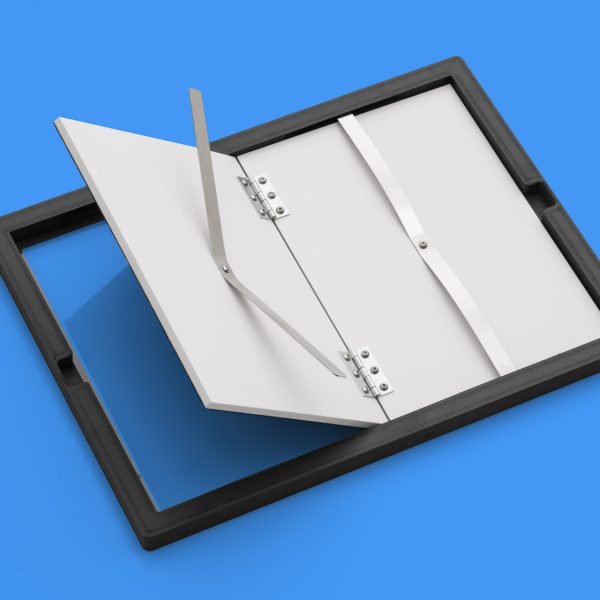
When Salted paper has dried it is ready for exposure. To make my exposures I helped myself with a Zebra Printing Frame (available HERE) which allowed me to press the negative firmly to the salter paper which is essential for a sharp print.
You can also photo frame method is okay for smaller prints but with bigger ones you just won’t be able to get sufficient pressure in the middle of the frame and your results will be unsharp. For bigger prints or in general I would recommend you to use a proper printing frame.I still have to build myself a frame like that which makes printing much easier but I would like to film it and show you how it’s done as well!
With your printing frame ready, align the negative with the coated side of salted paper. When you are happy with the layout, cover it with a sheet of glass to press it down and take it out on the sun for anywhere between 10-20min. There is no universal exposure time as it depends on the concentrations you are using, sun intensity, density of the negative and so on. This means you will have to do some tests to determine what works for you.
Discover the Perfect Printing Frame: Zebra A3, A4 & A5 Contact Printing Frames
Achieve professional-quality prints with the Zebra A5 (5X7in) Contact Printing Frame. Crafted from high UV and temperature-resistant PETG material, this frame is built for durability and precision. Its traditional split back system, felt damper, and dual stainless steel springs ensure firm and even pressure, producing sharp, detailed prints.


Exposing the Print
- Align your negative (or photogram subject) with the coated side of the paper.
- Secure the materials in a printing frame.
- If using sunlight, expose the print for 10-20 minutes. Exposure time varies based on solution concentration, light intensity, and negative density.


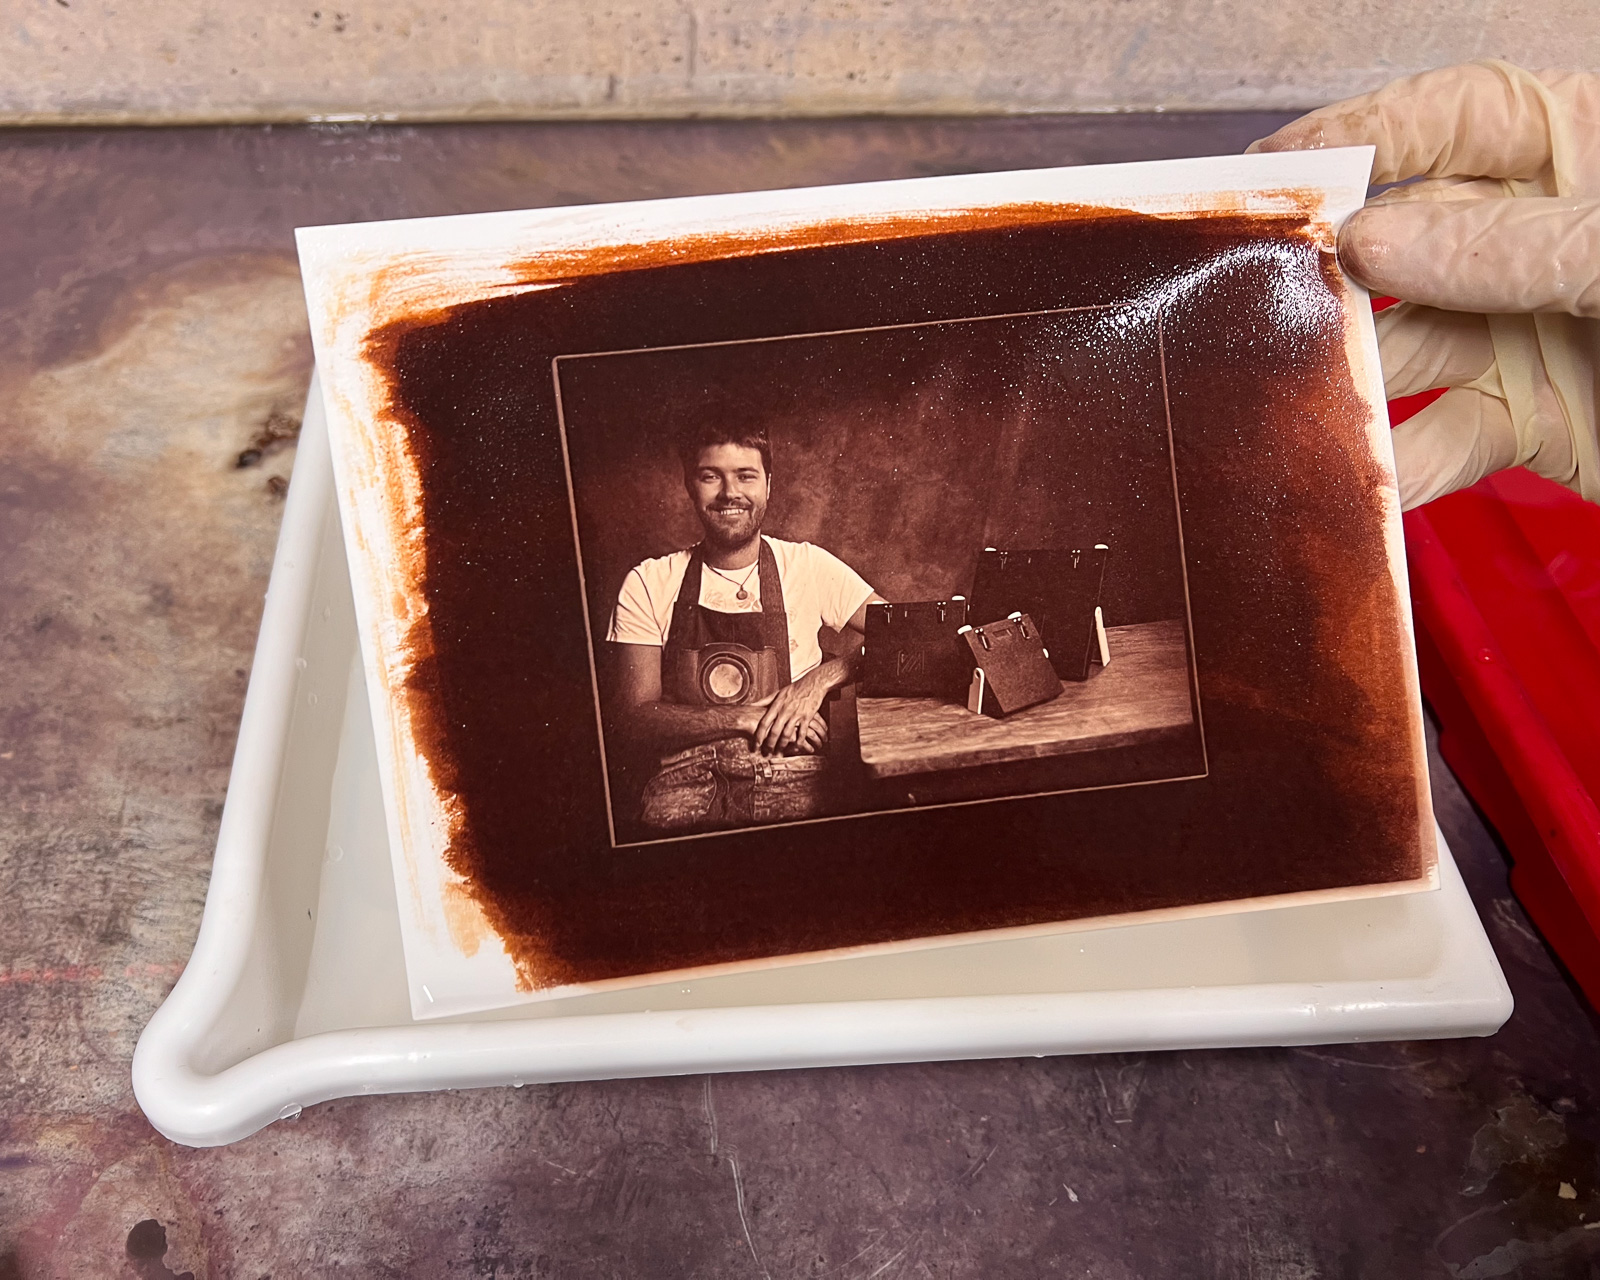
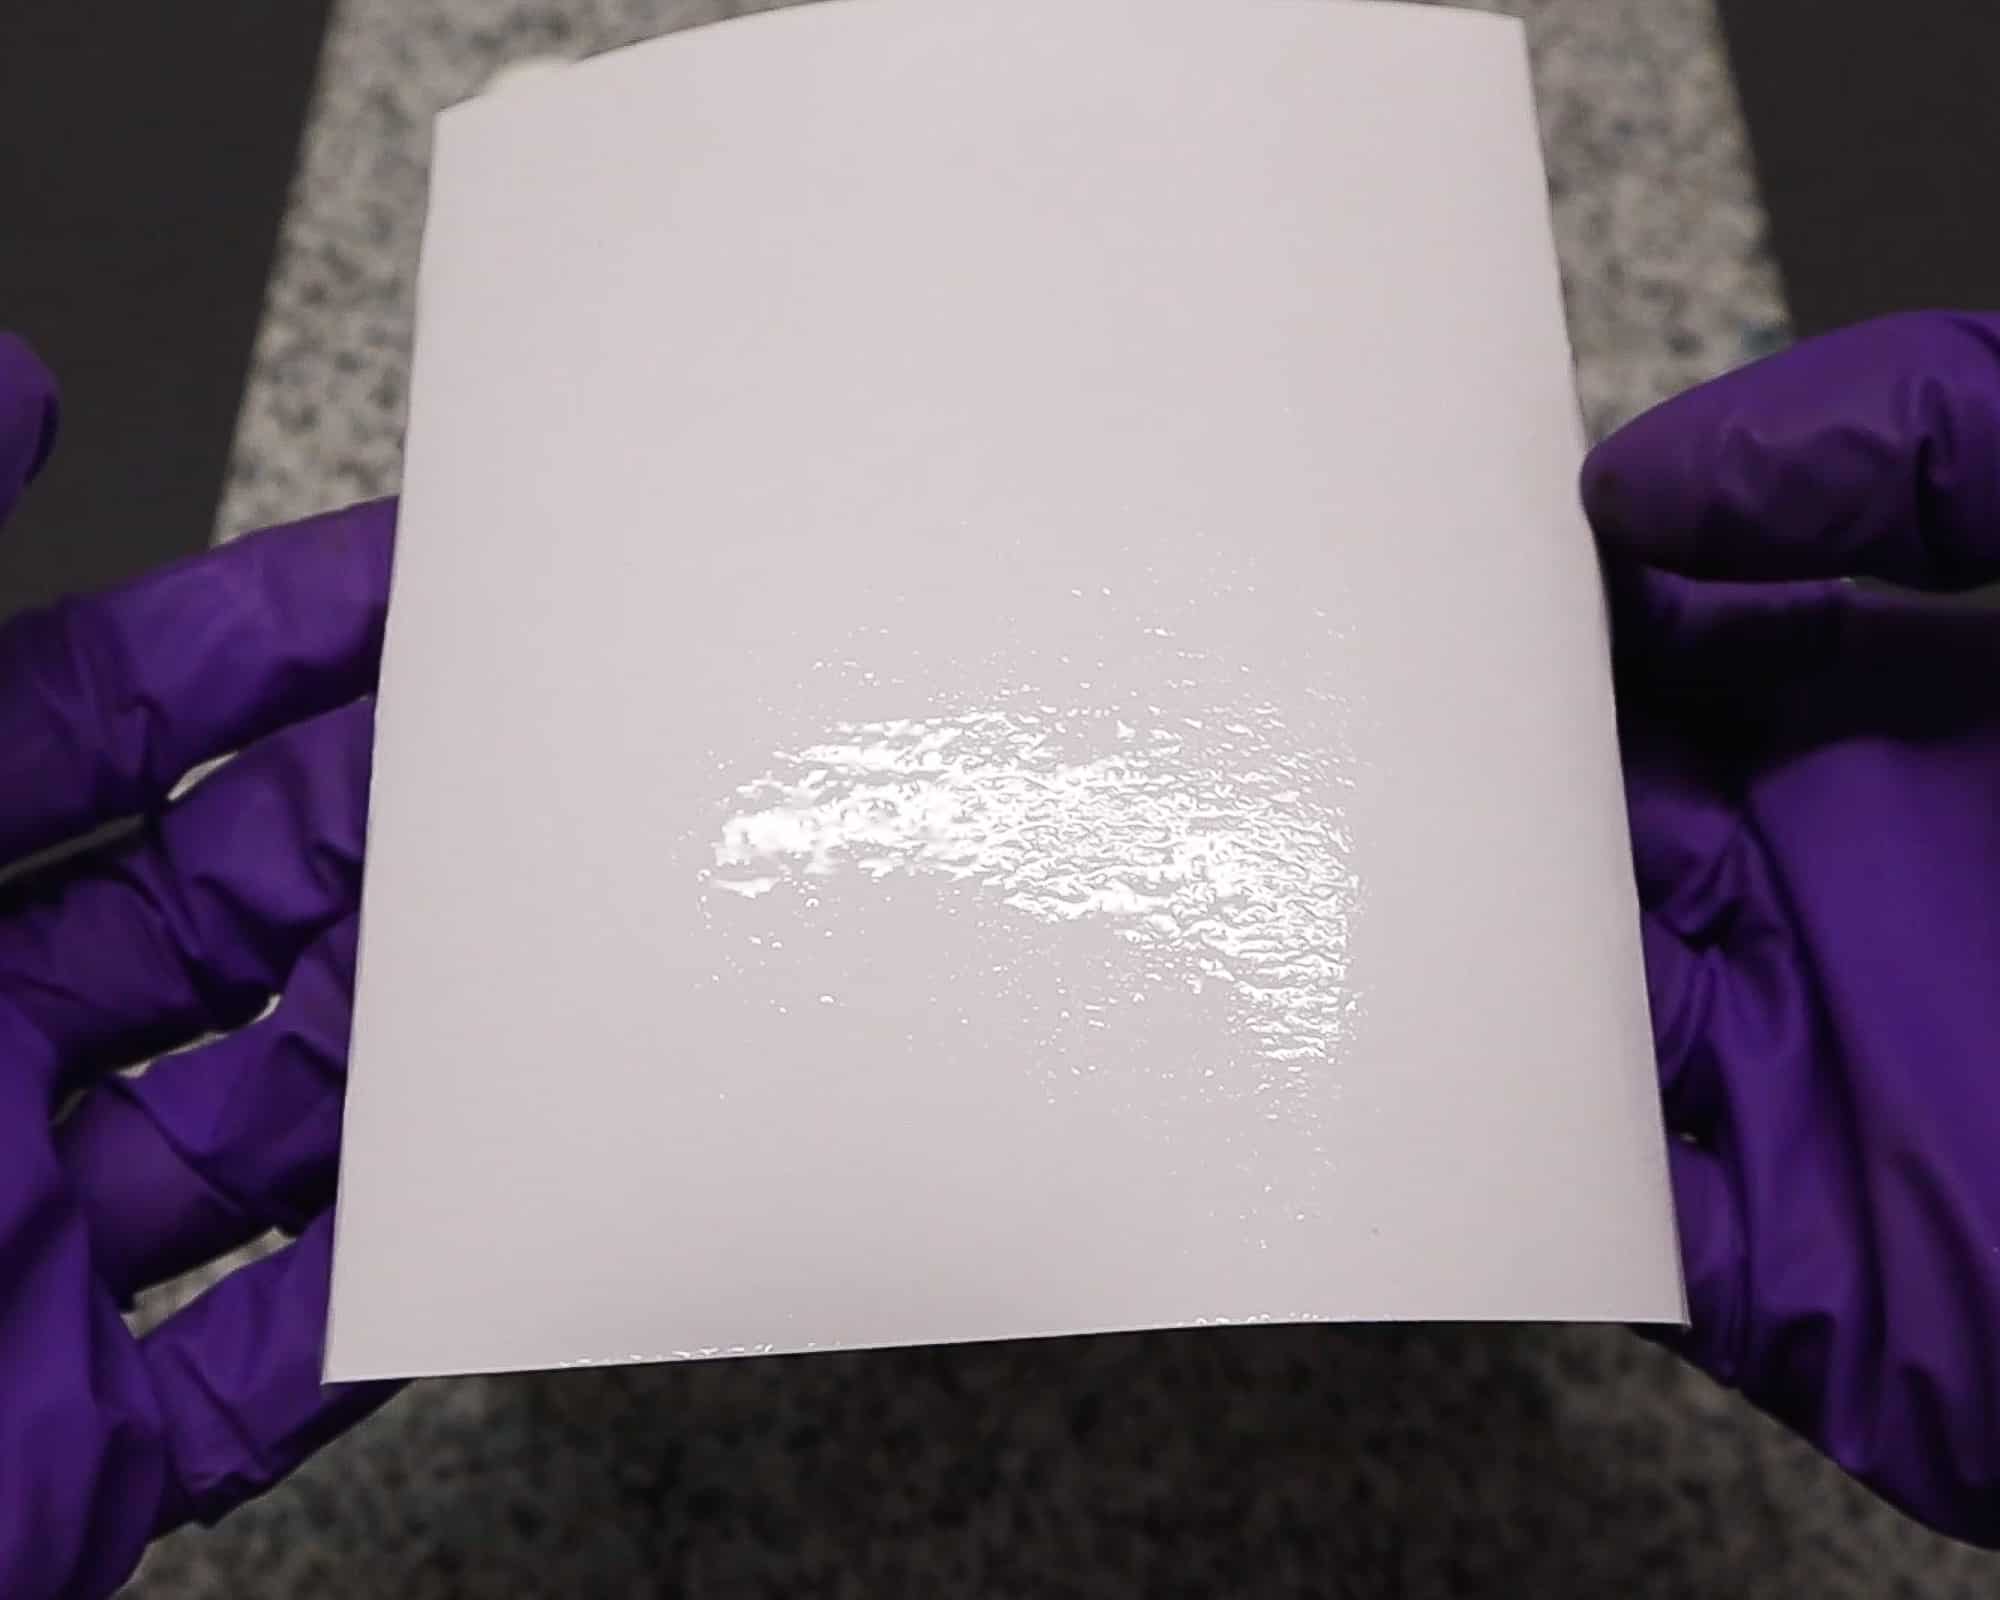
During the exposure you can clearly see how the reaction is starting to happen with the paper turning more and more brown. When silver halides react with UV light they transform back to metallic silver.
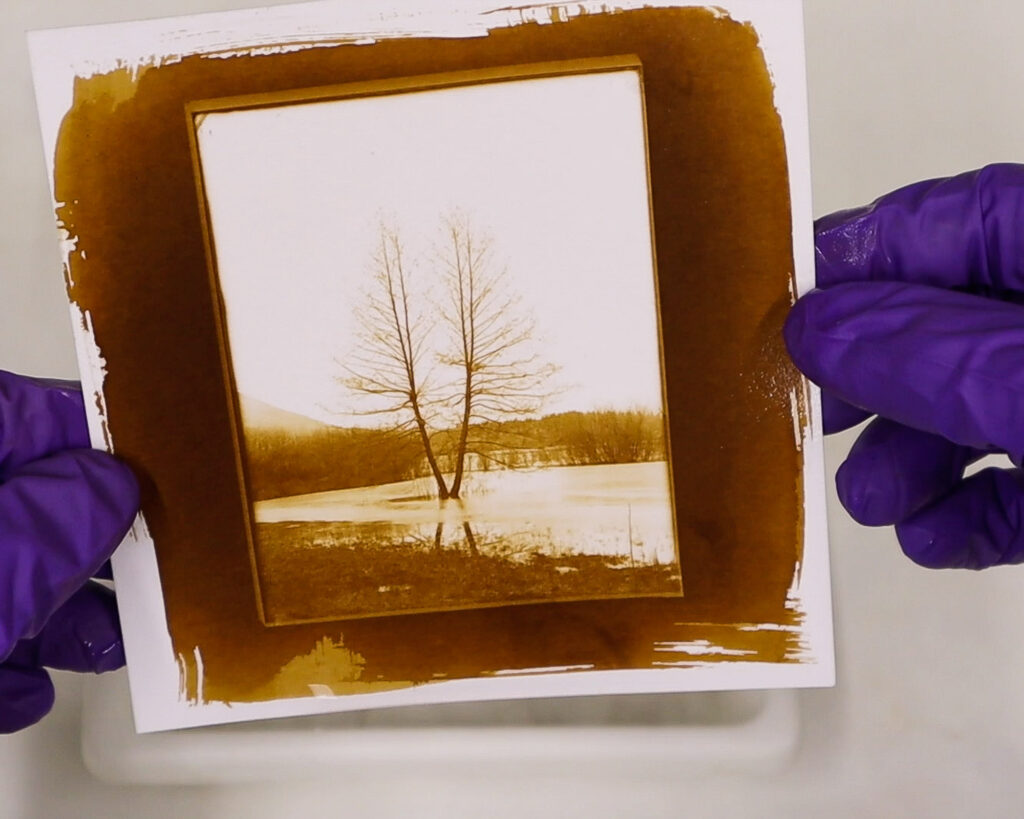
After the exposure take the print back inside and separate the negative from the paper.
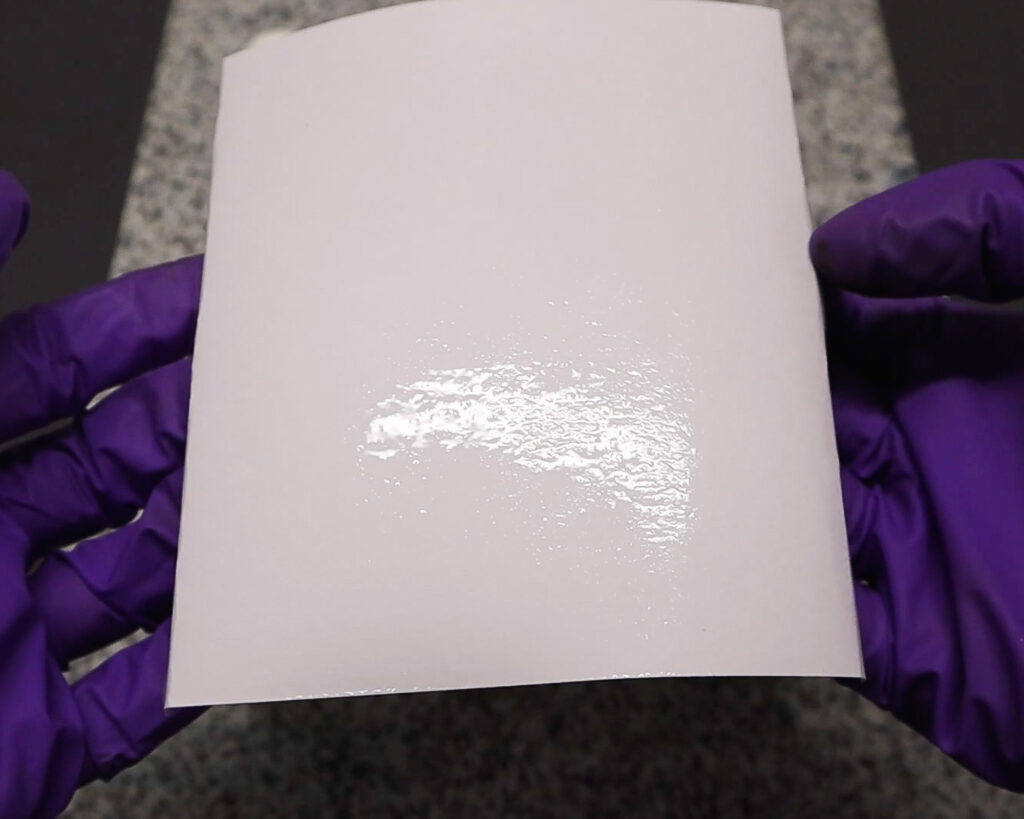
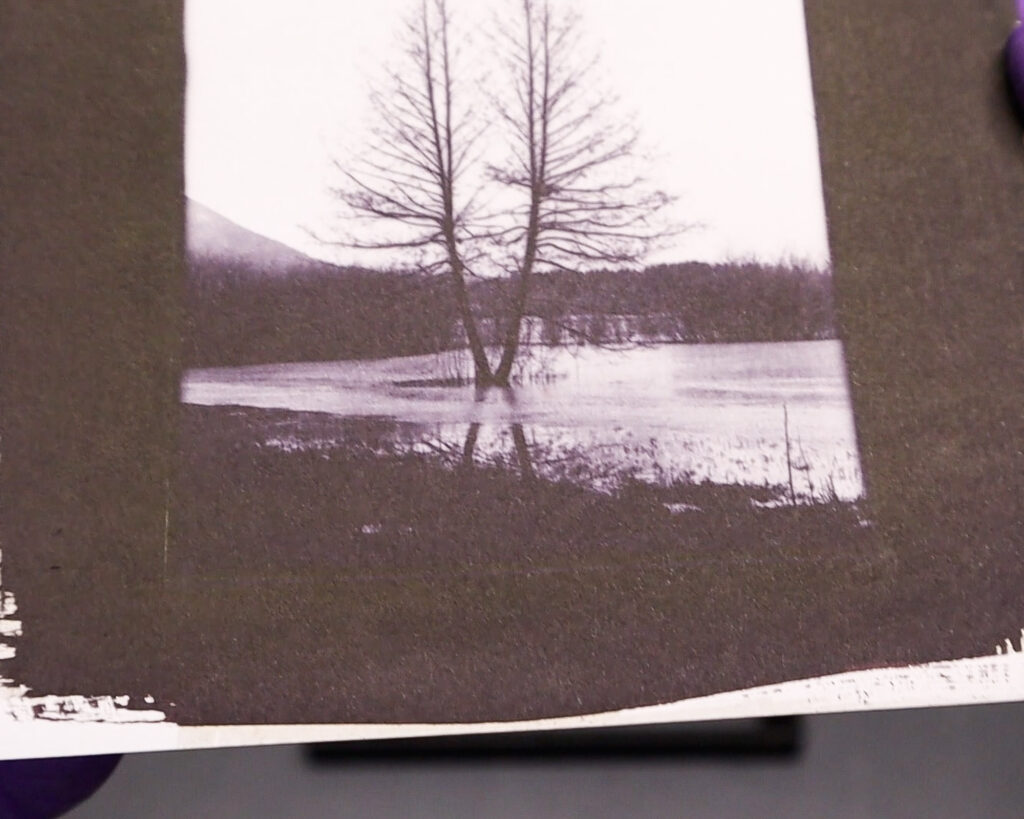
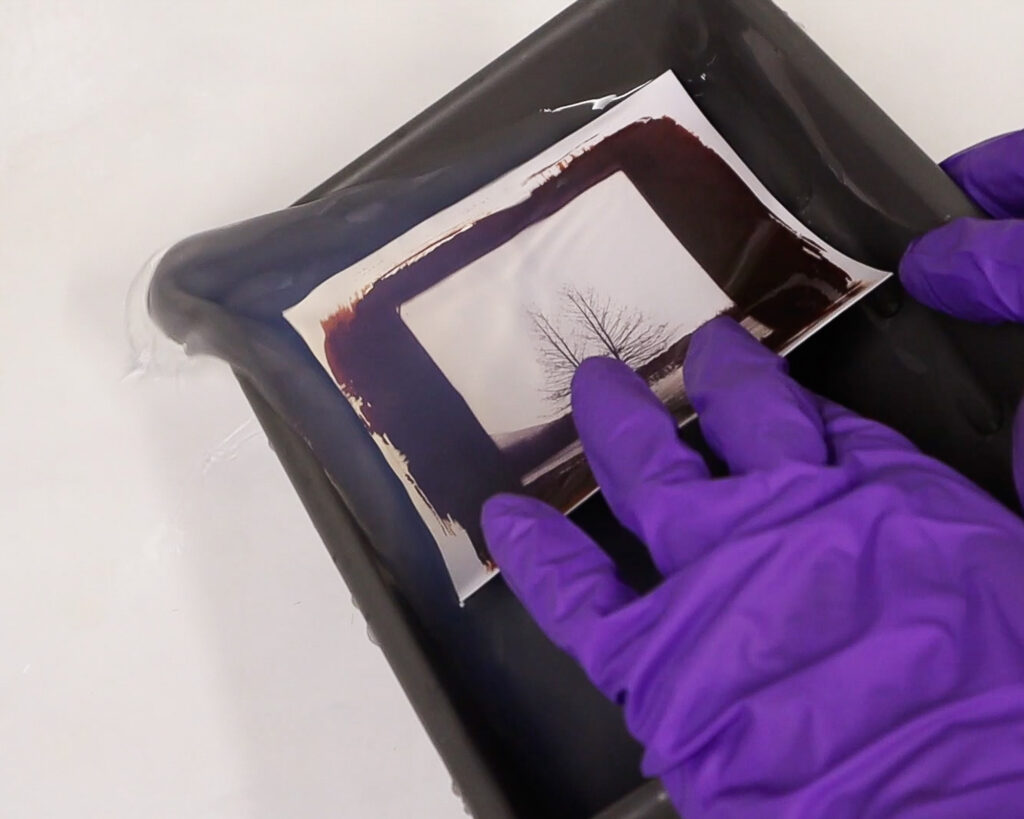
Correctly exposed contact image has a deep brown colour with a slight purple hue to it. It may seem extremely contrasty and dark to start with but don’t worry it is gonna become much brighter when we start with the processing.
PROCESSING
Processing a salt print is just as crucial as the initial coating and exposure. To ensure the best results, I recommend working under safe lights to prevent any unwanted fogging. While I will be demonstrating this under tungsten lights for visibility, a dimly lit or red-safe light environment is ideal.
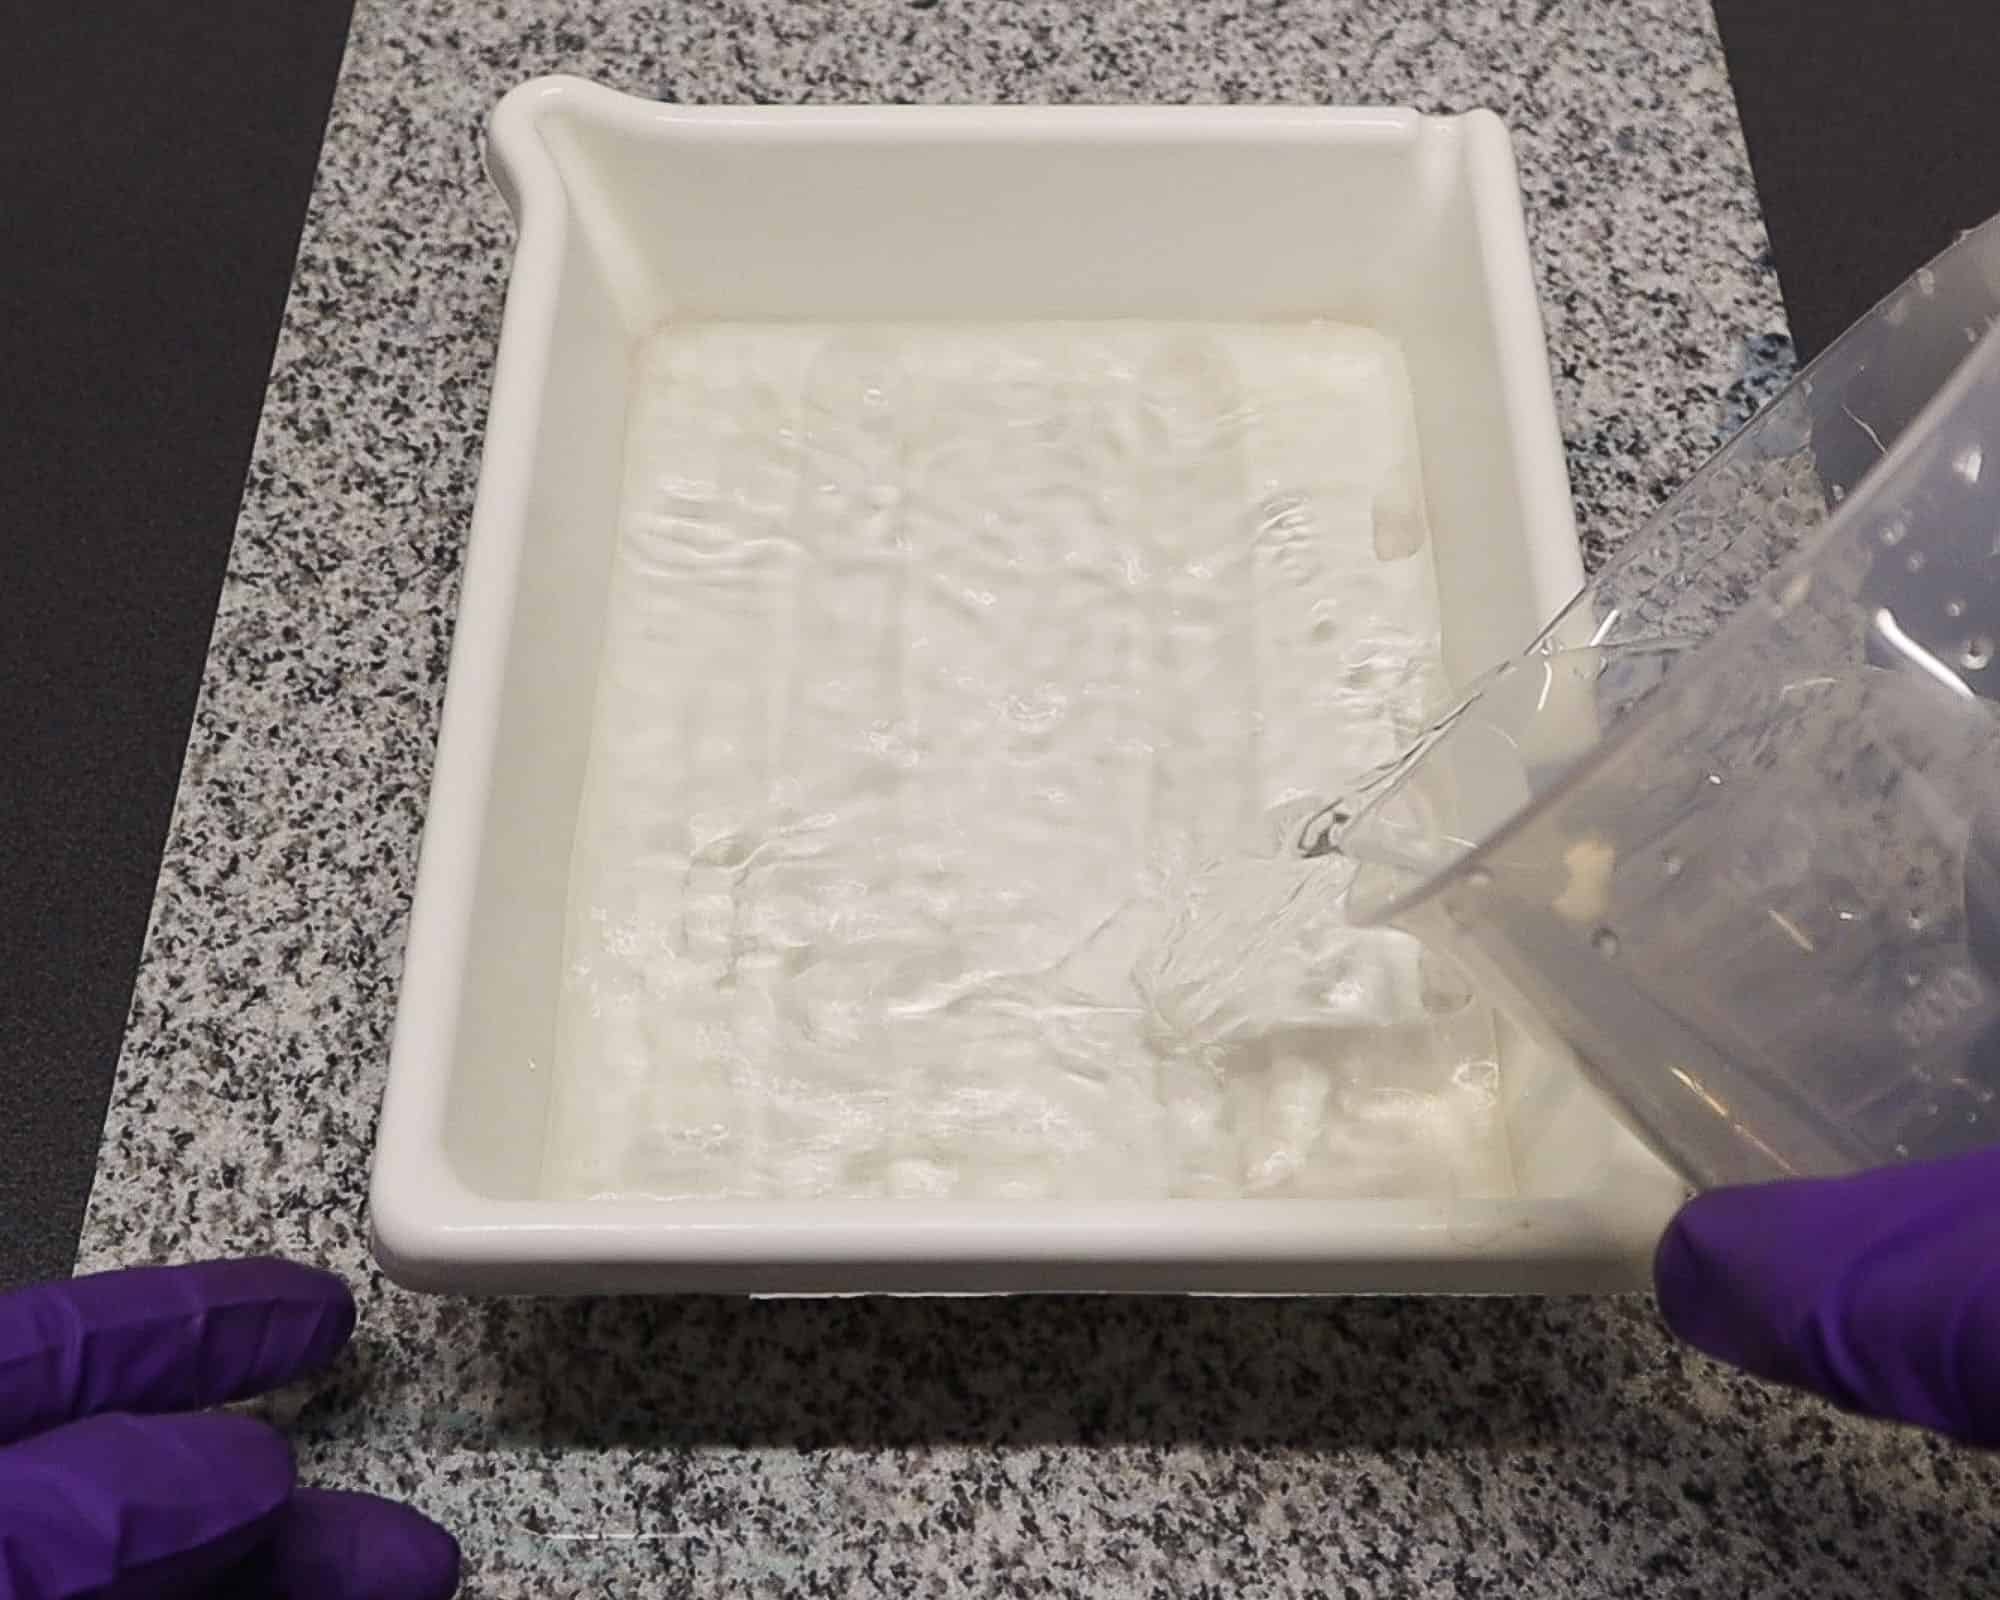
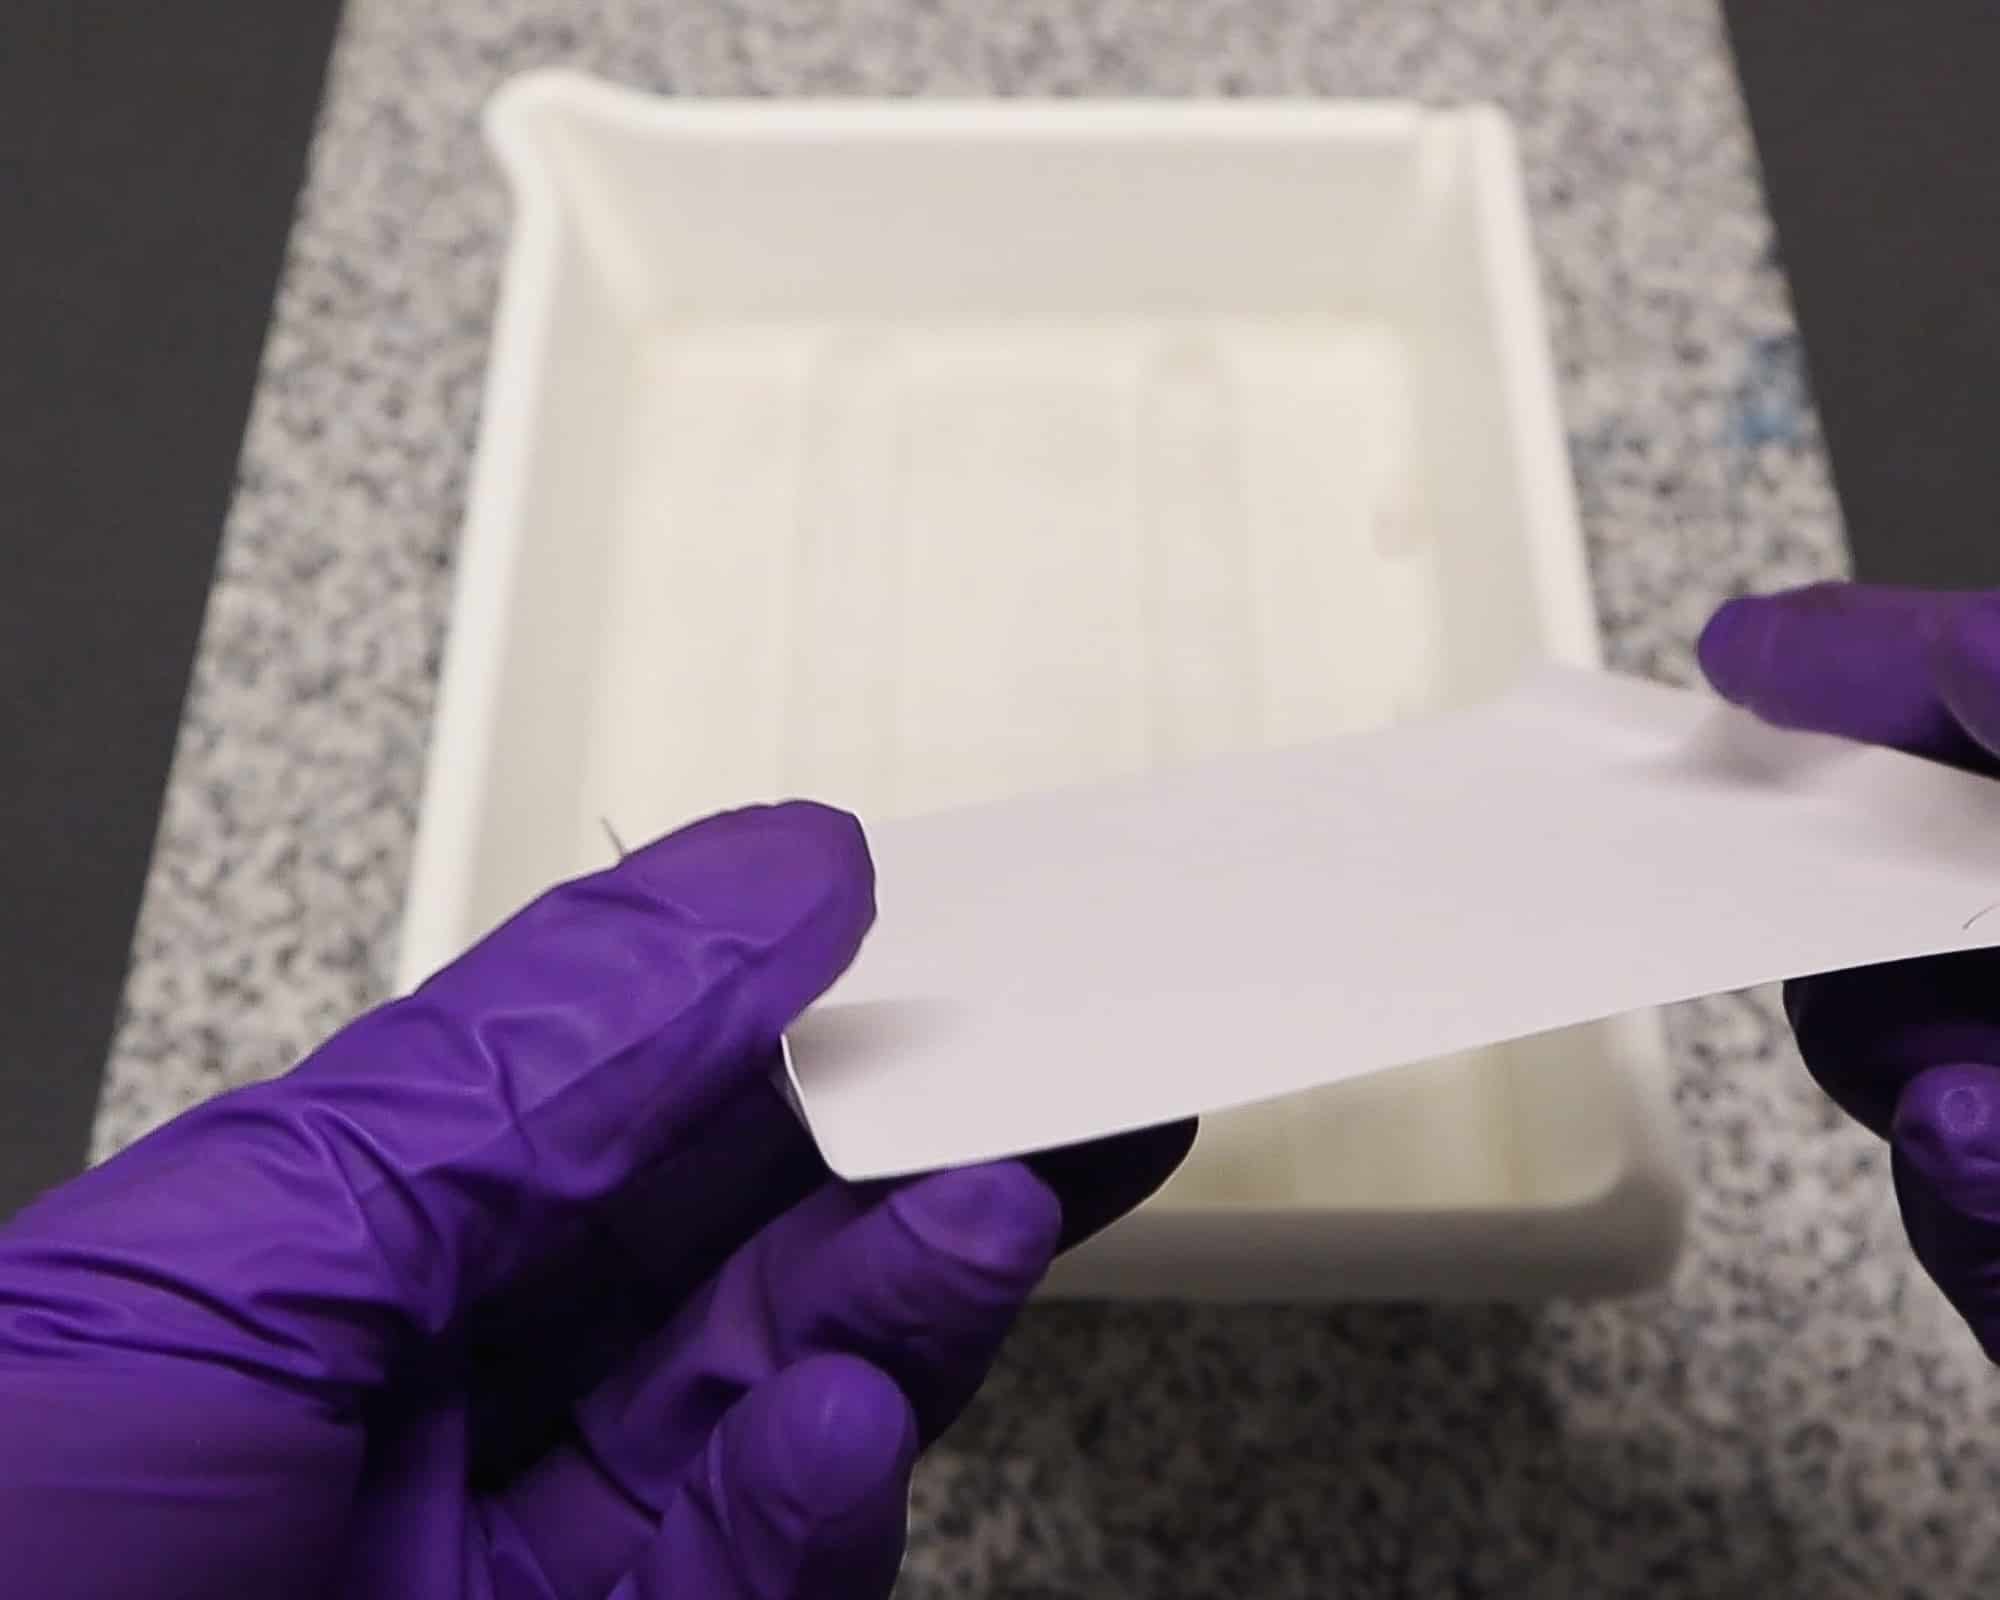
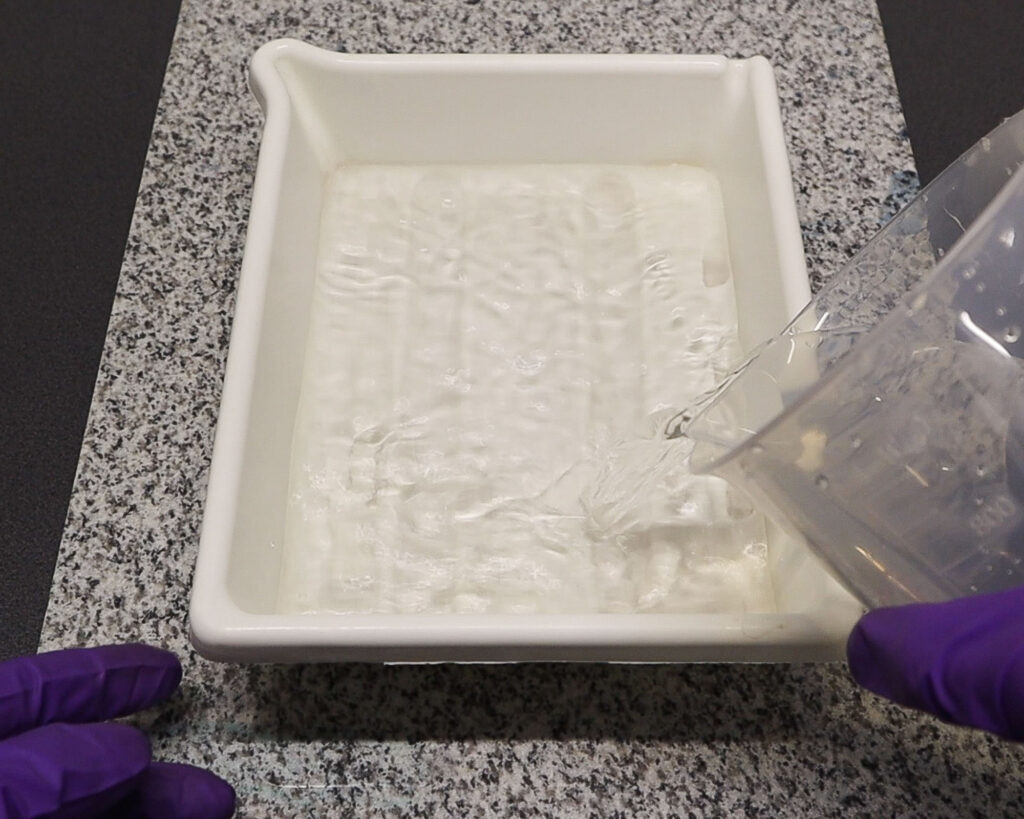
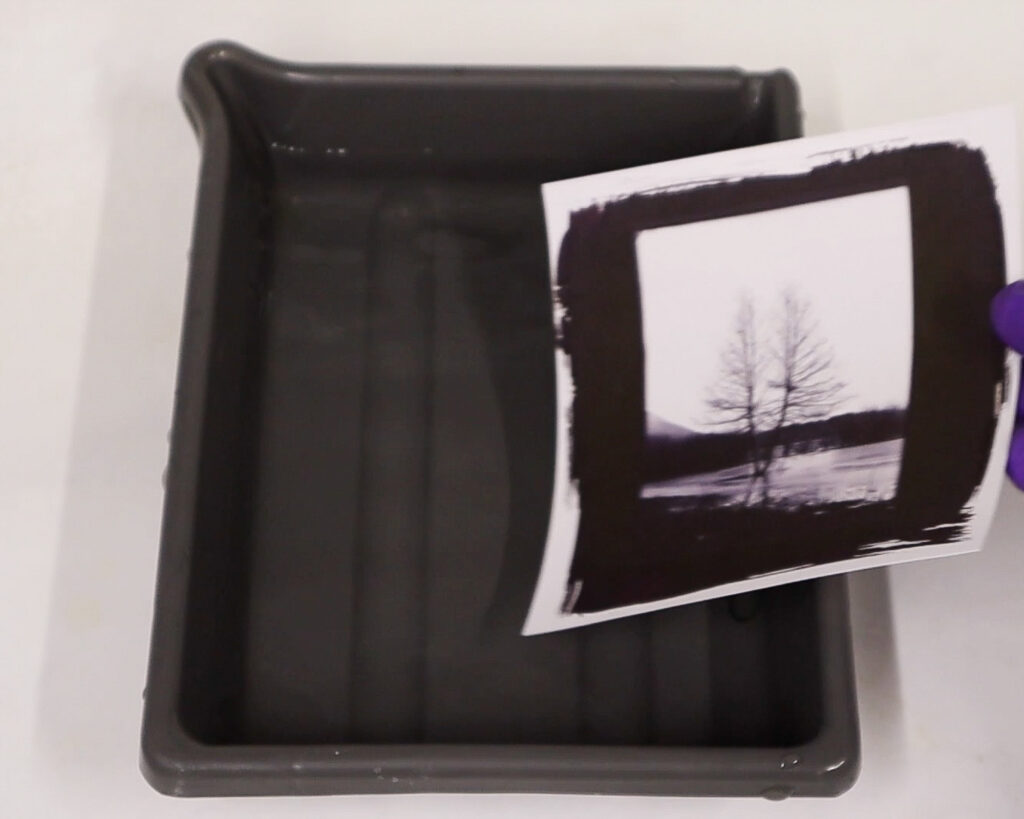
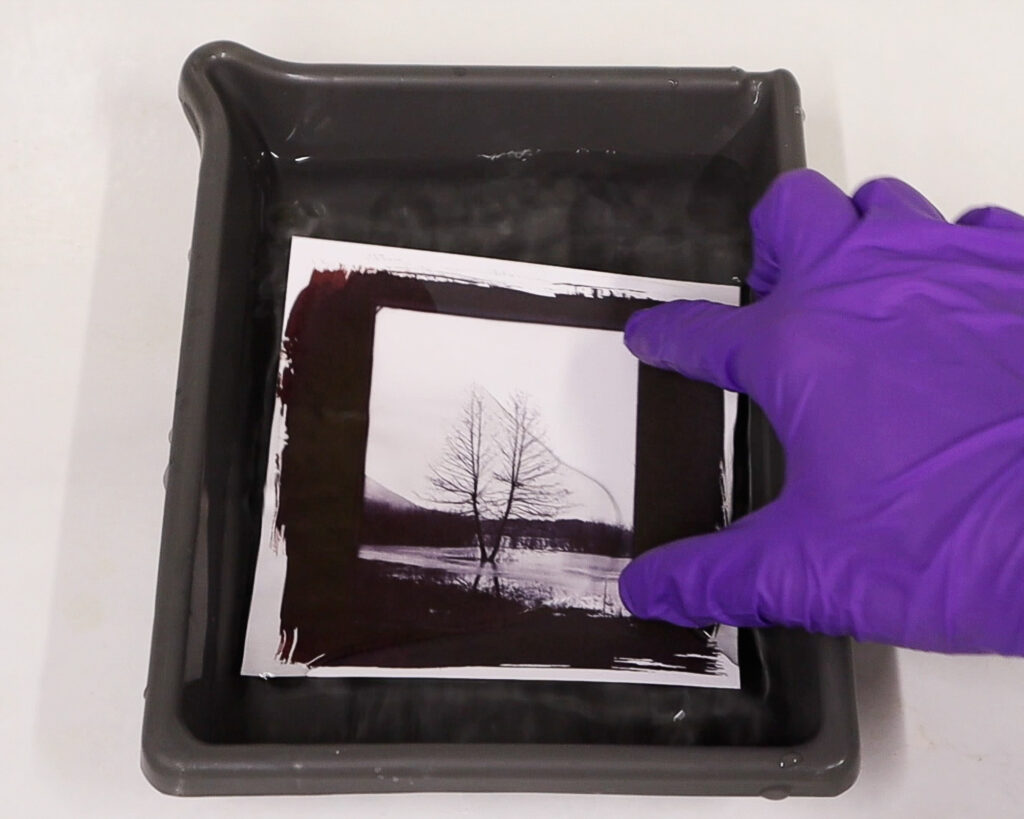
Step 1: Initial Wash (5 minutes)
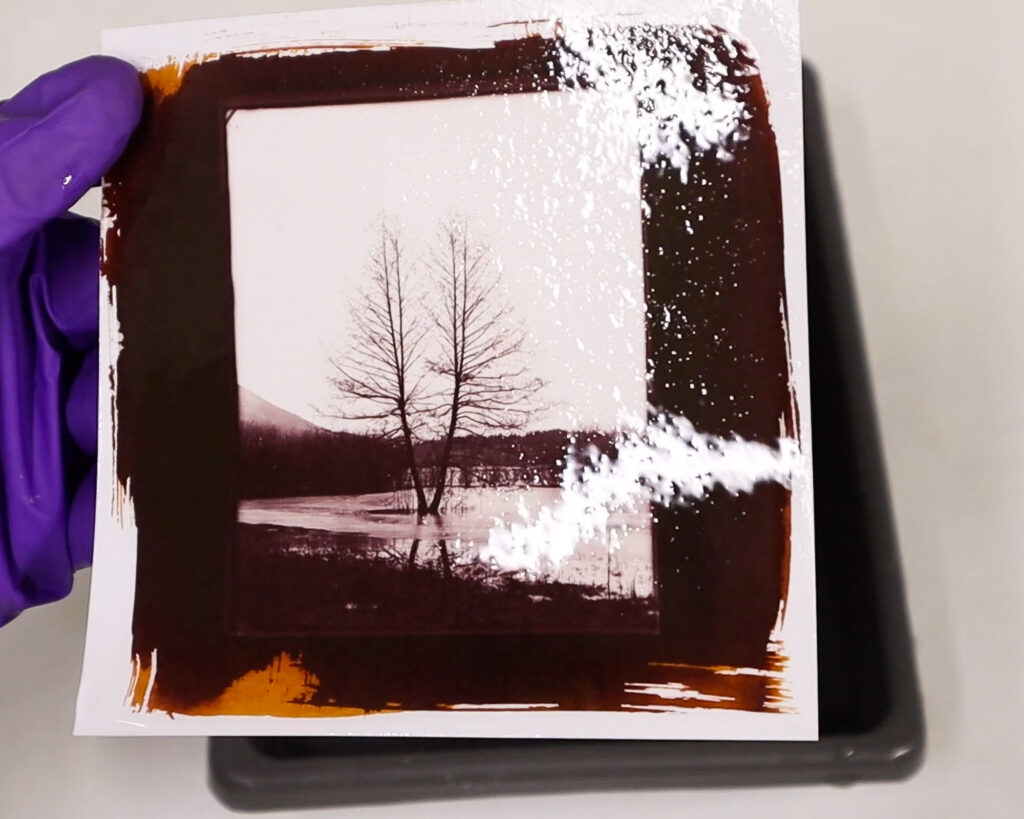
The first wash is essential to remove all unreacted chemicals. Immerse the print in water for five minutes, gently agitating it. You will notice the print becoming brighter as the excess chemicals dissolve, and the water may turn cloudy. To ensure thorough removal, change the water halfway through the washing process.


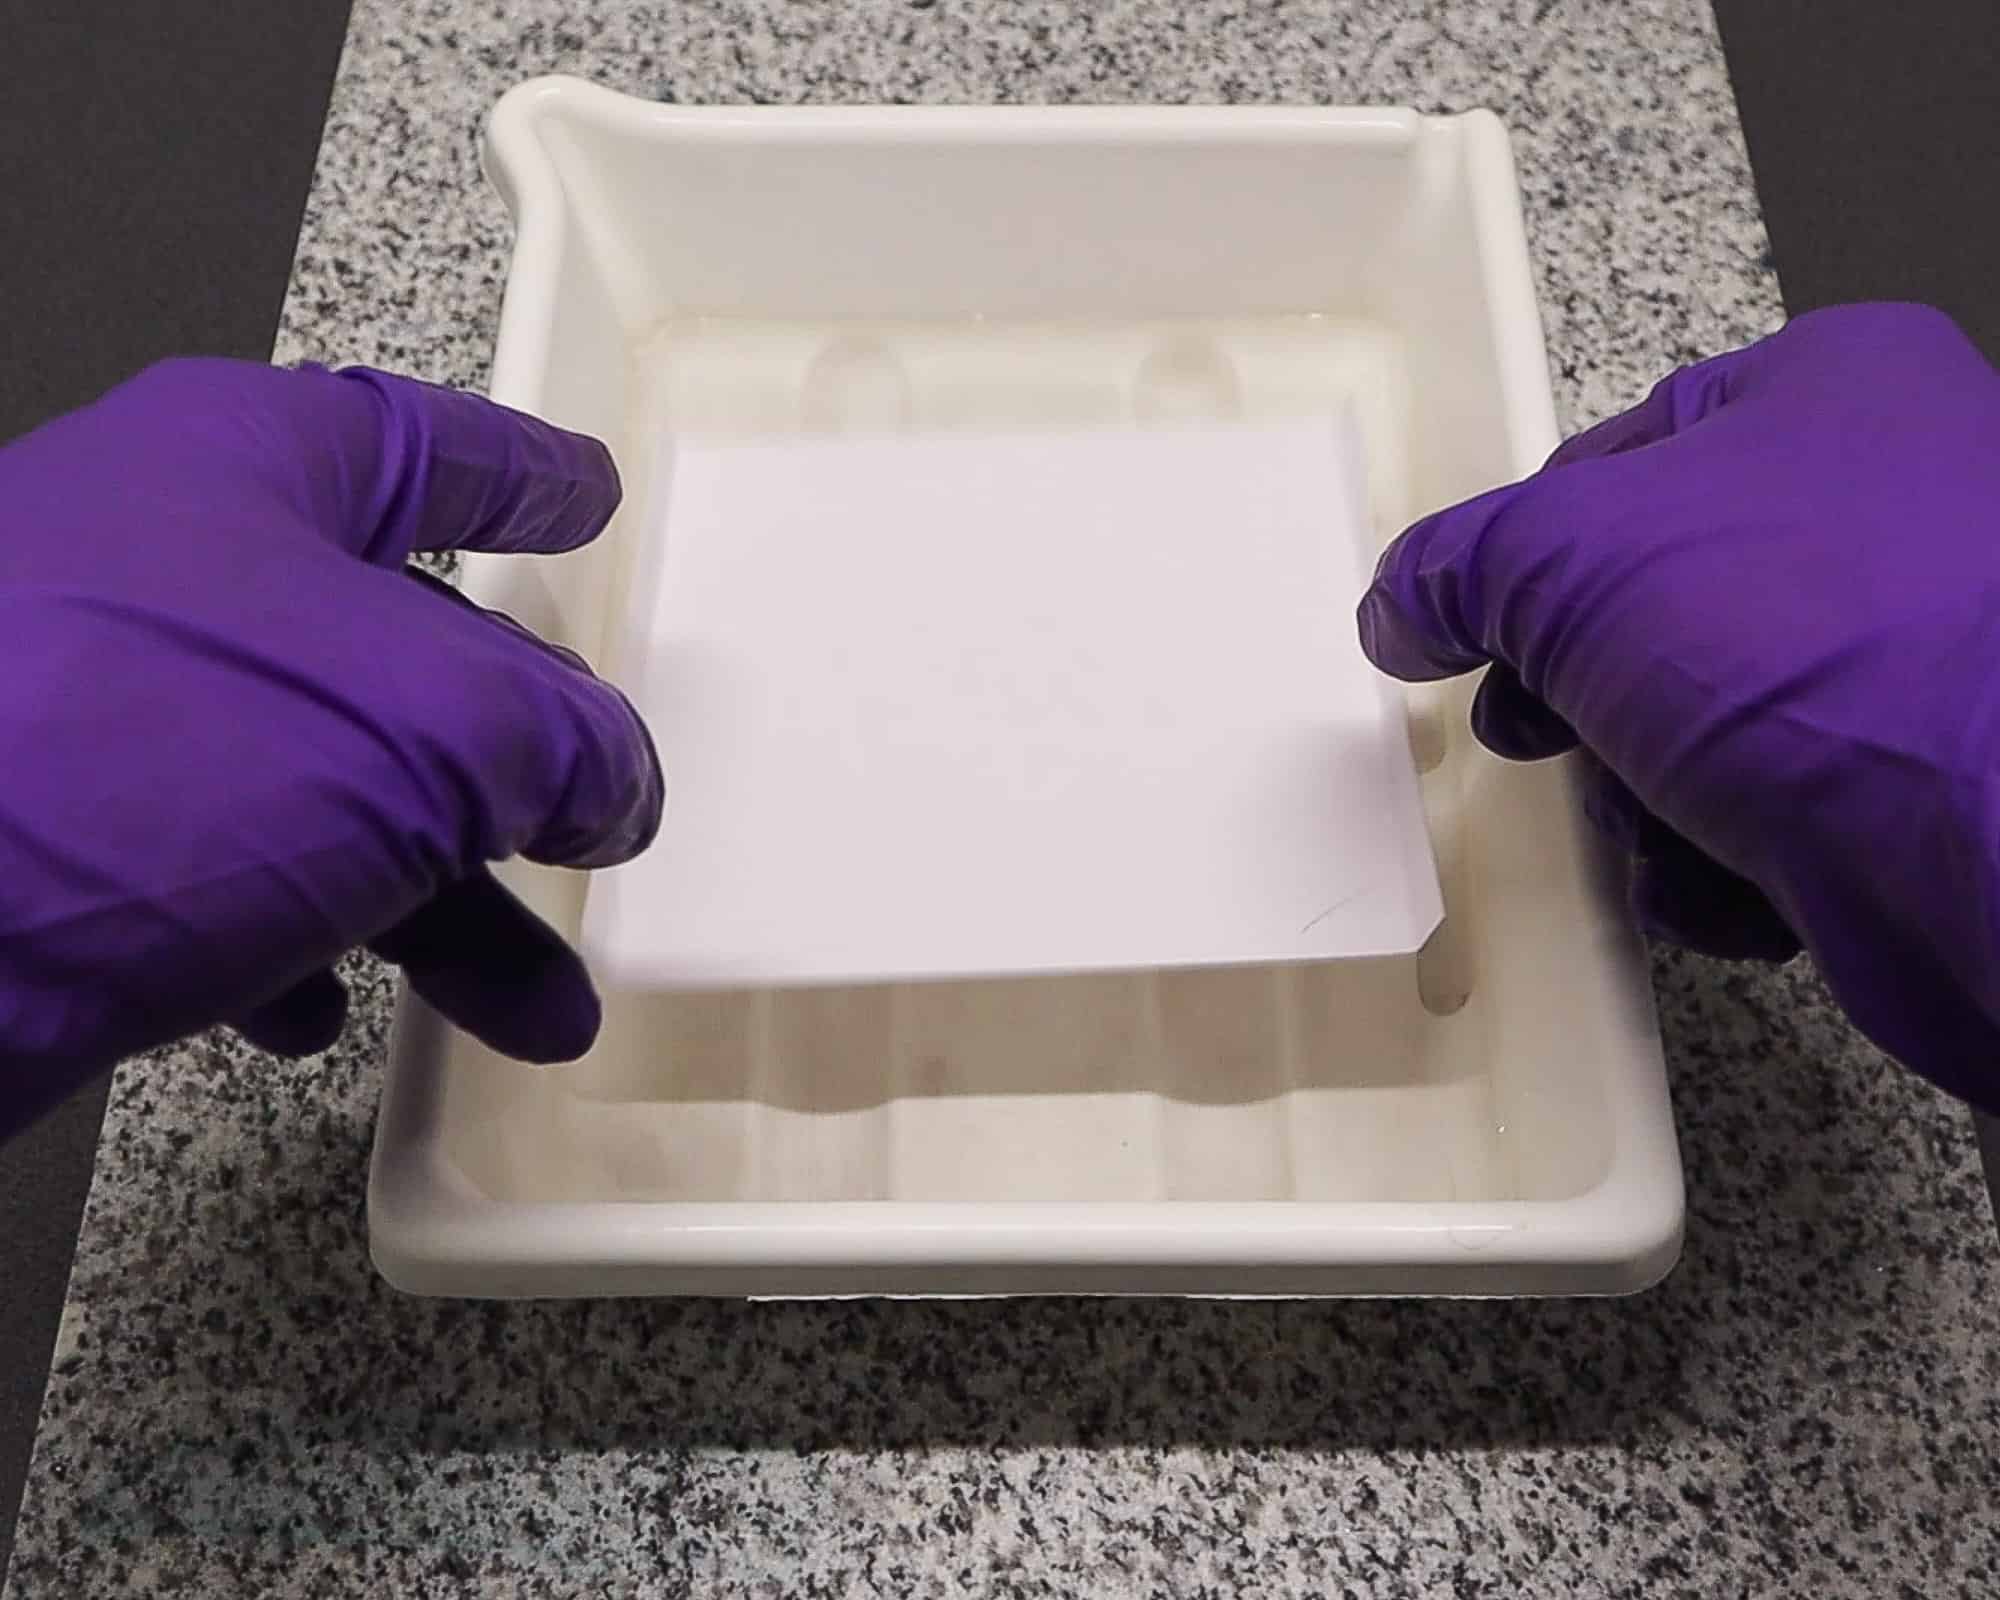
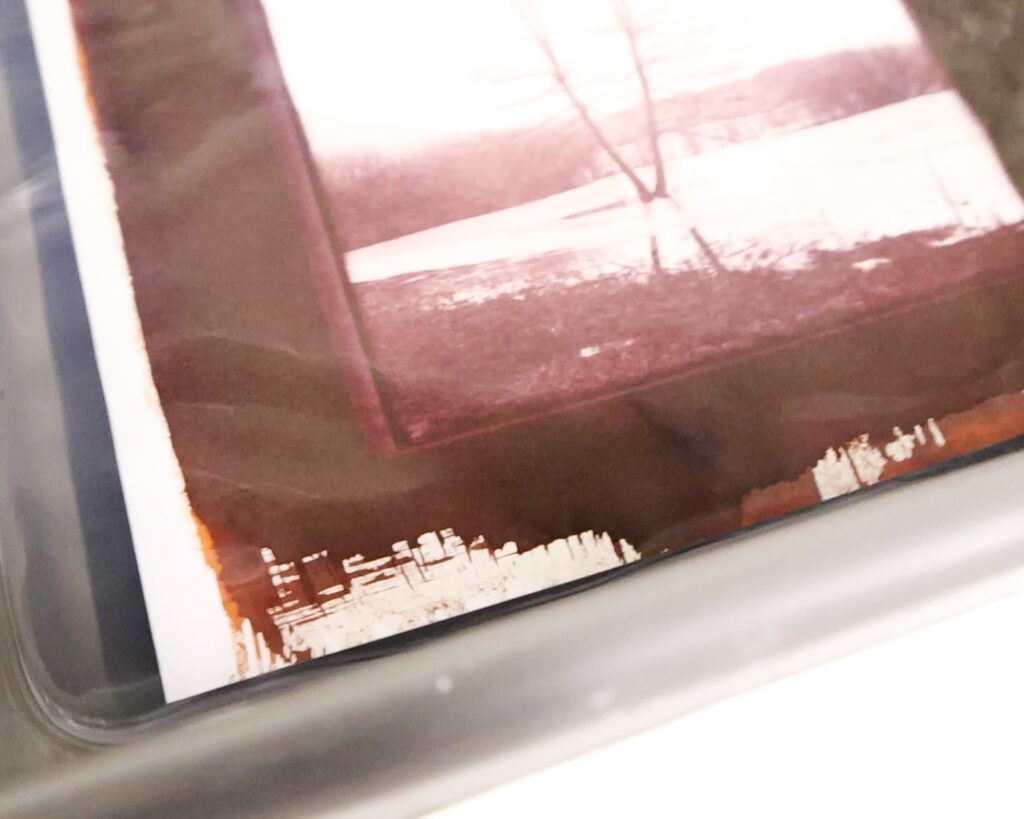
Step 2: Fixing the Print (5 minutes)
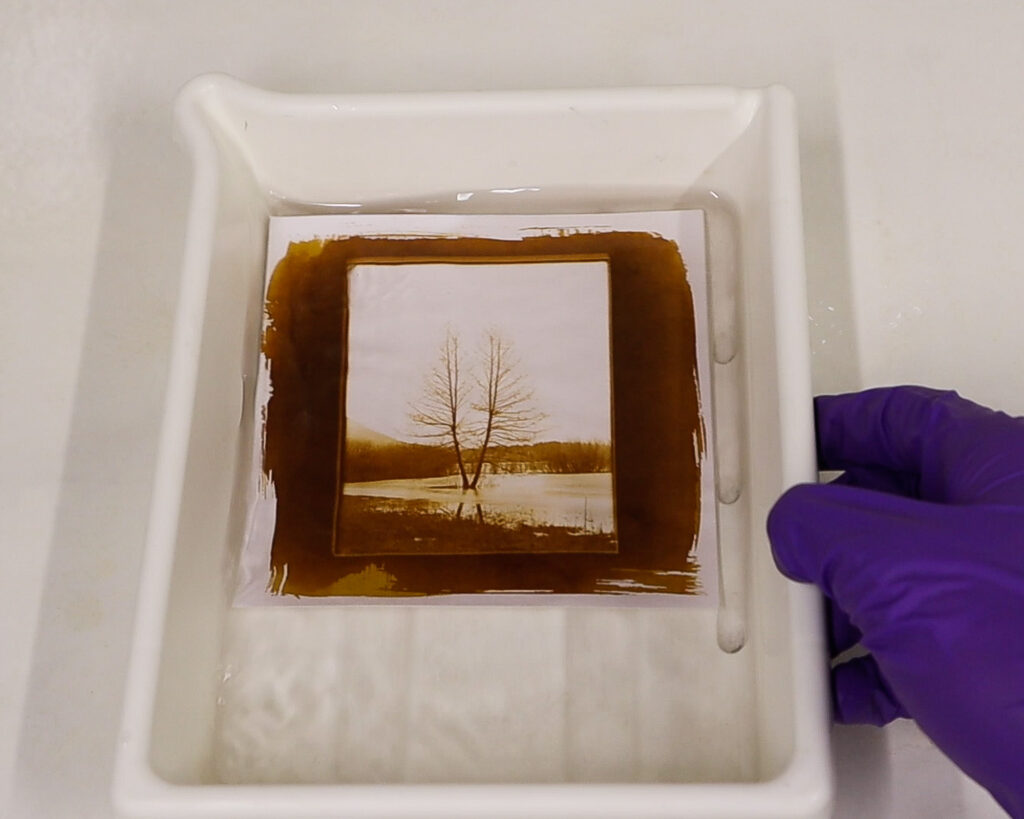
Fixing is a critical step in stabilizing the image. Submerge the print in a fixer solution for five minutes. During this process, the print will slowly shift to a bright chocolate-brown colour—this is completely normal. The fixer removes all unexposed silver chloride, making the print permanent.


Step 3: Final Wash (10 minutes)
After fixing, it is essential to wash the print thoroughly to remove any residual fixer. Wash the print in fresh tap water for ten minutes, changing the water a couple of times to prevent fixer stains. This step ensures the longevity of your print and prevents unwanted discoloration over time.
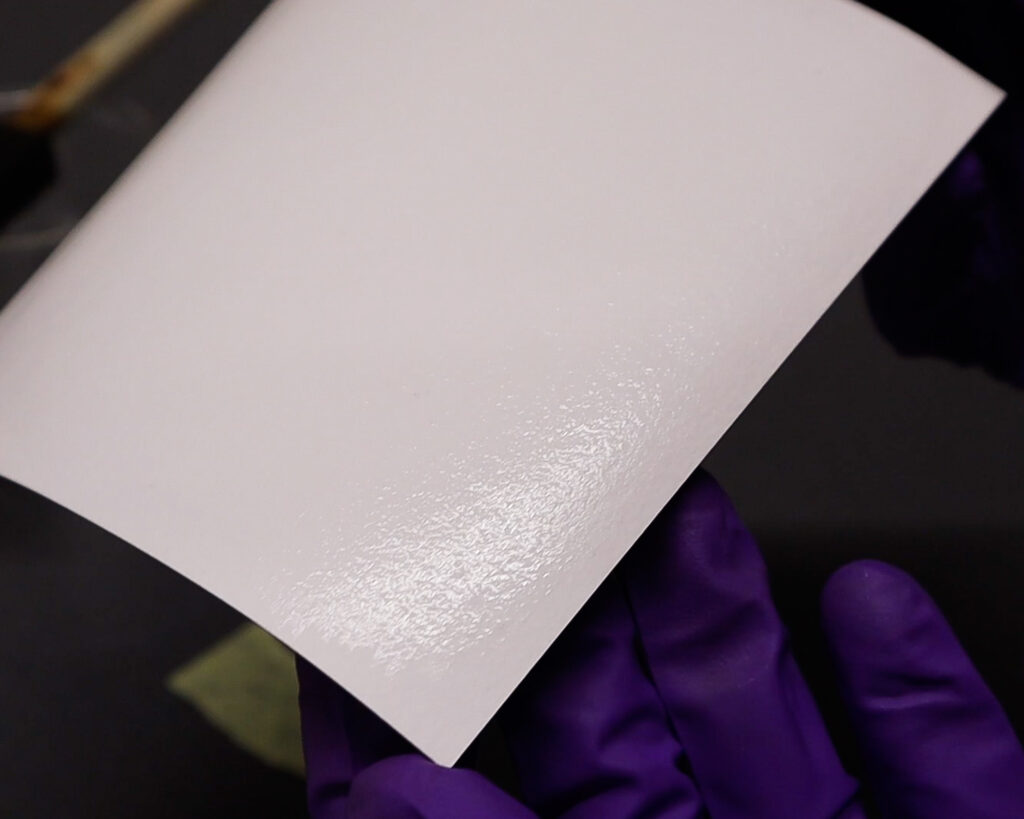
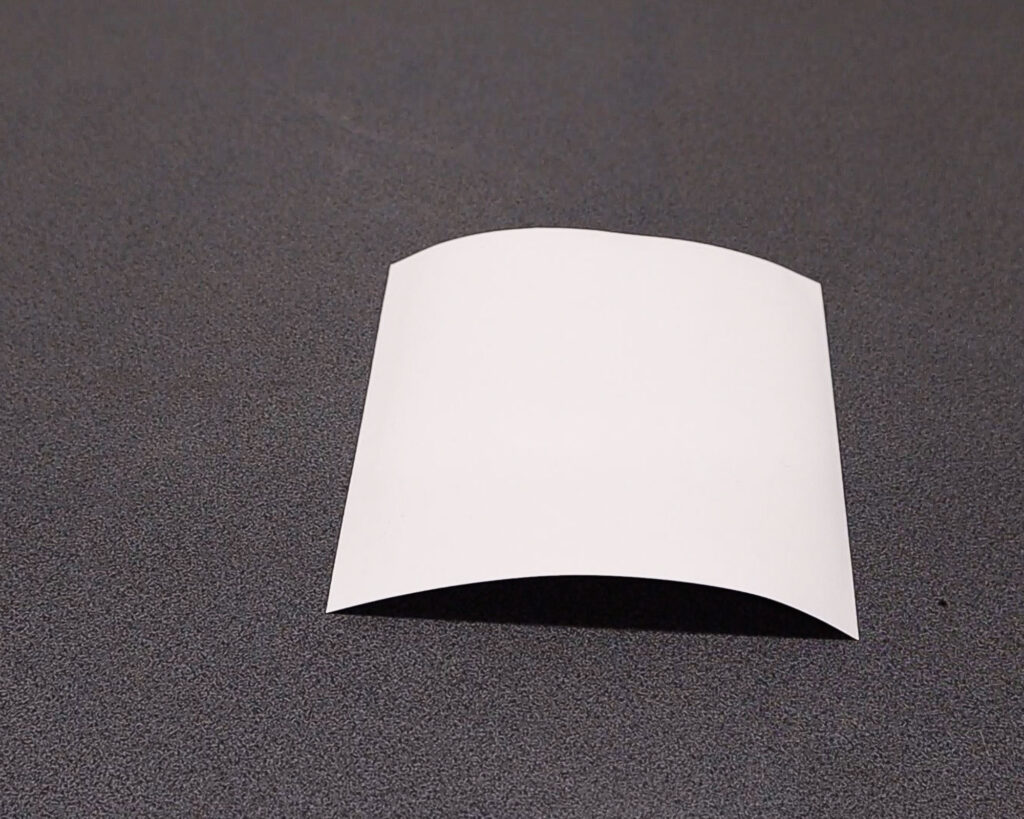
Step 4: Drying the Print
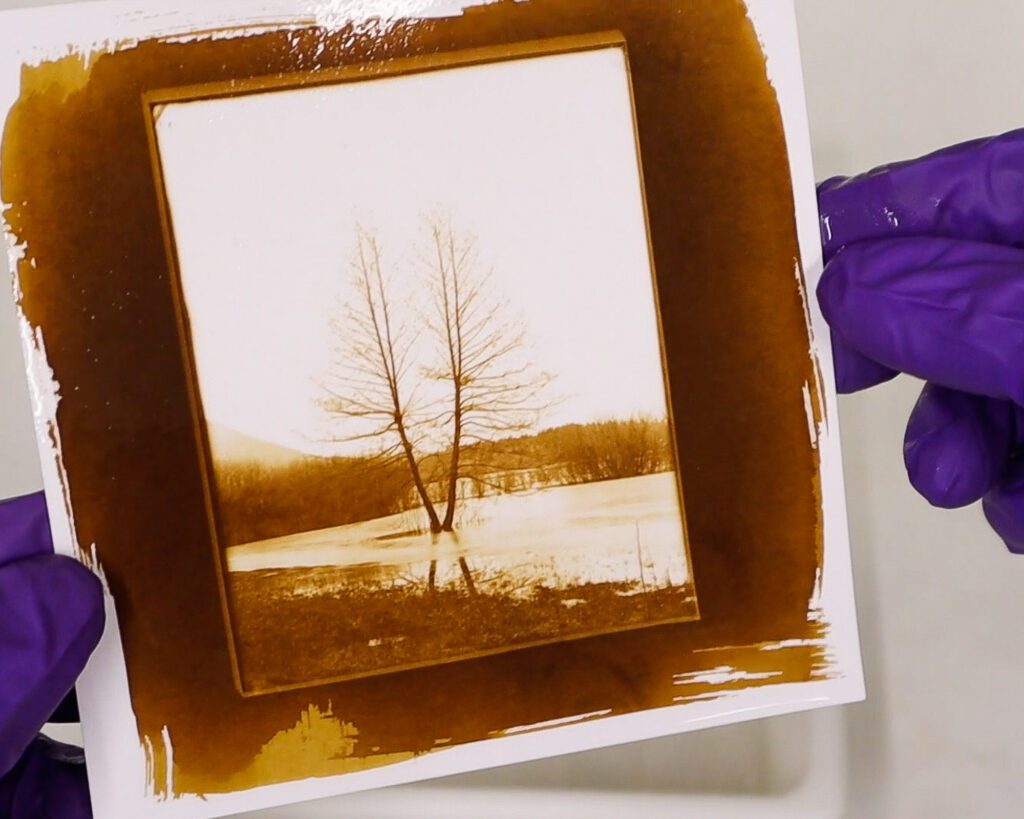
Once the final wash is complete, allow the print to dry naturally. It may look slightly overexposed when wet, but as it dries, the tones will darken. Keep this in mind when assessing your ideal exposure.
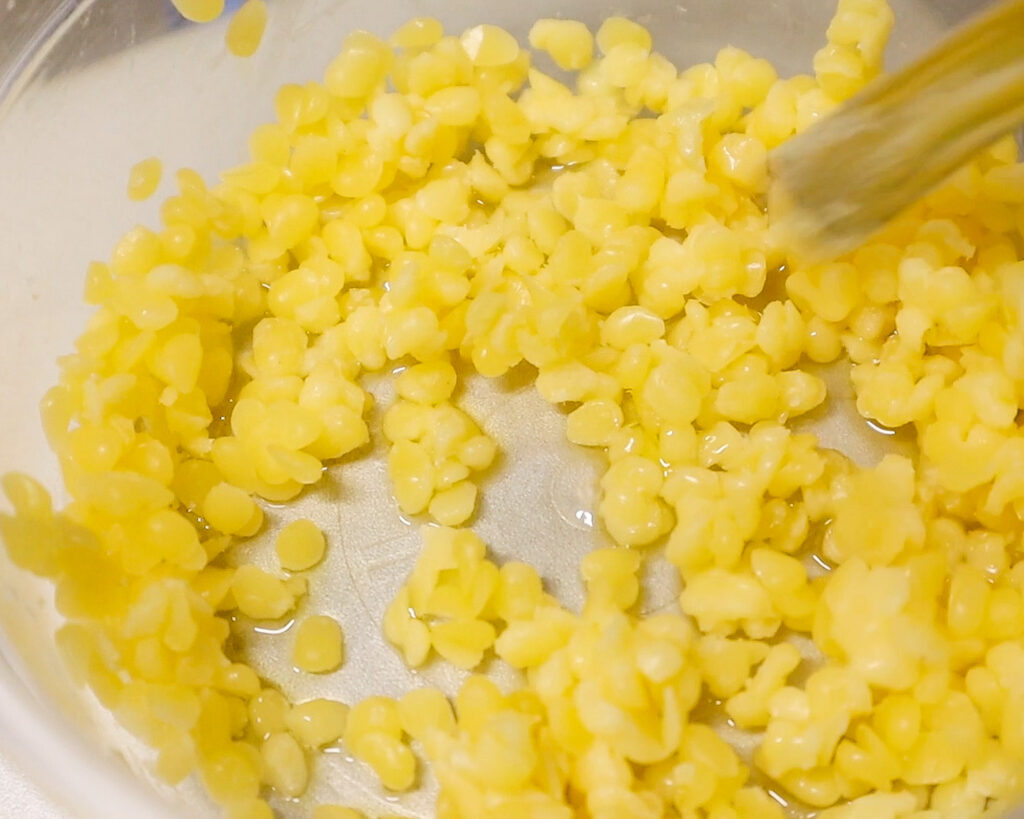
For an added touch of preservation and a subtle sheen, consider buffing the dried print with a mixture of melted beeswax and lavender oil. This not only enhances its appearance but also provides an extra layer of protection.


OPTIONAL STEPS:
Optional Salt Print Reducer (Bleach for Contrast Control)
If the print appears too dark or requires local adjustments, a reducing bleach can be used.
After bleaching, treat the print in a clearing agent before proceeding to the final wash.
Reducer Solutions:
- Ingredients:
Potassium Ferricyanide: 0.25 gm (one coffee stirrer spoonful)
Potassium Bromide: 0.2 gm (2 ml 10% solution)
Hypo (Sodium Thiosulfate): 5.0 gm (10 ml 50% solution)
Water to make 1000.0 ml
- Process:
Immerse the print in water, ensuring no air bubbles remain on the surface.
Transfer it to the reducer and agitate until the desired bleaching effect is achieved.
Toning the print
Toning enhances the color of the print and increases its longevity. While I will keep things simple for this tutorial, toning is an option worth exploring. Various toners, such as gold chloride or platinum, can be used to achieve different hues and archival stability.
Gold/Thiocarbamide Toner (Recommended)
This is my favorite toner because it tones highlights and shadows at the same rate, ensuring even toning throughout the image. The final print can achieve tones ranging from plum red to neutral gray.
- Ingredients:
- Gold Chloride (1% sol.) – 12.0 ml
- Thiourea (1% sol.) – 12.0 ml
- Tartaric Acid (10% sol.) – 12.0 ml
- Sodium Chloride – 5.0 gm
- Distilled Water to make 250.0 ml
- Process:
- Mix the thiourea solution into the gold chloride solution until the precipitate dissolves.
- Add tartaric acid to 150 ml of distilled water, then add the gold-thiourea mixture and stir.
- Finally, add sodium chloride, top up with water to 250 ml, and mix thoroughly.
- This toner is ready for immediate use and resists decomposition even after moderate use.
Palladium Toner
Palladium toning produces a warm tone, lowers contrast, and subtly shifts the paper base color from white to cream.
- Ingredients:
- Water – 400.0 ml
- Sodium Chloropalladite (15% sol.) – 2.0 ml
- Citric Acid – 2.5 gm
- Sodium Chloride – 2.5 gm
- Water to make 500.0 ml
- Process:
- Agitate the print in the toner for 3-10 minutes until the desired tone is achieved.
- If toning before fixing, rinse for at least one minute in running water before moving to the fixing bath.
Gold/Borax Toner
Gold/Borax toner imparts a slightly warm tone and requires aging before use.
- Ingredients:
- Warm Water (38°C) – 400.0 ml
- Borax – 3.0 gm
- Gold Chloride (1% sol.) – 6.0 ml
- Water to make 500.0 ml
- Process:
- After mixing, let the toner sit for one hour before using.
- Agitate the print for 3-10 minutes until the desired tone is reached.
- If toning before fixing, the print can go directly into the fixing bath.
Platinum Toner
Platinum toning gives a warm gray tone and enhances permanence.
- Ingredients:
- Water – 400.0 ml
- Potassium Chloroplatinite (20% sol.) – 1.0 ml
- Citric Acid – 2.5 gm
- Sodium Chloride – 2.5 gm
- Water to make 500.0 ml
- Process:
- Agitate the print in the toner for 3-10 minutes.
- If toning before fixing, rinse for at least one minute in running water before moving to the fixing bath.
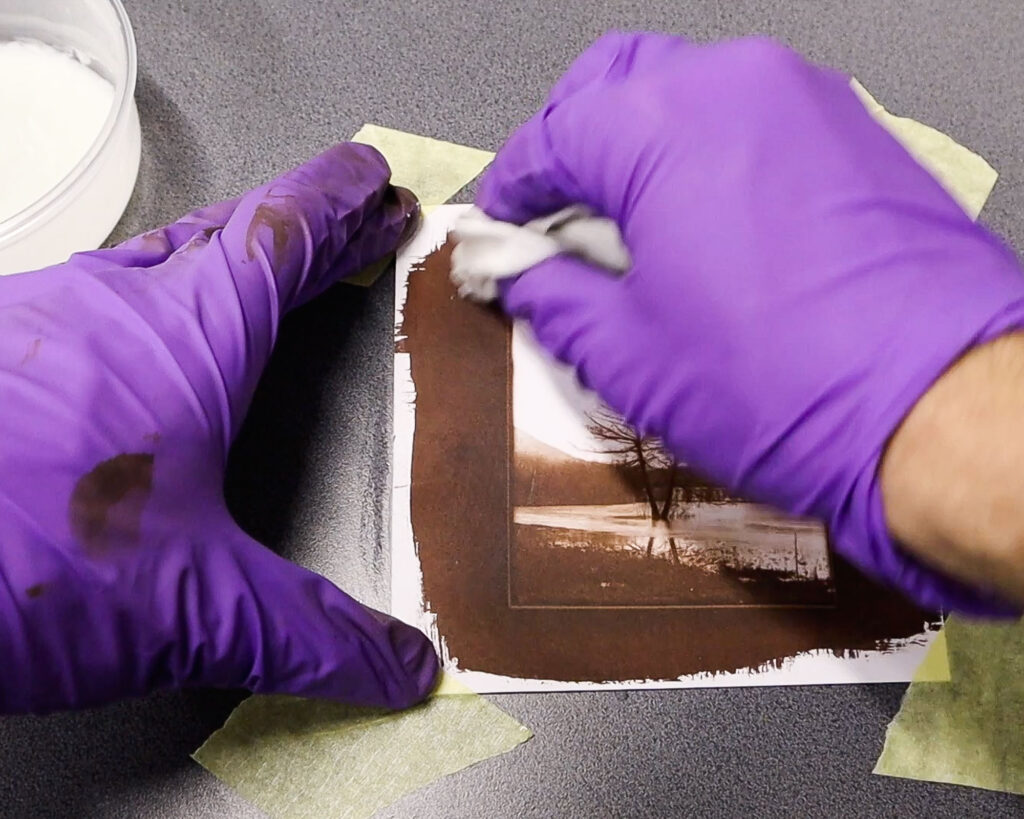
Waxing the print
When your salt print has dried you can leave it as it is or you can protect the print even further and make it more shiny by melting some beeswax mixed with lavender oil and buff it into the print.


Final Thoughts
Congratulations! You’ve just created a beautiful salt print using one of photography’s oldest and most revered processes. If you have any further questions or ideas on alternative techniques, feel free to reach out via social media or email. And since photographers are often visually oriented, I’ve also created a full video tutorial on the salt print process—be sure to check it out!


We photographers tend to be more visually inclined, so I also created a full video tutorial on the Salt Print process using a Zebra Dry Plate Negative! 😊