LIGHTS UPDATE + ROOF CLEANING / Container Darkroom part 10

There are more and more of you reading my blogs and watching my videos on YouTube channel and I am beyond grateful if I was able to help you in any way. I am finally starting to form a group of creative individuals who are interested in similar topics like me. We are helping each other and growing together so thank you again
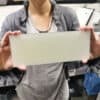
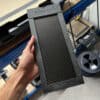
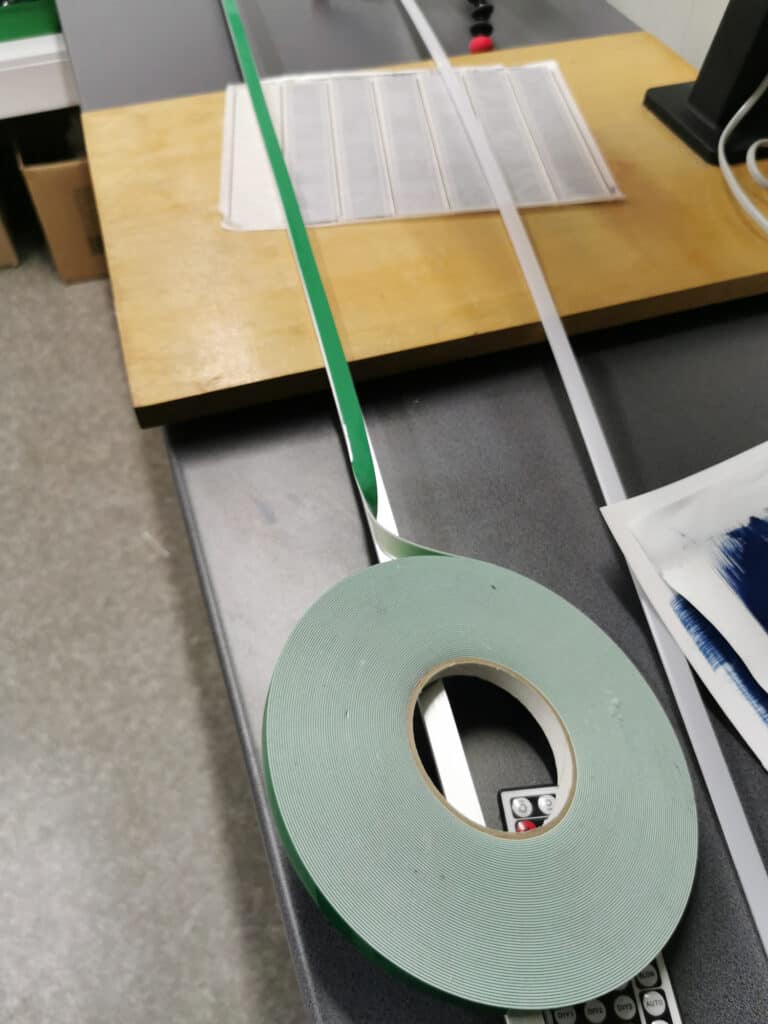
Back to the Container Darkroom. There is less and less work that needs to be done until I will be able to say I am finished. At this point there are mostly details left or just some modifications that I need to make after finally using the darkroom. The first modification is dimming the led safelights more with aluminium channels. Even though the lights can be dimmed a lot with the remote I still want to have an option for an even dimmer setup so I went ahead and bought some LED channels that have a milky white screen on them. They are mostly used for installation on kitchen cabinets. Installation was easy. First I peeled off the already installed LED lights from the shelves and then with a help of some double-sided tape I glued the channels to the shelf. Inside the channels I ran the old LEDs and closed it off with the milky plastic screen. Now the lights are much dimmer than they were before.
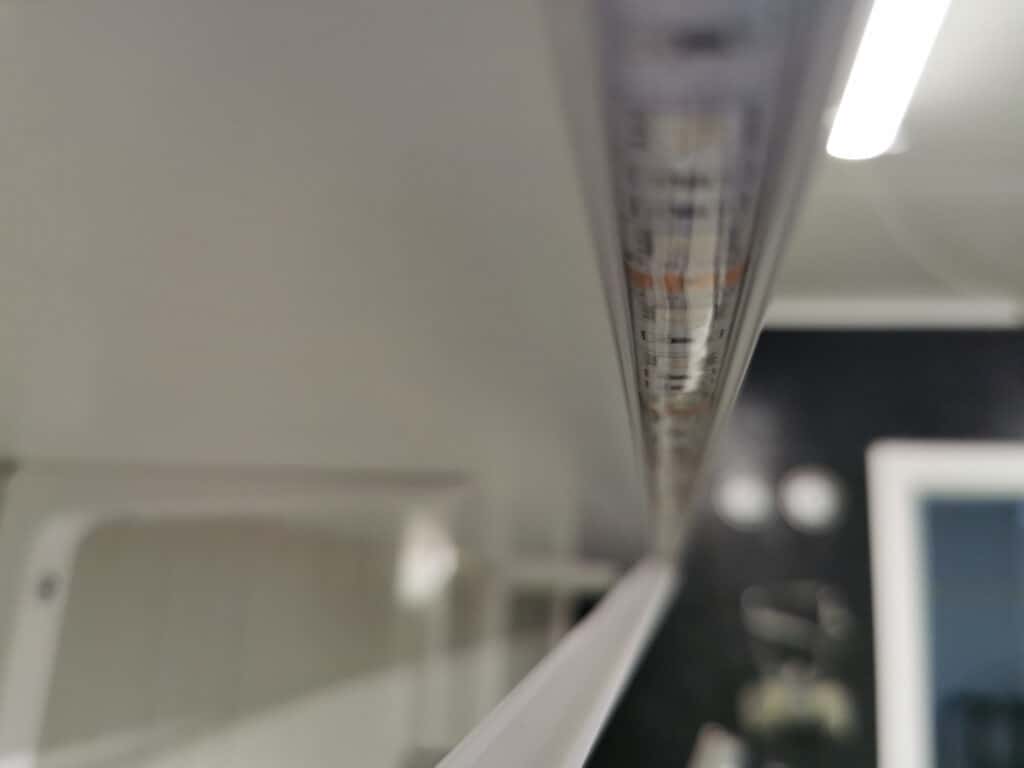
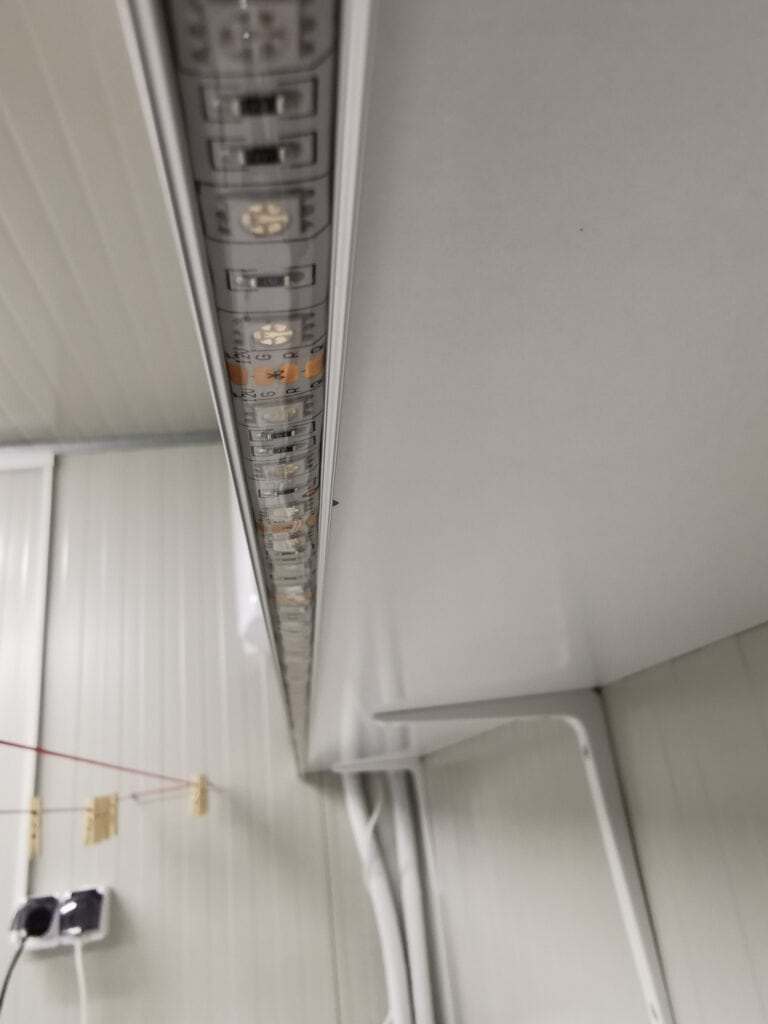
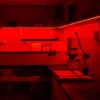
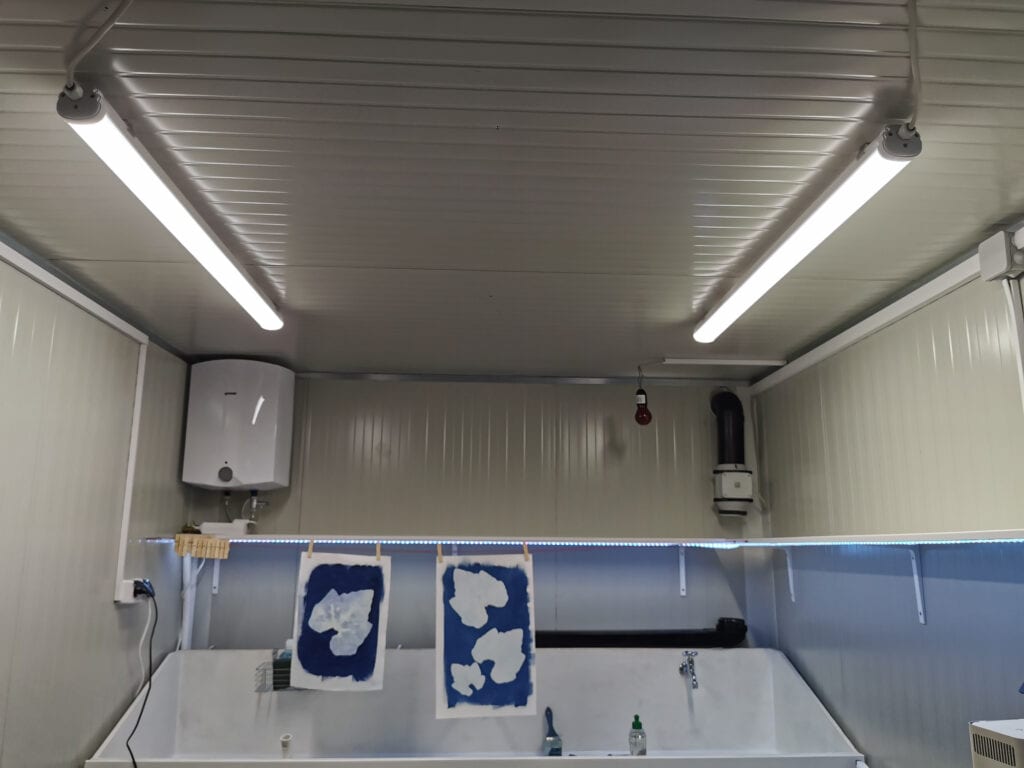
If I had to dim the safelights I was struggling with insufficient lightning on the ceiling when I was making videos for the channel. Originally there was only one long light installed in the middle of both the light and dark part of my Container. This central setup was really problematic because even though the lights are very bright it still did not provide enough light to the sink and the counter. Even worse when I was standing by the counter my body was throwing one big shadow on the counter itself which is a big no go when you try to film what you are doing. In terms of brightness and colour temperature I really like the lights that were originally installed so I bought two more and installed one more into each room. Installation went quite smoothly despite the cable organisation and wiring which is always pain in the ass anyway 😀
After the installation of the second light now there are two lights running parallel mounted 30cm away from the outside wall. This means that the light is now running along the middle of the counter so there are no more shadows when I am working. I hope I am done with wiring for some time now…
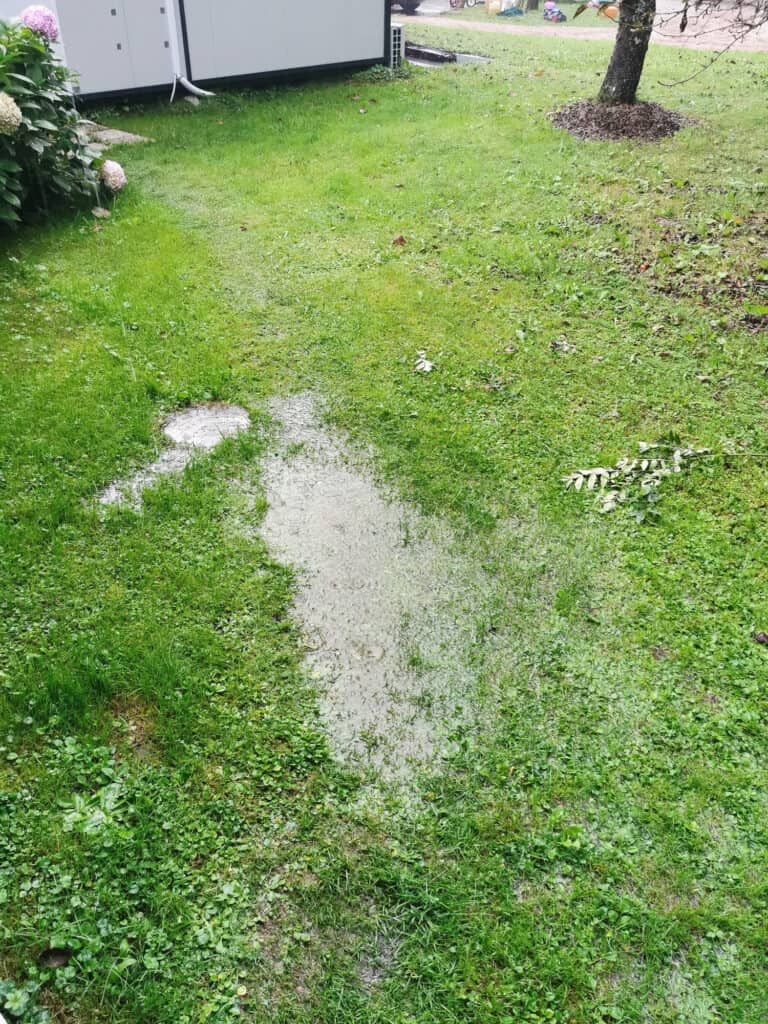
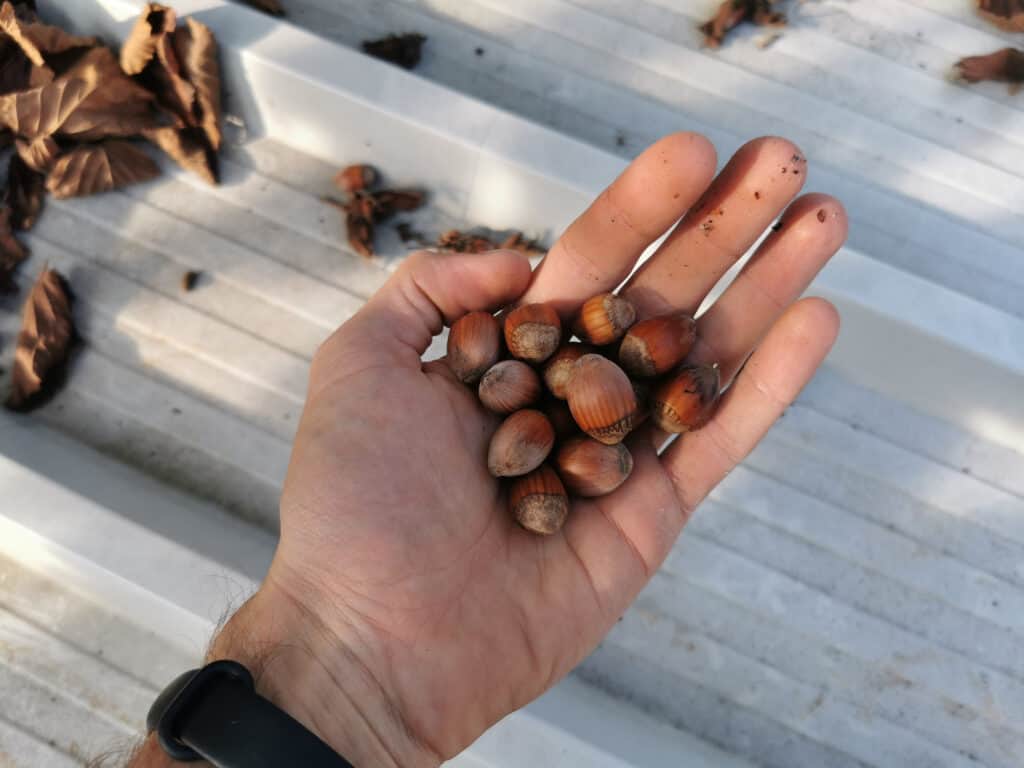
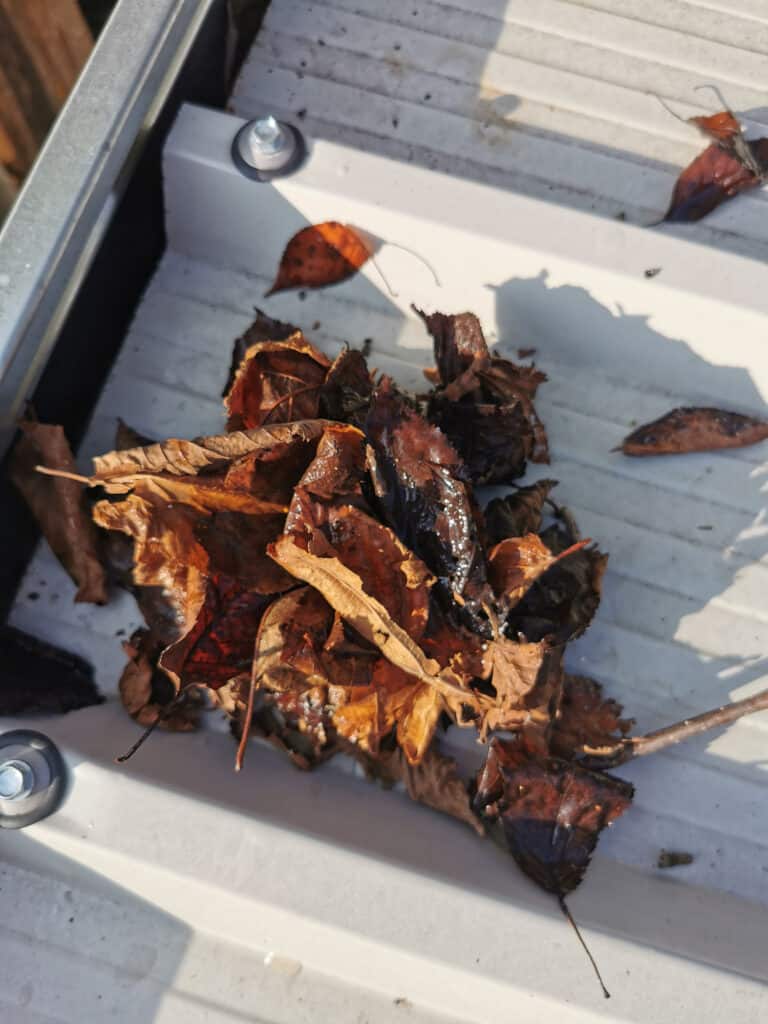
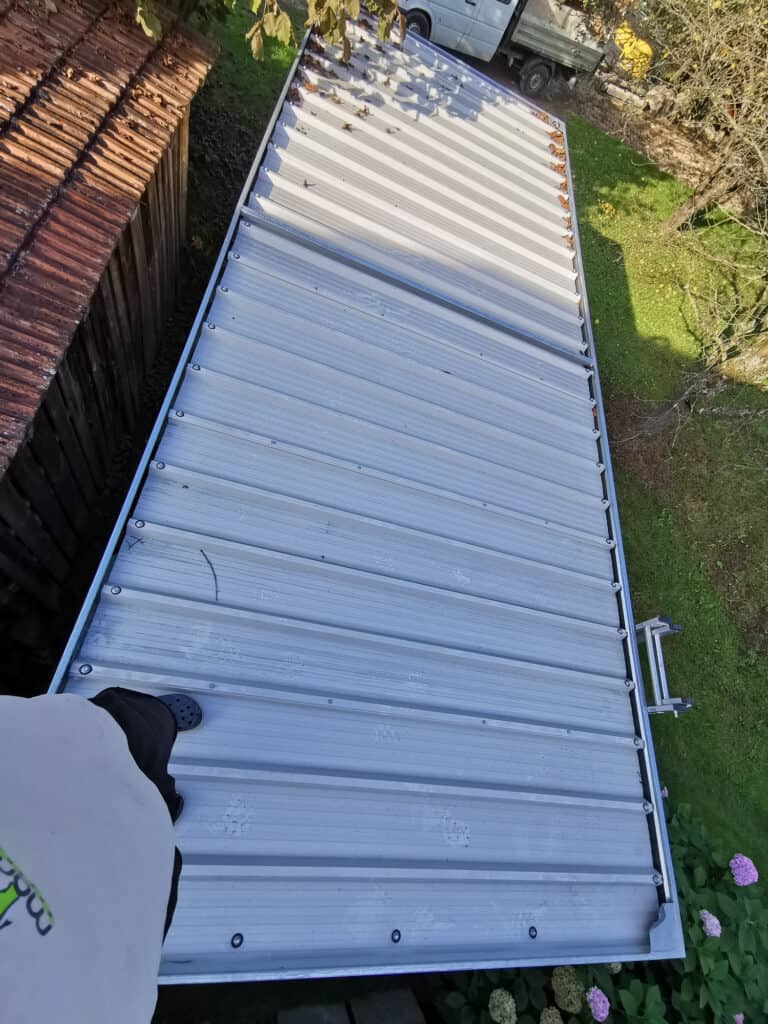
October is usually the rainiest month of the year in Slovenia and this year it sure is! We had a long and warm summer so the cold front moving in was just a matter of time. There were some big storms forecasted for the end of the first week in October so I had to clean the water drainage on top of the container. Container is sitting right underneath two trees so there are a lot of leaves falling right on the top clogging the drainage channels. If I would not clean them a pool of water could form on the roof. Because of the pressure water could damage the roof and start leaking into the container. This is why I took the leader and climbed on the top. As expected there were quite a lot of leaves stuck in the drainage pipes but with the help of a metal rod the pipes were clean in no time. As a bonus to my effort I picked some hazelnuts along the way that where waiting for me safely on the top 😀
I think this is it for this week’s update. Oh before I forget I uploaded a new video to my YT channel where I loaded Kodak Brownie No. 3A with some dry plates and made a panorama.

