


Basic Silver Gelatine Emulsion
Introduction
The silver gelatin emulsion process has a fascinating legacy. First developed almost 150 years ago, it revolutionized photography and laid the foundation for modern photographic materials. If you’ve ever held a piece of analog film, fiber-based photographic paper, or even explored historical plates, you’ve seen this process in action. Though commercial emulsions today are manufactured with incredible precision and complexity, their origins lie in something much simpler—and much more accessible.
My own journey into emulsion making began during an attempt to recreate the enigmatic Autochrome process. That first emulsion was anything but easy. It needed to be panchromatic—sensitive to the entire visible spectrum—and required advanced controls over crystal size and spectral response. I spent hours troubleshooting, reading obscure journals, and learning through trial and error. It was both frustrating and magical.
What we’re making today, however, is far more forgiving. This is a beautifully simple emulsion, faithful to the 1880s formula that Mark Osterman carefully adapted for modern ingredients and techniques. It’s a perfect place to start if you want to understand the core chemistry behind analog photography, and it’s also incredibly fun to do.
Why Make Your Own Emulsion?
Making your own emulsion is about more than just cost or chemistry—it’s about re-engaging with photography on a deeply personal level. Unlike store-bought film or paper, a handmade emulsion reflects your touch, your timing, and your choices. It introduces variability, uniqueness, and even imperfections that breathe character into your images.
You also gain control over your photographic materials. Want to tweak sensitivity? Change contrast? Explore new substrates like glass, metal, or handmade paper? All of that becomes possible when you start from scratch.
And finally, there’s the historical and creative joy of working like the early masters of photography. In a world of instant images, returning to this hands-on process can feel like alchemy—mystical, rewarding, and grounding.
A brief History
Before we jump into the technical steps, let’s take a moment to appreciate the origins of the silver gelatin process. It was first introduced by Richard Leach Maddox in 1871 as a dry plate process that could replace the labor-intensive wet collodion technique. Maddox’s goal was to create something simpler and more portable—something that wouldn’t require photographers to carry around darkroom tents and portable chemistry kits.
A few years later, in 1878, Charles Harper Bennett improved the process significantly by figuring out how to increase sensitivity through heat ripening. His breakthrough made gelatin emulsions faster and more consistent, paving the way for mass-produced photographic materials.
From that point forward, silver gelatin became the dominant medium for photography. It was used in everything from glass plates to roll film, from contact prints to enlargements. Even today, the same foundational chemistry is used in modern black-and-white films and papers.
While commercial emulsions have evolved to offer extreme sharpness, tonal range, and speed, they’re often inaccessible for those wanting to truly understand and participate in the photographic process from the ground up. That’s where making your own comes in—not only as a practical skill, but as a form of artistic expression and historical preservation.

What do you need?
Safety first
Before we get into the list of equipment and materials, let’s talk about safety. You’re going to be working with silver nitrate and other chemical compounds that can irritate the skin, stain clothing, and damage eyes. So, it’s important to:
- Wear safety goggles to protect your eyes from splashes.
- Use latex or nitrile gloves to keep your hands safe.
- Work in a well-ventilated space.
- Keep a dedicated work area, ideally with easy-to-clean surfaces.
- Have a clearly labeled container for disposing of chemical waste properly.

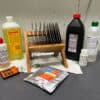
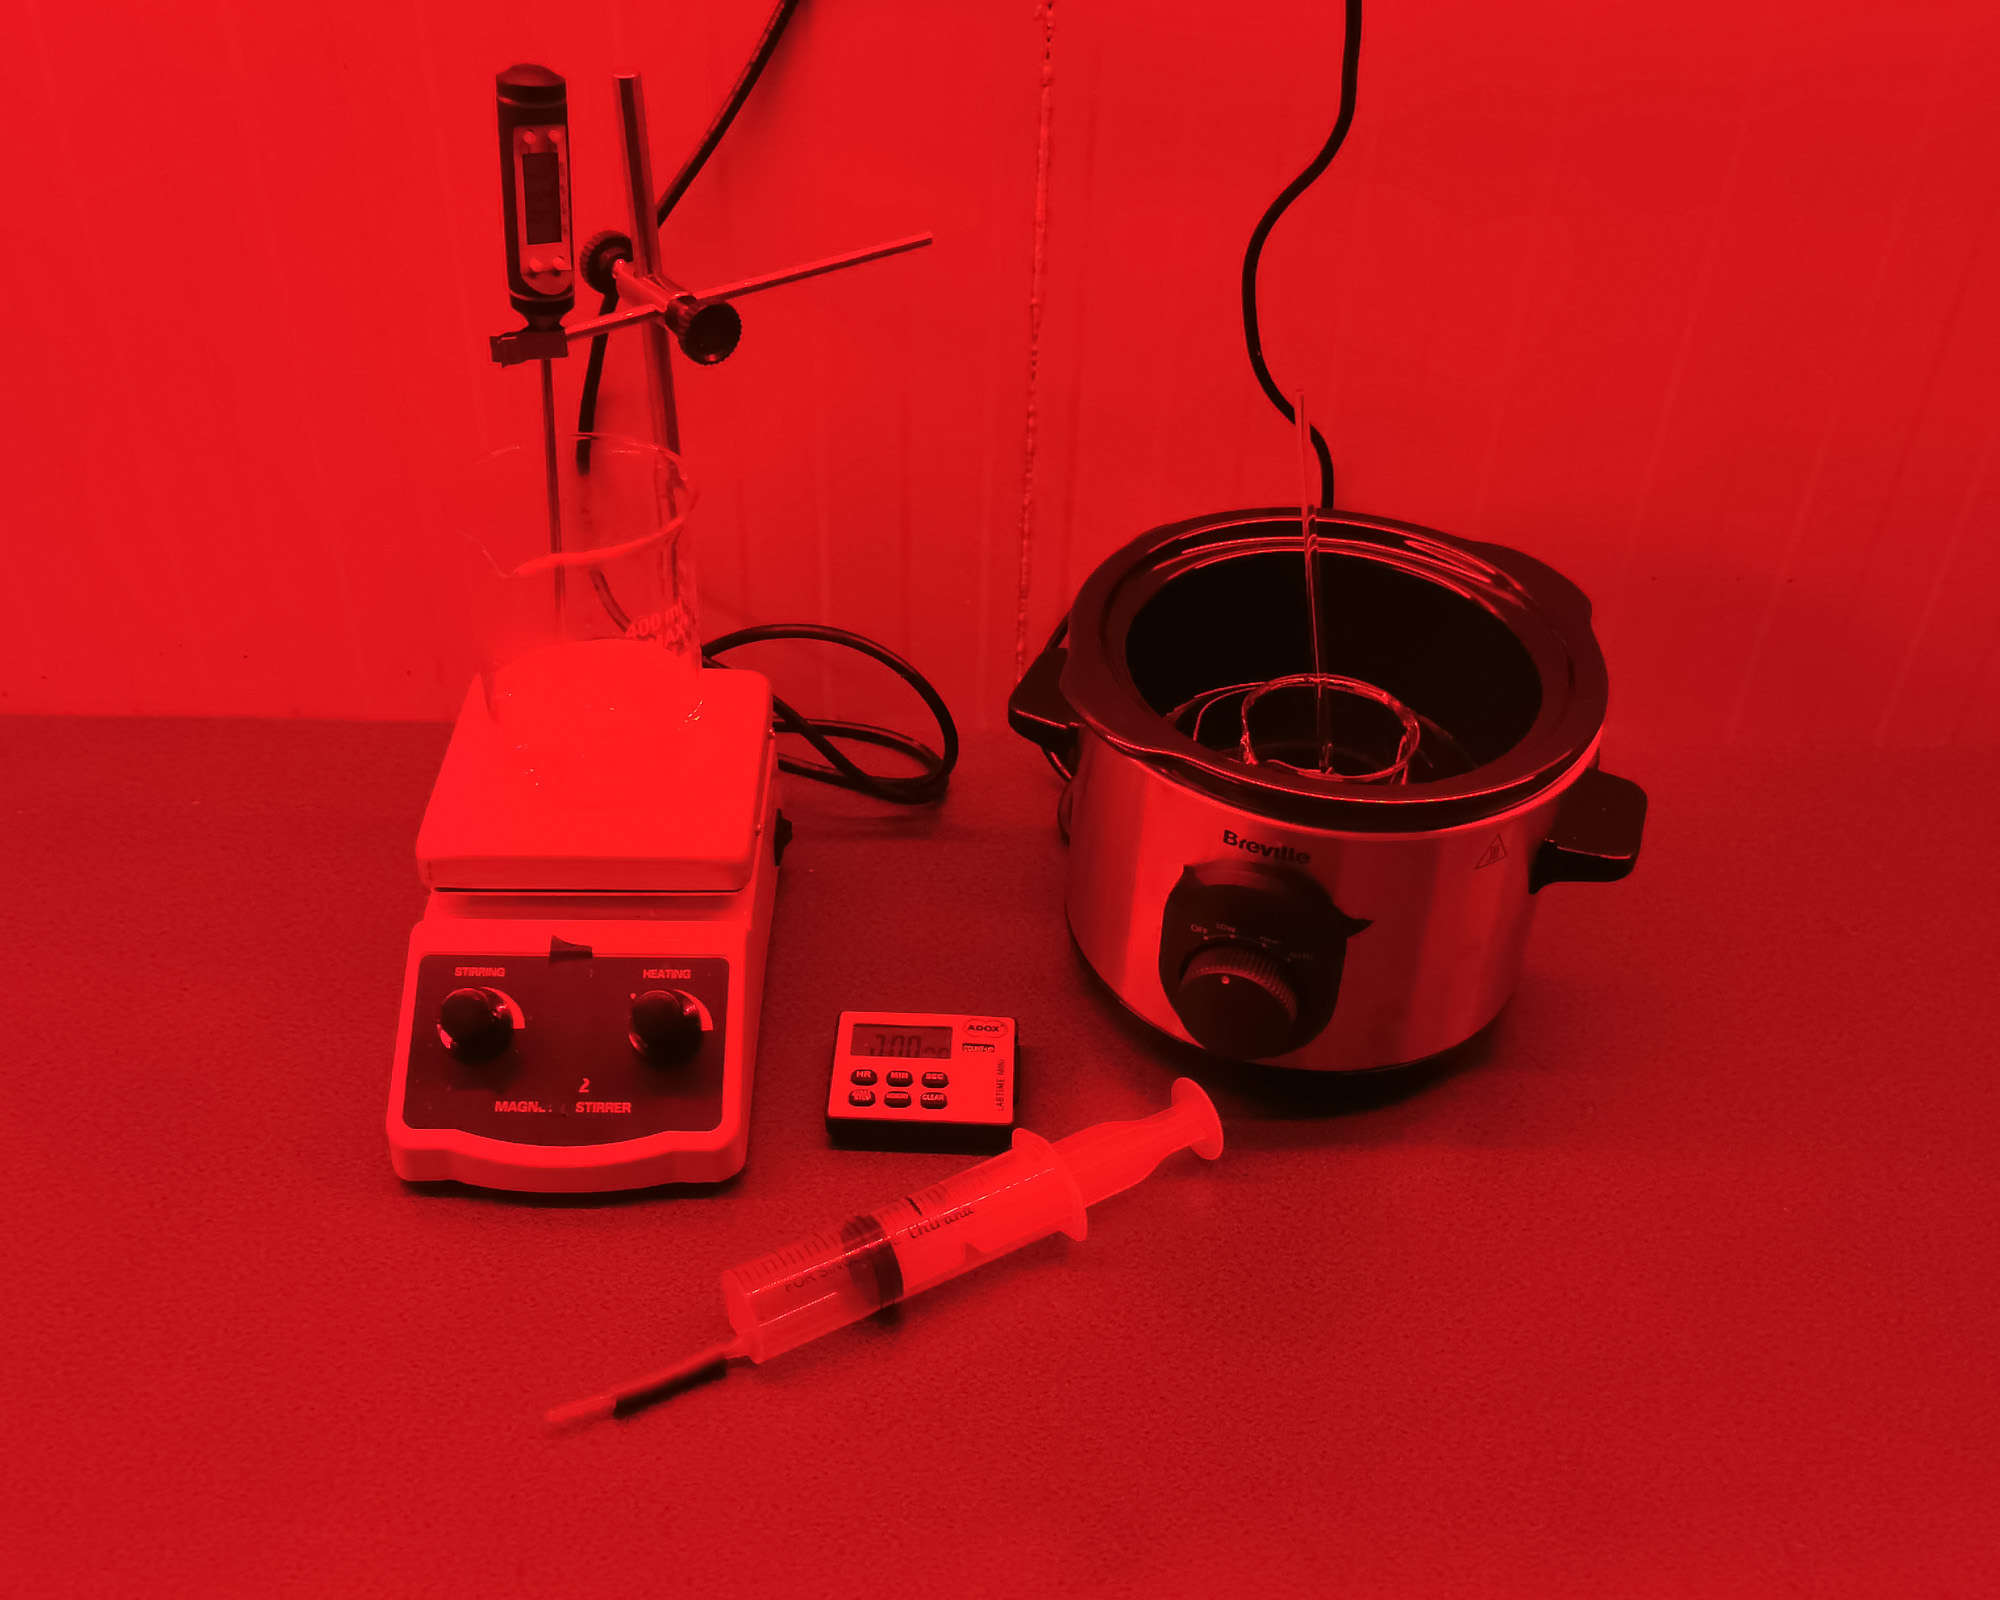
Equipment list
- 3 tempered glass beakers: one 400ml and two 150ml
- Small tempered glass or ceramic baking tray for chilling the emulsion
- Magnetic stirrer
- Crock pot
- Thermometer
- Precision scale
- Measuring cylinder
- Large stainless steel mixing bowl (for washing)
- Stainless steel or plastic potato ricer (for noodling the emulsion)
- Spoon
- Half a square meter of nylon cloth
- Large syringe with controlled flow (modification recommended: thin plastic tubing with a fine pinhole for precision)
- Glass stirring rods
- Timer
- Wire mesh strainer
- Ice (for washing the emulsion)
- Fridge (for chilling the emulsion)
- Lightproof black bag (big enough to fit the small baking tray)
- Lightproof storage container for the emulsion
- A red safelight

Materials list
- 1 liter distilled water
- 10.5 grams potassium bromide
- 0.4 grams potassium iodide
- 12 grams silver nitrate crystals
- 21 grams gelatin (photographic grade recommended, minimum 240 bloom)
- 1 grain thymol (preservative)
- 5 ml 95% grain alcohol

Step-by-Step Emulsion Making Process
Now we get to the heart of the tutorial. Making emulsion is equal parts science and craft. Keep everything clean, take your time, and be ready to learn through doing.
Step 1: Preparing the “First Melt” Gelatin
Start by adding 3 grams of gelatin to a 500ml beaker with 85ml of distilled water. Let it sit for at least 15 minutes. This swelling phase allows the gelatin to absorb water and soften, making it easier to melt.


Step 2: Preparing the “Reserve” Gelatin
In a separate beaker, slowly add 18 grams of gelatin into 80ml of distilled water. Don’t dump it in all at once—sprinkle it in gradually to avoid clumping. Let it soak thoroughly; this gelatin will be added later in the digestion phase.


Step 3: Dissolving the First Melt Gelatin
After swelling, heat the first melt gelatin to 50°C (120°F). You can use a magnetic stirrer with a hotplate or place the beaker in a hot water bath. Stir gently until fully dissolved and clear.


Step 4: Preparing the Silver Solution
While the gelatin is heating, dissolve 12 grams of silver nitrate into 85ml of distilled water in a separate beaker. This solution also needs to be heated to 50°C.


Step 5: Adding the Halides
To the melted gelatin solution, add 10.5 grams of potassium bromide and 0.4 grams of potassium iodide. Stir until both salts are fully dissolved. You may notice a brief drop in temperature—bring it back up to 50°C before proceeding.


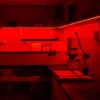
TIME TO TURN LIGHTS OFF - RED SAFELIGHTS ON
Step 6: Turning Off the Lights & Emulsification
From this point onward, you must work under red safelight conditions. Use your syringe to slowly introduce the heated silver nitrate solution into the halide-gelatin mixture over two minutes. This step forms silver bromoiodide crystals—the heart of the emulsion. The solution will turn milky, indicating that light-sensitive crystals have begun forming.


Step 7: Ripening
Let the emulsion ripen by maintaining a steady temperature of 50°C and gently stirring for 15 minutes. This encourages crystal growth and uniformity.

Step 8: Digestion
Drain the reserve gelatin and add it to the emulsion. The temperature may dip briefly; wait until it stabilizes at 50°C again, then continue heating and stirring for another 5 minutes. This phase allows the emulsion to “digest” and become smoother.

Step 9: Chilling
Pour the finished emulsion into your baking tray, place it inside the lightproof black bag, and chill it in the fridge for a few hours until it sets into a firm jelly.


Step 10: Noodling & Washing
Once chilled, cut the emulsion into small “noodles” using the potato ricer. Place the noodles into a nylon cloth, tie it closed, and wash in several changes of ice-cold distilled water. This step removes unwanted byproducts like potassium nitrate.
Repeat the washing cycle at least three times, changing the water between each wash. Gently agitate the pouch for five minutes, then let it sit undisturbed for another five minutes.
Step 11: Finalizing the Emulsion
Drain the washed noodles for 15 minutes. Then, melt the emulsion once again in a crock pot set to 50°C. Add 5ml of grain alcohol to help with coating flow and a grain of thymol to inhibit bacterial growth.
Use a spoon to skim off any foam that forms on top. This will help prevent bubbles when coating plates or paper. Transfer the emulsion to your lightproof storage container and store it in the fridge until ready to use.


Congratulations! You’ve Made a Silver Gelatin Emulsion
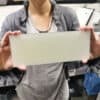
And there you have it—you’ve successfully crafted your very own light-sensitive silver gelatin emulsion. This fine-grain, blue-sensitive emulsion can be coated on glass, film, or paper, opening a world of creative possibilities.
To improve its durability during development, consider adding chrome alum as a hardener just before coating. This will make your emulsion more resilient to the chemical processing that follows exposure.
NEW: FAQ & Troubleshooting
Q: My emulsion is too soft and washes off during development. What can I do? A: This often means the gelatin isn’t hard enough. Try adding chrome alum as a hardener just before coating.
Q: Why does my emulsion look cloudy when applied to glass? A: Cloudiness may indicate incomplete washing or too much residual potassium nitrate. Ensure you do three full cold washes.
Q: How long does the emulsion last in storage? A: When refrigerated in a sealed, lightproof container, your emulsion should remain usable for several weeks. For longer storage, you can freeze it.
Q: Can I use food-grade gelatin instead of photographic-grade? A: Yes, although results may vary. For best results, use gelatin with a bloom strength of at least 240 — and make sure it’s fresh. Old gelatin can behave unpredictably and may stay liquid instead of setting properly.
NEW: Next Steps on Your Emulsion Journey
Ready to keep going? Here’s what you can try next:
- How to Coat Glass Plates – A step-by-step guide to get beautiful results on glass is available HERE.
- How to expose the plates – A full video of the process available HERE.
- How to make positives on glass – Video available HERE.
Basic Silver Gelatine Emulsion


Since photographers are often visually oriented, I have also created a full video tutorial of the emulsion-making process. Watch it below or click HERE.
Thank you for joining me on this journey through the alchemical heart of analog photography. May your emulsions be smooth, your exposures perfect, and your images timeless.