TIME TO BUILD MYSELF A PROPER DARKROOM / Container Darkroom part 1

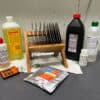
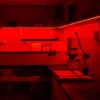
The last few “corona” months I had a lot of time to think about my future as an artist and photographer. I accepted a decision that has been on my mind for quite some time now and just needed a slight push to get the ball rolling. Like usual I was setting up the temporary darkroom in my toilet to develop a dry plate, putting thick black trash bags on windows and doors, covering cabinets, searching for my headlamp (emits red safelight) etc. and I hand enough. I did not want to spend a minute more setting up everything so I started searching for a space where I could set up everything the way I want it. Garage was already full of woodworking tools so I had to look elsewhere. At the beginning I started to look for places with a few square meters around my hometown where I could set up a darkroom but they where all much over my budget. After two months of searching I realised it will probably have to be something I can build on our property and then I remembered that I saw a guy once that built a camera out of a shipping container. He could make huge prints and develop them in the second part of container. I started looking for containers and at the end decided to go for a new 6 x 2,5m container that was already insulated and had pre installed door + window. Containers are great because they can be easily moved to different location if needed and they are very modular so you can just join it with another one to get more space.
While I was waiting those 4 weeks for the container to arrive I searched for similar project and ideas. Besides the container camera project I mentioned above I haven’t found many useful informations which meant I totally on my own (which is great by the way). I love creating things that I imagined in my had and later become materialised!
When selecting the position of the door and a window I already imagined the container to be separated into two parts light (for desk, 3d printer, storage…) & dark for the darkroom. So the first thing I had to do was instal the separating wall with a door. I searched for the best and most affordable way to do that. I already own quite a lot of woodworking tools and have some skills in woodworking so without any question I was doing it on my own. At the end I decided to build a wooden construction wall with OSB plywood. Very important part of the container is heating and cooling as well as ventilation specially in the darkroom so I also started looking for the best solutions. I will go more into that in the following posts…
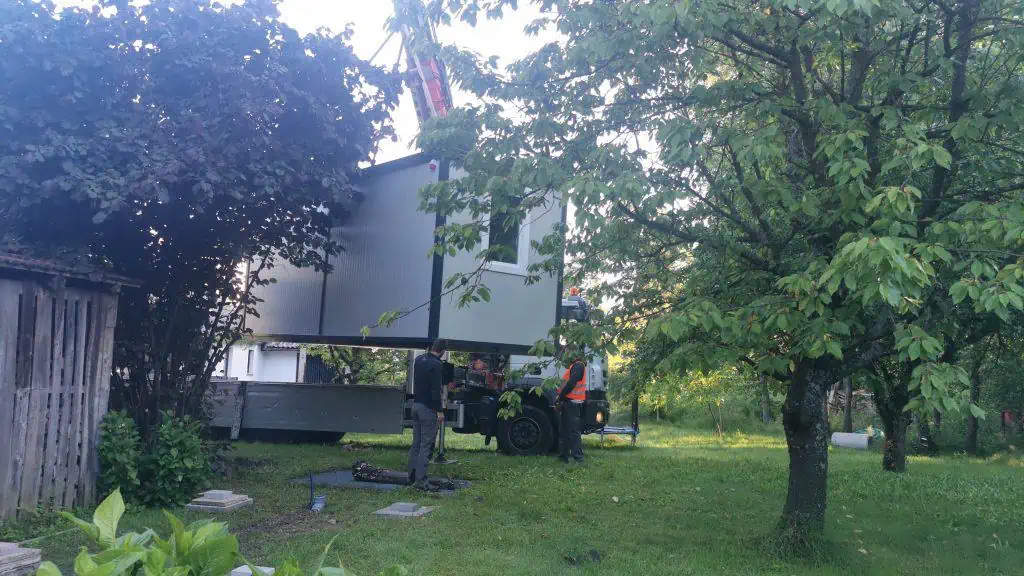
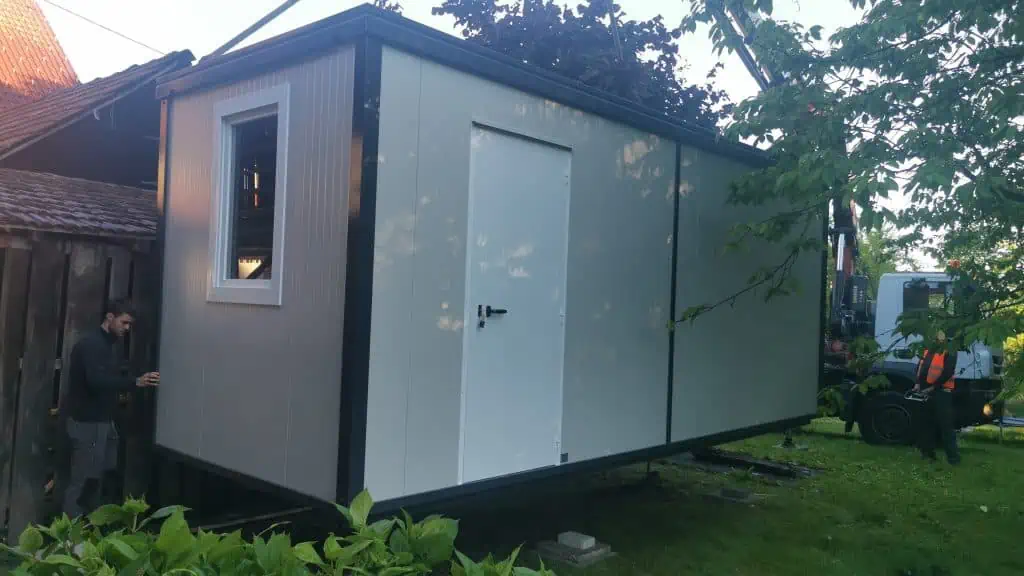
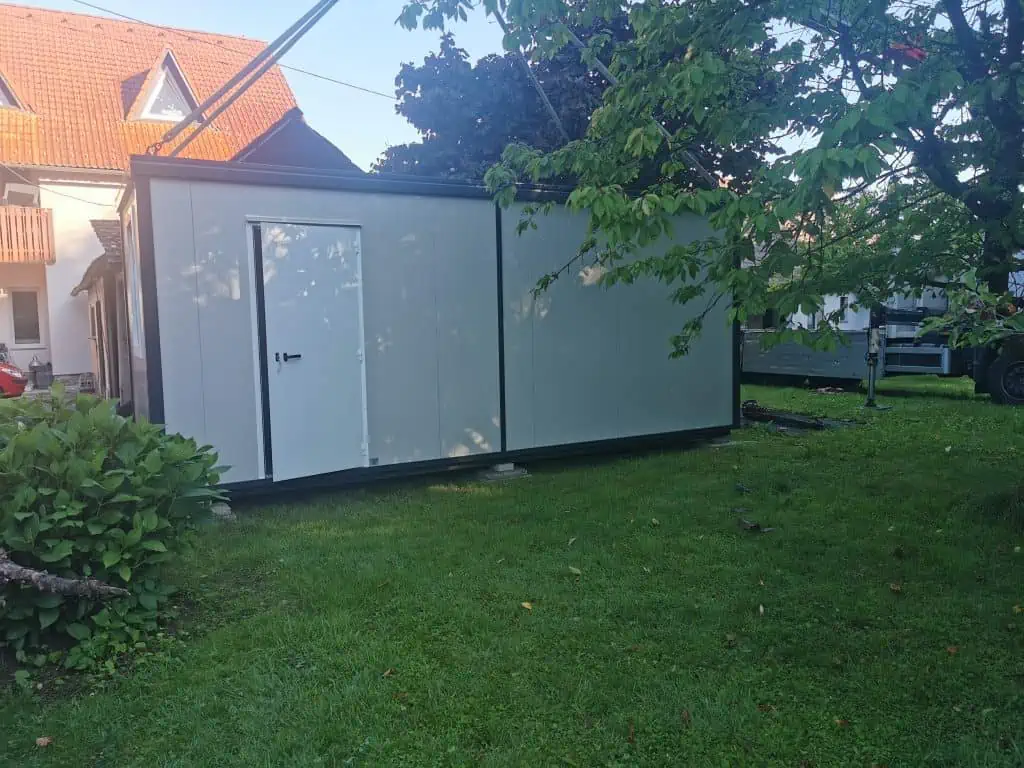
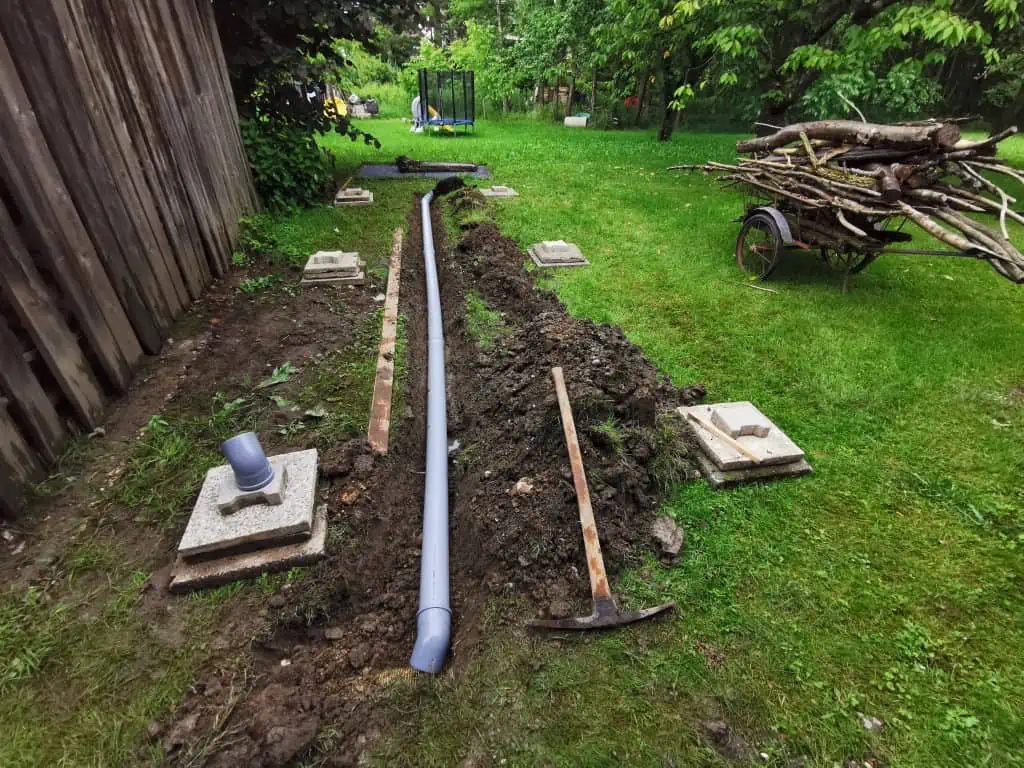
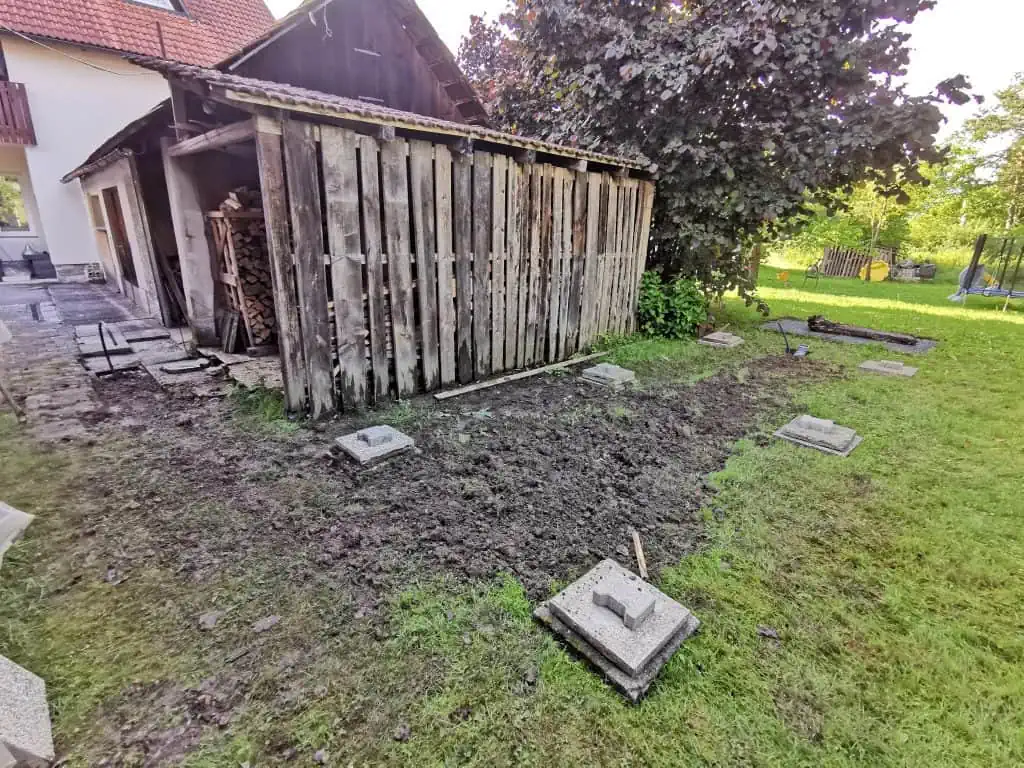
Weeks went by quickly and soon there was just a week left to the arrival of container and I had so much work to do. I had to dig a chanel for the suage and water which was quite a hassle specially after 2 weeks of rain. At the end everything went as planned pipes where laid underground so last and most important thing that had to be done was foundation. I was looking thru different options from, poured concrete pillars to full concrete base etc. At the end I decided to go for more of a “temporary” solution. Container will be located on grass so what I did was put down 5cm thick 50x50cm concrete slabs for 6 support points and then simple paving stones to lift it off the ground a bit. Container is only weighing around 2 tons so for now this solution is looking rock solid.
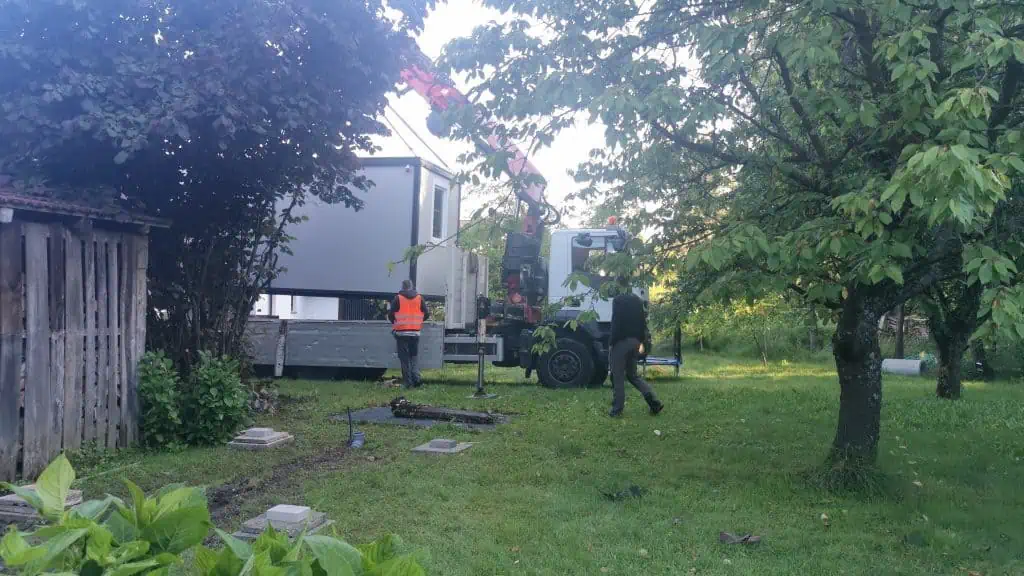
Delivery of the container went quite smoothly, hiab truck had some problems getting to the drop off point because of tight corners but the container was put in place successfully.
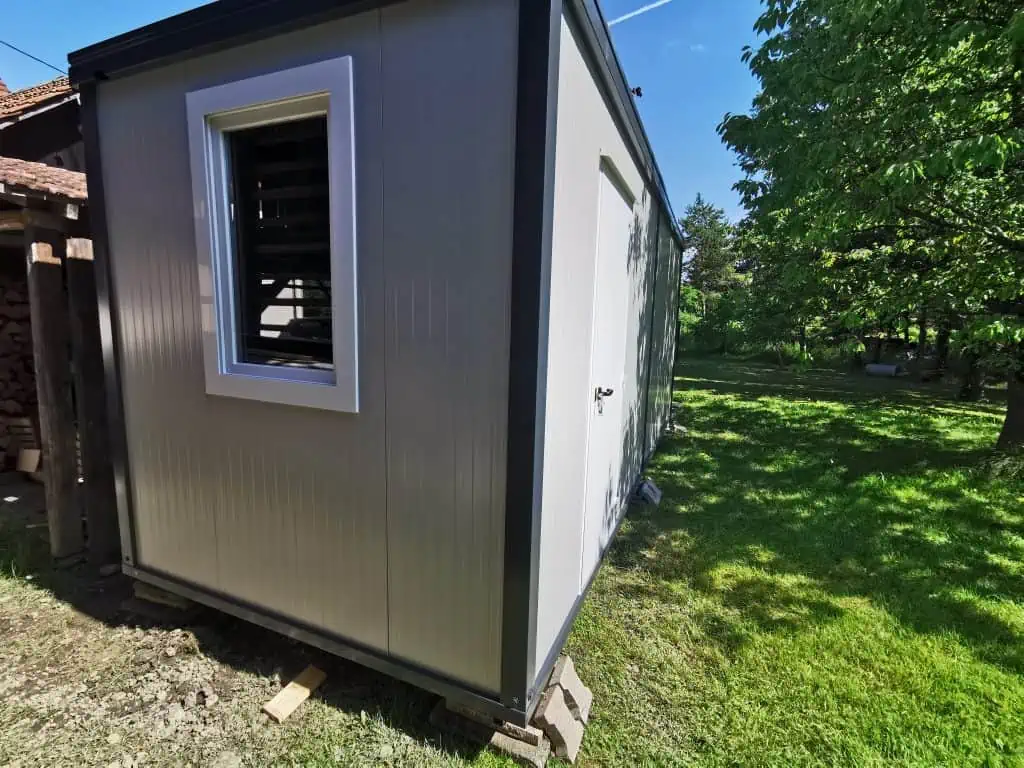
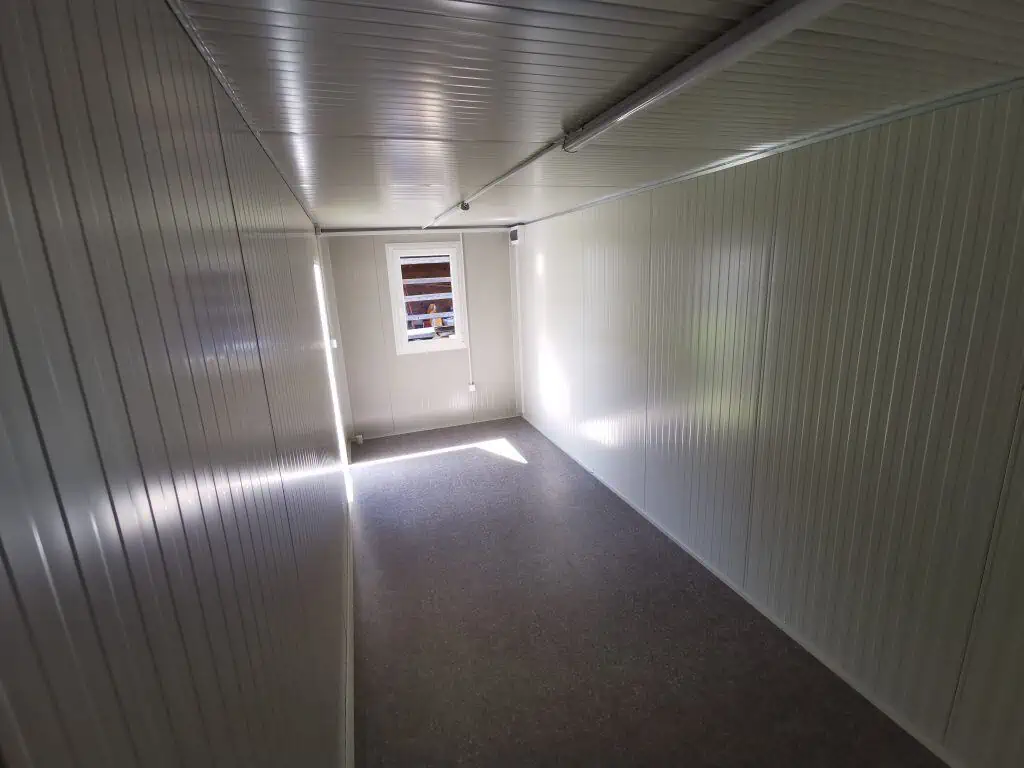
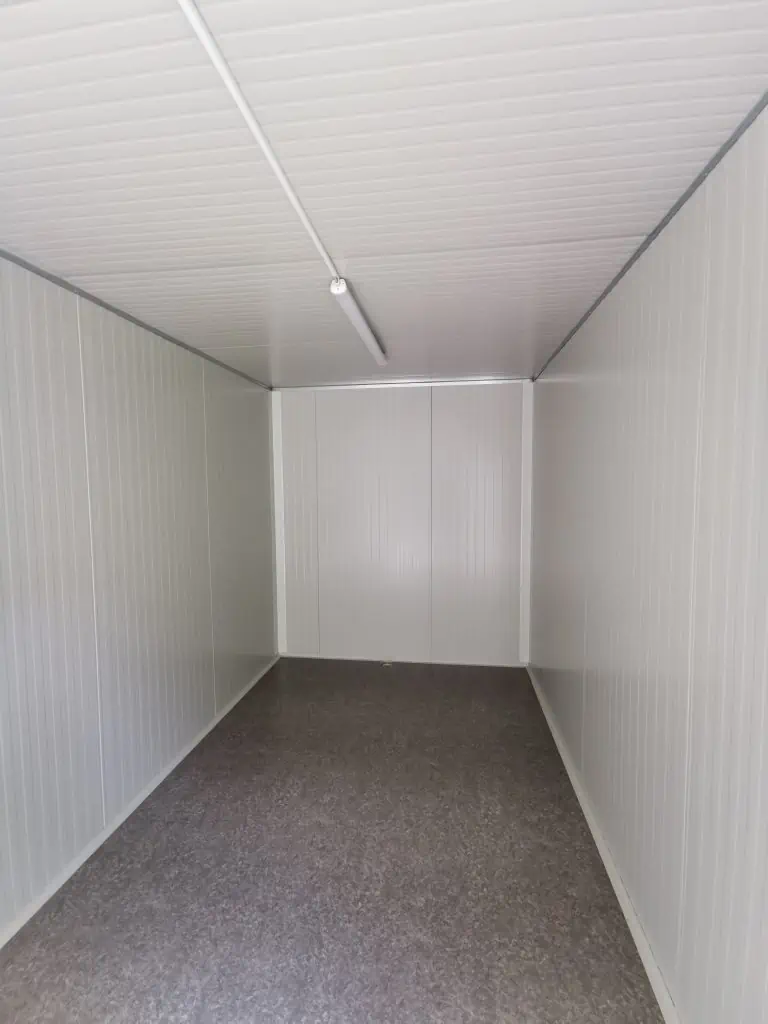
Follow my future posts where I will explain how I proceed with designing and building the interior of container darkroom
Follow my future posts where I will explain how I proceed with designing and building the interior of container darkroom


