Sabattier Effect – Detailed Step by Step Tutorial

In this tutorial I would like to explain and talk about a very interesting darkroom phenomenon that I came across recently and it absolutely stunned me with its beauty. But let’s start at the beginning…
A few days ago while scrolling through Facebook I was shocked by a direct positive Zebra Dry Plate that was shared by one of my customers. I had to ask him how he did it and he responded that he had no intention of making a positive but it was all just an accident. He told me how he made the exposure and started to develop the negative like usual. After about 2 minutes or so into development he left the darkroom and turned on the lights outside not knowing that the darkroom doors did not close properly. When re entered the darkroom a few minutes later he realised that he accidentally re-exposed the negative but in hopes for the best he kept on developing. To his and later also others amazement he somehow ended up with a real direct positive on glass. Crazy right?
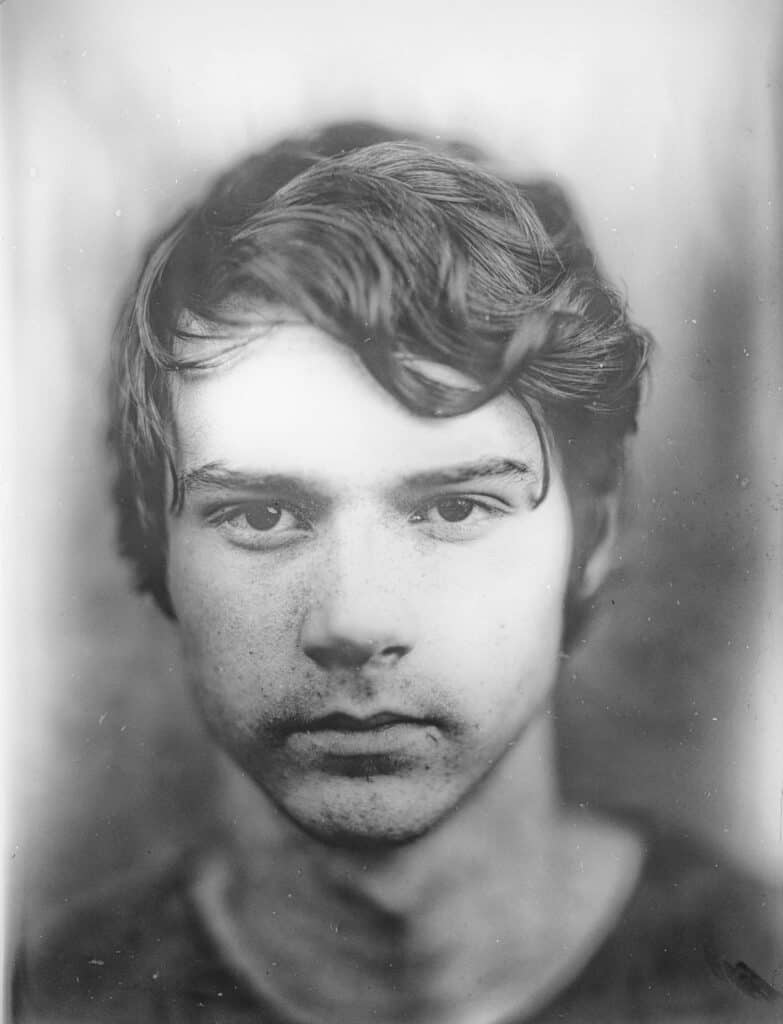
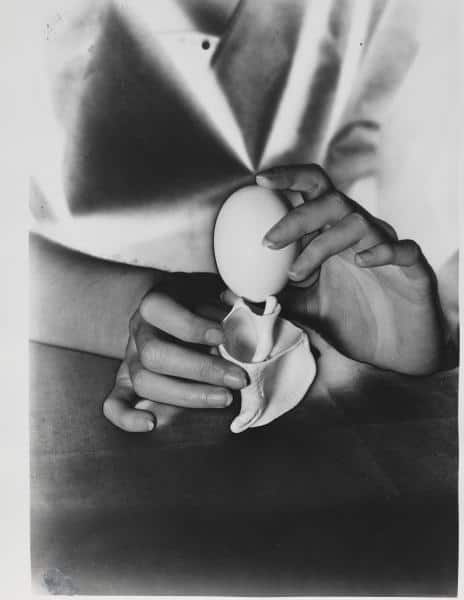
Even tho I am deeply into the emulsion making, dry plates and so on I couldn’t imagine a direct dry plate positive without the use of reversal development process where negative is developed, then removed by bleaching, re-exposed and re developed where the remaining silver halides transform to metallic silver and you end up with a direct positive. I wrote a separate blog explaining this technique right here. After he published his miraculous positive on social media we all started searching and thinking how could this even be possible. Some were saying this is just a result of solarisation and the others that positive is a result of a so-called sabattier effect.I knew what solarisation was because of the fantastic images produced by well known darkroom rule breaker Man Ray. However I had never heard of the sabattier effect before so I started researching and learning.
SOLARISATION VS SABATTIER EFFECT?
I dug deep into different articles, blogs and forums and I came to realise that even though many think Solarisation and Sabattier effect are one and the same technique this is actually not true. Solarisation as we know it is an effect of tone reversal achieved by extreme overexposure of the photographic material while still in the camera. On the other hand, the Sabbatier effect also called pseudo-solarisation that was first described by different photographers in the 1860s is a phenomenon where a negative image is reversed in tone by short re-exposure of partially developed negative. Since we darkroom enthusiasts do our best not to accidentally turn on the lights in our darkrooms it happens sometimes and that’s why this phenomenon was accidentally rediscovered many times throughout history. It also happened to Man Ray when his fellow artist Lee Miller accidentally turned on the lights during development. A few days ago we were a witness of another such rediscovery when Filip accidentally exposed his Zebra Dry Plate during development.
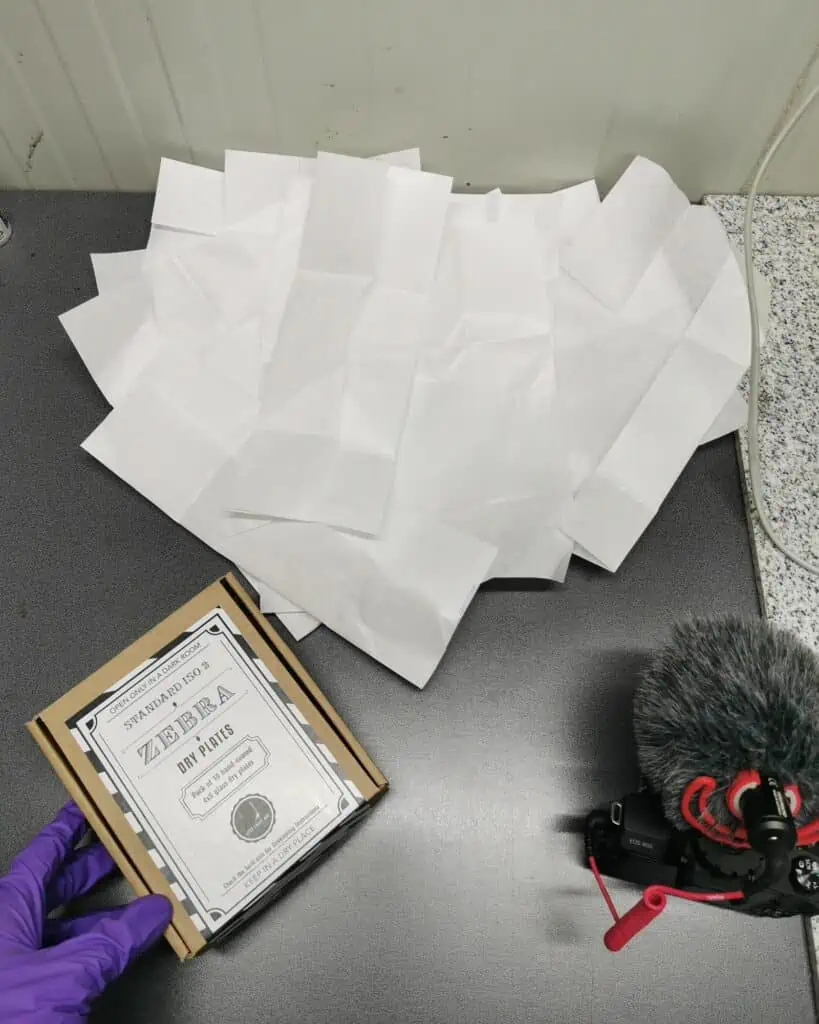
When I was reading through various instructions on how to achieve the Sabattier effect I thought to myself, Zebra Dry Plates seem like a perfect candidate for this since they are very slow and coated with a rather thick layer of emulsion compared to commercial film. As you can imagine I have quite a few plates in my fridge so I can afford to run more tests.
* If shooting plates is not your thing no problem because this effect can also be achieved with any silver based light sensitive material from Paper to Film. It’s mostly recommended to use fast materials like Tri-X that have large grain but with the tests I will run today I will prove that it also works with extremely fine grain emulsions I use to make dry plates. Don’t let the material stop you just go out there and have fun!

HOW IT ALL WORKS?
Before we dive into this Sabattier effect tutorial I think it would be helpful to cover certain basic principles that will guide you through the use of this technique. I am not a chemist by any means so I can not give you an explanation on a molecular level using equations but as a visual artist I can do my best using some simple graphic illustrations of what’s going on.
First exposure:
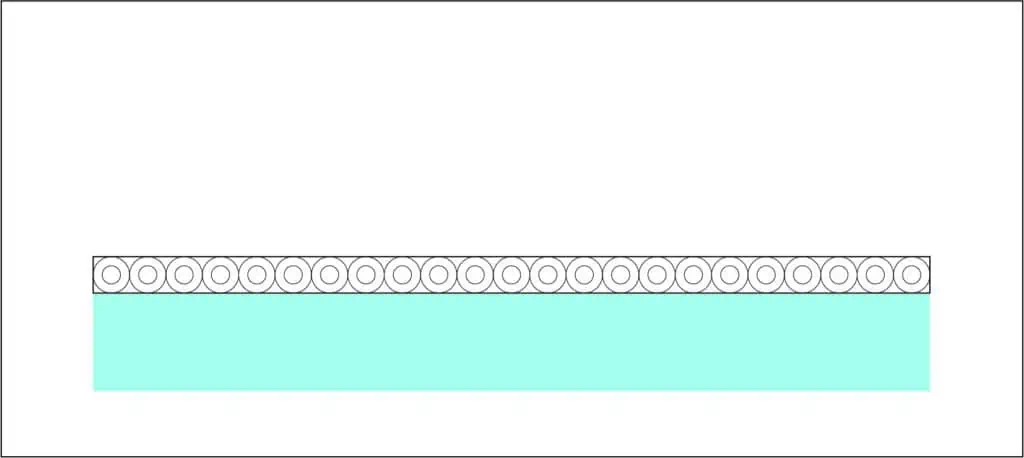
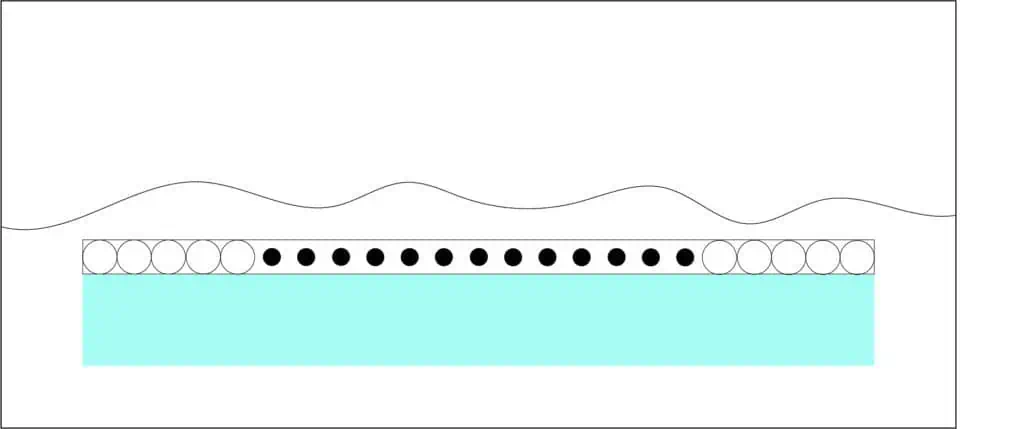
When the light hits an unexposed plate a so-called latent image is formed. What is a latent image? Well imagine that the unexposed emulsion layer is made of tiny little molecules(unexposed silver halides) which are composed of a center and the surrounding body.
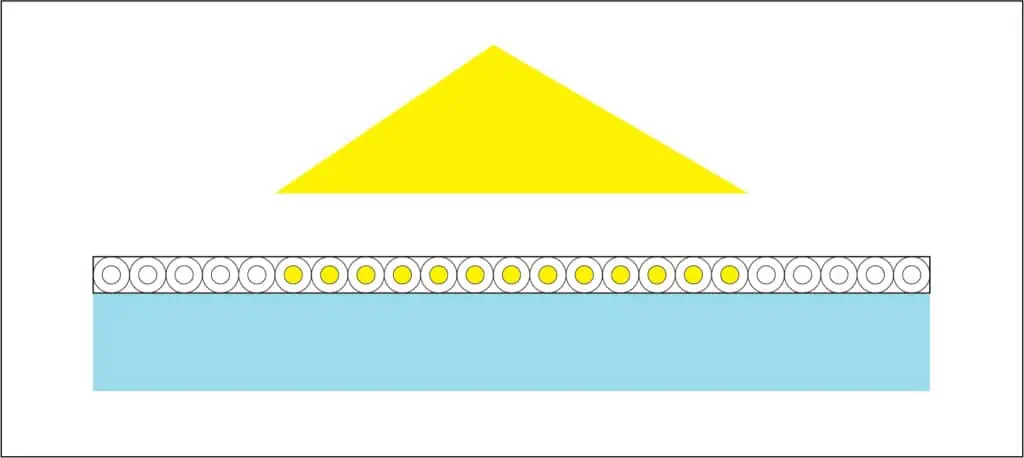
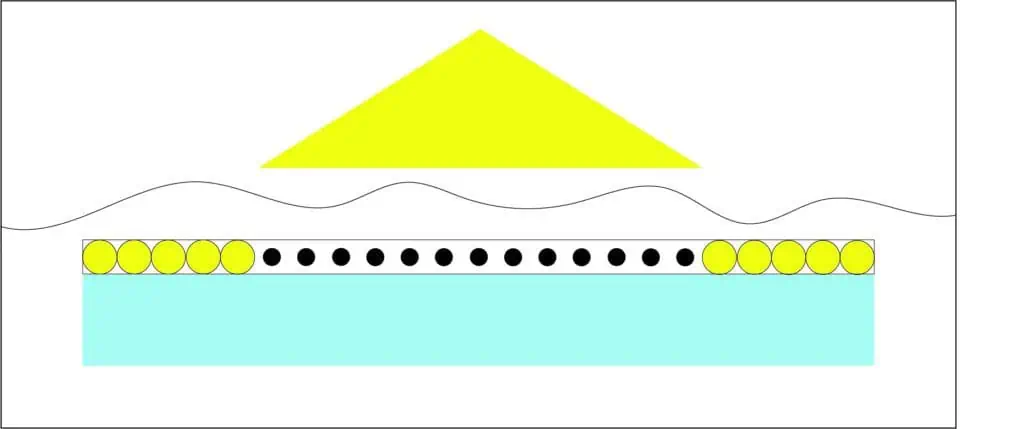
When the unexposed plate is hit by the light for the first time the centers of molecules react (exposed silver halides) and a latent image is formed. There is not much to see just yet.
Development:
In order to see the negative image, the exposed plate has to be developed. When plate is submerged in the developer the reacted centers of molecules (exposed silver halides) start to transform to metallic silver. At the same time the body of the exposed center is eliminated and so are the centers of remaining unexposed silver halides.
A few minutes into development plate would look like this…
Second exposure:
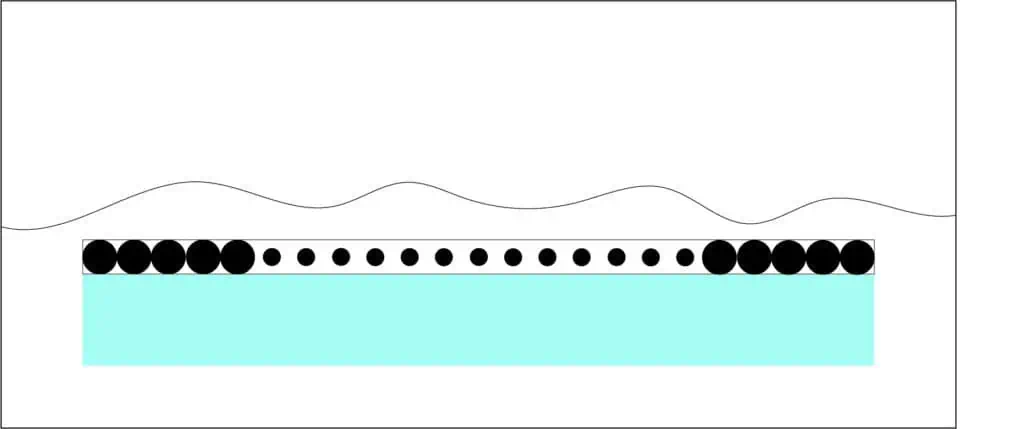
With the second exposure we will expose what remains sensitive and these are the bodies of unexposed molecules. Remember the molecules (silver) from the first exposure are no longer reacting with light so it remains unchanged. While in developer we flash the plate for the second time, remaining bodies react and start transforming to silver as well. This all happens in an instant pretty much. Since the newly formed silver bodies are much bigger from the silver centers formed with first exposure they overpower them and cause a phenomenon of tone reversal.
This is my interpretation of a simplified science behind the Sabattier effect.
IMPORTANT TECHNICAL INSTRUCTIONS
1.FIRST EXPOSURE (Negative)
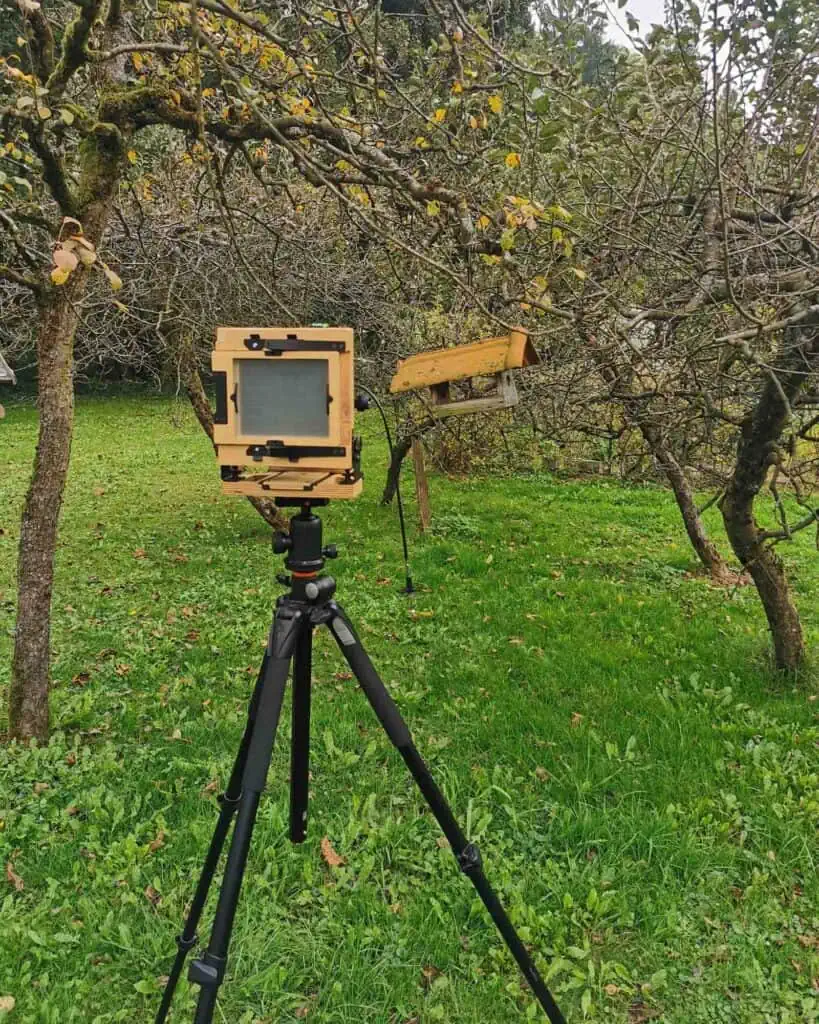
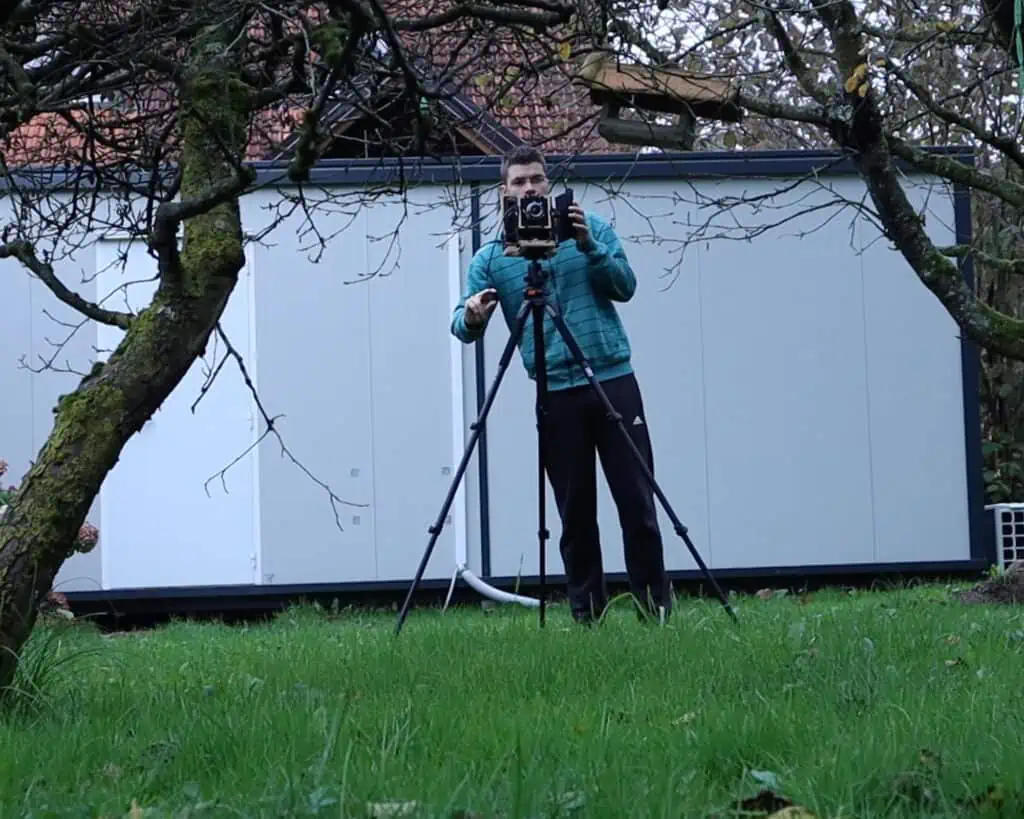
It all starts in the camera with a proper negative exposure. The instructions I read recommend underexposure of the negative between one to a few stops because you want to avoid the overexposed areas as much as possible. The denser the negative the more chance there will be for the reversal not being successful.
I will try to figure out what works the best with Zebra Dry Plates. Since I will be running many tests I want to keep things as constant as I can. This means I was shooting on an overcast day where light conditions where not changing drastically. There was not much sun coming through and we are slowly entering winter so there was very little UV light present. That meant that ideal exposure time for these scenes was 1s af f5/6 (this is a reading for ISO 1). This was my reference point for all the tests I made.
2. START OF DEVELOPMENT
After the exposure it’s time to develop the negative. But this will not be a normal developing procedure, we can even say it’s gonna be far from normal because throughout the development while the plate is still “active” we will turn on the lights and expose the negative for the second time. But we will get there, let’s start at the beginning.
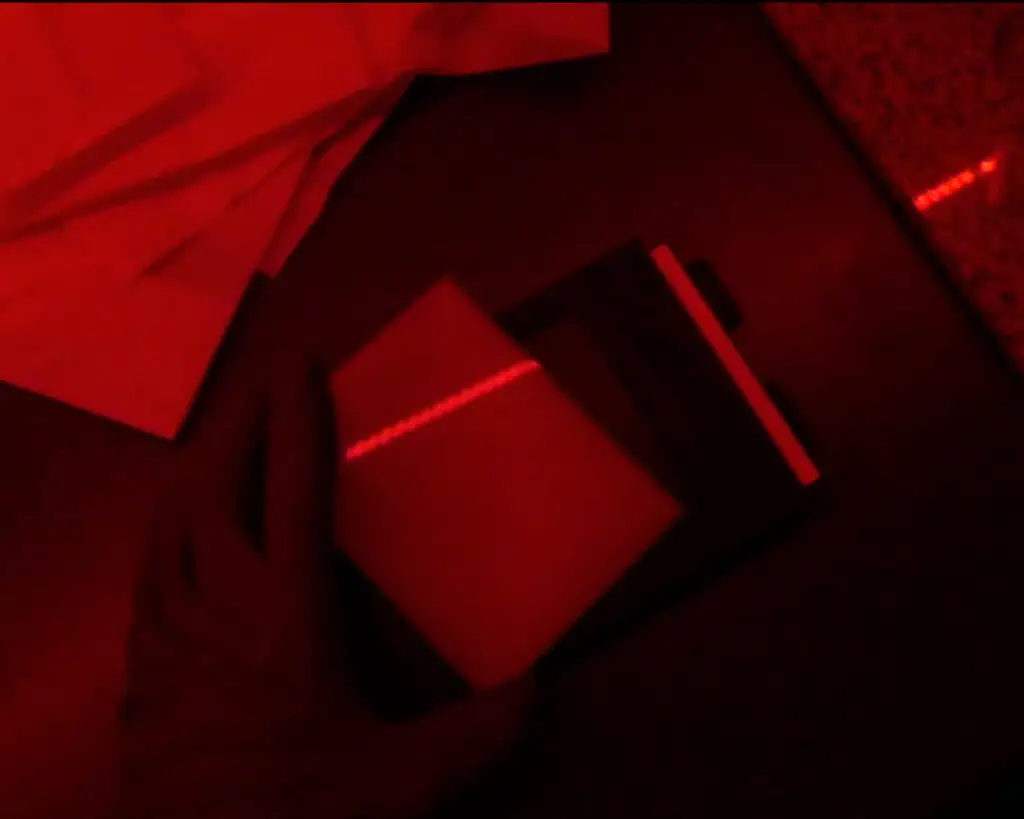
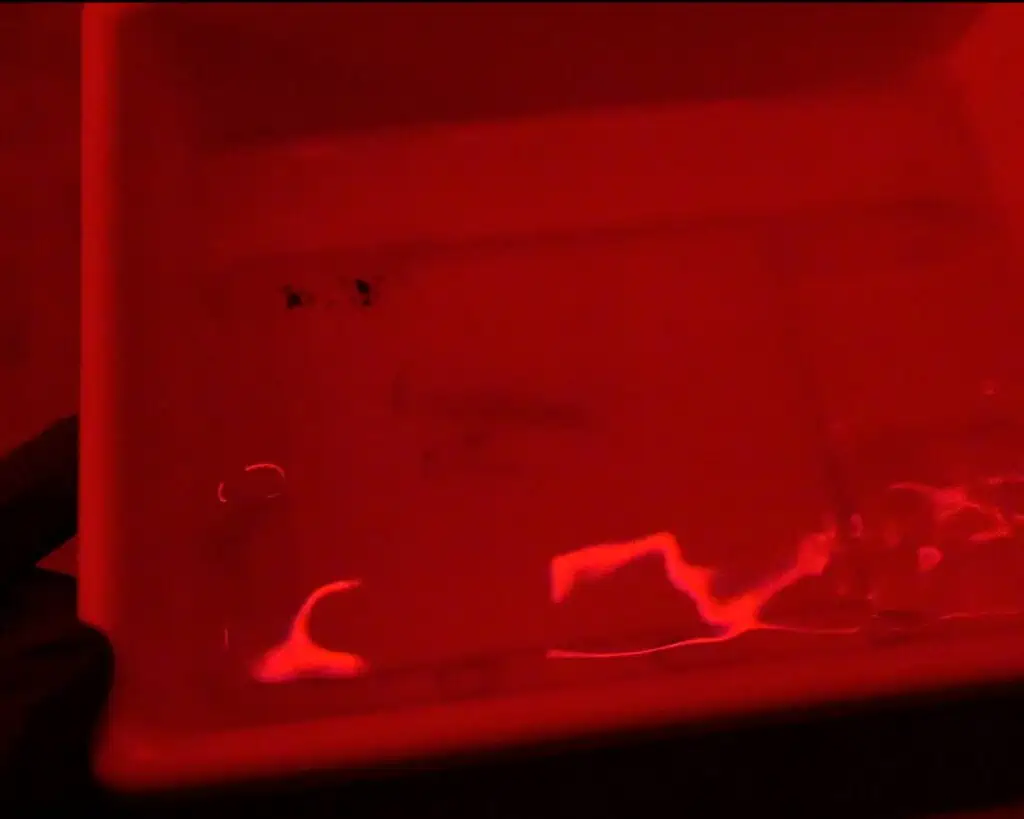
For all of my tests I developed in Kodak HC-110 dil B at 21C washed in water for 1min, fixed in rapid fix for 5 min and finally washed in water for 10min. As you can see I was using white developing tray right under the enlarger because two minutes into the development when shadows normally start to appear I exposed the negative for the second time. Yeah, the colour of the tray plays a big role as well when it comes to the contrast control. Background while exposing has a very big effect. With white background you will get the most even reversed tones this is why I recommend you use white. But you can also experiment with gray or black for stronger contrast.
3. SECOND EXPOSURE
For the second exposure any light will do. You can turn the main lights soon like it was an accident or take down the window blinds but in order to obtain constat results I recommend you using something that offers more control. That’s why I worked with the enlarger that has a 150 watt bulb at full power lifted 35cm above the tray. The amount of flashing is determined by the amount and power of your light source so you will have to run some test just like I did later on.
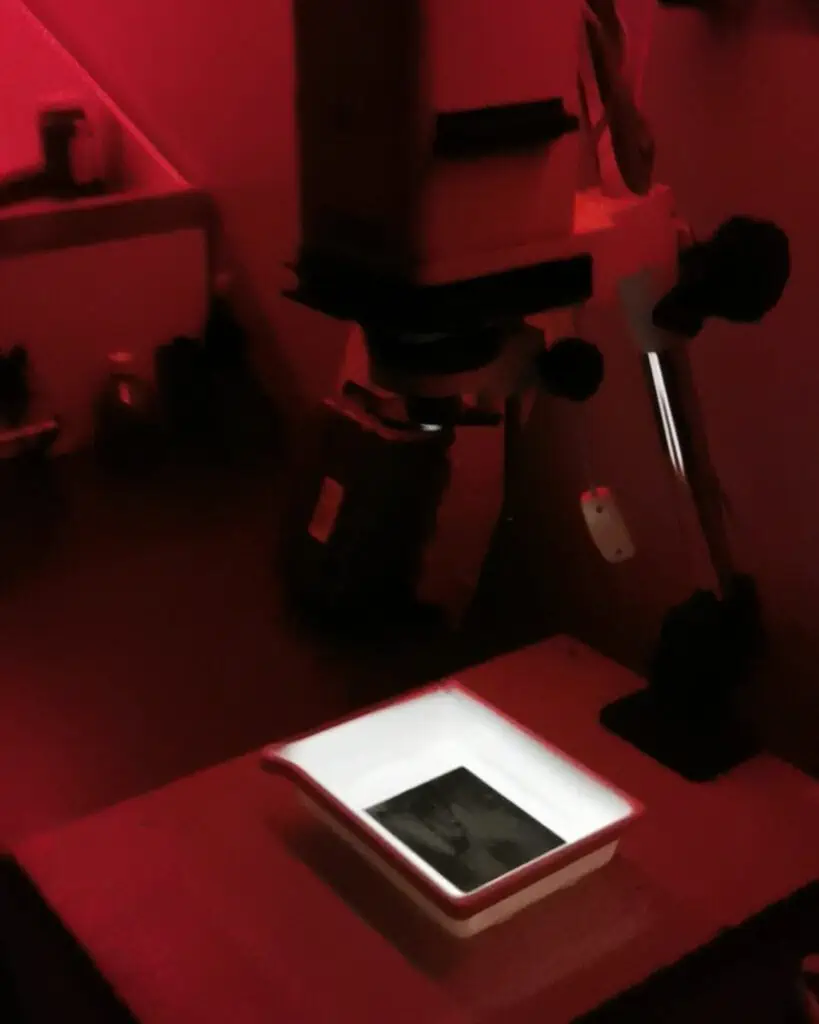
4. FINISH OF DEVELOPMENT (Positive)
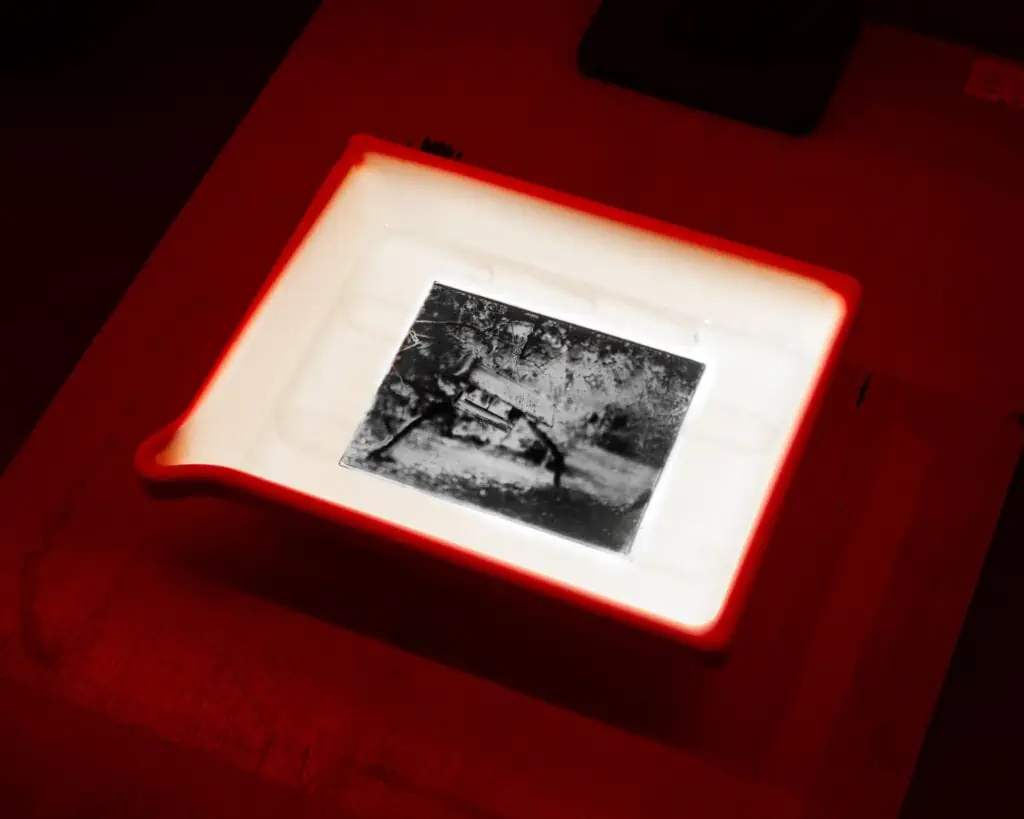
After the short flash with enlarger I kept on developing and stoped at 3min and 30s which is 30% shorter developing time from what I usually use for negatives. Developing time has to be cut to prevent the positive from being too dark and reversed tones to even. With my experience 30% less exposure usually works the best with film and paper as well.
Now that we know how the process goes and what things will stay constant let’s start running the tests!
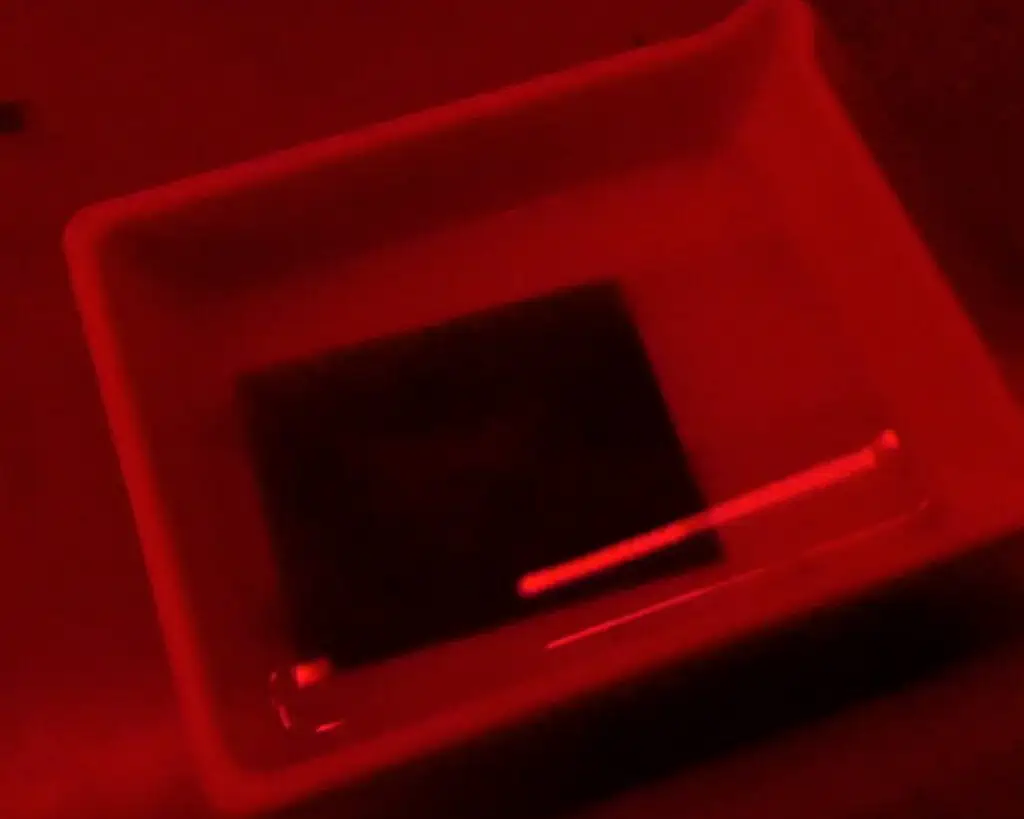
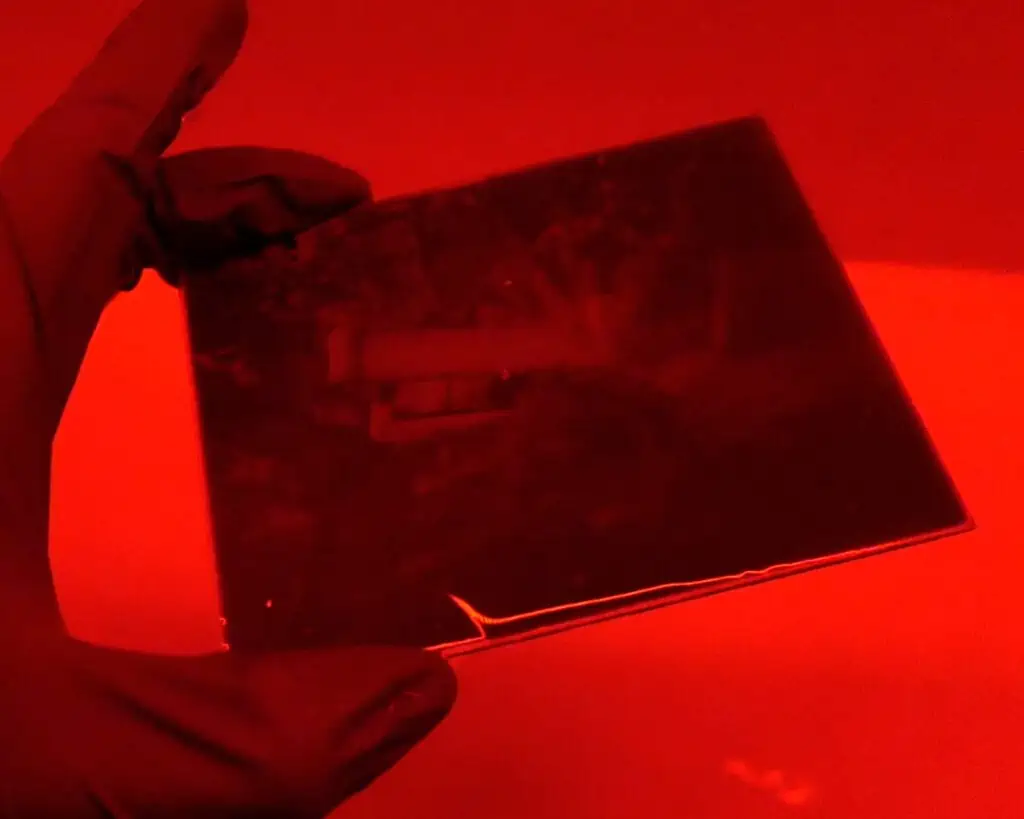
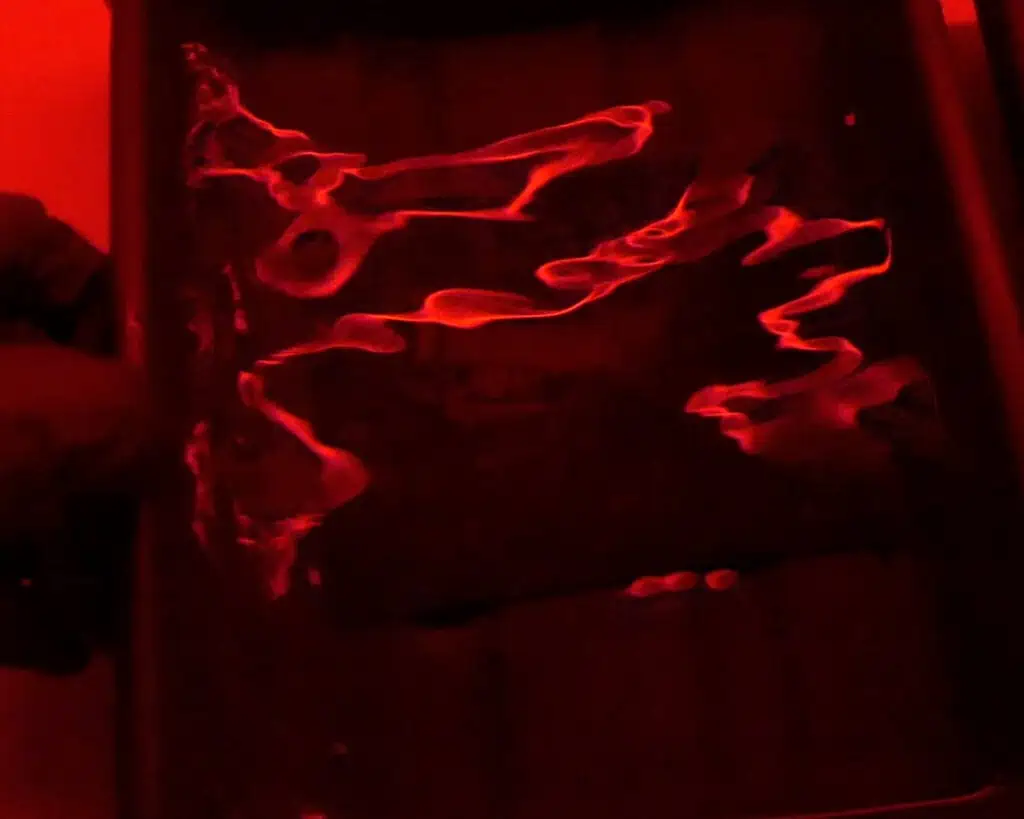
TESTING PART
I believe it’s very important for you to pay close attention through this testing sequence as you will gain a much better understanding of how things work. Besides each test you can also find the exposure and development details. But before I show you the tests let’s first repeat the basics that remained constant through the whole process.
- I was shooting with Zebra ISO 2 plates on a overcast day between 12-2pm
- Ideal exposure time would be 1s at f/5,6 metered for ISO 1
- I developed in Kodak HC-110 dilution B at 21C for 3,5 min. After 2m of development I flashed the negative with the enlarger at full power lifted 35cm above the tray.
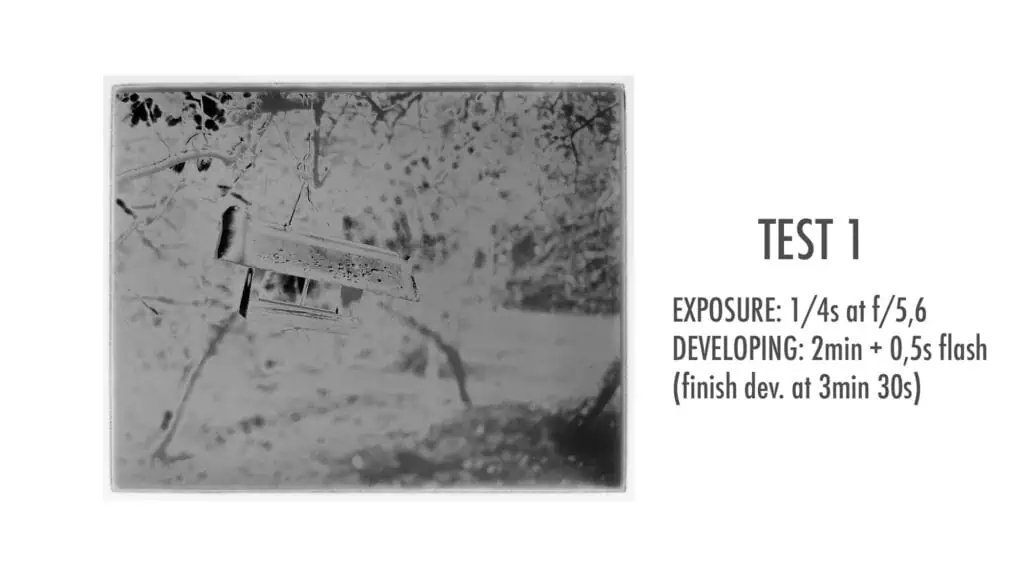
TEST 1
- With the first test I made an exposure 2 stops lower than metered which was 1/4s at f5,6.
- I developed for 2min flashed the negative for 0,5s and finished dev at 3,5min.
- There was no positive effect to be seen, just underexposed, fogged negative.
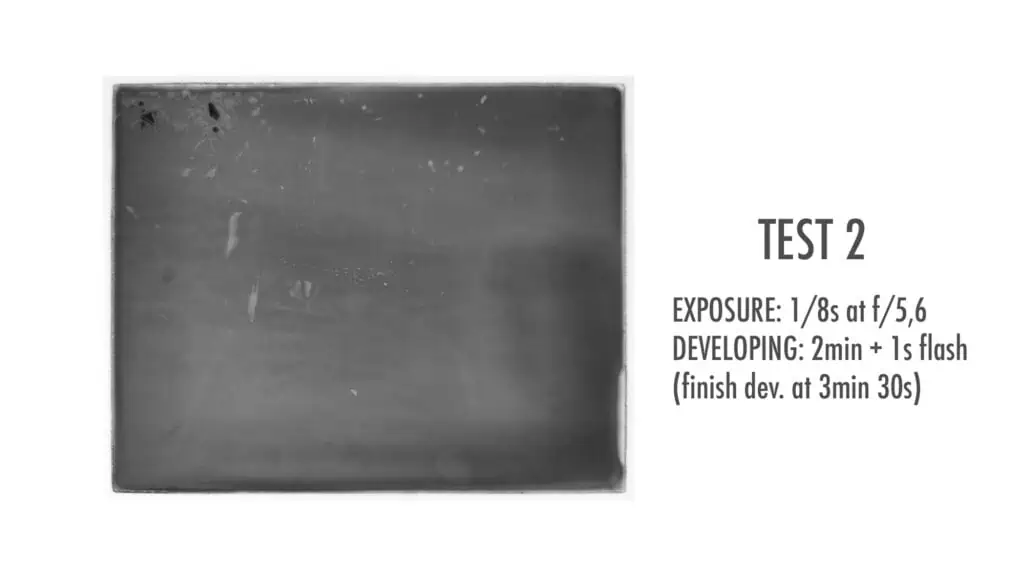
TEST 2
- I made an exposure 3 stops lower than metered at 1/8s at f5,6.
- Developed for 2min flashed for 1s and finished dev at 3,5min.
- There was a faint positive but with extremely low contrast. Initial exposure had to be longer and flashing shorter.
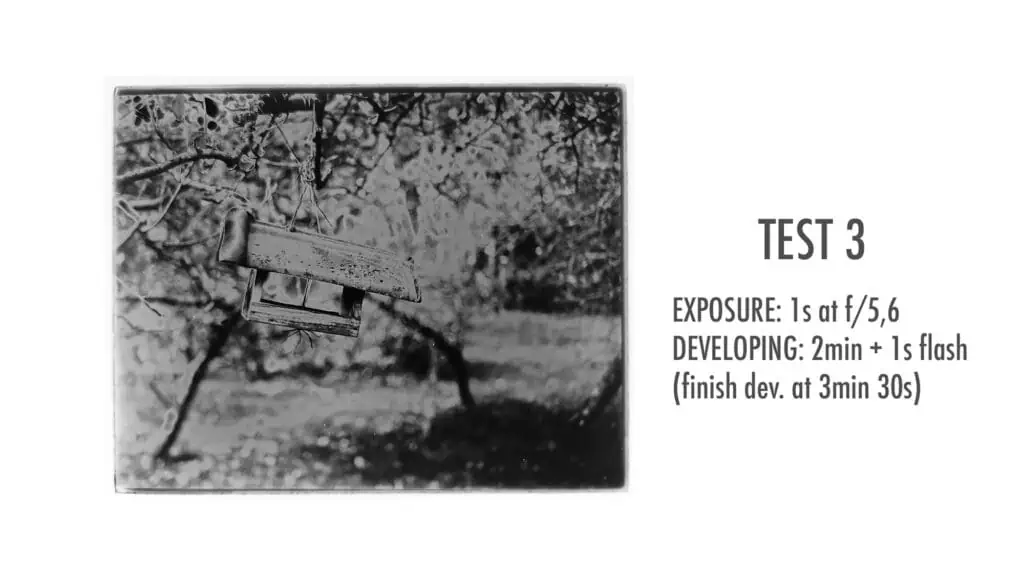
TEST 3
- I made an exposure at meretered settings so 1s at f/5,6.
- Developed for 2min flashed for 1s and finished dev at 3,5min.
- I got a mix of a positive and solarization. That meant that I should increase the flashing time to overpower the negative and get a better positive.
TEST 4
- I made an exposure at metered settings so 1s at f/5,6.
- Developed for 2min flashed for 2s and finished dev at 3,5min.
- To my surprise I still had a solarization problem as the longer flashing just made the whole image darker and less contrast. That meant I had to tweak my exposure time which was obviously too long.

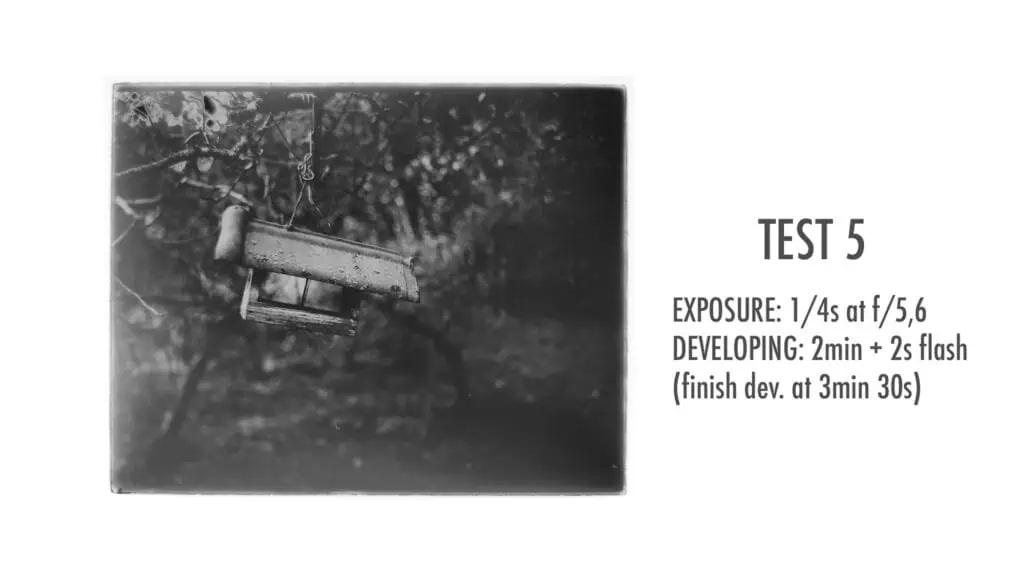
TEST 5
- I made an exposure 2 stops below metered which was 1/4 s at f/5.6.
- I developed for 2min flashing again for 2s and finished dev at 3,5min.
- I got a positive which meant I made the right move with underexposing a bit but the positive was still a bit too dark and contrasty. So I tweaked the flashing time with my next test.
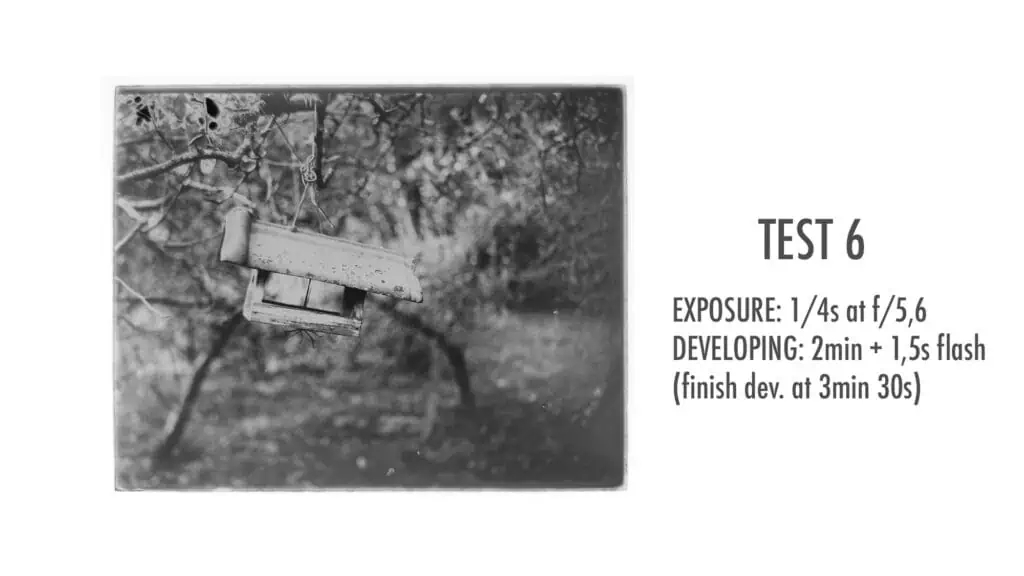
TEST 6
- I made an exposure at 1/4s at f/5.6.
- I developed for 2min flashed for 1,5s and finished dev at 3,5min.
- Positive turned up much brighter and with better contrast but I was still missing details in the highlights so with my next test I extended my initial exposure for a bit.
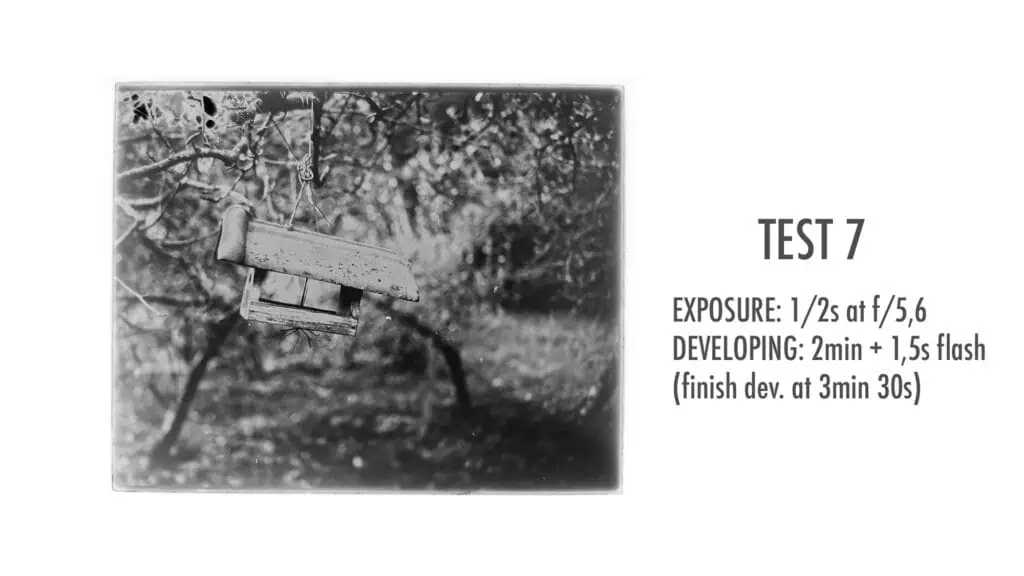
TEST 7
- I made an exposure 1 stop lower than metered which was 1/2s at f/5,6.
- Developed for 2min flashed for 1,5s and finished dev at 3,5min.
- This positive already looked like this could be a very useful and legit technique for making dry plate positives. I thought that with slight changes I could achieve an even better, more contrasty and tiny bit darker result.
TEST 8
- So now we came to our final test.
- With my final test I exposed 1,5stops lower than metered at 1/2s at f/6.5
- Developed for 2min flashed for 1s (to get a better contrast )and finished dev at 3.5min.
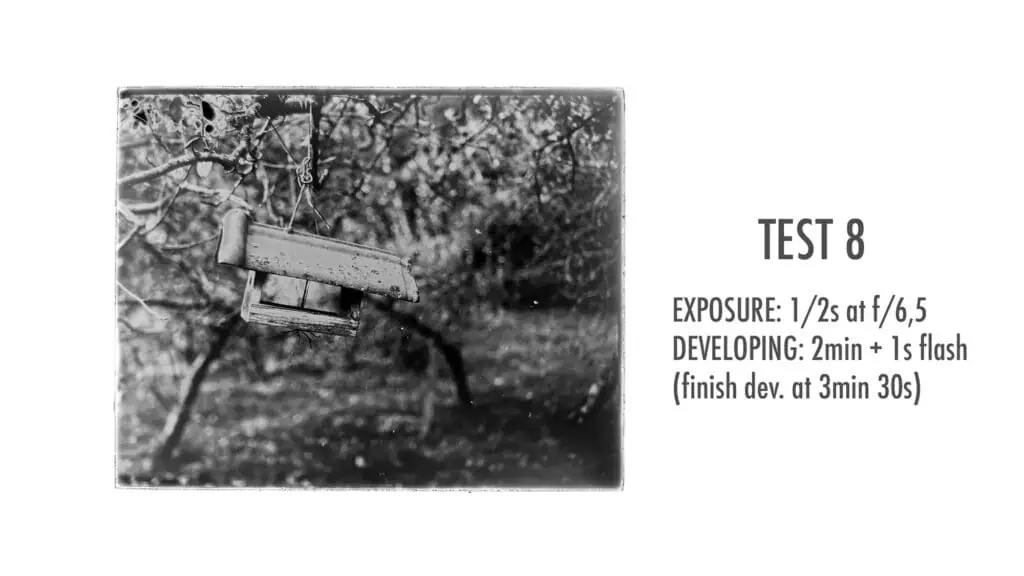
Boom there you have a direct positive using a normal development procedure. A perfect ratio between slight underexposure, developing time (slightly exhausted developer) and amount of flashing. I really enjoyed experimenting, learned a lot along the way and got rewarded with a great result so I encourage you to do the same, leave your comfort zone for a bit and enjoy photographic science!
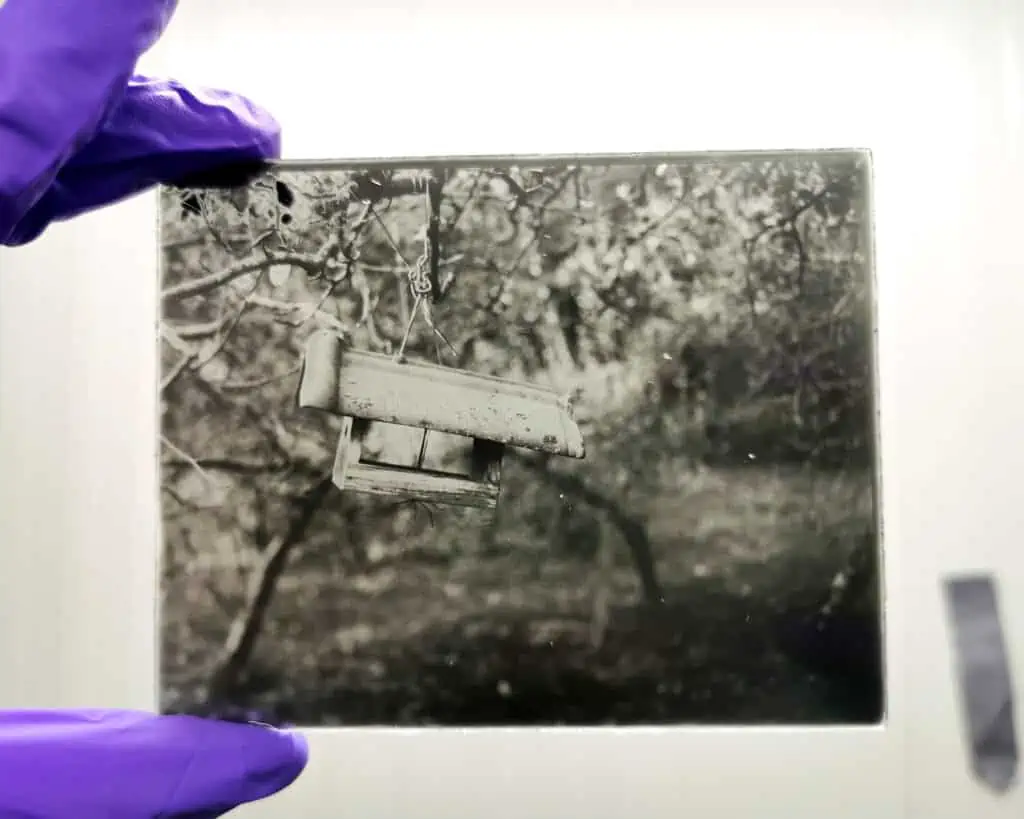
Us photographers are usually more visually minded people so I also made a full video tutorial of Sabattier Effect:










continuously i used to read smaller content that as well clear their motive, and that is also happening with
this article which I am reading at this time.
Thanks 🙂