


Reverse Developing Glass Dry Plates To Direct Positive
Introduction
After being quite busy in the last few months doing exams and practical work for the acadAfter months of being buried in academy work—exams, practicals, the whole lot—I finally have some breathing room. And you know what that means: time to dive back into the darkroom and explore.

One technique I’ve long wanted to revisit is reverse developing dry plates into direct positives—a magical process where the final image appears directly on glass, ready to be admired without printing. My earlier Autochrome research demanded similar skills, so this feels like returning to a familiar puzzle, but with new pieces.
Autochromes, if you’re unfamiliar, are color positive plates meant to be viewed with backlight. While they’re fascinating, they’re also incredibly expensive to produce. I had to put that work on hold months ago—but during that deep dive, I picked up a crucial skill: how to turn a silver gelatin emulsion into a positive image.
This post is a documentation of my latest experiments—an open lab notebook, if you will—for anyone interested in the alchemy of direct positives on glass.emy I finally have a bit more time now to experiment with more advanced alternative techniques. It’s been almost half a year since I had to push my Autochrome research aside as I just couldn’t afford the cost of production any more. I hope I will be able to proceed my research soon as I am only missing a few details!


Revisiting Old Notes
It’s been a while since my last successful plate, so I went back to my Autochrome notebooks and found two critical notes that still ring true today:
1. Emulsion thickness
For reverse development to succeed, the emulsion must be thin and even. A thick coating prevents the first developer from reaching all the silver halides, leaving undeveloped patches that ruin the image. A dense, uneven coating leads to murky highlights and inconsistent results.
Some ways to help with this:
- Warming up the plate beforehand
- Coating with a rod or even spin coating
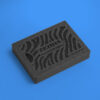
Below is an example of a poorly coated plate—the highlights are blown out due to excess emulsion.

2. First Development
Even though there are 11 steps involved in creating a direct positive, the most crucial one by far is the first development. It sets the foundation for how the final image will look. Once you’ve achieved an even emulsion coating, it’s time to develop the plate.
If your coating is flawless, you can develop using a high-contrast paper developer like D76 or HC-110 without much trouble. However, in reality, perfect coatings are rare—especially when done by hand. That’s where a silver halide solvent comes into play. The most commonly used is Sodium Thiosulphate, also known as Hypo.
Hypo is typically used as a fixer, so adding it to the developer might sound unusual. But in this case, it serves a similar function: it helps dissolve the unexposed silver halides, effectively thinning out the emulsion and allowing the developer to reach deeper and more evenly. It’s a powerful helper—but also a risky one. If you add too much, Hypo will start dissolving not just the unexposed silver but also parts of the image itself, leaving you with nothing. Just like in the example below, where the image was almost completely eaten away.

This isn’t a finalized tutorial yet—there are still a few steps I need to fine-tune—but I’m sharing my current results and formulas here for those who want to experiment along the way.
Preparing and Coating the Glass Plates
Like I mentioned earlier, the emulsion coating needs to be thin in order for reverse development to work properly. To achieve that, both the emulsion and the glass plate must be warm. The main ingredient in photographic emulsion is gelatine, which liquifies when heated—but the temperature should never exceed 50 degrees Celsius.
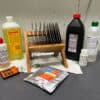
Before I turn off the lights, I get everything ready. I clean the plates, put on gloves, and set up all the tools I’ll need: the emulsion itself, a spoon to scoop it out, a small glass beaker to hold it, a larger one for the hot water bath, a syringe, a hairdryer, and some paper towels.

How to Clean Dry Plates?
This is something I often get asked, and honestly, there’s no big secret. The glass has to be completely free of grease and dirt before coating, otherwise the emulsion won’t adhere evenly.
I use a simple cleaning paste made of plain dishwashing soap and calcium carbonate. The calcium carbonate is a very soft abrasive—even softer than a cotton pad—so it won’t scratch the glass. I lay the plates flat on a foam mat in the sink and add a small amount of the paste to the center of the plate. Then, using a cotton pad and circular motion, I scrub the entire surface. I like to clean both sides just to be thorough.
Once I’m done, I pick up the plate by its corners, rinse off all the remaining paste with hot water, and place it on a drying rack. Just before the plate is fully dry, I finish it off with a paper towel to remove any last bits of moisture. At this point, the plates are ready to be coate
Once everything is cleaned and set up, it’s time to turn off the lights and begin coating.


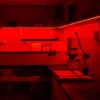
TIME TO TURN LIGHTS OFF - RED SAFELIGHTS ON
How to Coat the Plates Thin?
Once I’m in the dark, I take the emulsion out of its container and begin warming it slowly in a hot water bath. Again, make sure the temperature never goes above 50 degrees Celsius. While the emulsion is melting, I heat up a glass plate using a hairdryer. It cools down just as fast as it warms up, so from this point on, I have to move quickly.
I pull about 4 ml of warm emulsion into a syringe and coat the plate as evenly and swiftly as possible, tilting the glass gently by the corners to spread it. As soon as the surface is covered, I drain off the excess emulsion through one corner. Then I wipe that same corner with a paper towel to prevent buildup where the emulsion collects.
Once coated, I place the plate on a cold marble slab and leave it to dry undisturbed for at least 10 hours.


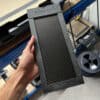
Exposure
Once the plate is fully dried, I load it into the plate holder and get ready for exposure. I spent quite a bit of time thinking about the right subject for this test. Since the focus of the experiment is to explore how differences in coating and development affect the final image, I wanted something consistent and repeatable. I ended up photographing my darkroom sink—light conditions there are always stable, making it ideal for testing.
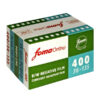
The speed of Foma emulsion typically ranges between ISO 1 and 3, depending on the lighting and thickness of the coating. Since I was working indoors with a thin emulsion layer, I rated it at ISO 1 and landed on a 20-second exposure at f/8. I used my Intrepid 4×5 camera and a Schneider-Kreuznach Super Angulon 90mm f/8 lens.
Some people recommend slightly overexposing the plate for reverse development, but with this thin of a coating, I didn’t find that necessary. The exposure was clean and balanced—just what I needed for this kind of process test.


Developing Dry Plates to Direct Positive
I’ve tested many variations of this process, adjusting things step by step, but the one I’m presenting here gave me the most consistent and satisfying result—especially when using a thin emulsion layer.
If you’re going to try this yourself, please don’t forget to turn off the lights before you begin and make sure to wear gloves. Some of the chemicals involved are hazardous, so protect your skin and handle everything with care.
Here’s the process that worked best for me:
Step 1: First development
The plate was developed in 300 ml of Kodak HC-110 at Dilution B, with the addition of 0.25 grams of sodium thiosulphate. This small amount helps the developer reach deeper into the emulsion and compensate for any slight unevenness. I developed for 5 minutes, agitating constantly for the first 30 seconds, then gently every 30 seconds for 5 seconds.


Step 2: Wash
After the first development, I rinsed the plate in clean water for 1 minute to stop development and prepare for the bleaching step.
Step 3: Bleach
The bleach solution consisted of 300 ml of water, 1.5 grams of potassium dichromate, and 2 grams of 98% sulfuric acid. I bleached the plate for 3 minutes, agitating continuously. This removed all the metallic silver, leaving only the unexposed silver halides. By the end, the plate appeared fully white. As a reminder: potassium dichromate is highly toxic and must be collected and disposed of properly—never pour it down the drain.


Step 4: Wash
The plate was washed again in clean water for 1 minute to clear off any remaining bleach.
Step 5: Clearing Bath
To remove the yellow staining caused by the dichromate, I placed the plate in a clearing bath made of 500 ml of water and 25 grams of sodium sulphite (anhydrous). I agitated gently for 2 minutes until the plate was visibly clean and neutral again.


TIME TO TURN RED SAFELIGHTS OFF - LIGHTS ON
With the lights back on, I re-exposed the plate to light. This step reactivates the remaining silver halides, making them developable. It’s not a precise step—there’s little risk of overexposure here. I used a bright light source for about 1–2 minutes.

Step 6: Wash
Wash the plate in water for 1min.

Step 7: Second Development
I developed the plate again in 300 ml of Kodak HC-110 at Dilution B. This time, under full light. The image started to appear almost immediately. I let it develop for about 3 minutes, watching the tones build up nicely.


Step 8: Wash
After second development, I rinsed the plate in water for 1 minute.
Step 9: Fix
To remove any remaining undeveloped silver halides, I fixed the plate for 5 minutes in my preferred fixer.

Step 10: Final Wash
Lastly, the plate was washed thoroughly under running water for 10 minutes to ensure all chemicals were fully cleared.

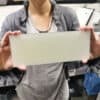
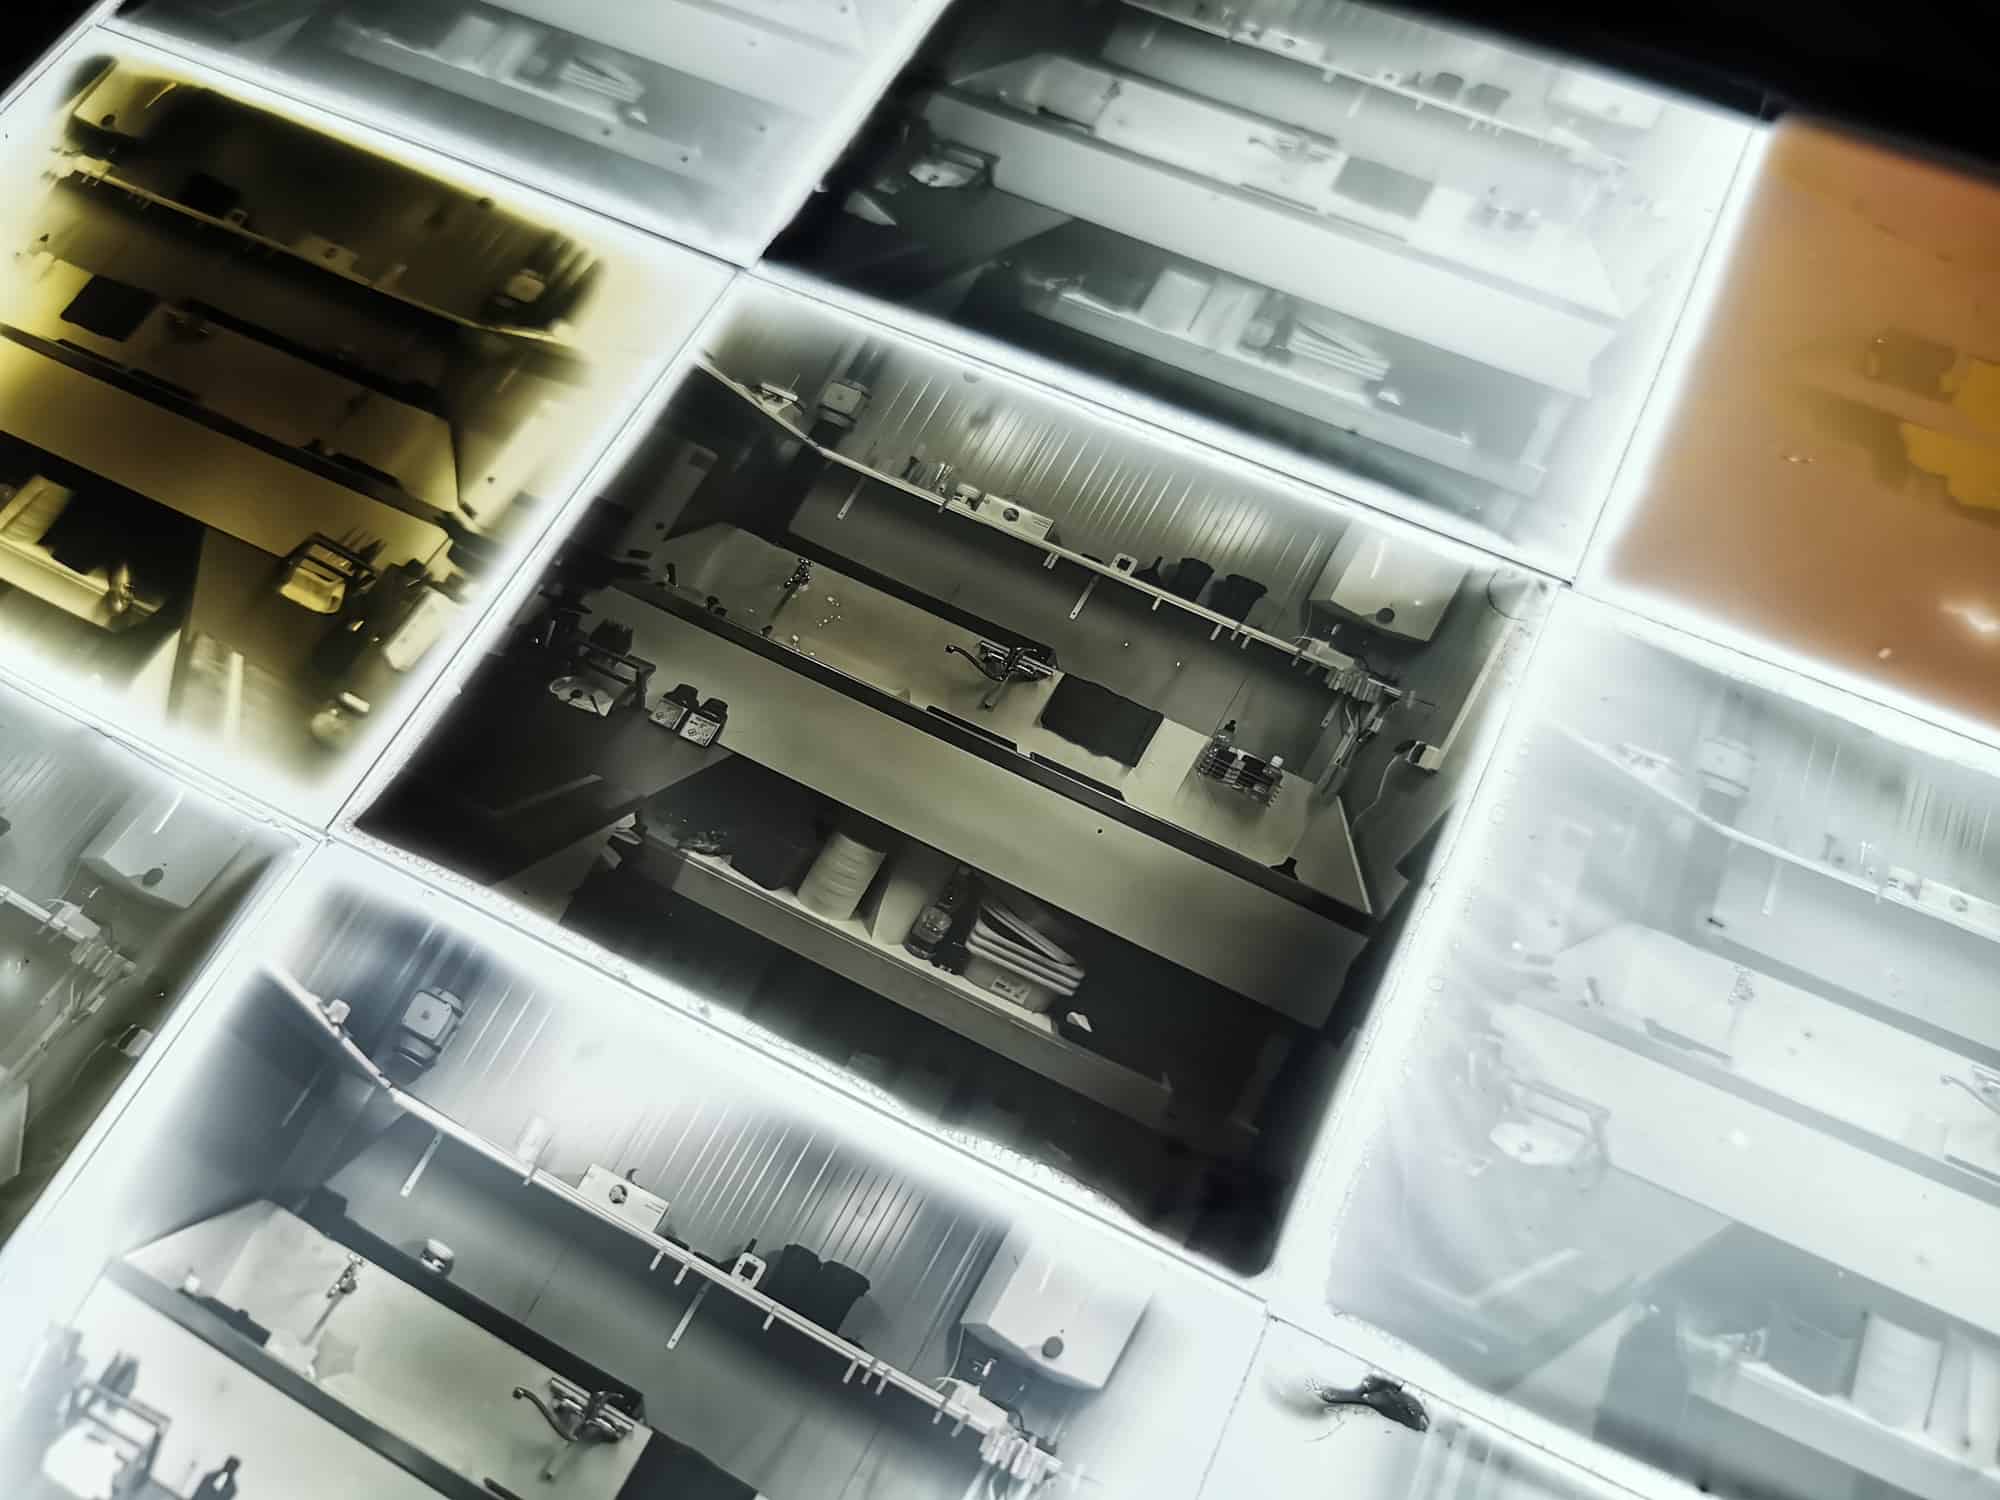
Results
I’ve developed over 25 plates, and the one featured here is the best so far. A very thin, even coating gave me beautiful contrast and translucency. The sweet spot for me seems to be about 1.5 ml of emulsion per 4×5 plate, without using any hardener.
Final Thoughts
To sum everything up, the coating of the emulsion needs to be very thin and evenly applied—which is incredibly difficult to do by hand. From my experiments so far, I think the thicker side of my thinnest plate is the sweet spot. It looks nice and translucent with just the right amount of contrast. Based on that, I believe I shouldn’t be using more than 1.5 ml of emulsion to coat a 4×5 plate, at least not without adding any hardening agent.
Tilting the plate to drain off excess emulsion works, but it also creates uneven buildup, which is far from ideal. One idea I’ve been considering is heating up a marble slab in the oven, bringing it into the darkroom, leveling it, and placing the glass plate directly on top. That way I could spread the emulsion evenly across the warm surface without having to rush. Once coated, I’d simply slide the plate over to a cold slab and let it dry in place. I also really want to try spin coating at some point to see if that gives me more control and consistency.
I definitely want to get to the bottom of this and eventually standardize the full process so that anyone can follow the steps and get a clean, reliable direct positive image. There’s still a lot more testing and tweaking ahead, but I’m getting closer.
More tests are coming, and once I’m happy with the results, I’ll share the final process. In the meantime, I also created a video tutorial for those who want to give it a try, which you can watch below or on my YouTube channel (click HERE)
I know this sis from a while ago and you may have moved on from the process but have you ever tried this with a citric acid and H2O2 bleaching process? I’ve used this for paper positives but wondering if you have any experience before I try and coat my own glass.