EQUIPMENT, OTHER

Restoring Vintage Kodak Brownie No. 3A

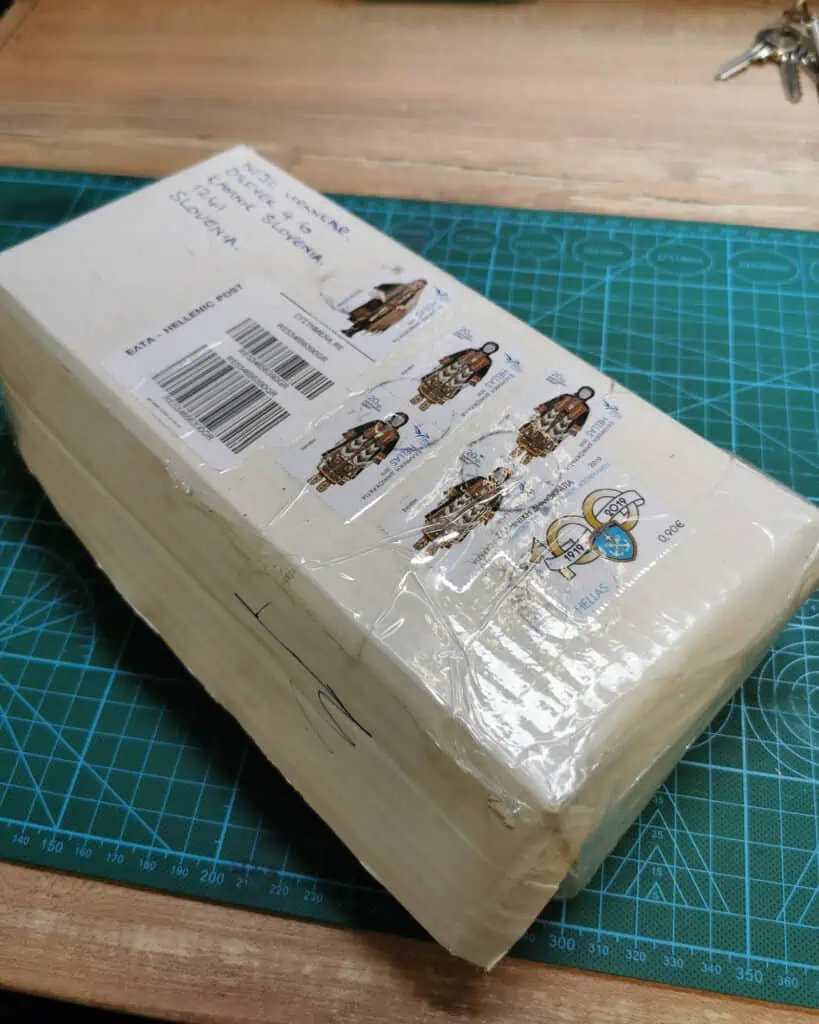
As a landscape & nature lover I was looking for an appropriate old analog camera that would be able to make panoramic shots and ideally accept glass dry plates with some modifications. After quite a bit of searching and reading I realised I should start looking into old Kodak cameras. Also in terms of my tight budget it seemed the best choice. So I started checking different online resale stores, mostly ebay. Let me say that it is much harder to find second hand analog equipment here in Europe, especially ones produced in the USA. After a few months of searching I found a guy from Greece selling old Kodak camera model Brownie No. 3A. He was selling it for a fair price of 30eur and it was looking quite even though it is more than 100 years old. I contacted him to send me a bit more photos and asked him If he tested the camera at all. He was very friendly and replied that as far as he knows everything is working (well moving at least :D). I didn’t hesitate and bought the camera. After about a week or so it arrived by mail…

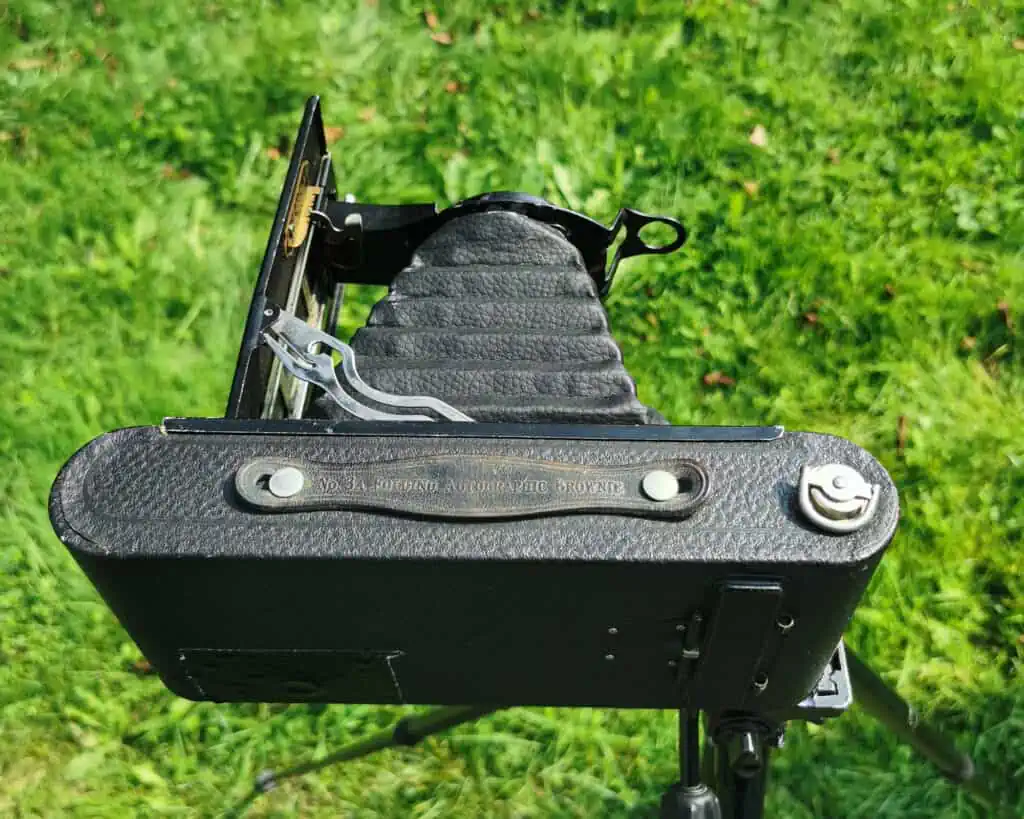
Before I continue I would like to give you a bit more information about the camera.

It was introduced in 1905 and more than 108.000 were produced until 1915. It can fold down completely making it very portable. It has a Kodar 156mm f 7-9 lens and accepts 120mm film. Maximum size of the image it produces is 8,3x14cm (3,3×5,5inches).
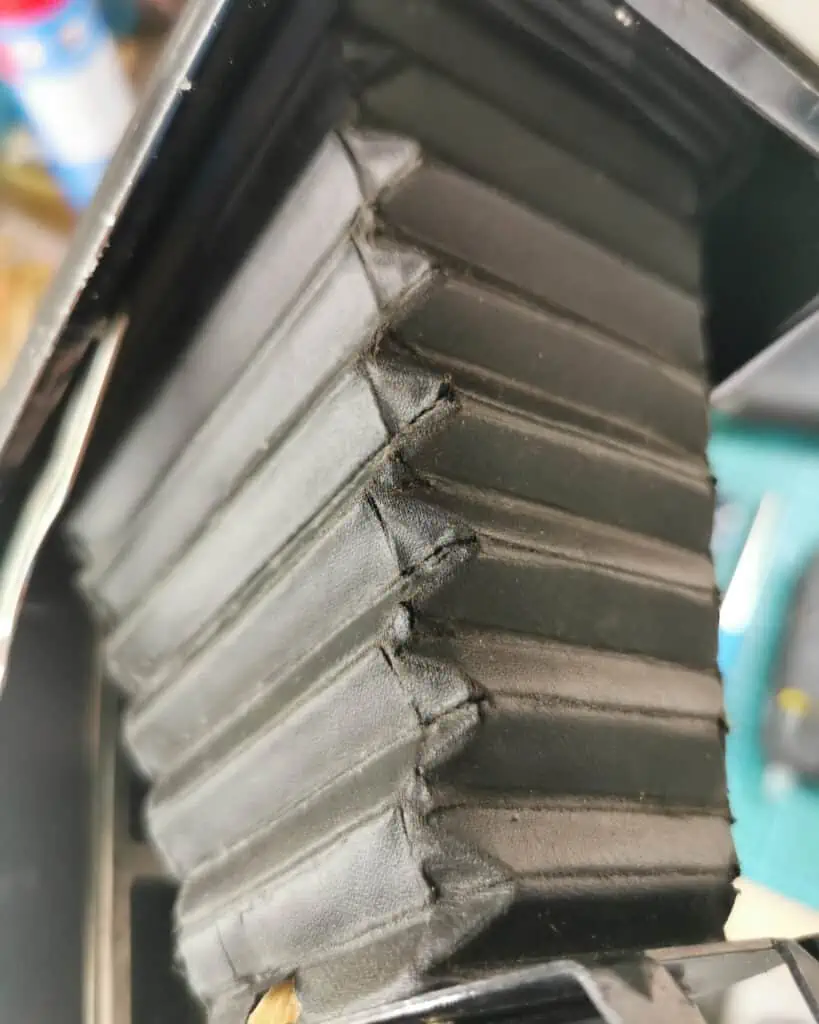
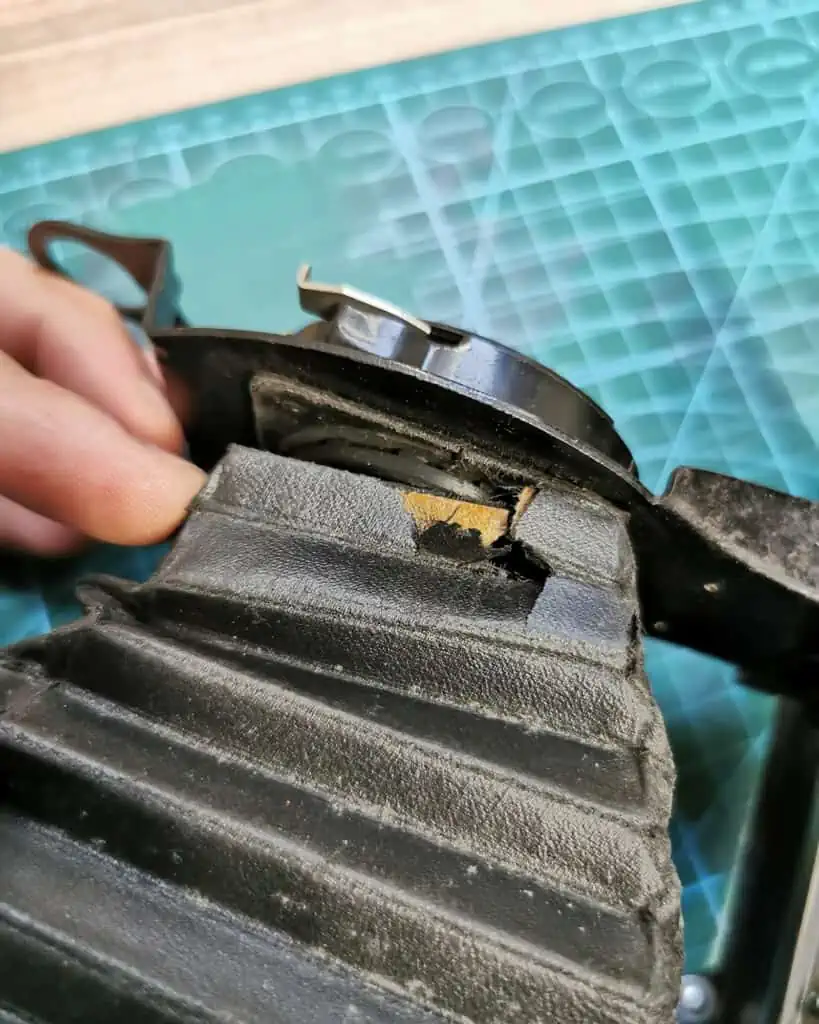
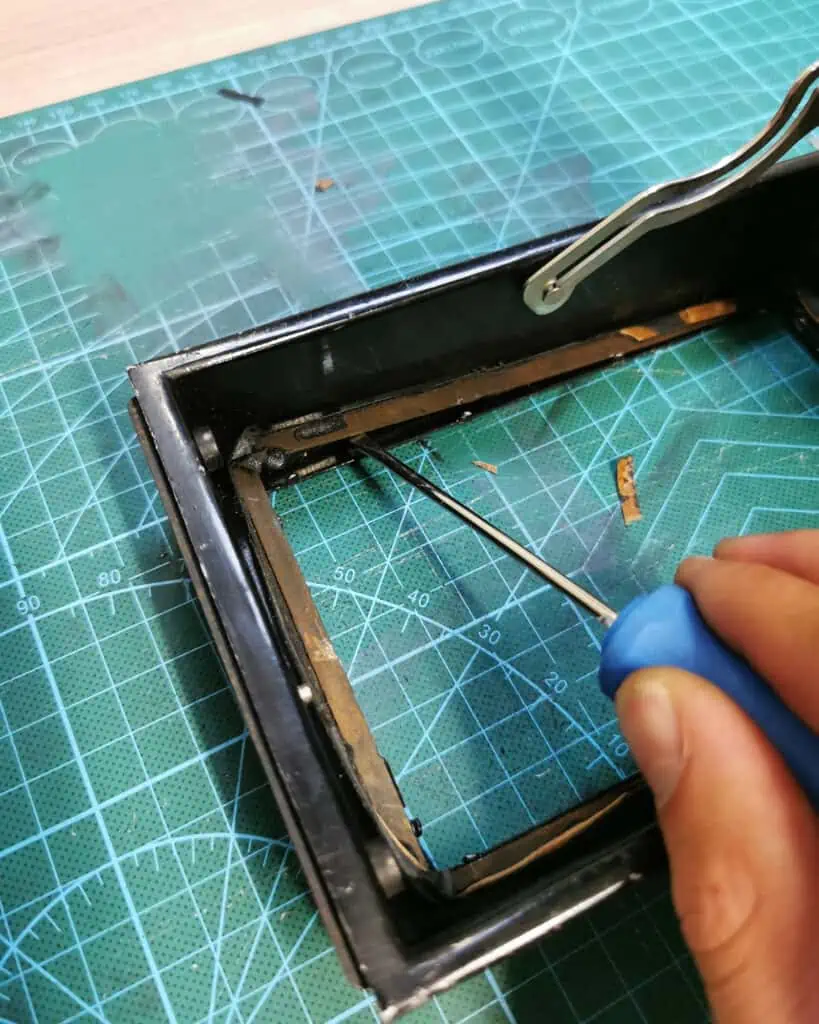
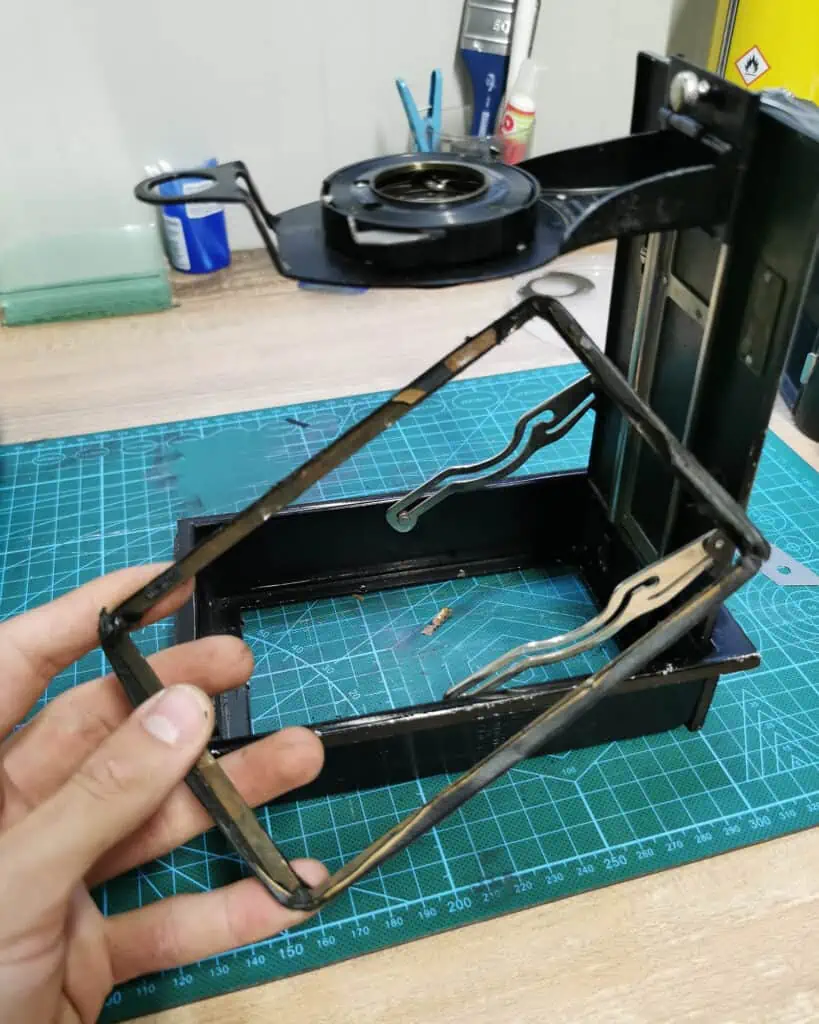
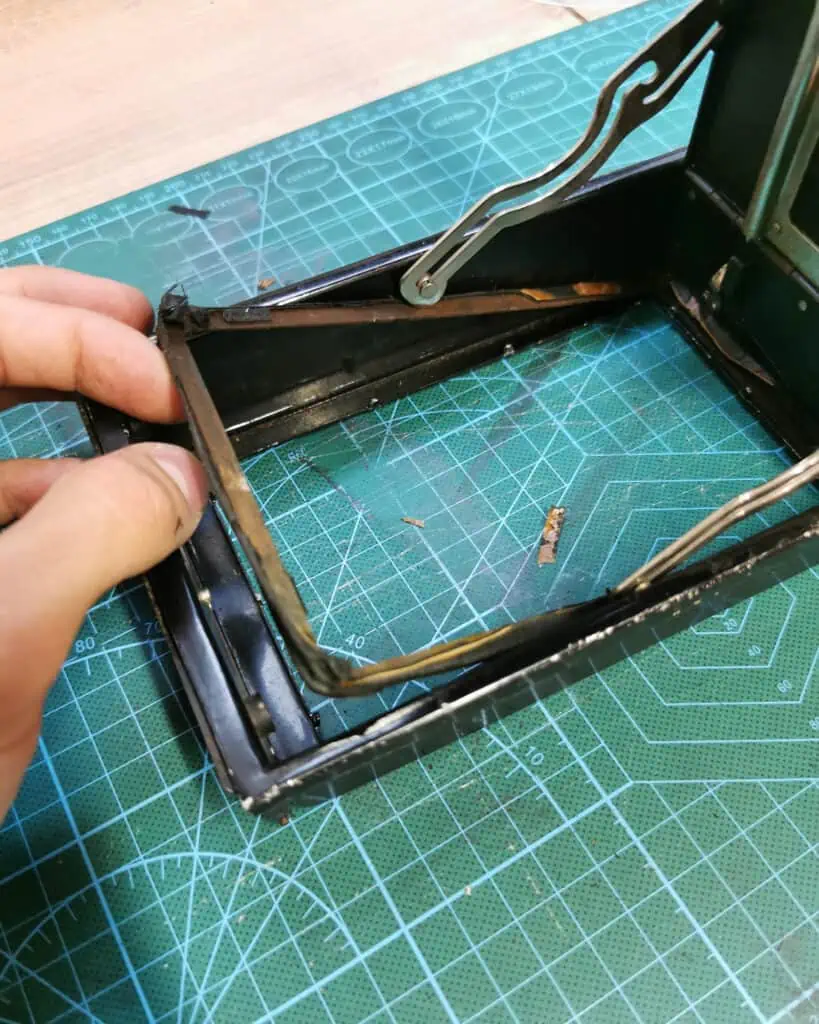
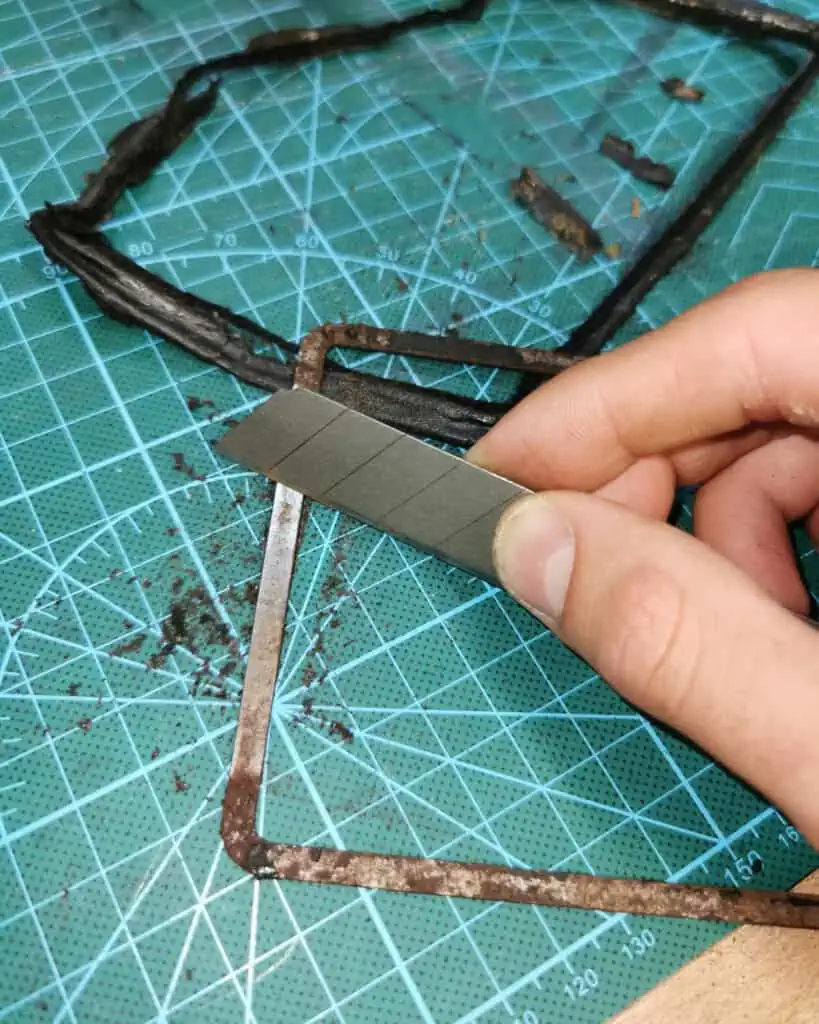
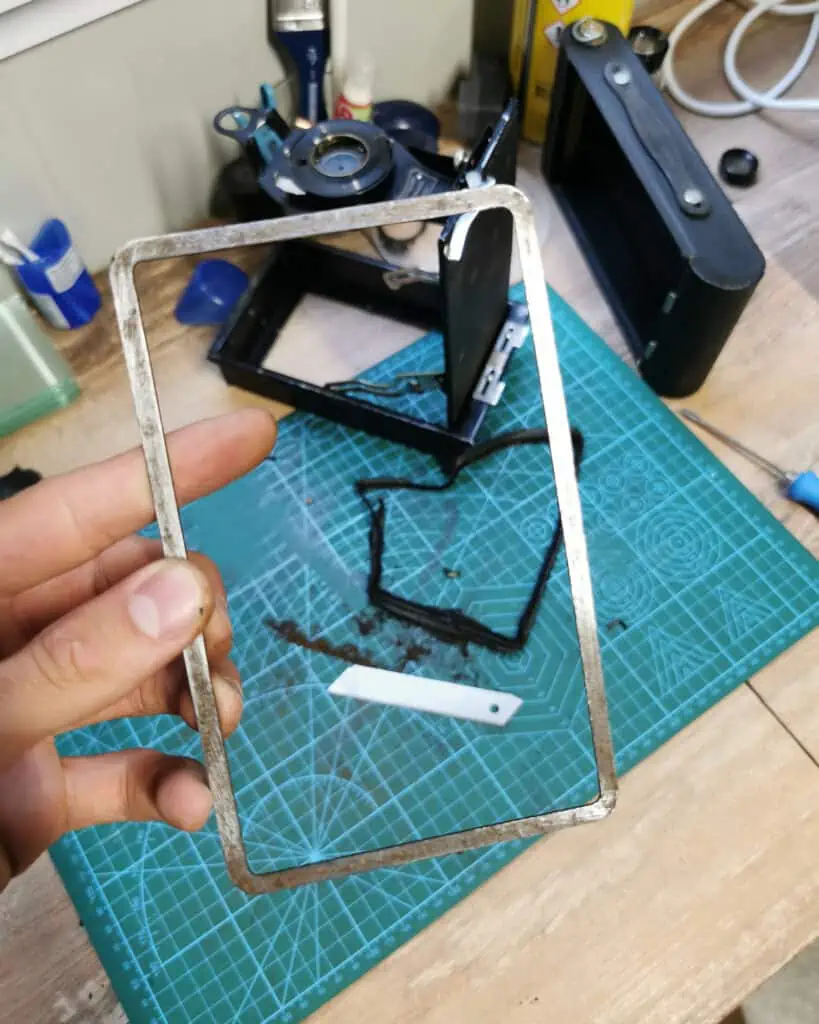
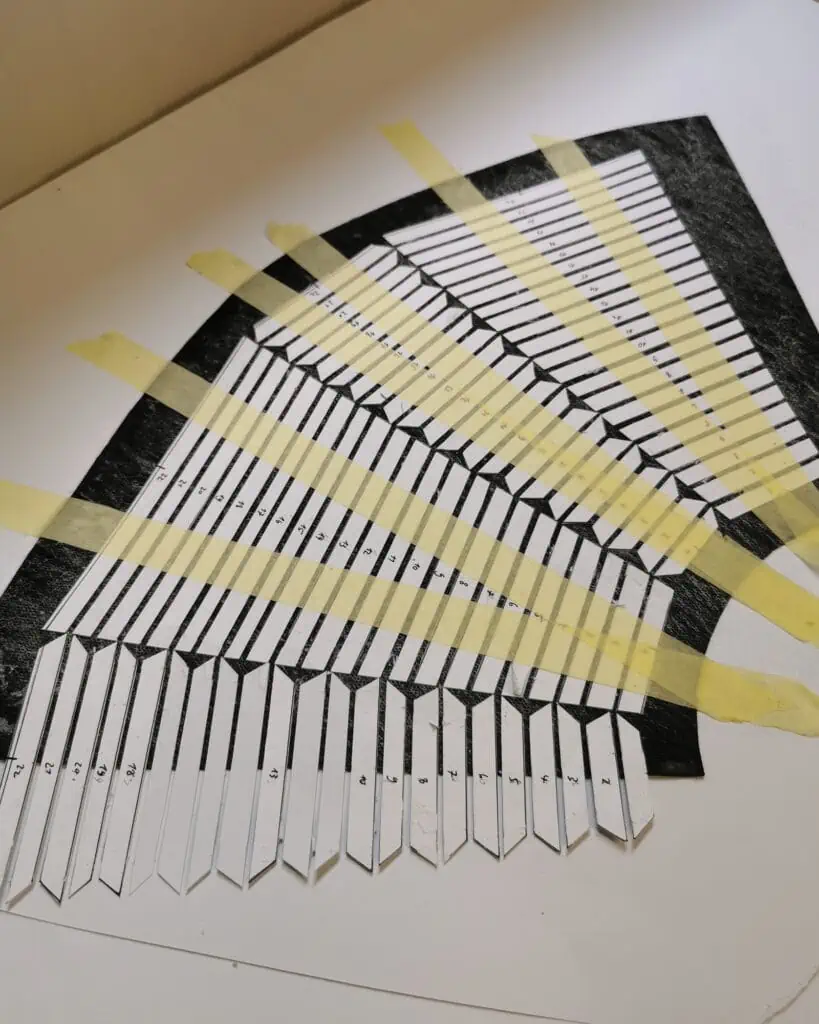
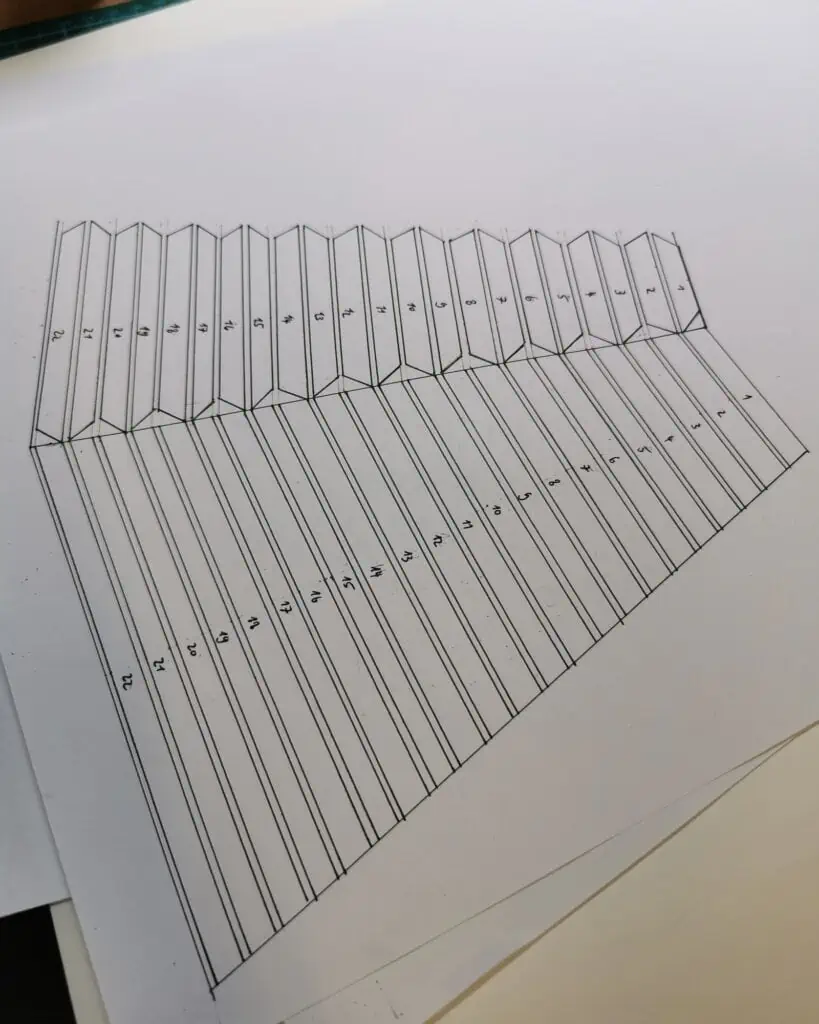
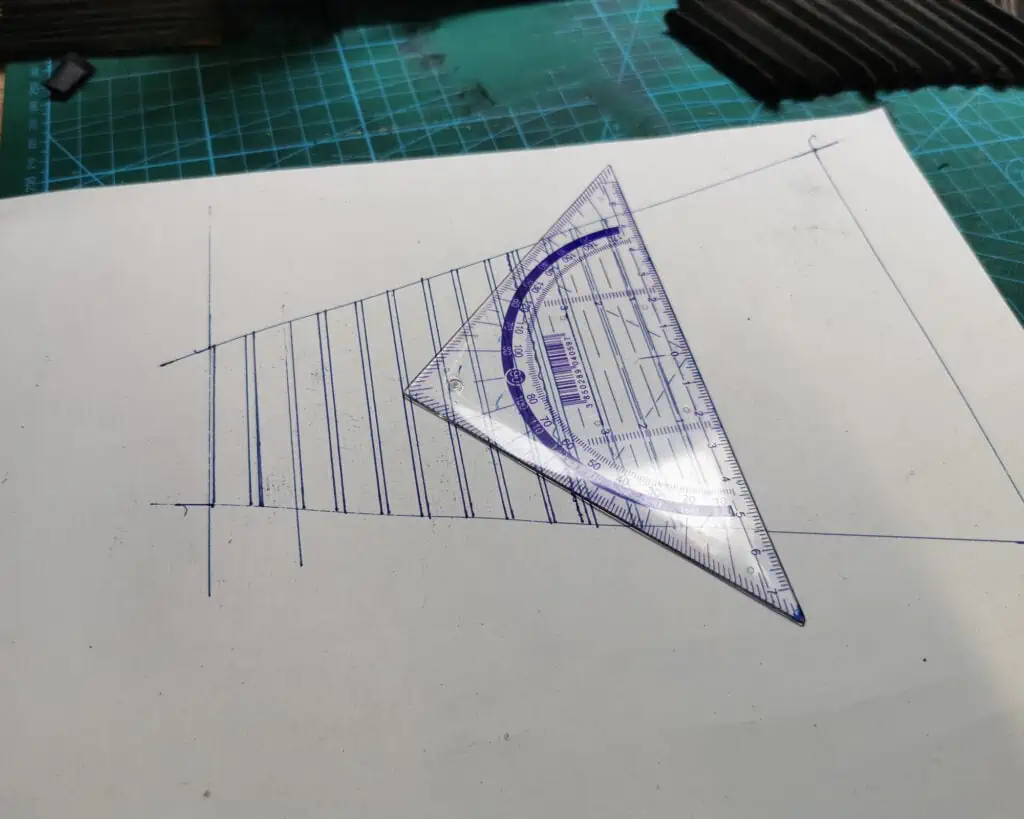
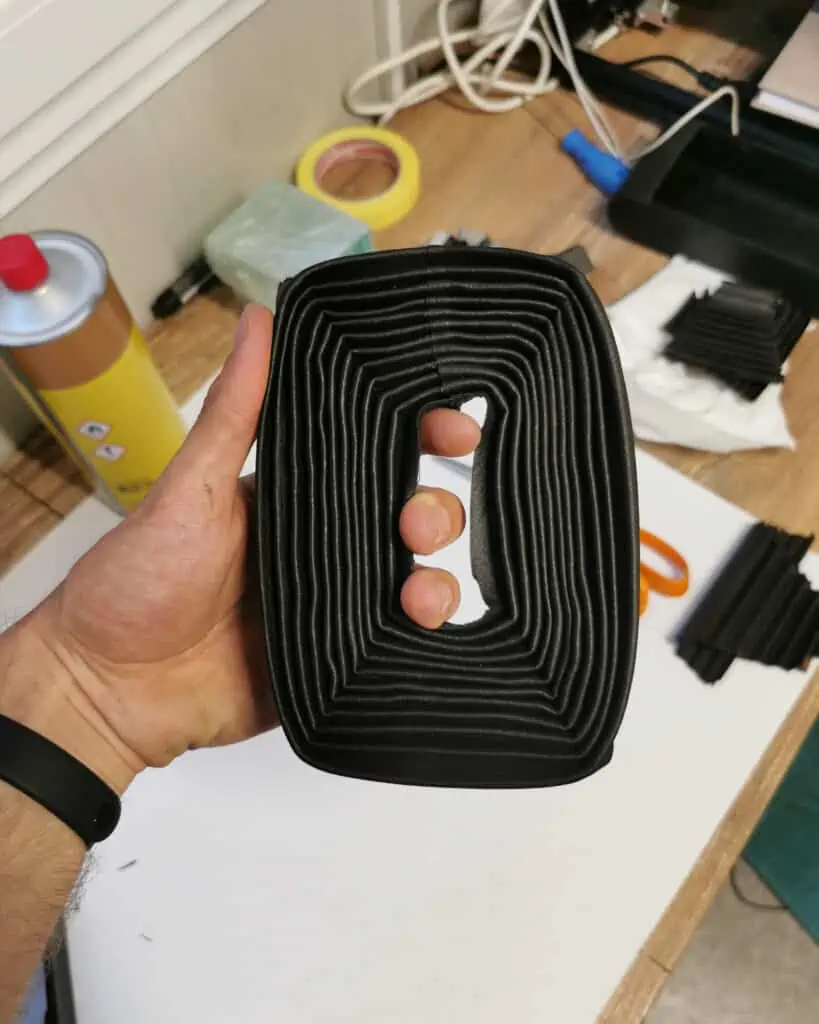
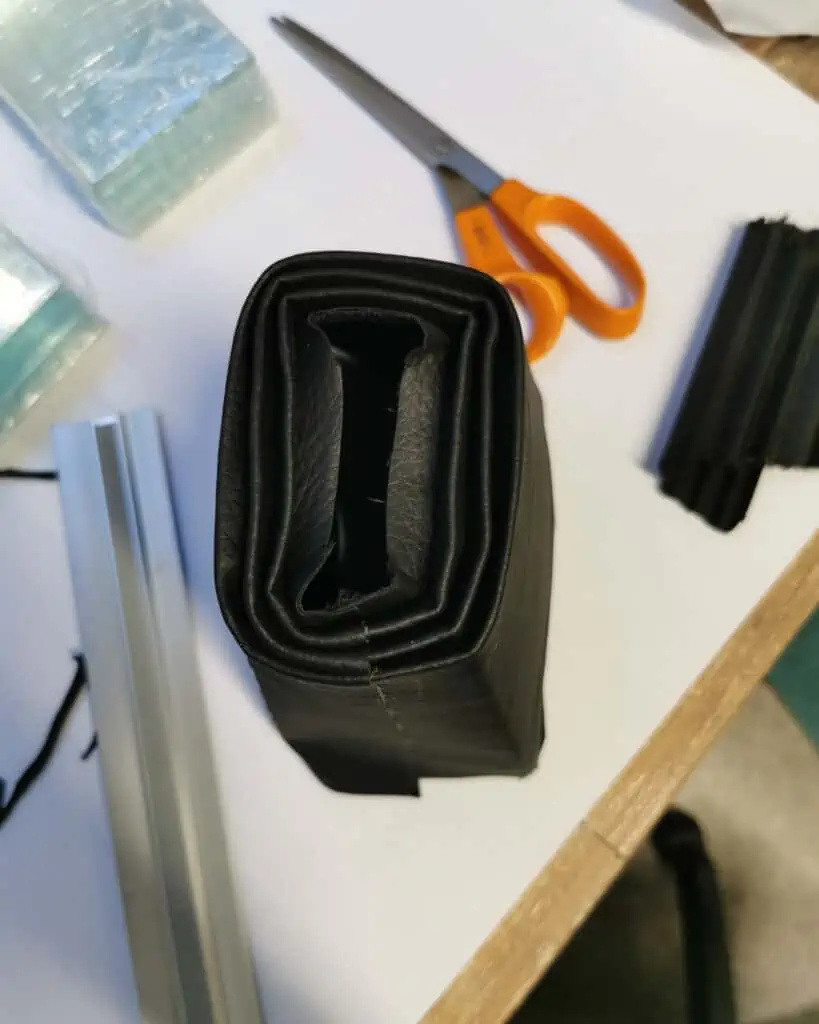
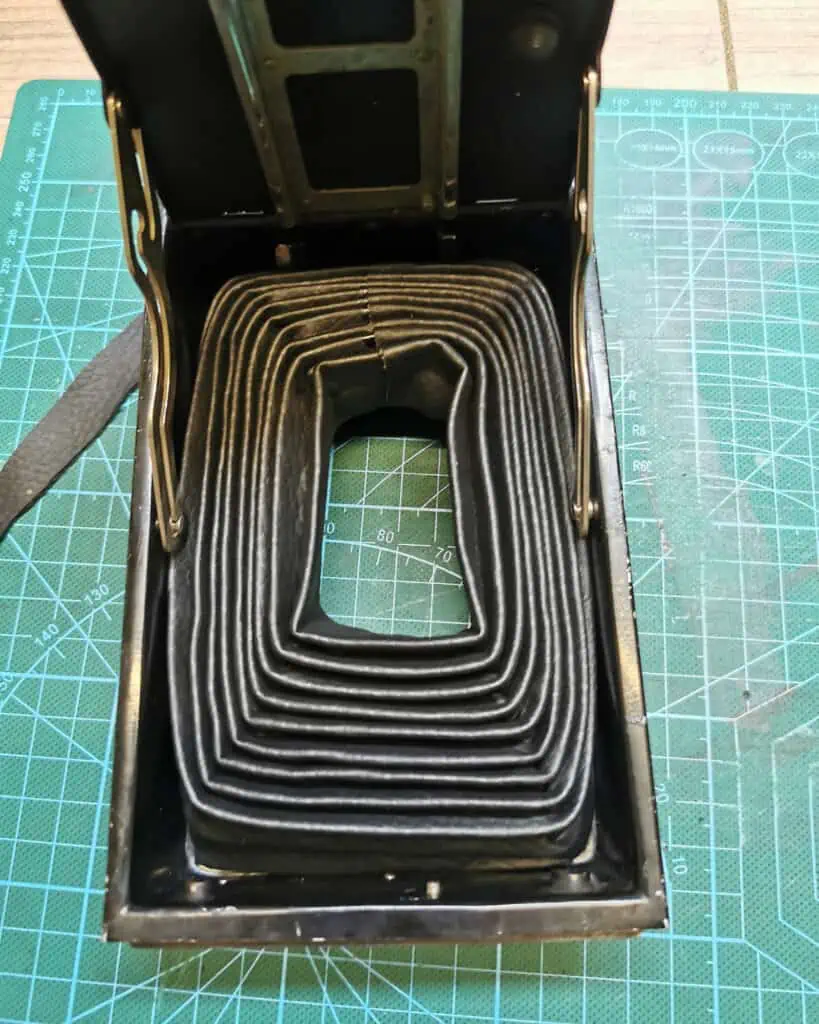
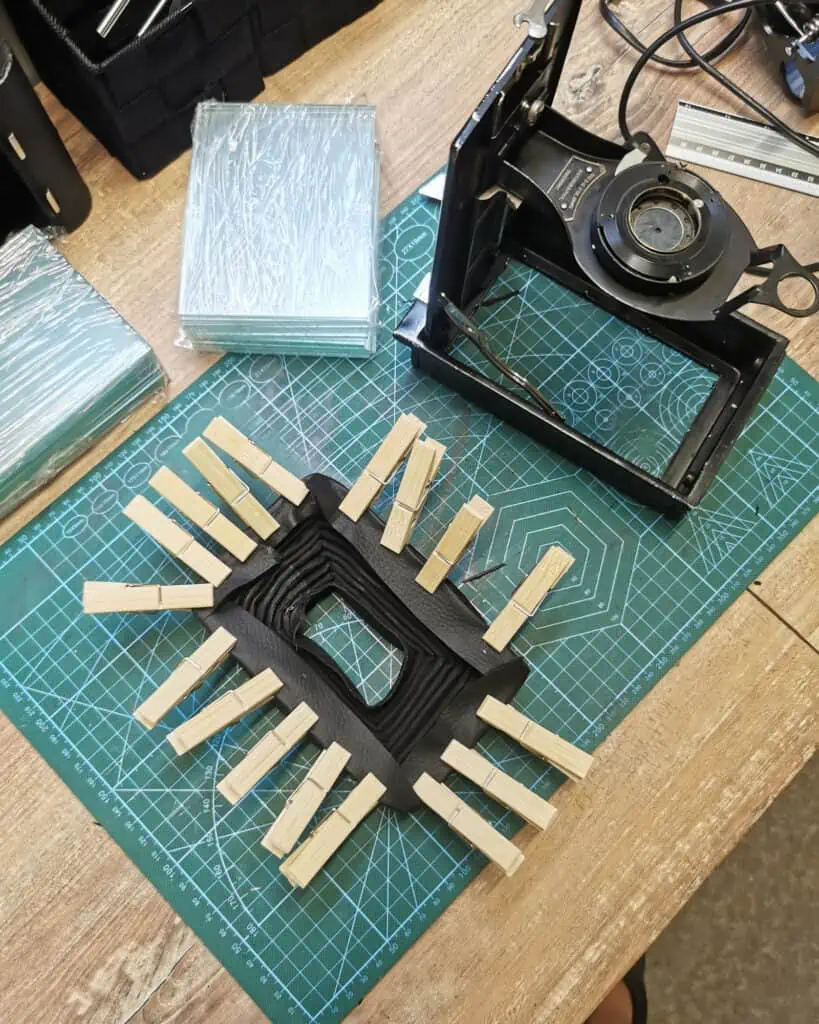
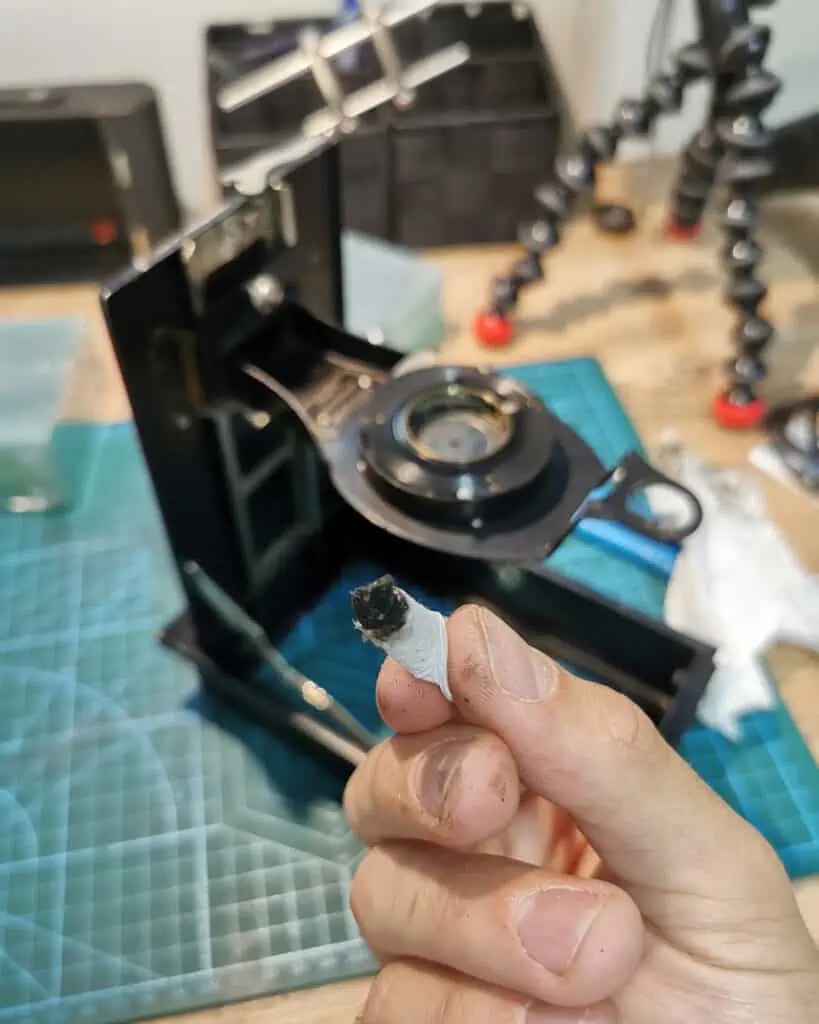
It was like on Christmas morning when I got the box in my hands. When I unboxed the camera I first checked the shutter and speeds. Fortunately everything seemed to be working fine. The only thing I noticed immediately was the damaged bellows. They are the most sensitive thing on this camera so after 100+ years it’s normal to have some weathering on them. When I extended the bellows you could just hear that they were completely dried out and just cracked on some places. God knows for how long this camera has been sitting on a dusty selfie folded down. I much rather spend time learning how to make new bellows on my own than finding turn around the whole web. And there I was making my own bellows from scratch. After a few tutorials and a visit to the local fabric store I was ready to do it. Before making a new one I took off the original bellow which was fused with the metal so it took quite a lot of strength and effort to take it off. Once it was off I was able to copy the design and start cutting, glueing, folding… I made a special blog post (LINK) on this topic as well as a video tutorial so make sure to check them out. 

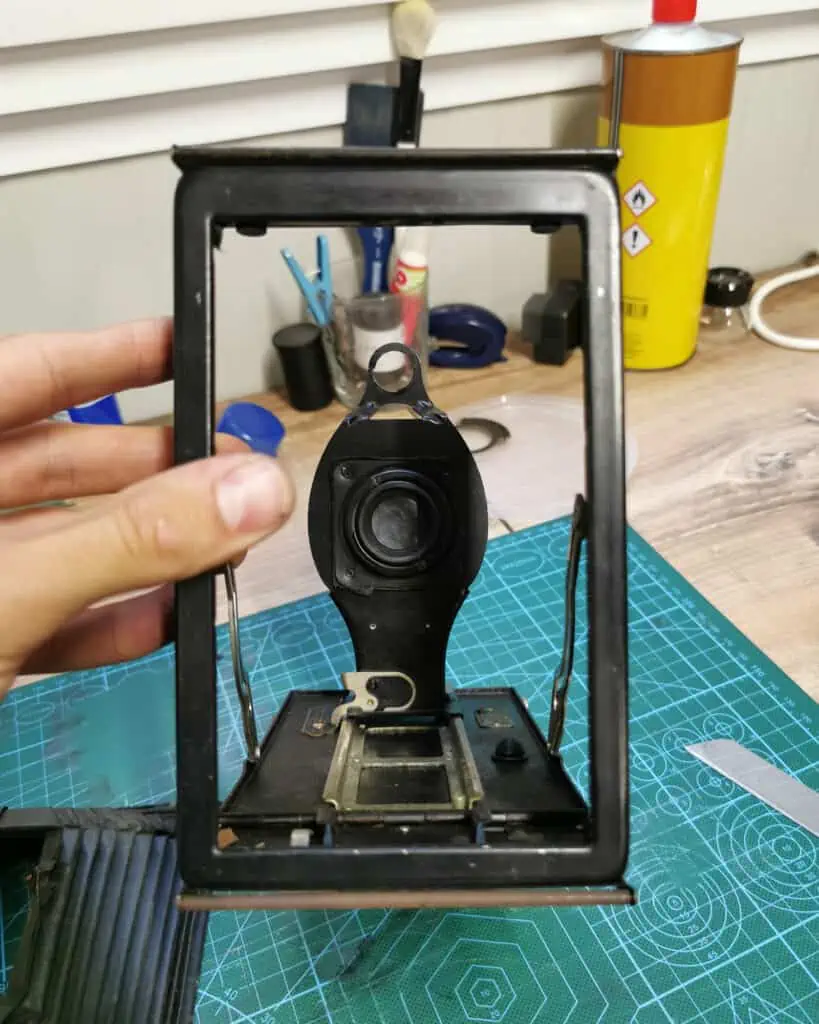
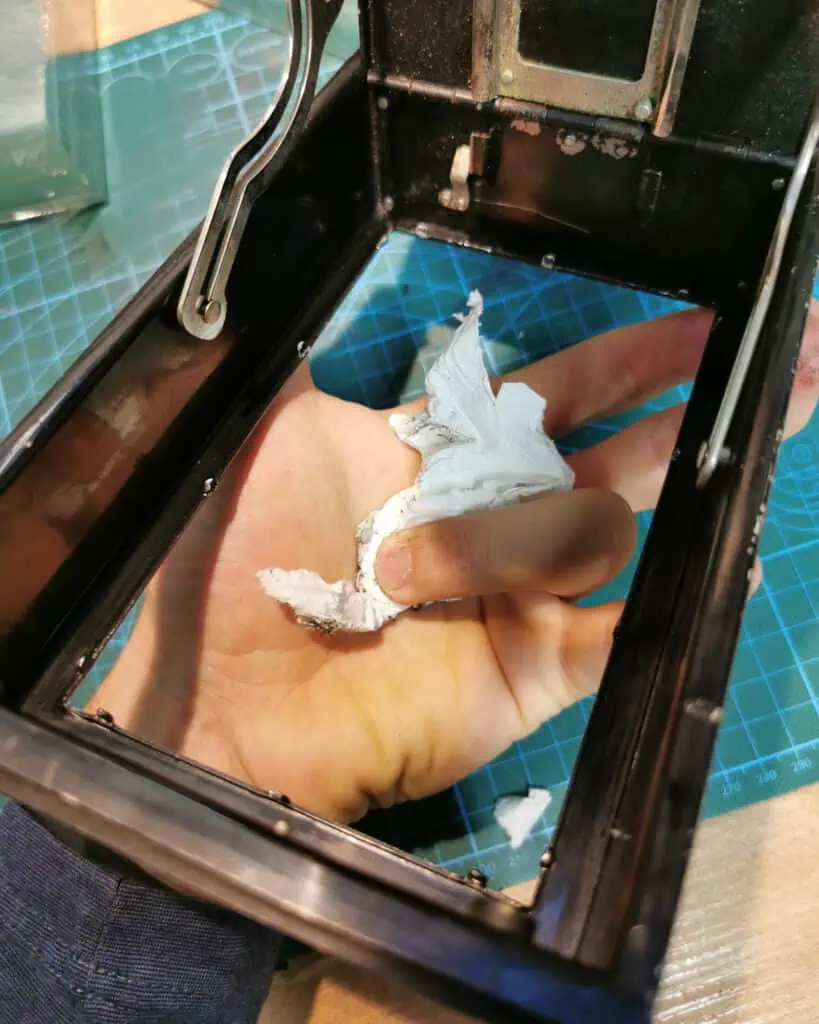
I was quite happy how the new bellows turned out even though they were slightly thicker than what I would want. After I had the bellows ready it was time to separate as many parts as possible from the main body and clean it up using a degreaser + denatured alcohol. I disassembled the lens which is scratched a bit but for me this is just an extra artefact that comes along with its age. I greased the shutter and the speeds were looking fine. There was so much black residue everywhere than it took me a lot of cotton tabs and paper towels to get it clean. I also noticed that on the back side which is made of metal and covered with thin leather there are some small cracks which may cause some light leaks. I have to take a test to see…

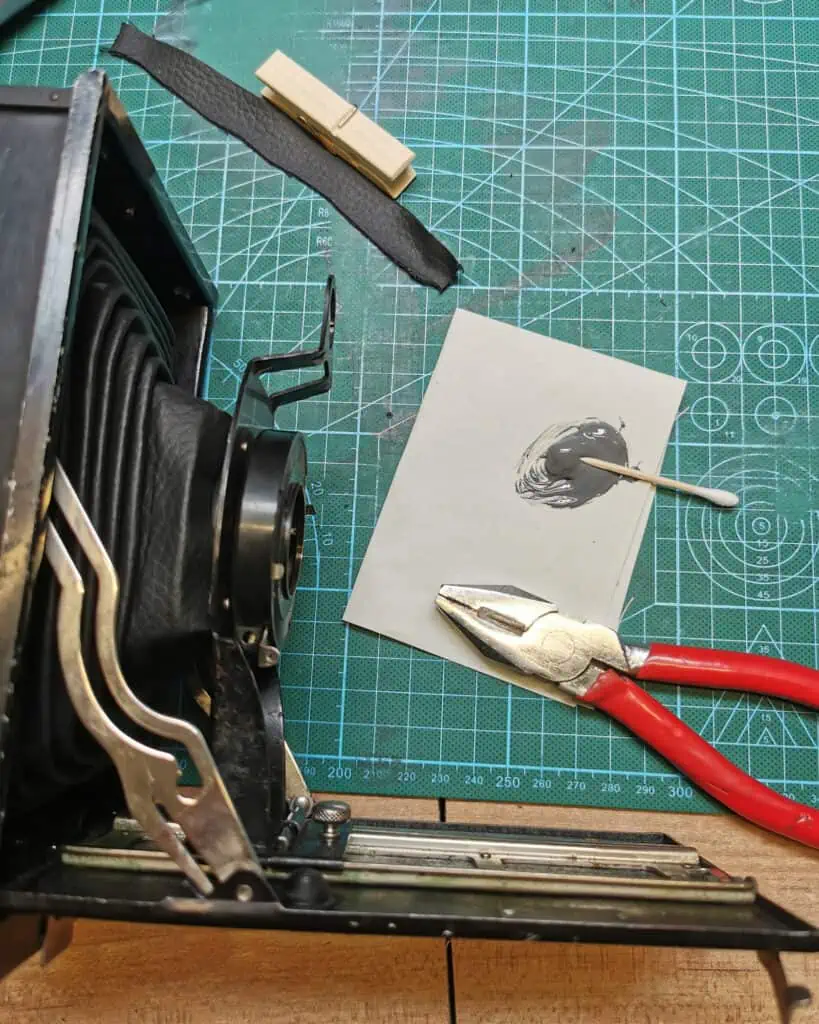
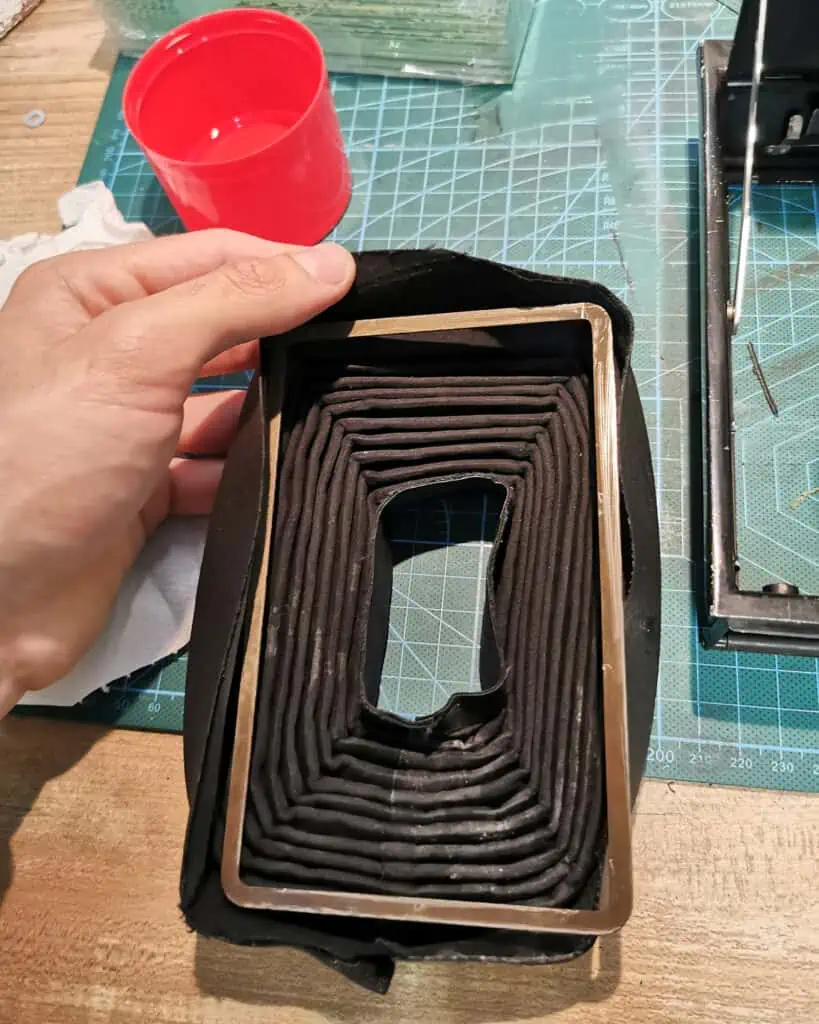
When the camera was clean I was ready to attach the new bellows. In the camera body bellows are attached with a small metal frame. Fabric from the bellows gets wrapped under this frame and then the frame is secured in the channel with metal tabs. Because my bellows were quite thick as I already mentioned it was quite difficult to fit everything together. The hardest part was glueing the front to the lens. Originally the fabric was also wrapped around a flat piece of metal and secured on the lens. Problem was that this metal piece was riveted to the lens and I just couldn take it off. This is why I decided to glue it in place. I did that with the help of epoxy glueing each side of the bellow separately. At the end it bonded great and after screwing all the other parts back together my restored Kodak Brownie No. 3A was ready for first tests.

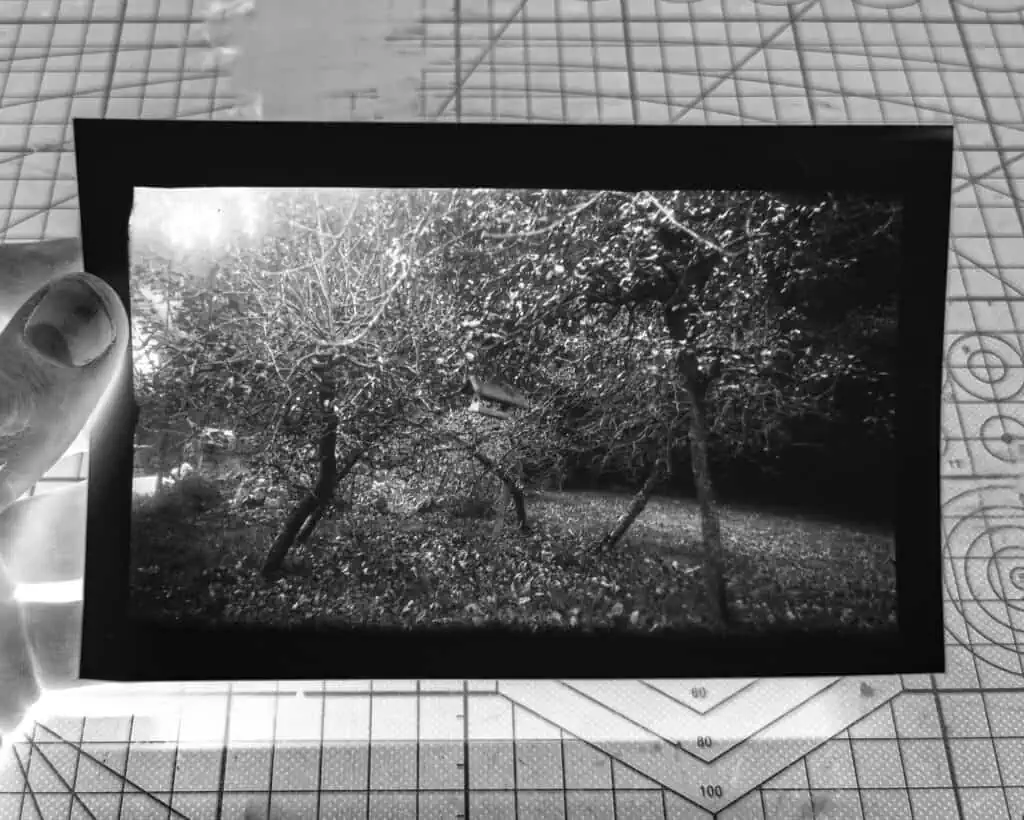
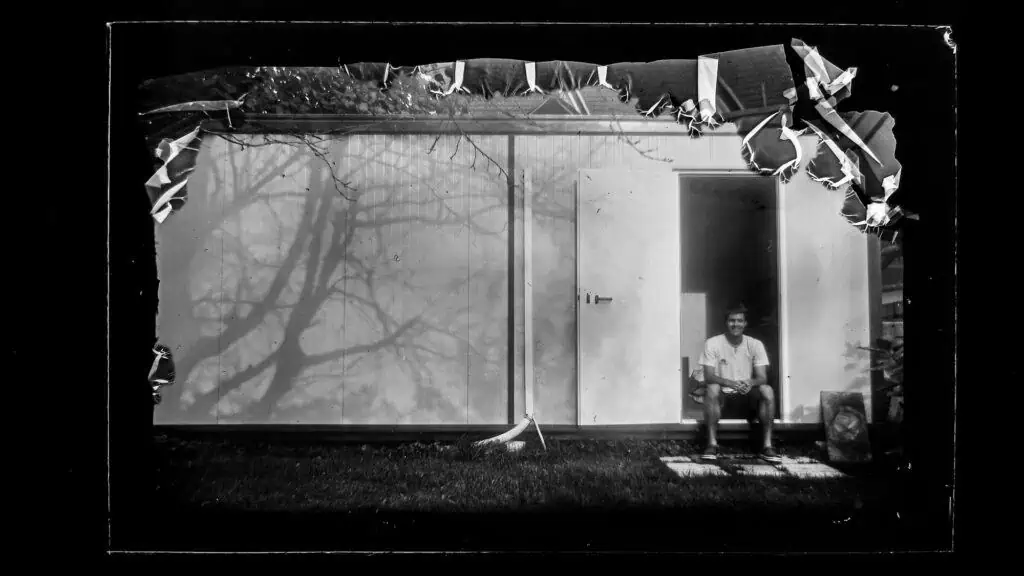
I wanted to make a quick test before moving on to dry plates so Instead of using film I just put in some Fomapan B&W paper and gave it a try. First test was a disaster but after a few more I finally figured out the speed of the paper and the right focusing distance. I was amazed with the quality of the image this old Kodak Brownie No. 3A produced making me even more excited for the glass plates. A while ago I already got glass cut to 10x16cm (4×6.3in) so it was waiting to be coated with silver gelatine emulsion (If you would like to learn how to coat dry plates on your own click here (LINK). This was the biggest plate I have coated so far but everything went smoothie. Next day dry plates were ready to shoot. Plate fits in quite snugly even tho it is only 1.8mm thick. I decided to make an autoportrait with my container darkroom and the results were fantastic. 

After this restoration of Kodak Brownie No. 3A I would like to say that I learned many new things and I just can’t wait to take this baby out in nature!

Wild Camping in Alps & Large Format Landscape Photography | Glass Dry Plates + Intrepid 4x5 Camera

Leave a Reply

Your email address will not be published. Required fields are marked *