Zebra Dry Plates just got Upgraded!

Hello Zebra Family,
It’s been a while since my last chat with you as you are keeping me unbelievably busy all the time. My main moto in the last few months has been work more sleep less 😀 Joke to the side I can not complain about how the Zebra brand has been growing lately becoming more and more recognizable in our analog community. I am very happy that Zebra products are now known for their quality but there is always room to improve things. Besides making new awesome products my everyday goal is how to make those that are already being sold better. And this is where you, my dear followers, supporters, customers and friends play a crucial role!
What I believe is good design?
I am a strong believer that the key to having good design and products does not lie in me but in you Zebra Family. I construct new products based on my experience on what I like and what I miss in other products. But this is only one single experience, just one point of view. I obviously do my best not to release the product until I believe it’s absolutely perfect. But like I said this is based only on one or a few experiences. When the Zebra product “hits the streets” everybody is using it differently, everyone has its own style of taking photographs, its own preferences, its own environments…etc. This is why I am always happy with every feedback, good or bad, as it opens my eyes on so many different levels.
Making high quality Dry Plates in my duty & constantly improving them is my mission!
Improving the quality of Zebra Dry Plates is a never ending process
When I started out there were only a few Dry Plate shooters out there but now there are hundreds of you all around the world so I am getting lots of feedback all the time in fact I often get in touch myself to see peoples experience. I then gathered these suggestions, evaluated them and incorporated them into the design in a way to take as many in account as possible.
Remember all Zebra Dry Plates to date were hand coated by me personally as after numerous tries of mechanizing the process from spin coating, drag coating, airbrushing… I still believe that there is no machine that can coat a plate with such a high quality coating then the human eye and hand can(at least on such a small scale). The higher the demand the faster I have to work but at the same time my skill is improving as well. I have come to numerous advancements in the hand coating process solely from my personal experience. And my dry plate wrapping skills are ready to become a Youtube sensation 😀
ZEBRA DRY PLATES 2.0
Now that you know how I approach things, let’s focus on the main point of this writing. It has been less than two years since I have sold my first box of Zebra Dry Plates and I have hand coated almost 10000 of them so far. I am very happy that I am able to share the magic of dry plates with so many of you. Thanks!
When the first box left the Zebra Factory I was nervous how plates would behave in the hands of someone who is using Dry Plates for the first time and hundreds of boxes later this fear of failing is still in the back of my head somewhere. Nevertheless it’s all chemistry that can behave in its own way which is hard to address sometimes. This fear pushed me to introduce many advancements along the way so that you Zebra shooters would have pleasant experience working with 150 years old processes. I can confidently say that the quality of the plates is on a whole different level compared to the first few boxes. There are less bubbles, less dust, coatings are more even… But in the last months or so I came to realize that with current techniques and chemicals I use there is not much room left for improvements. Bigger changes had to be made…
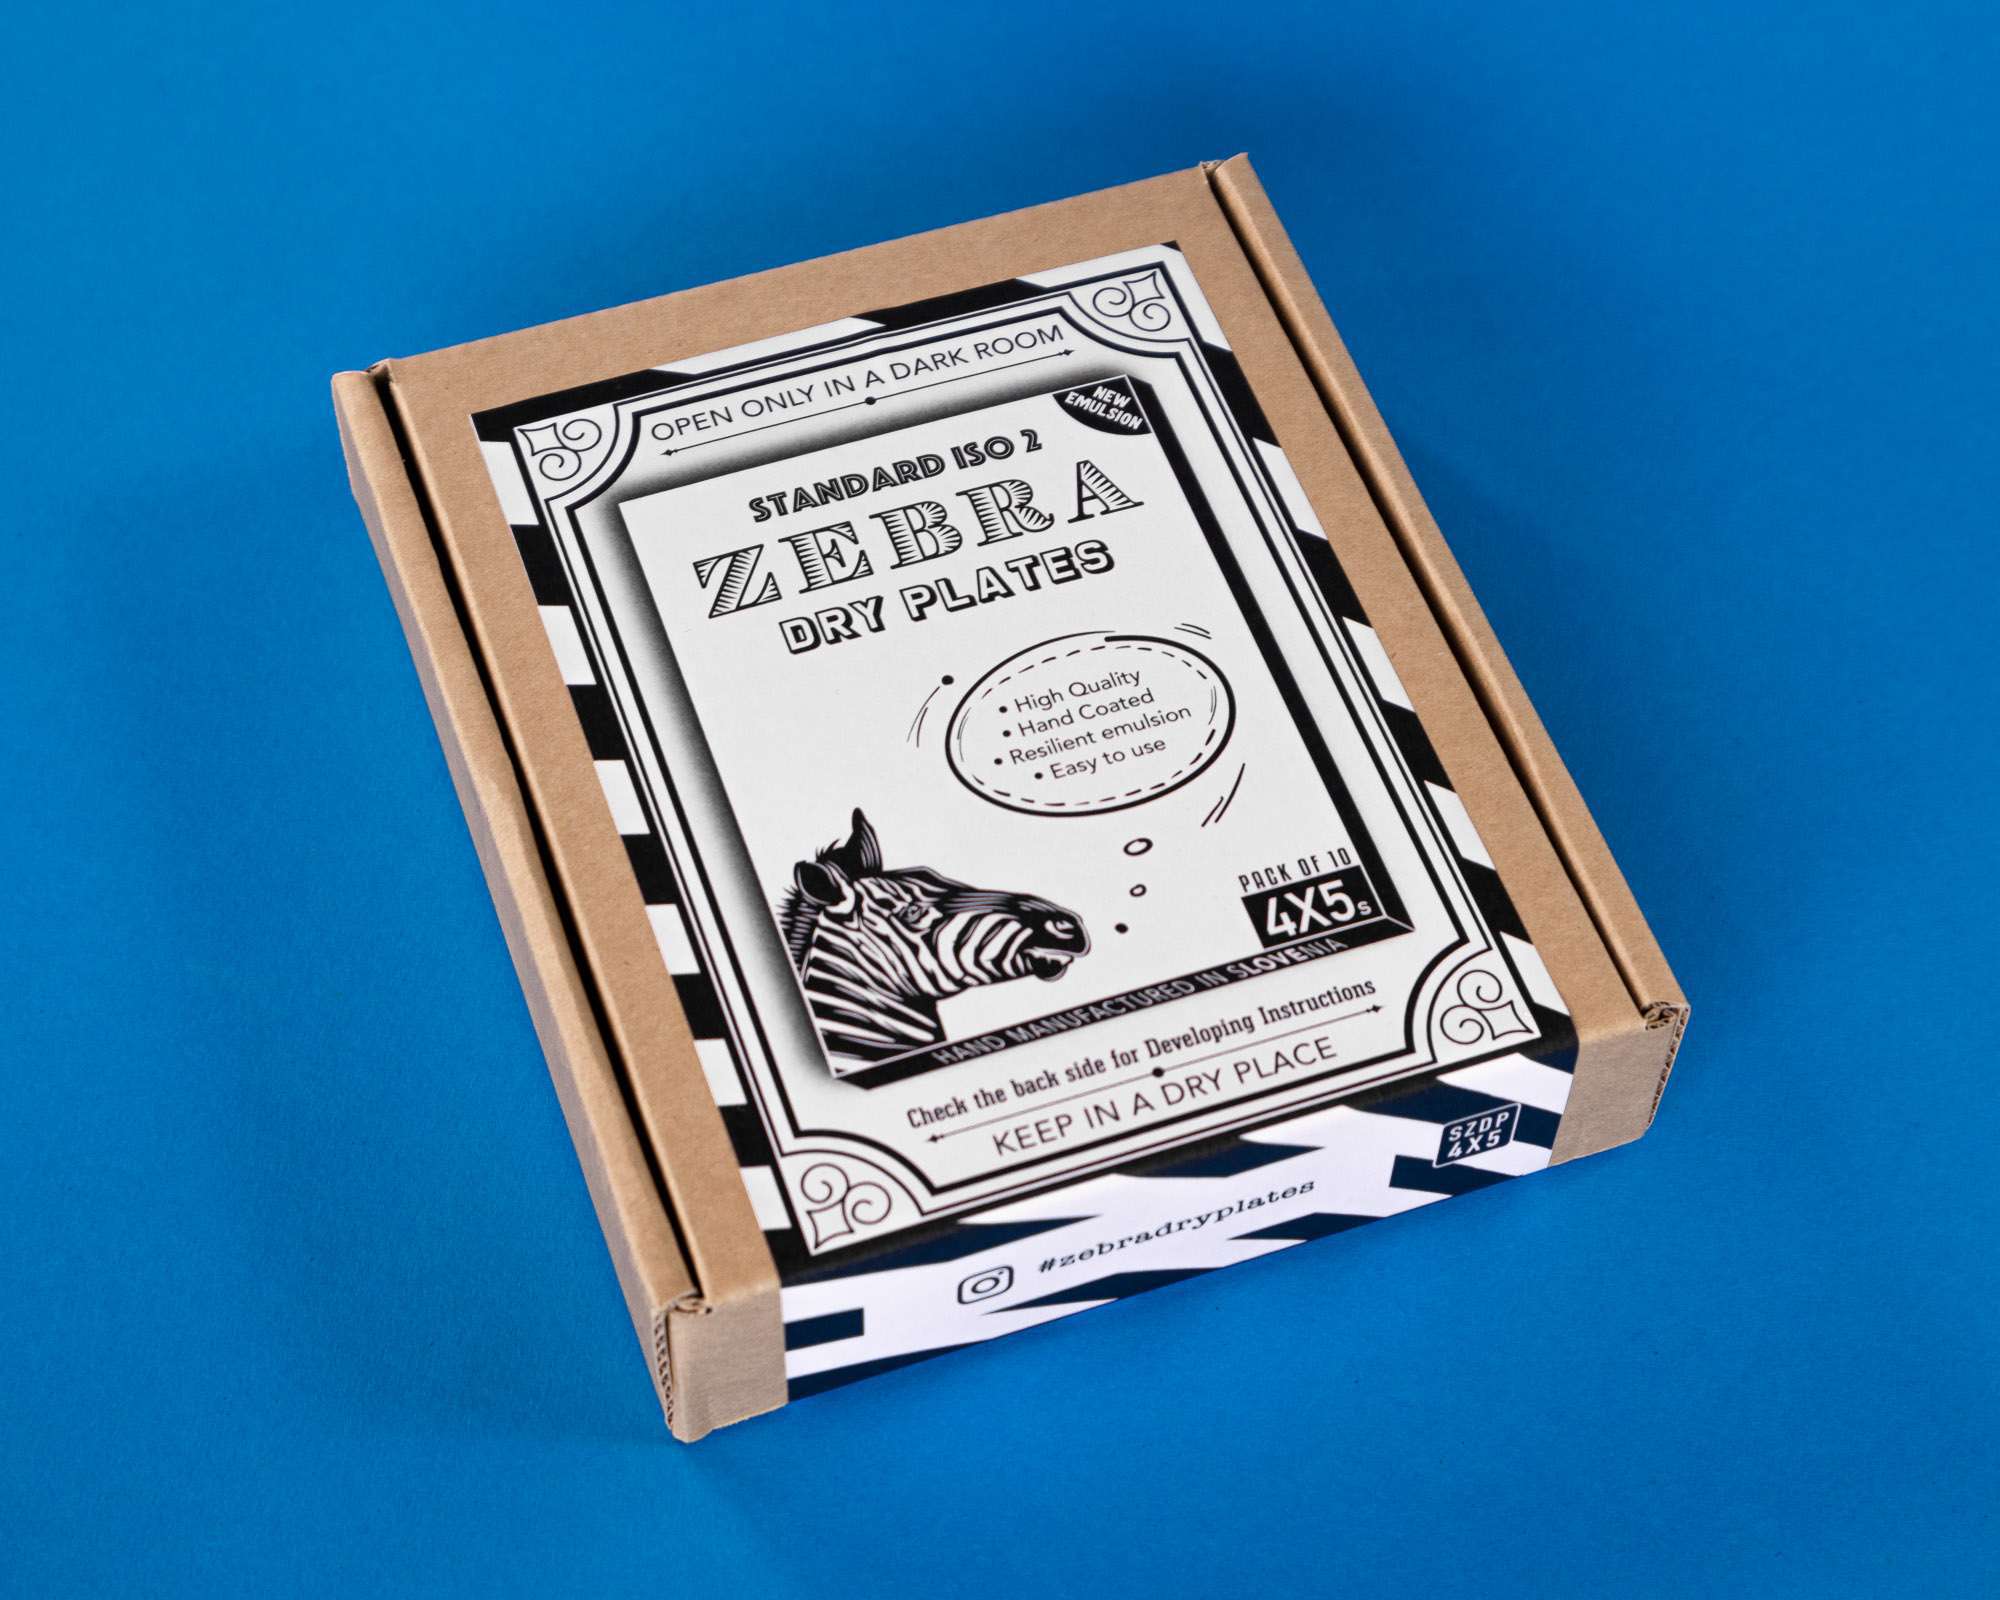
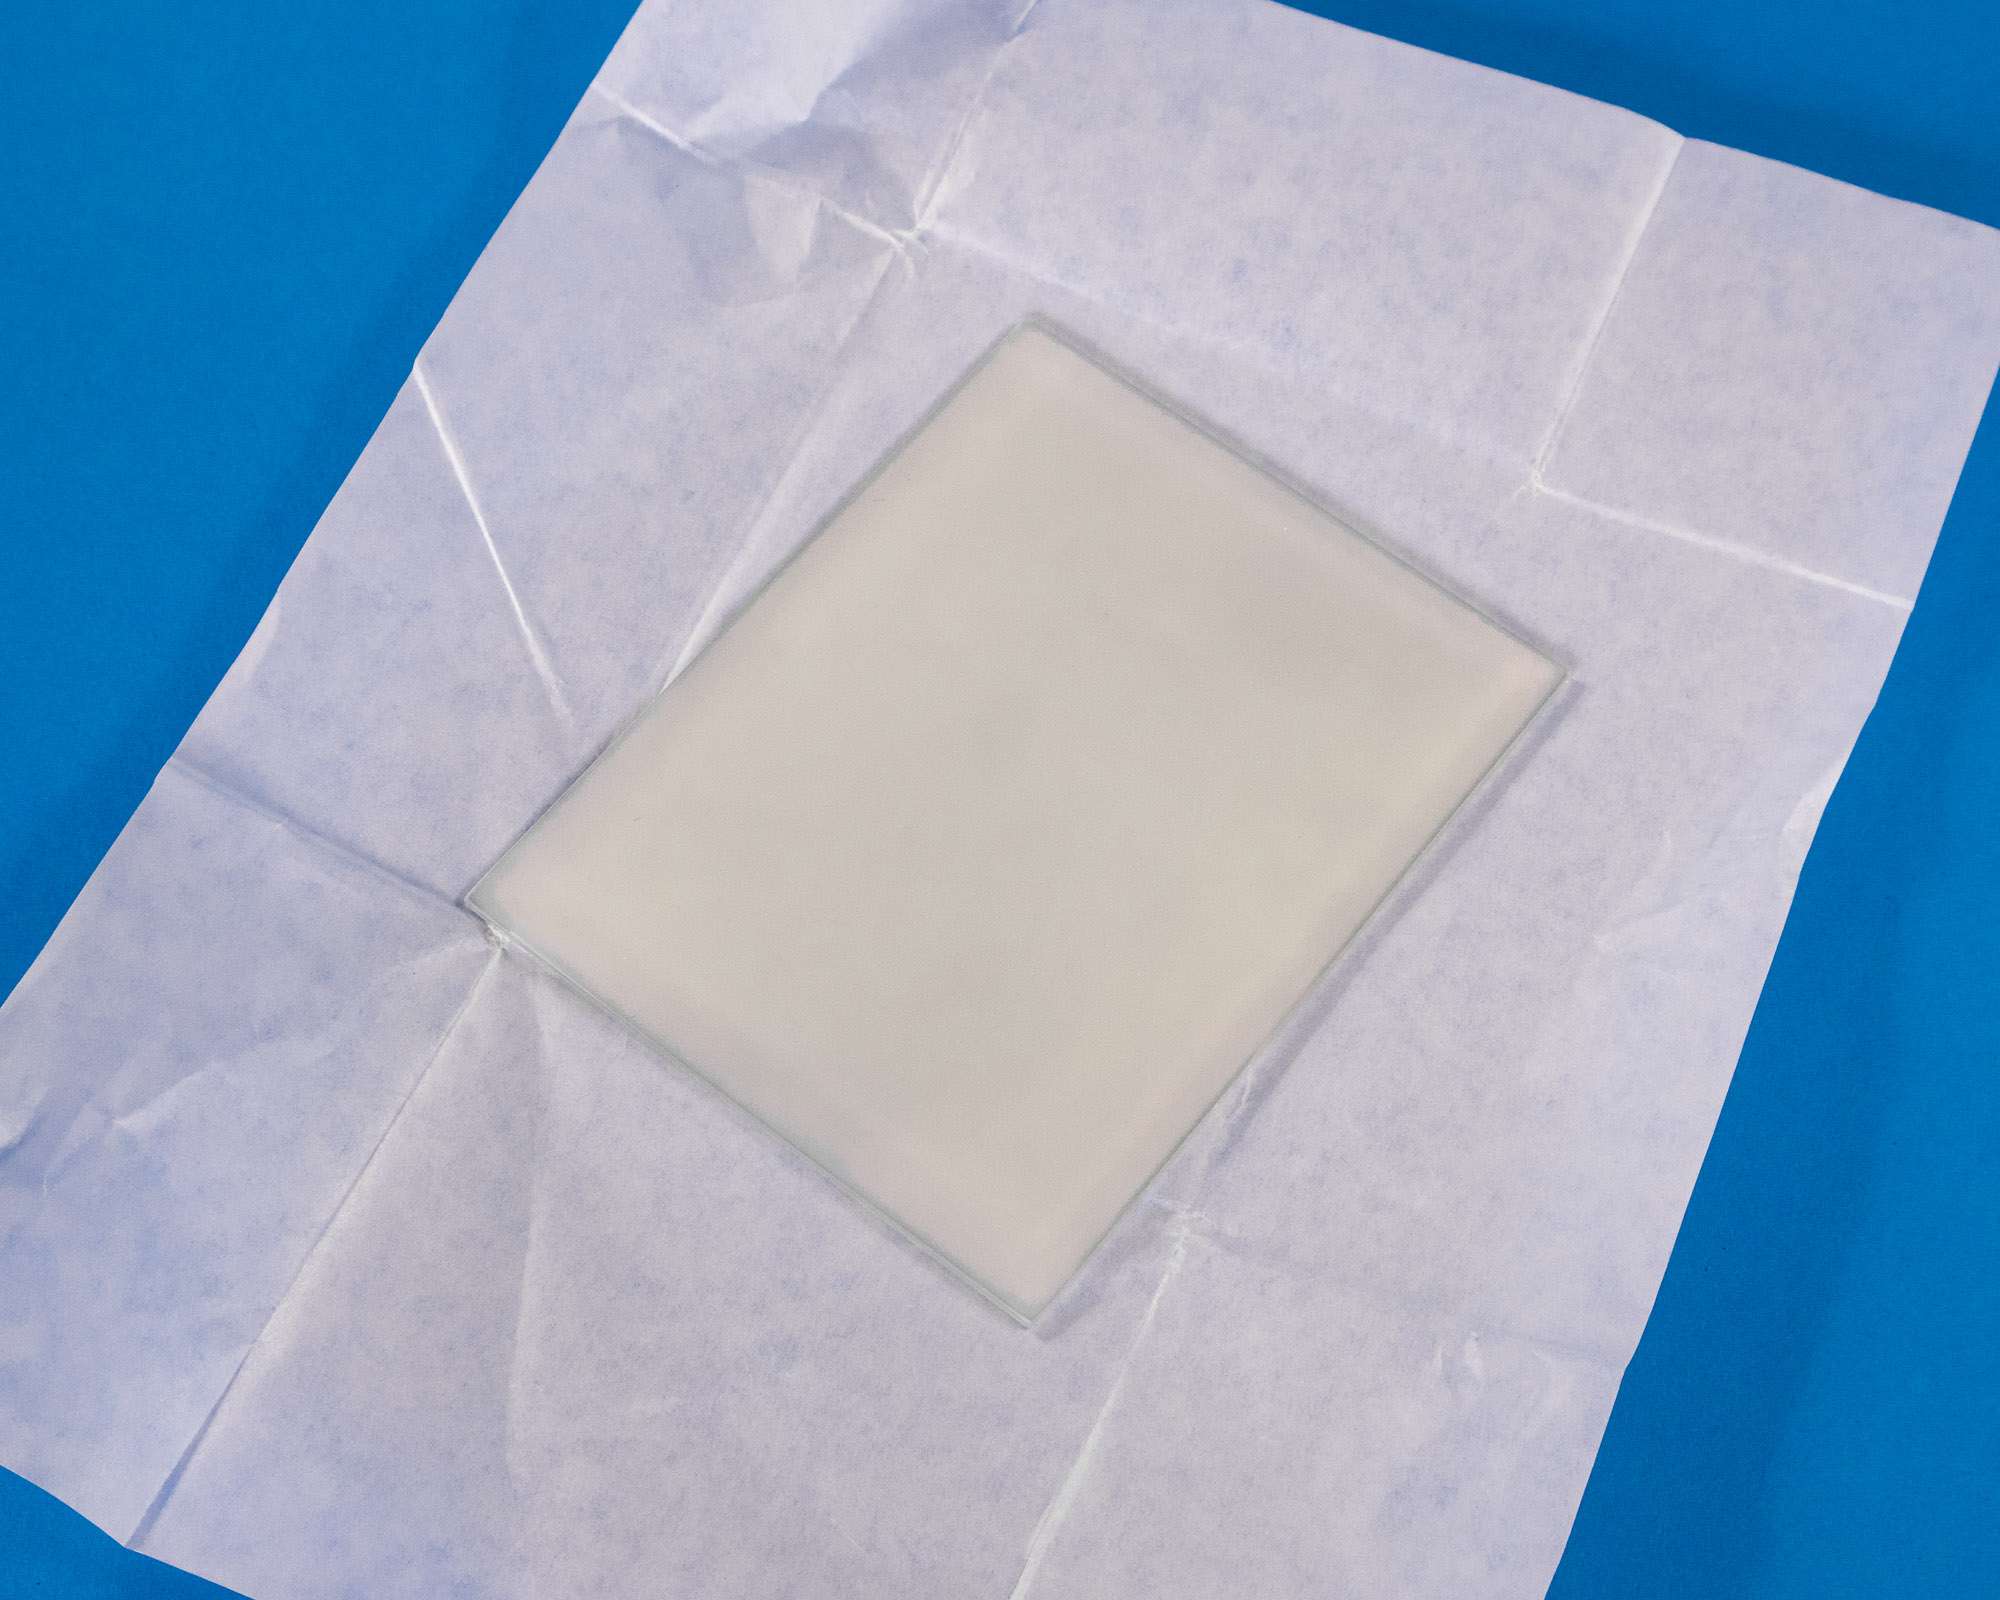
New Resilient Emulsion
One of the biggest fears of every Dry Plate Shooter is that the emulsion will lift, wrinkle or owerswell during the dev. the process and their best shot of the day that was so perfectly exposed will be irreparably ruined. We all know that feeling sucks! Let’s face it Zebra Plates were not 100% safe when it comes to that even though I have introduced many solutions to this problem that were very successful some of you still had such problems. Every time this happened my fear of failure alarms went off and I knew how I could fix this. I just didn know how to do it without sacrificing quality.
The main thing I could do to fix this is sobb the plates. What is sobbing? Actually you predipp the clean glass plates into the weak solution of gelatine and hardener that makes for a perfect surface for emulsion to adhere. Why didn’t I sobb Zebra Plates? Because by sobbing the emulsion is not flowing nicely anymore and it’s virtually impossible to make a perfect coating without artifacts.
Another way of making emulsion adhere better is adding hardener and there are a few options out there like Chrome Alum, Formalin… When hardener is added to the emulsion there are additional molecular links being made between glass and emulsion making for a much more resilient coating. You would say hardeners are great and indeed they are if you are coating just a few plates for yourself. But for me they were a bit harder puzzle to solve because as soon as you add hardener to the melted emulsion the clock starts ticking and with every minute the emulsion is becoming more and more firm even if you are constantly applying heat and stirring. I coat a couple hundred plates at once and by the 20th plate I would have been left with a slime like emulsion that could not be coated with high quality standards of mine. Yes I could play with the ratios and dilutions but adding too little and there is no hardening effect or adding too much and I can only coat 5 plates at once.
I will repeat once more that when you make plates for yourself all these tips are very useful and worth experimenting with but once you have a Dry Plate Production going on you have to look beyond and find a different approach.
I have experimented for the last few months with different hardeners, their ratios, added other chemicals to the mix and so on. Many experiments were very promising but either the quality or characteristics of the emulsion were not what I wanted but good things come to those who are persistent.
I have found my perfect mix!
I have found a way to make the emulsion bulletproof by maintaining the high quality and characteristic on which Zebra Dry Plates are known for. Now Zebra Plates will survive all kinds heat/chemical torture. Now I will be finally able to encourage people to experiment with all kinds of developers and report back without fear of them experiencing any problems. This way Zebra Dry Plates are now more user friendly than ever and also Zebra Dev. Chart will start expanding.
Here are some photos from the testing phase:
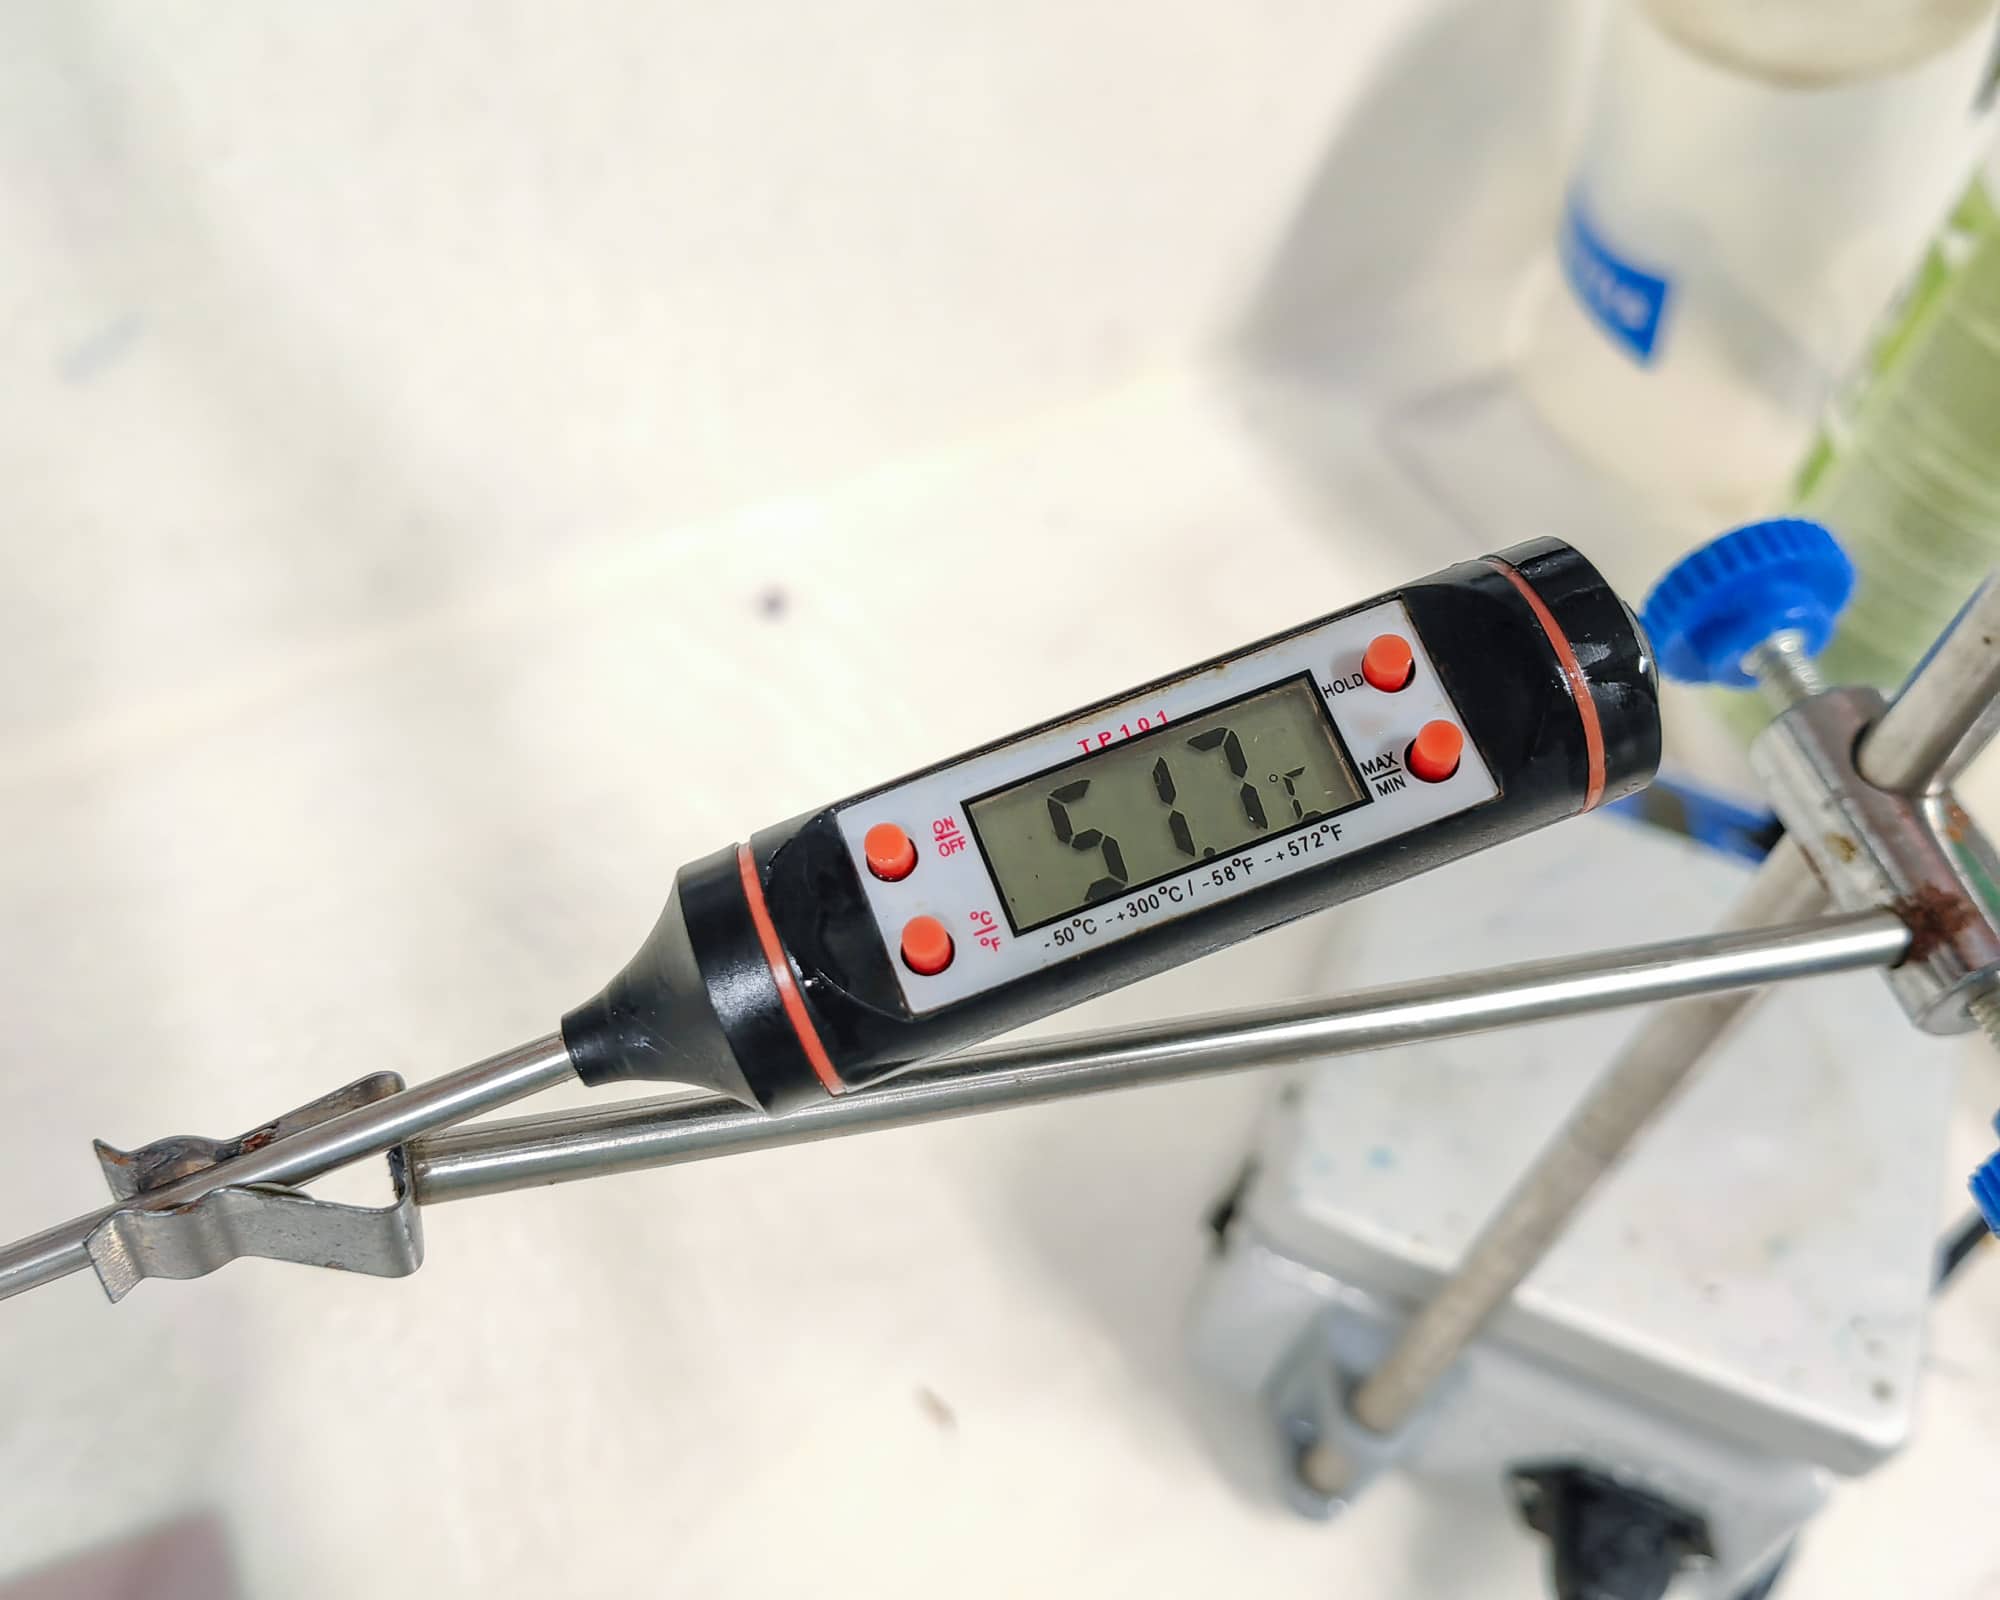
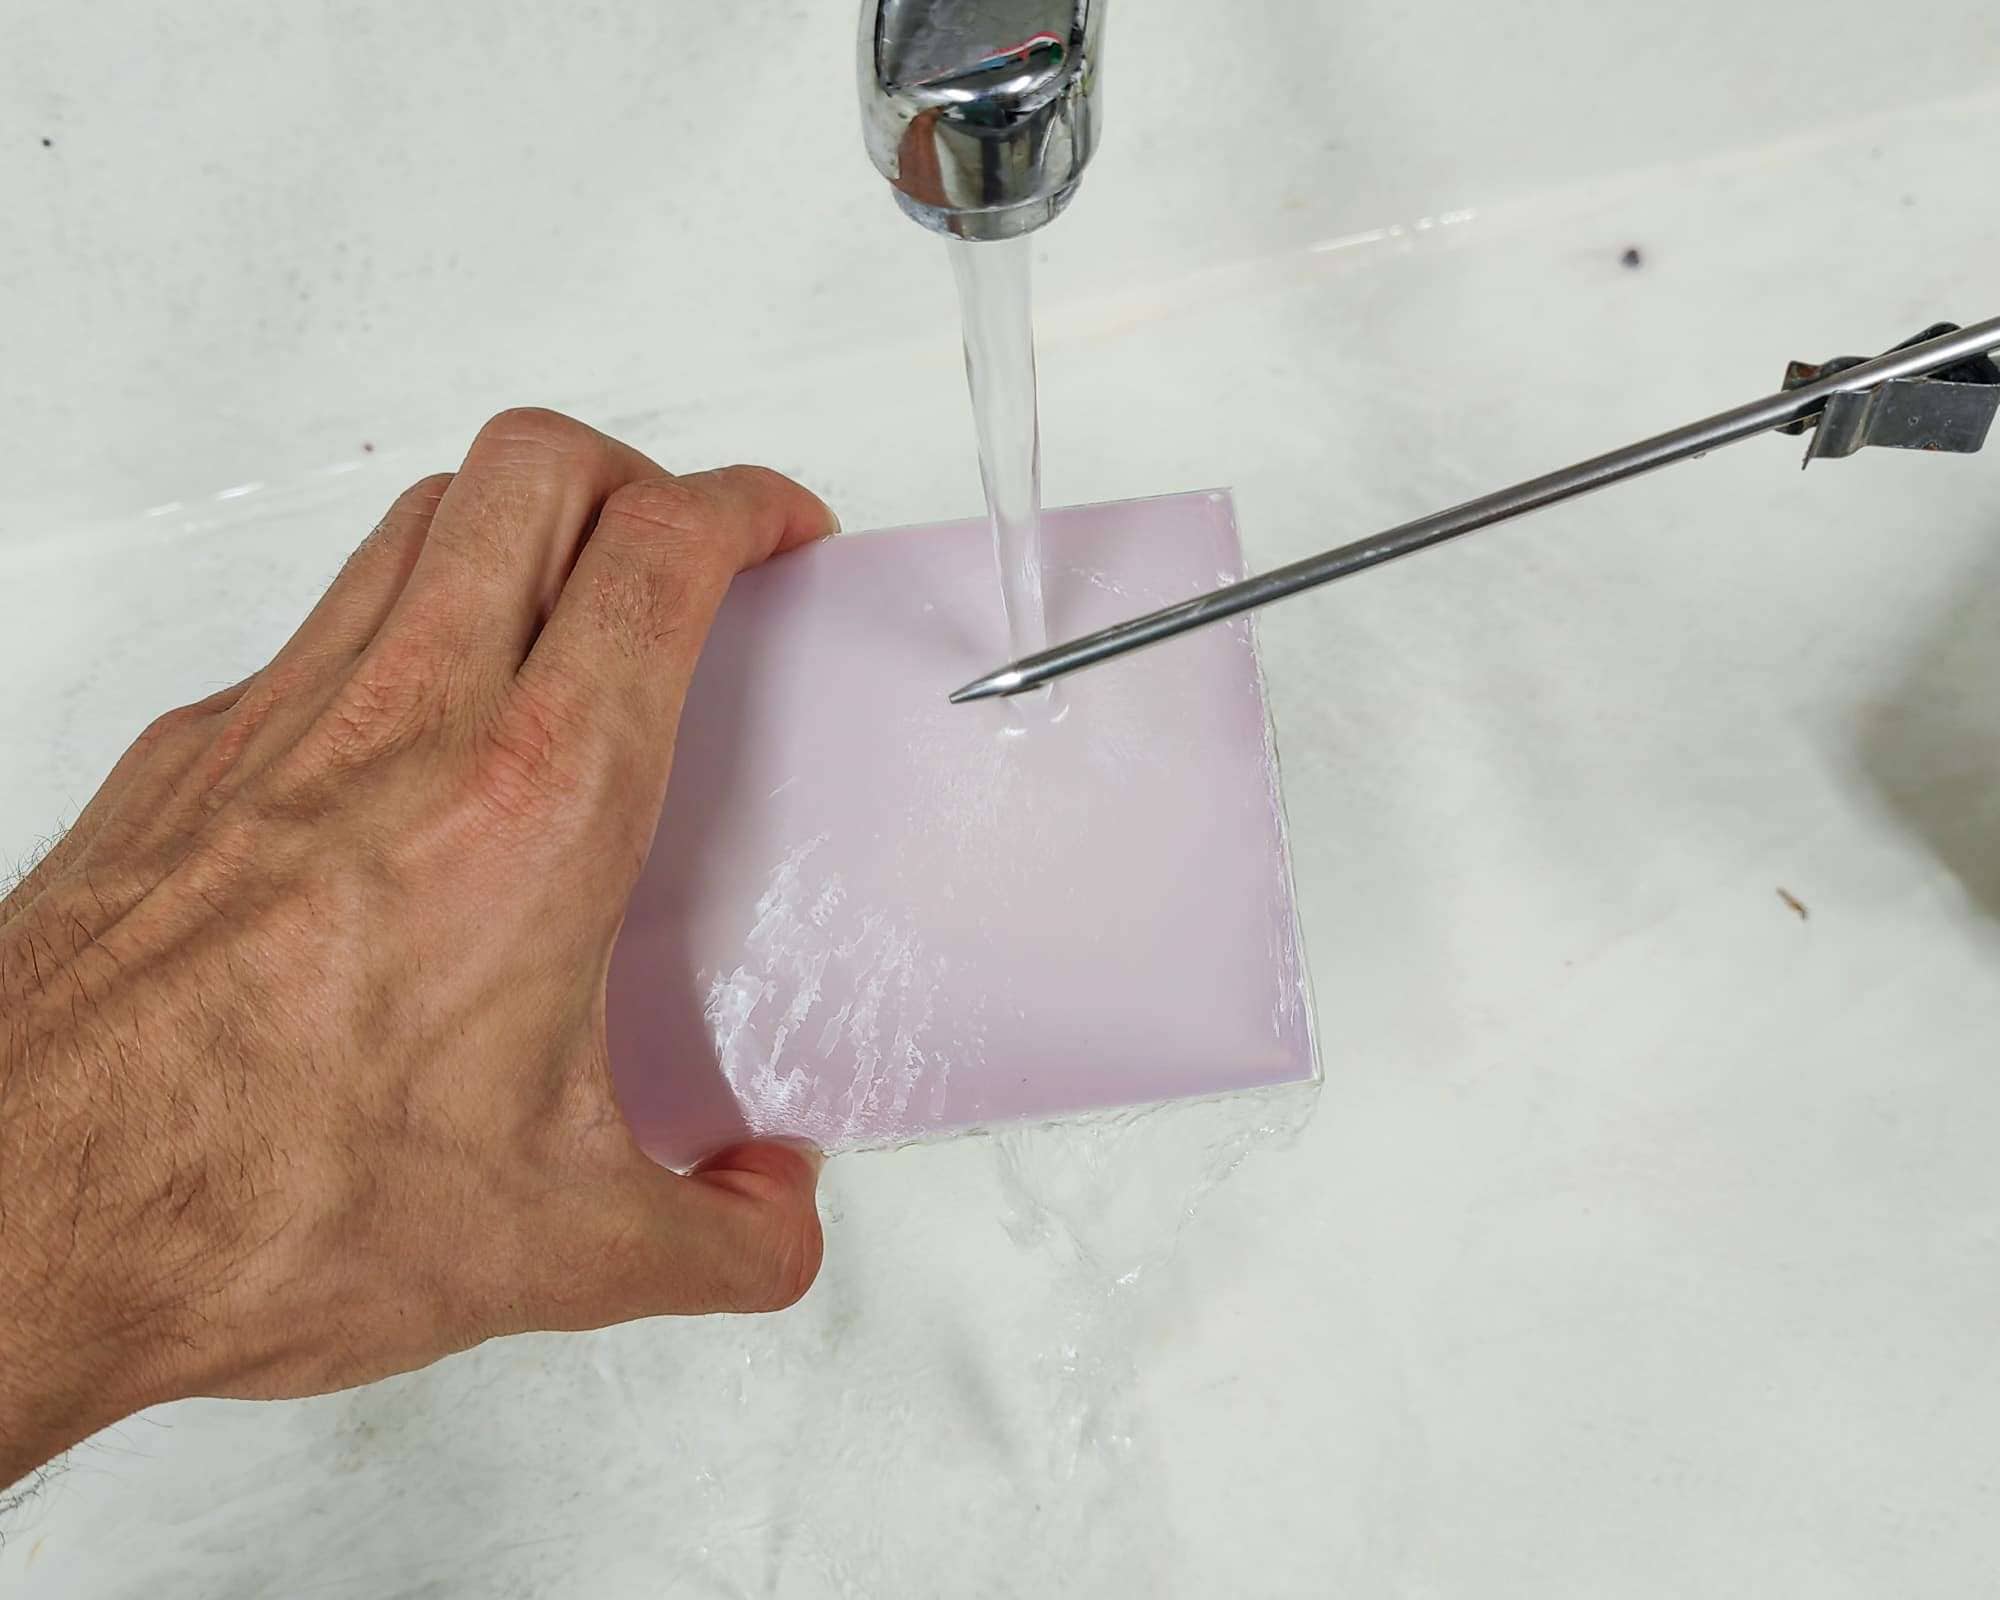
First is a comparison between old vs new Zebra Dry Plate trying to survive very hot water (50C+). I definitely would not advise anyone to try and develop at these temperatures. I still recommend good old 20C but just so you know there is a lot more room to play with the new plates.
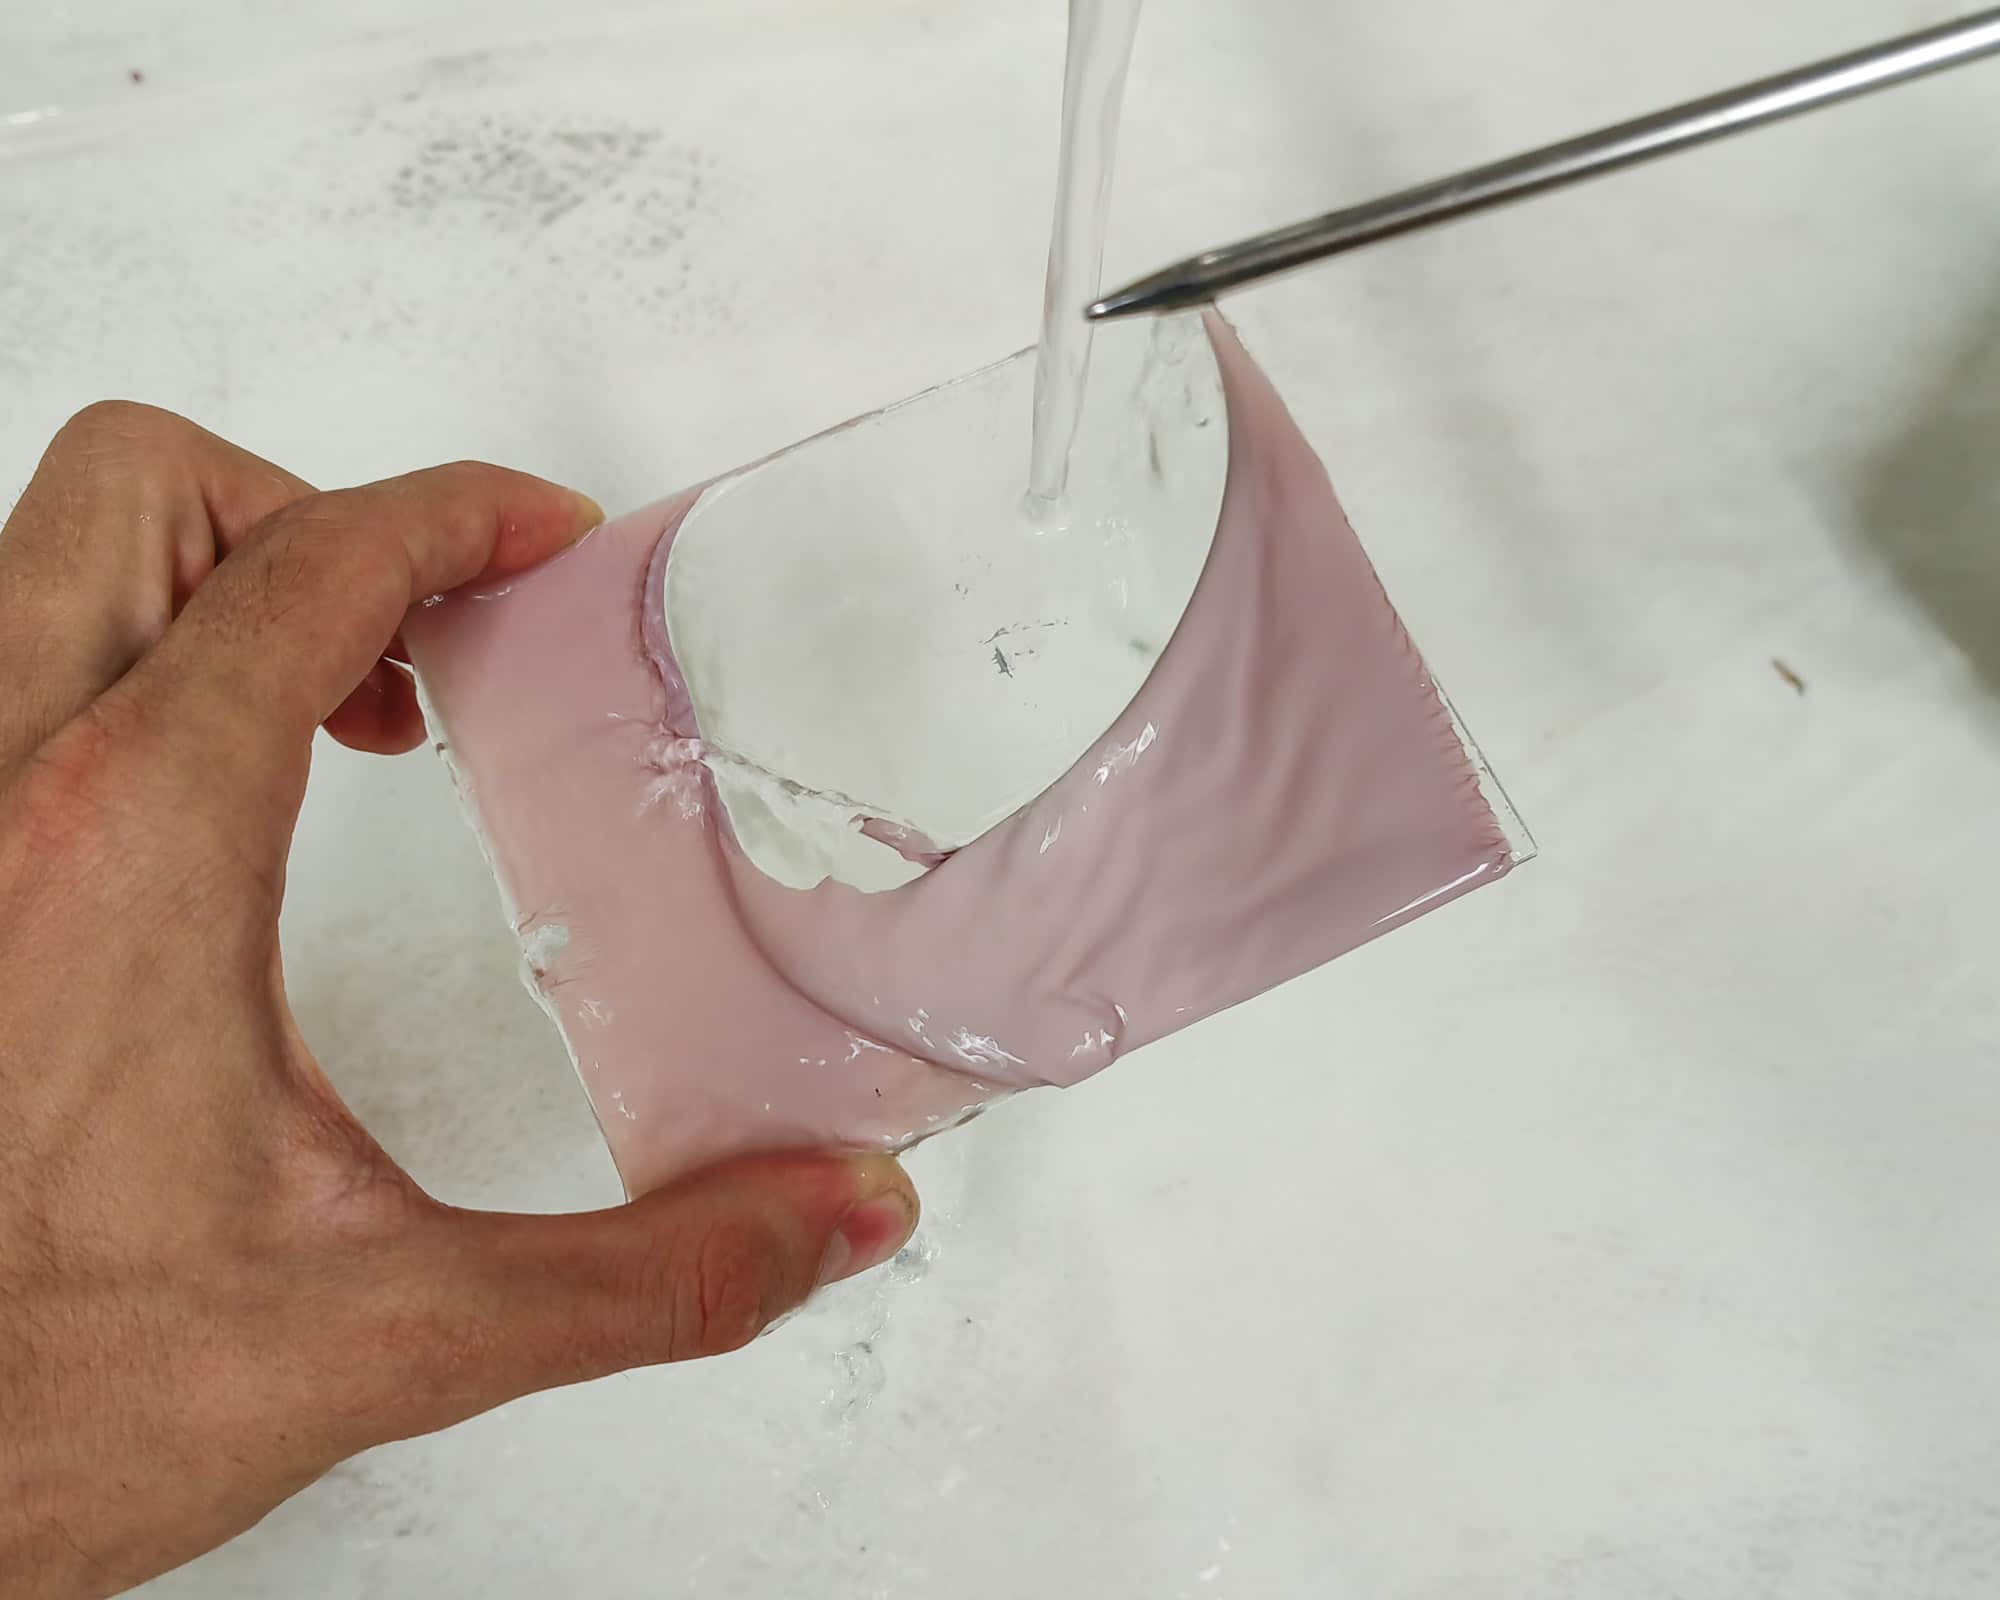
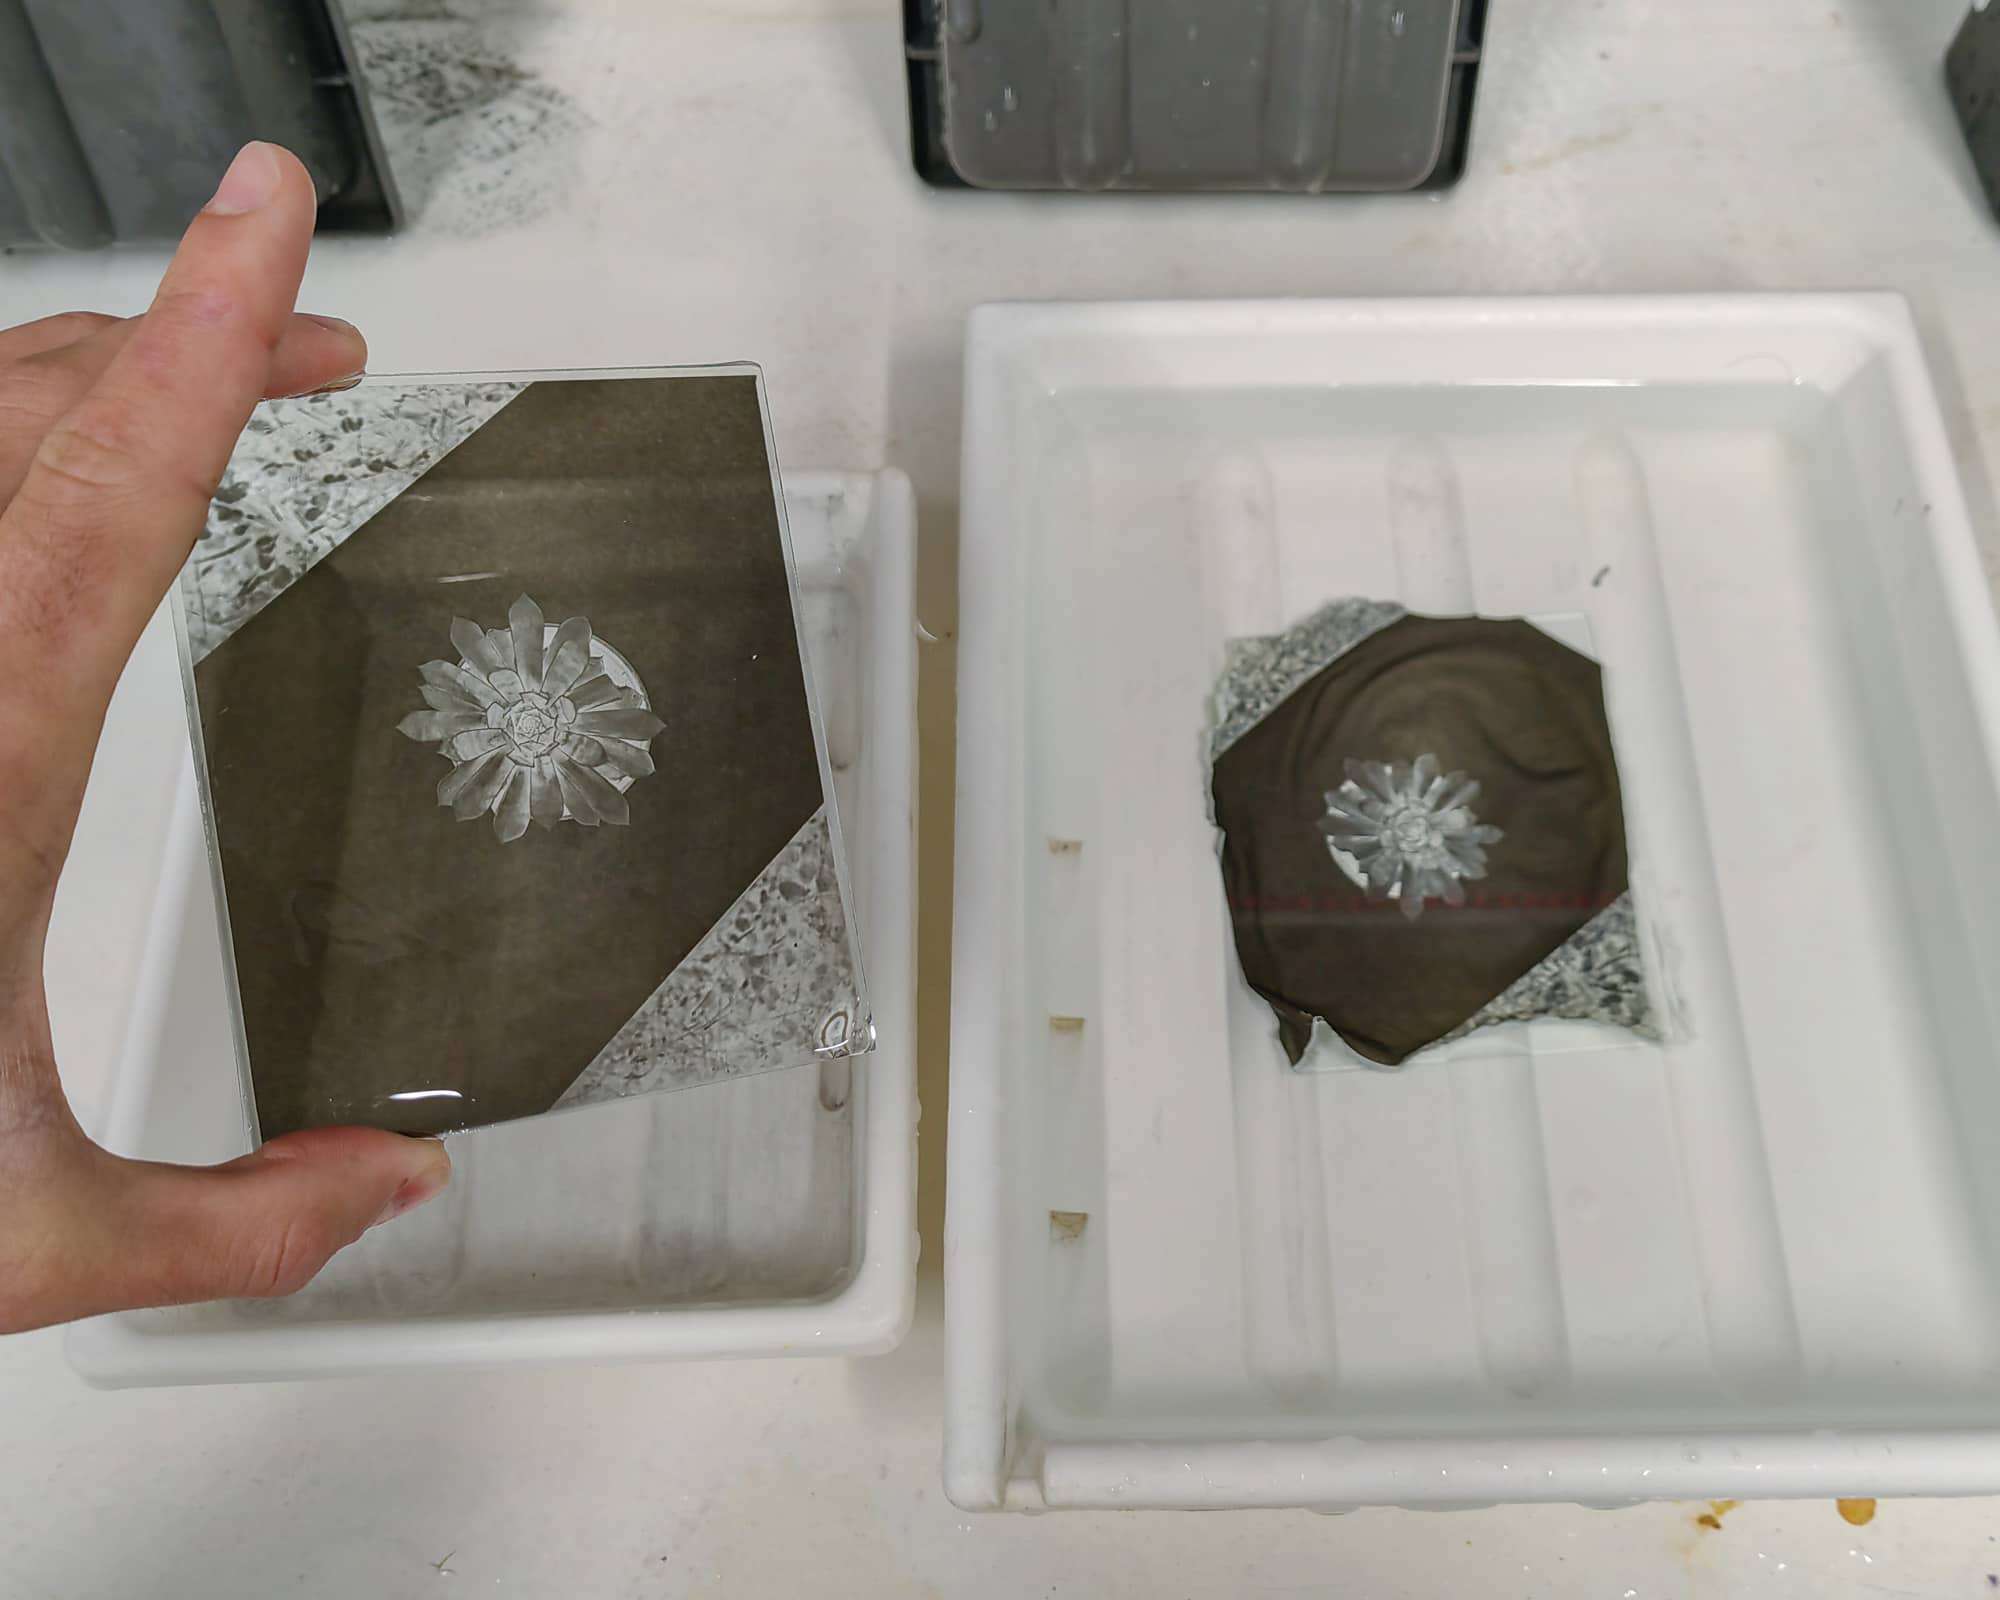
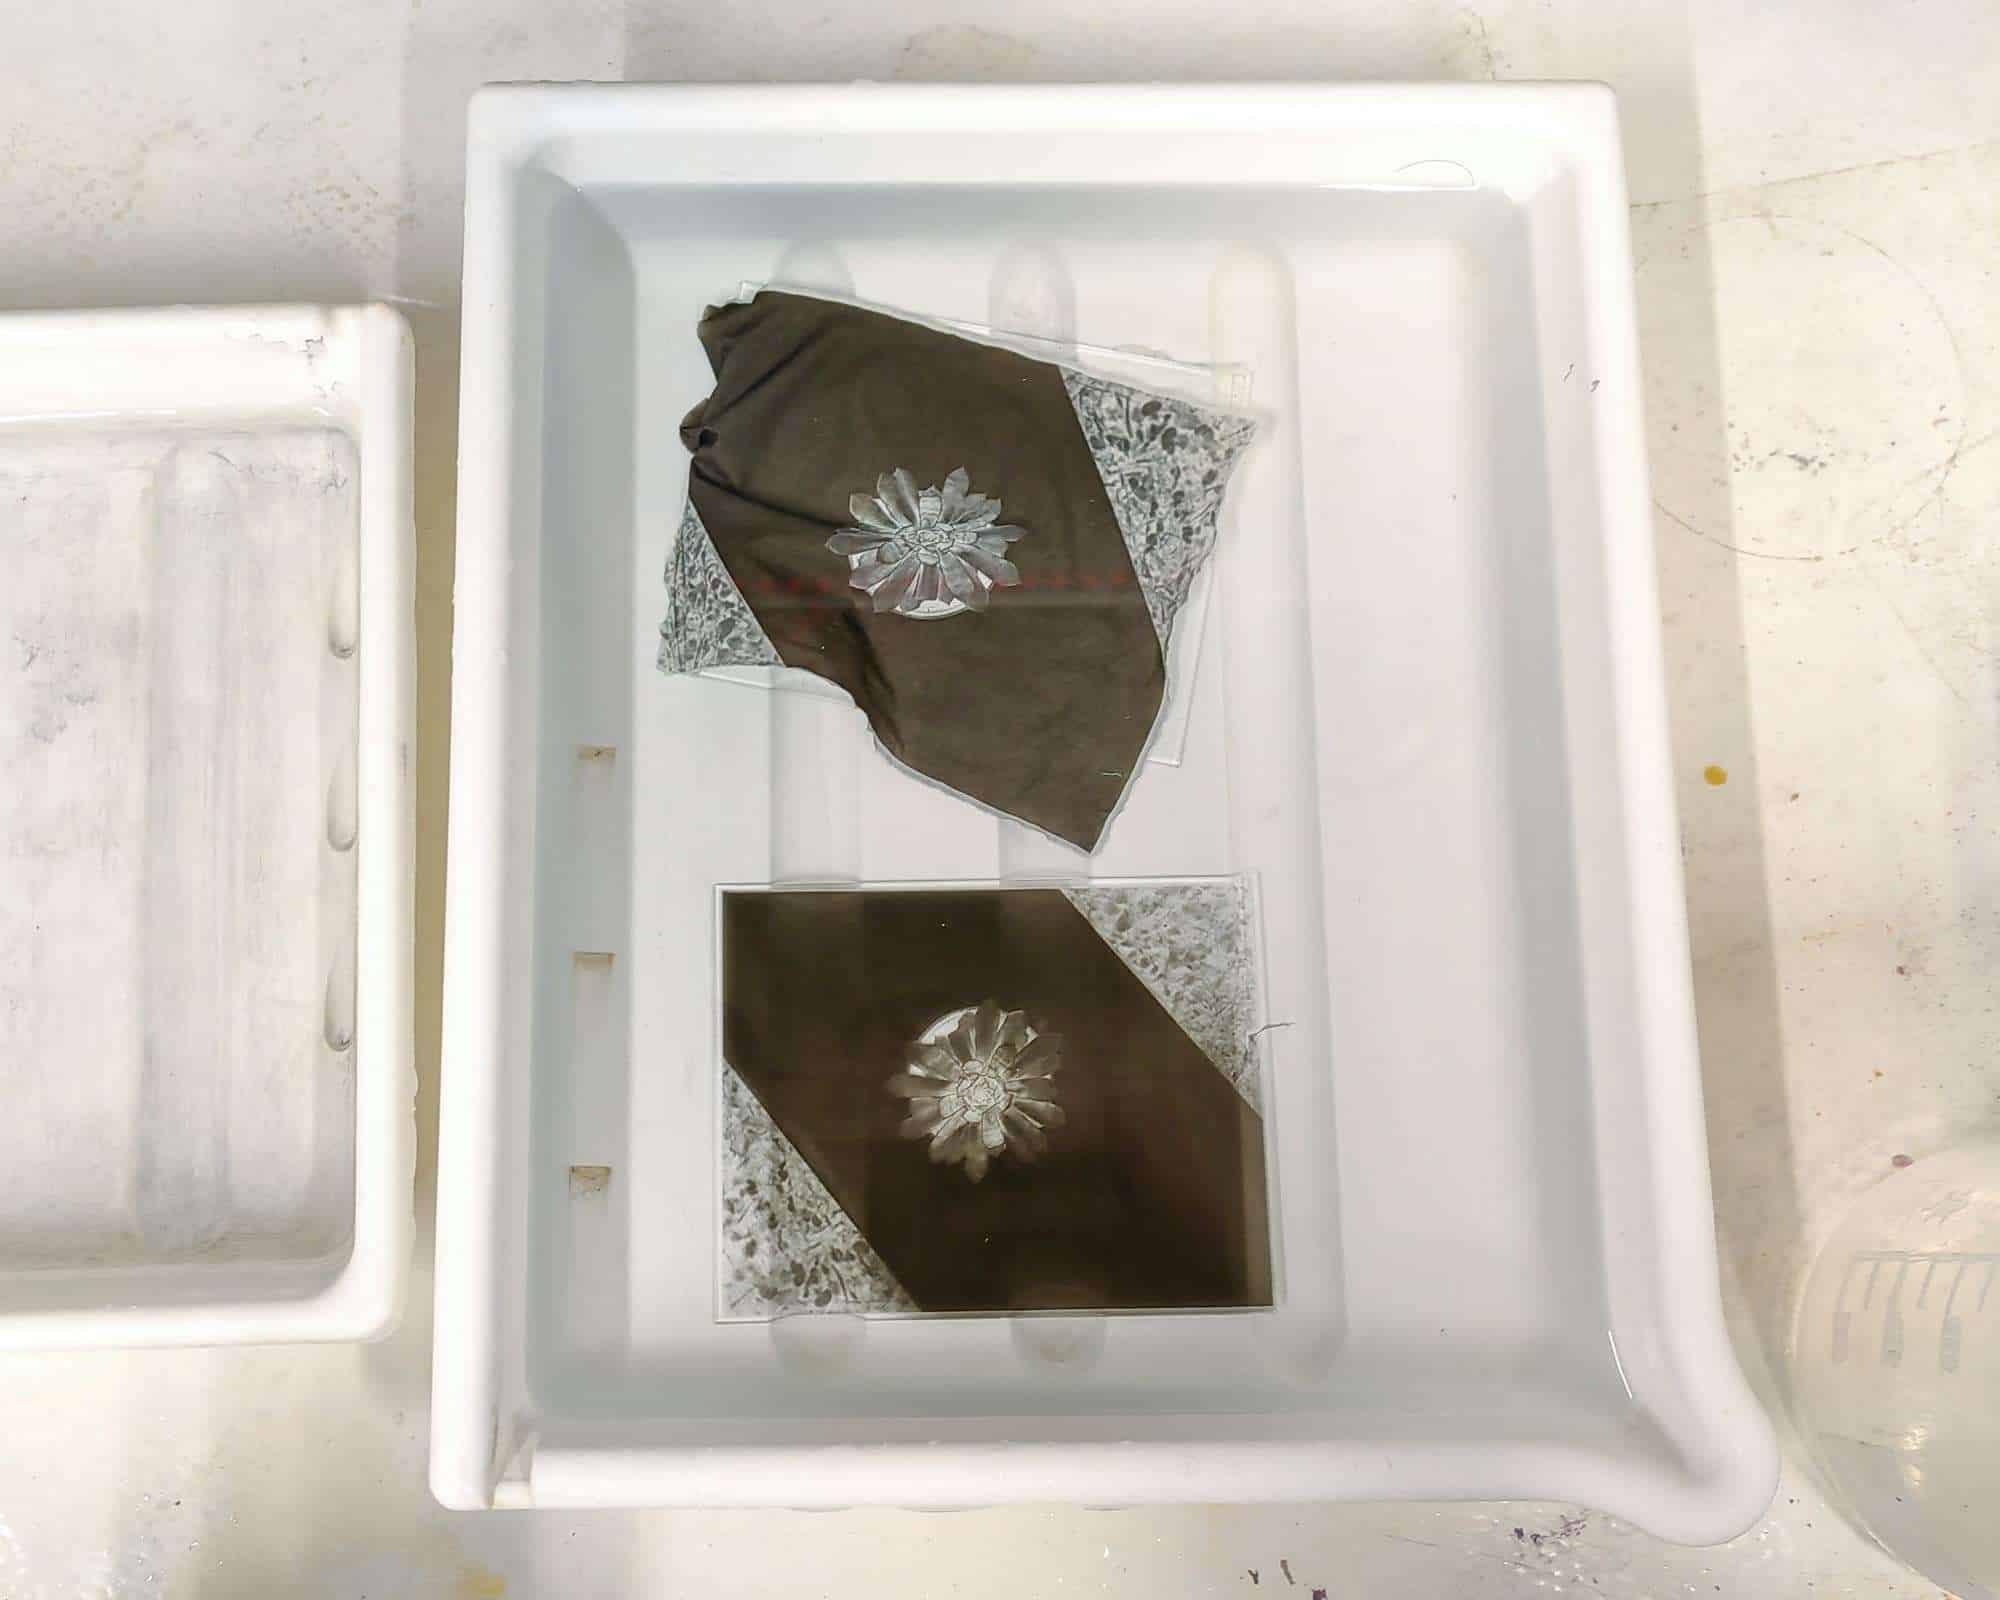
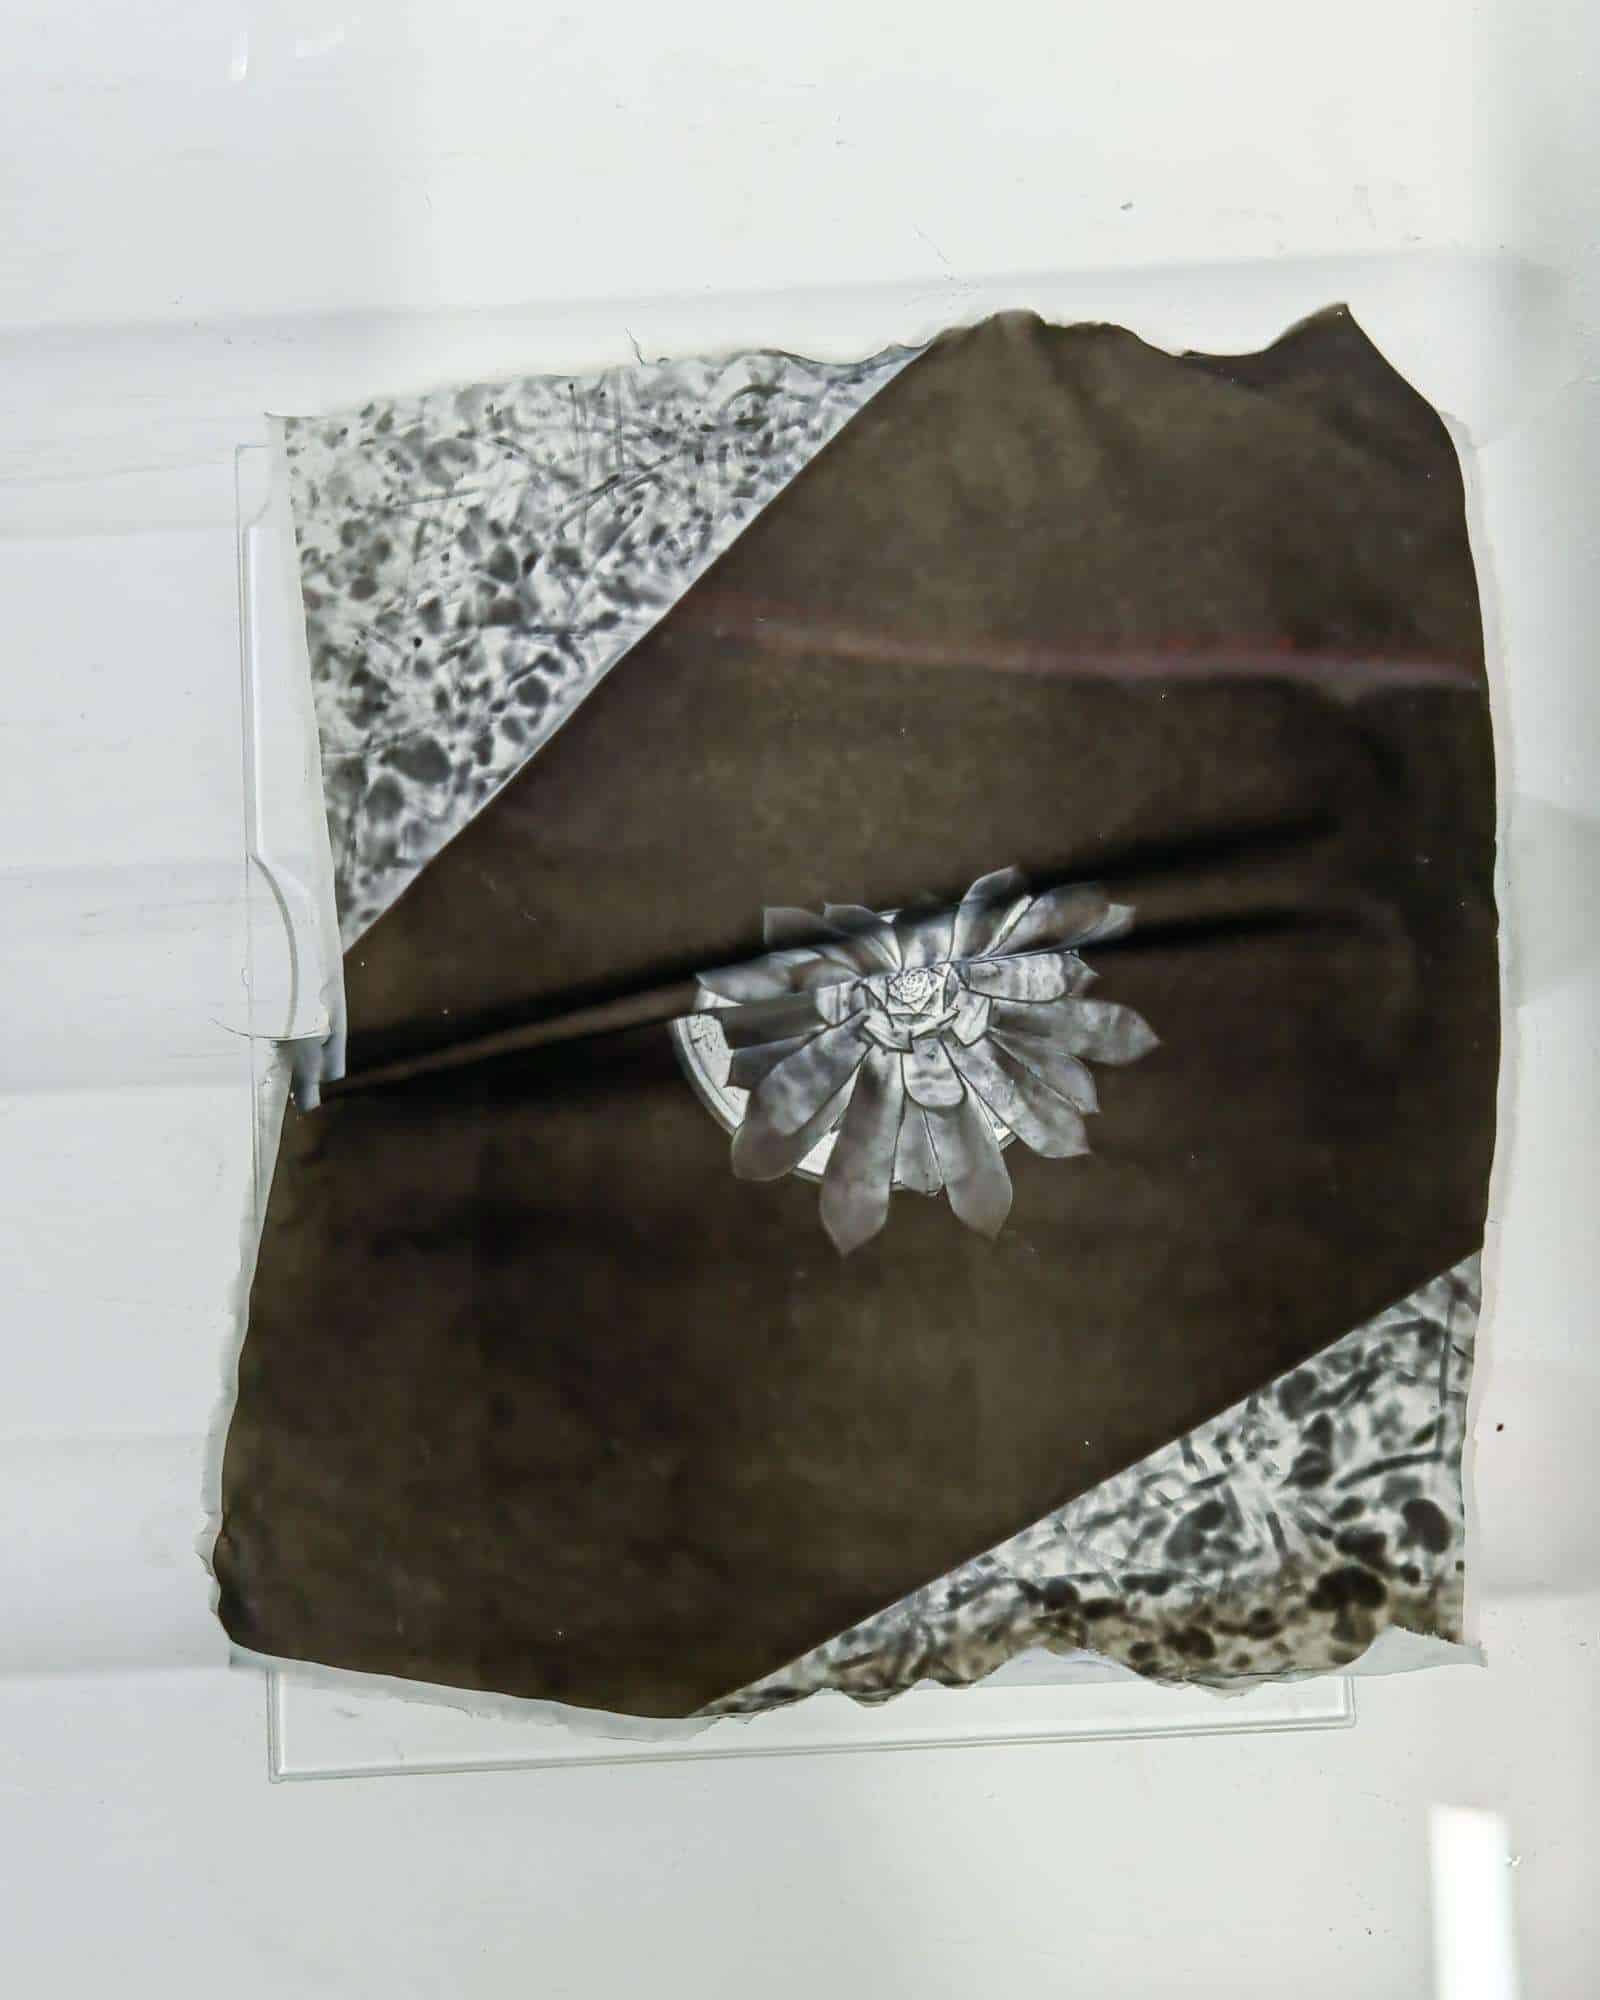
And the second more important one is a test of resilience to extreme chemical treatments. The most extreme test you can make with any gelatine based material is an acidic environment as it will cause emulsion to owerswell literally in an instant. So after development I dipped the plate in a very acidic stop bath. I have done this before and I know that the old emulsion will simply detach from the plate in a matter of seconds. I was not wrong. With the old plates the emulsion started floating freely and the image itself expanded by 30% or so. Then it was time to do the same with New Zebra Dry Plates and to my delight plate handled acid like a champ!
Conclusion
All Zebra Dry Plates starting with Production Number 500 and over are coated with this new emulsion formula and some of them are already out there! Don’t worry looks and usage of the plates are the same 😀
Thanks for reading and wishing you all good light.
Nejc





Hi Nejc, I’m working with my first order of dry plates and really like them. I’m using my enlarger to make the exposure from a negative and using Ilford MGRC paper to test the exposure before printing on a plate. I’m finding that with this combination the plate takes about +2/3 f stop. I wonder if anyone else has documented this workflow.
Thanks again will be reordering soon.
Jim Brink- chicago il.
Hey Jim,
I have seen Zebra users following the same process with different papers tho but the basis of pretty much any photographic paper is medium to high contrast basic silver gelatine emulsion which is being used for Zebra Dry Plates as well. You definitely have a point here so keep on going and report your results so I can share it with my readers and customers as well 🙂