Modifying Film Holder to carry Glass or Dry-plates

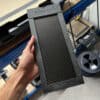
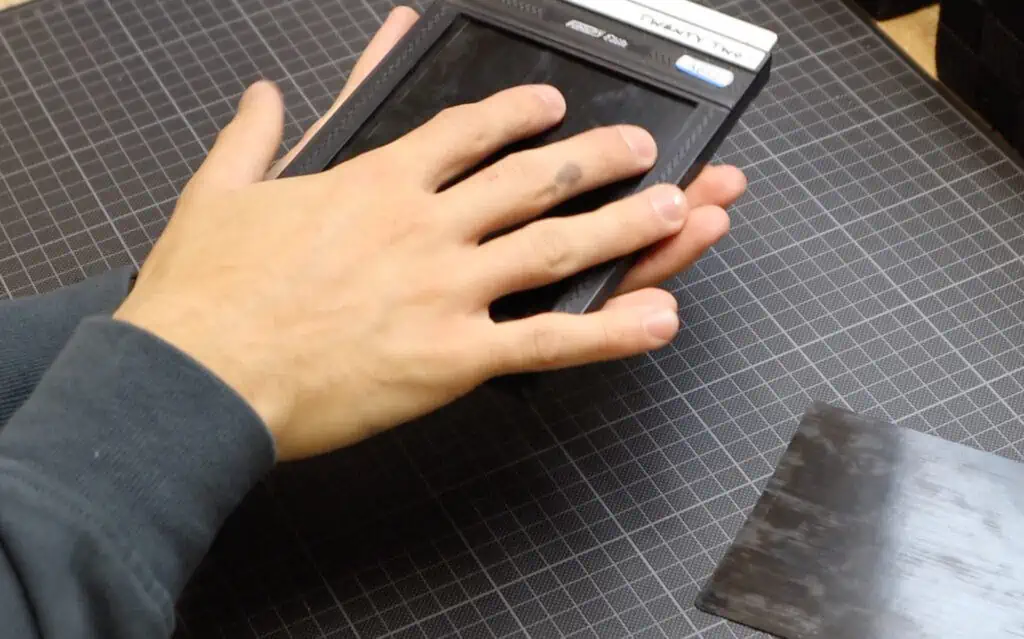
Glass carrier is one of the key pieces of equipment if you want to get into alternative photographic processes specially Dry-plates or Wet-plates. There are not many ready to use film-holders around so that is why I made mine from a normal 4×5 sheet film holder. After many requests I received I have finally decided to make a tutorial and show you how I do it.
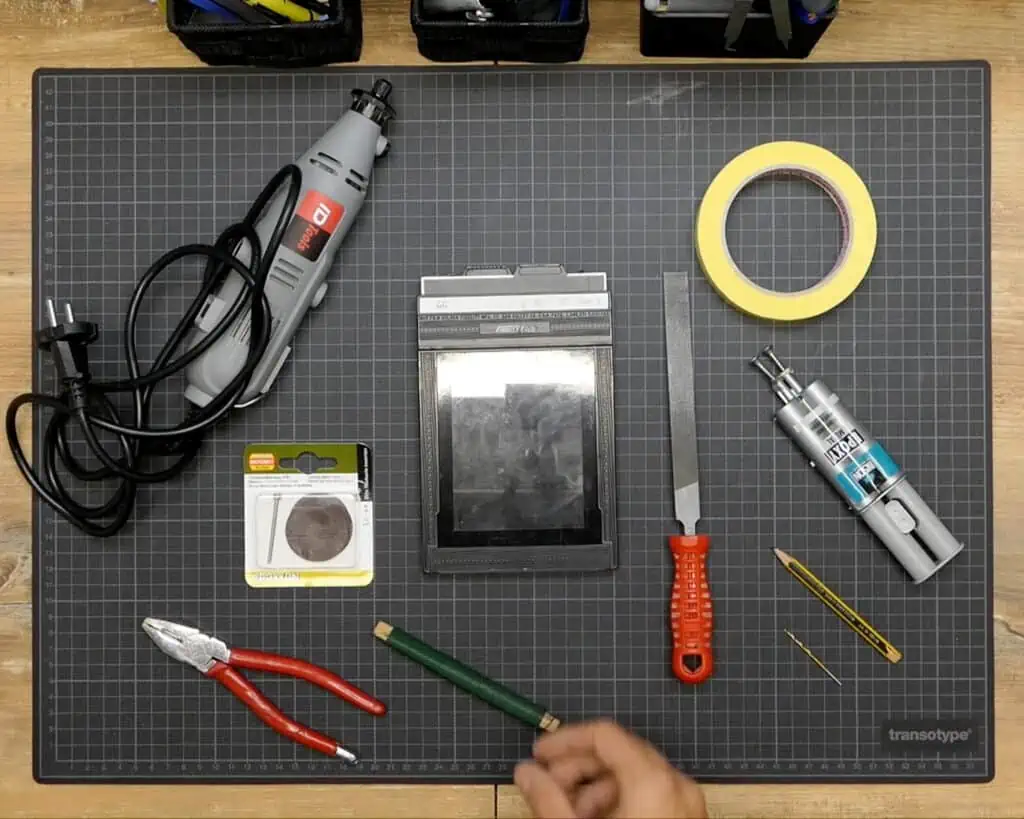
List of things you will need:
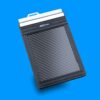
- Sheet Film Holder
- Metal cutting machine (Rotary tool, Jig or Bandsaw, even handsaw will work)
- Drill + Drill bit
- Wire (ideally made from 99% silver)
- Glue
- File or sanding paper
- Pliers
- Masking tape
- Pencil
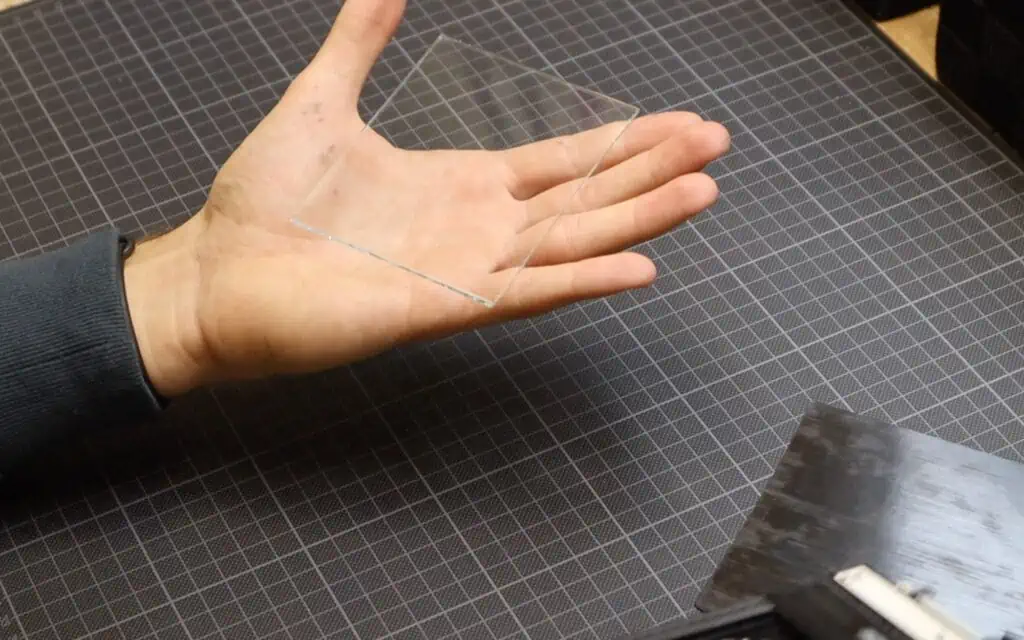
- Glass or tin plate (I am using 8x10cm / 3x4inch plate)
- Safety glasses!
STEP 1
MARKING THE PLATE SIZE
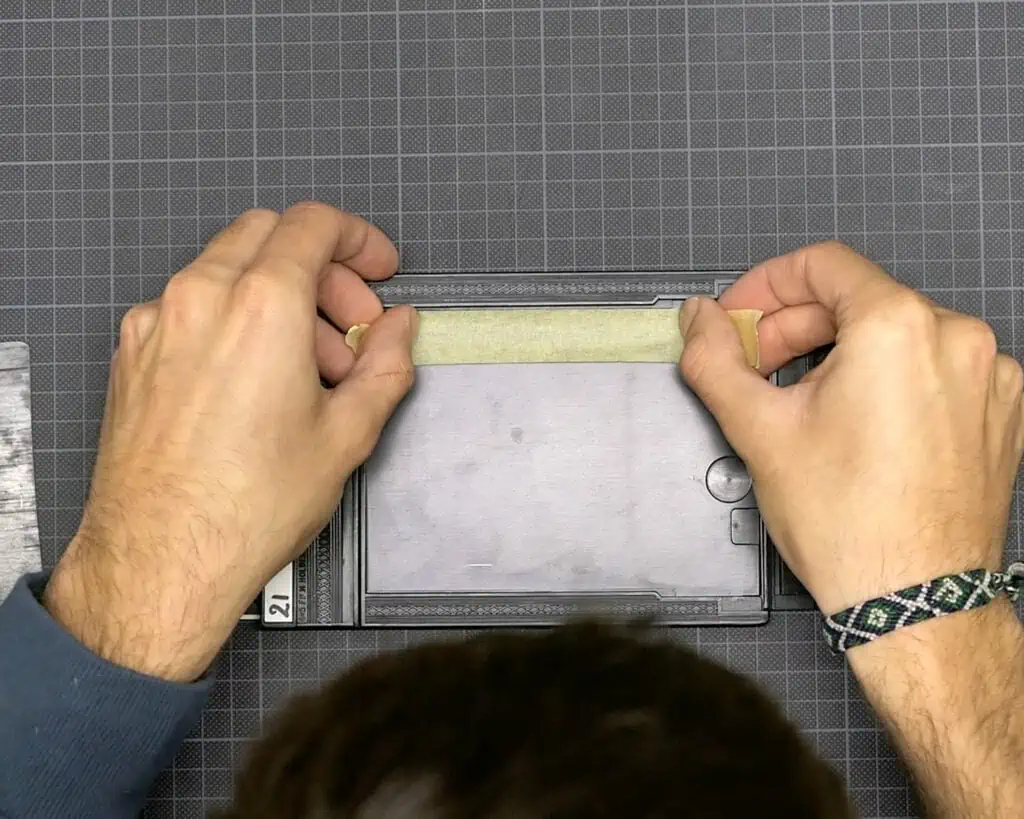
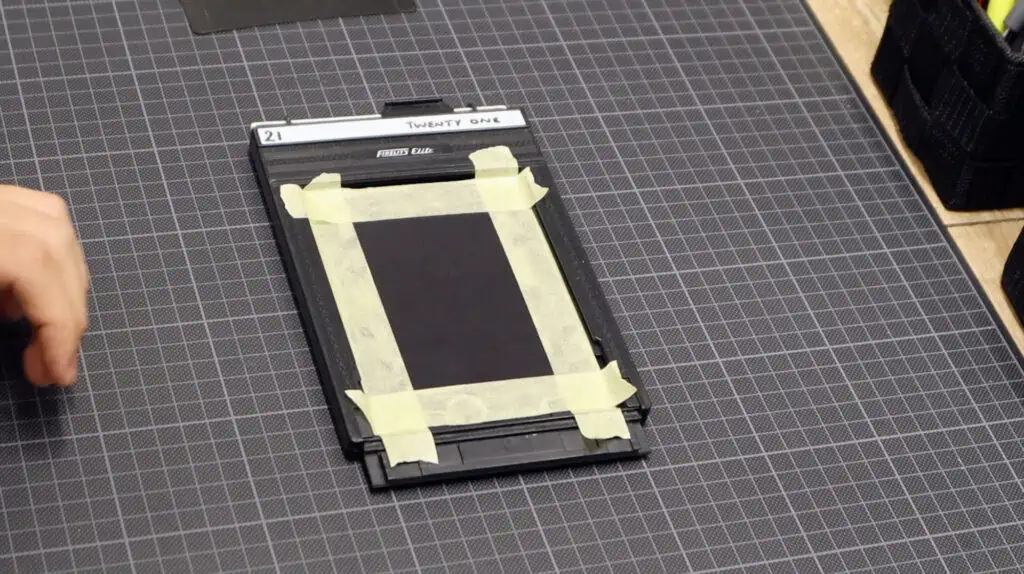
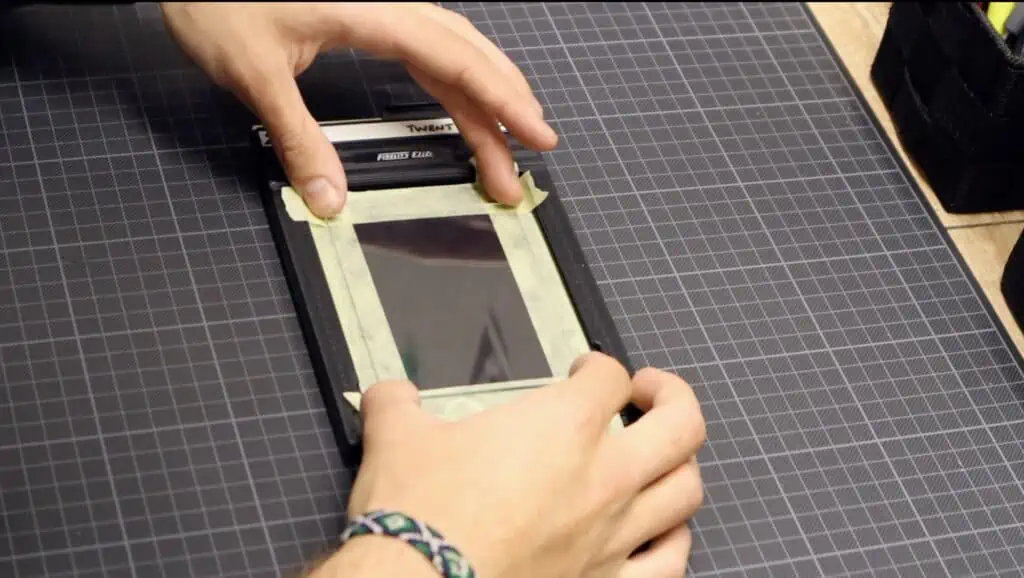
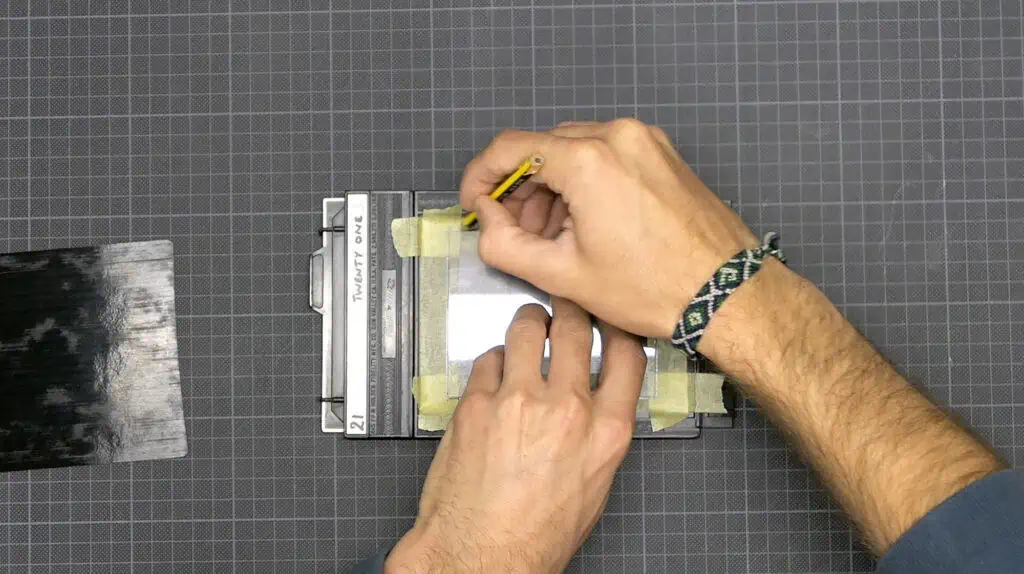
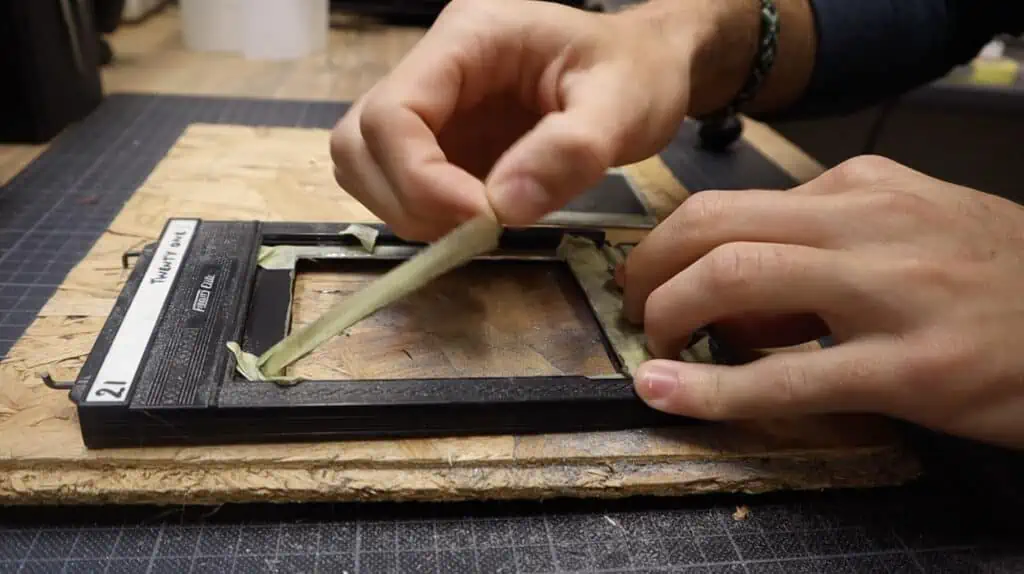
You will start by marking the plate size on the film holder. Take both dark slides out and select the side you would like to work on. When you have done so proceed by running masking tape along the frame of the holder to make a square. Position the glass plate on the center of the film holder and outline the plate with a pencil. This will serve as a guide to help you cut. Masking tape will prevent tears and result in a smoother cut.
STEP 2
CUTTING OUT THE CENTRE
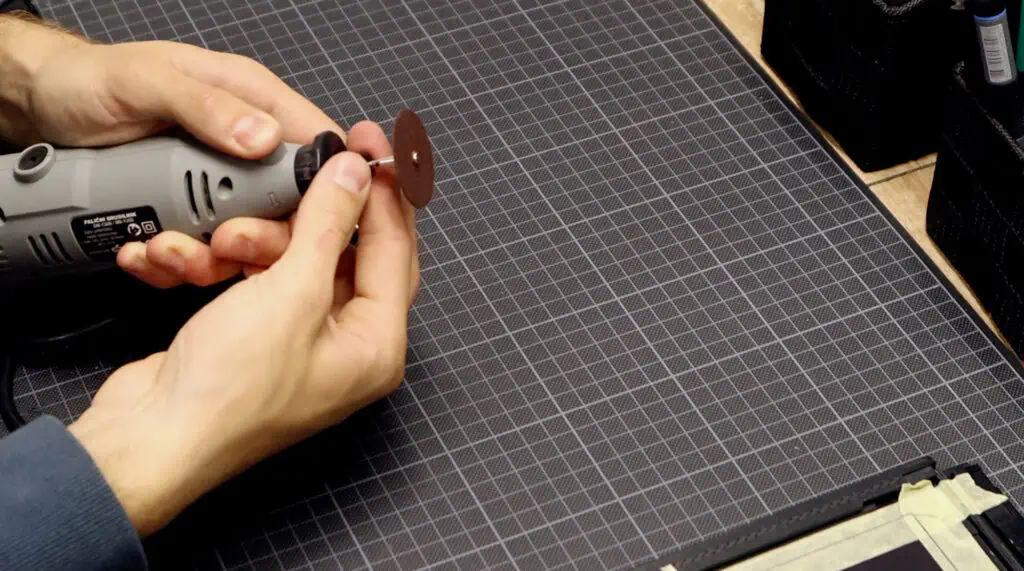
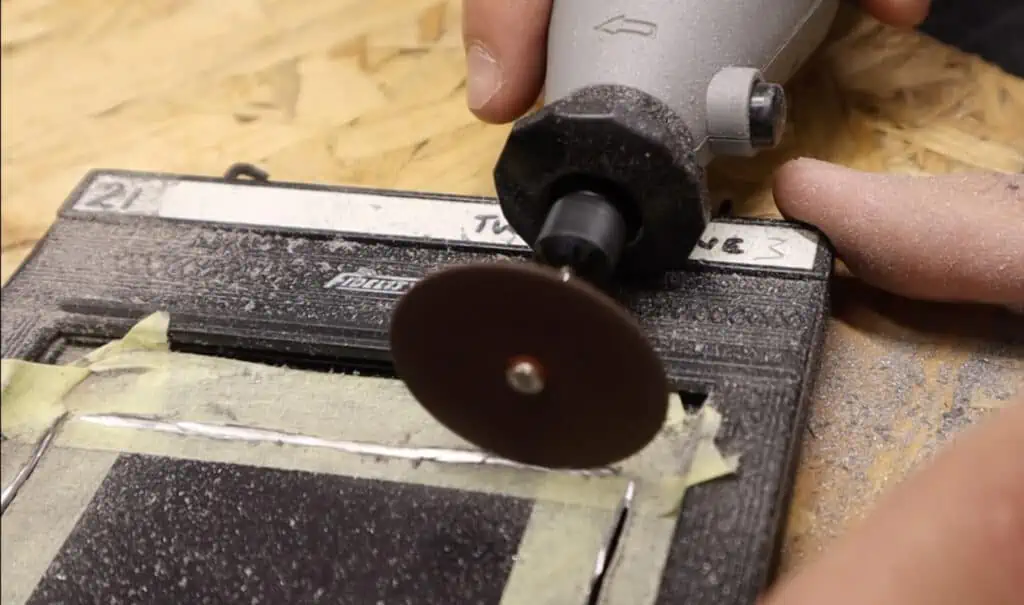
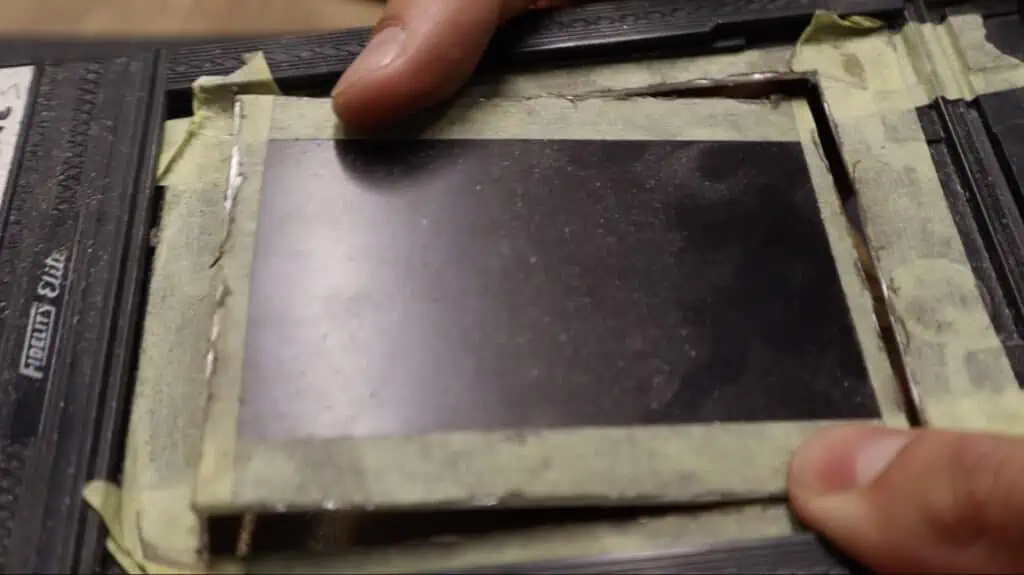
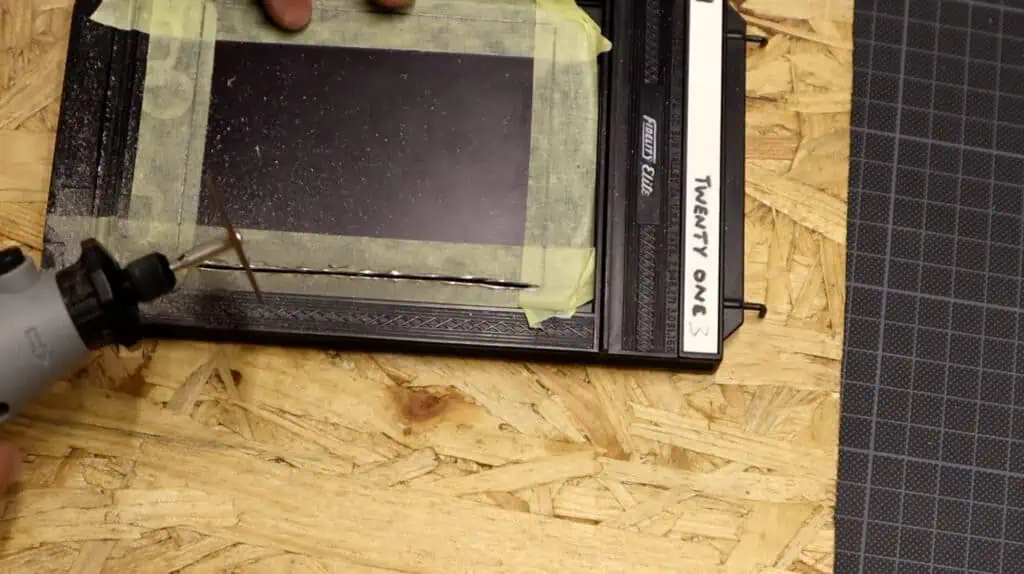
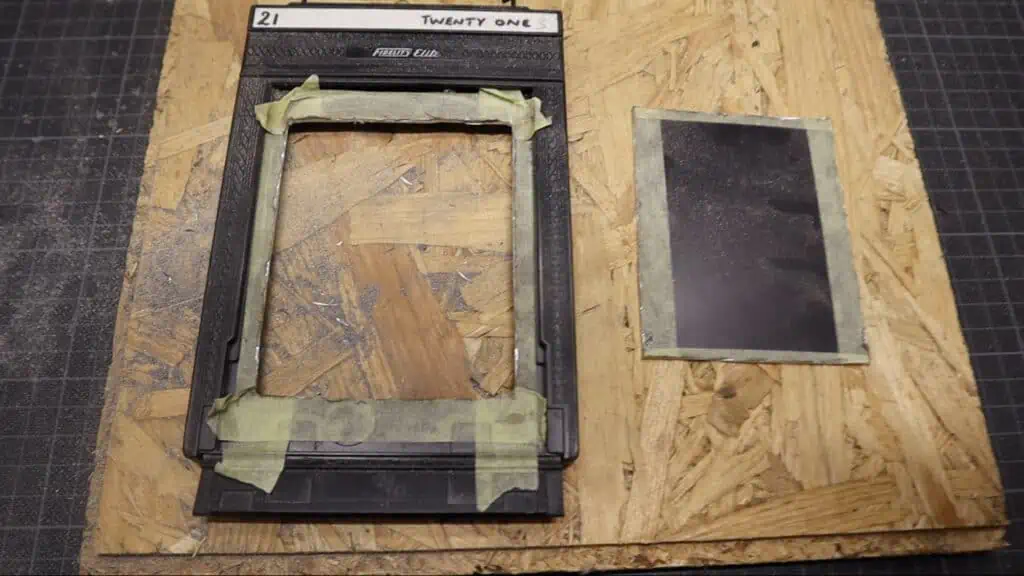
Now that you have marked the area it’s time to cut it out. Before you start please put on at least safety glasses. Main board of the film holder is mostly made out of aluminum so it’s not that difficult to cut. I think it can also be done with handsaw if you don’t own any tools. I used a Rotary tool with cutting discs but you can also cut with Jig or Bandsaw. Once you cut in there is no turning back just go slow and be precise. Make sure to follow the outline you made. When you are done, the cut out piece should pop right out.
STEP 3
FILING OR SANDING
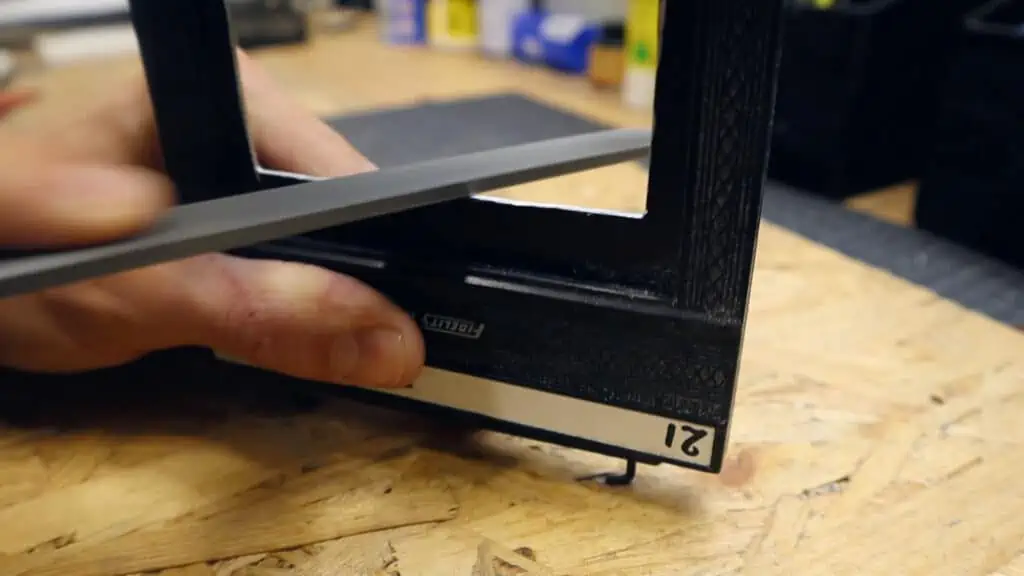
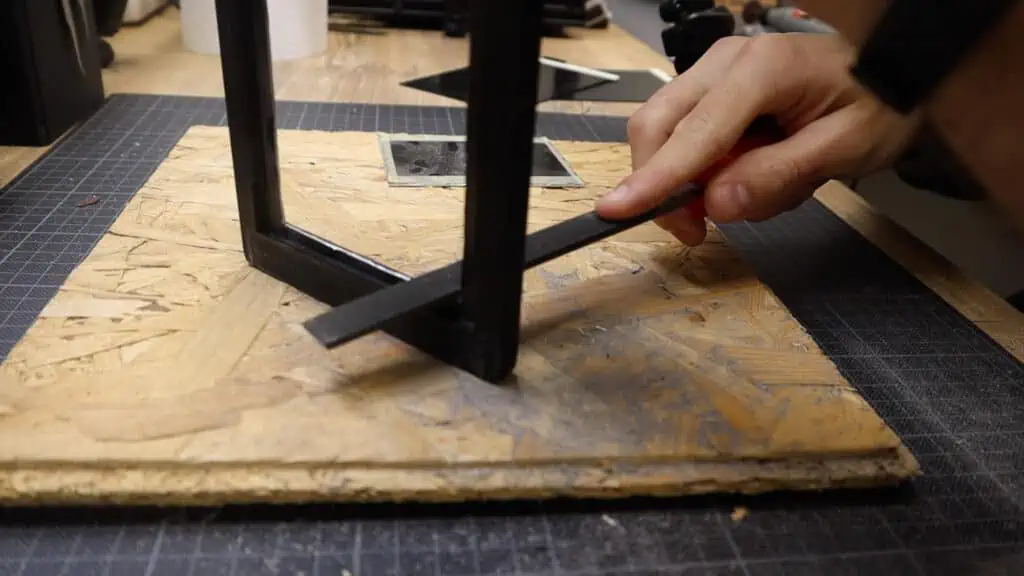
Cut will probably be quite rough so in this step you will sand or file it down. At this point you can remove the masking tape. I recommend you to use file as it is much faster and more useful in the corners. With only a few passes you will make the edge smooth and straight. At this point I would like to warn you to take it easy. Don’t take too much material off or the frame might be too big at the end. You want for the plate to have just a little bit of wiggle room.
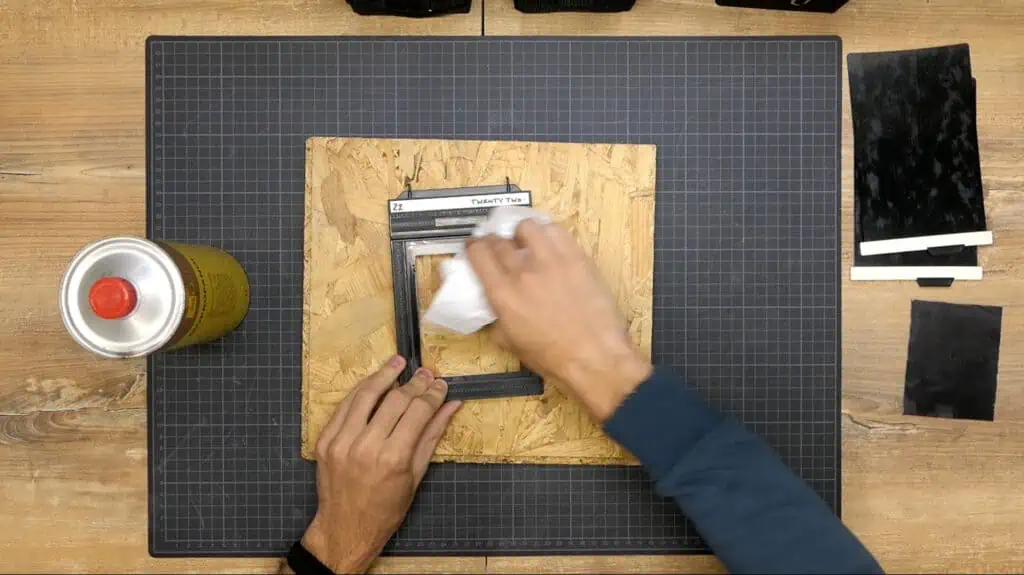
Before you proceed, clean the working surface and wipe the film holder with some rubbing alcohol.
STEP 4
MARKING & DRILLING THE HOLES
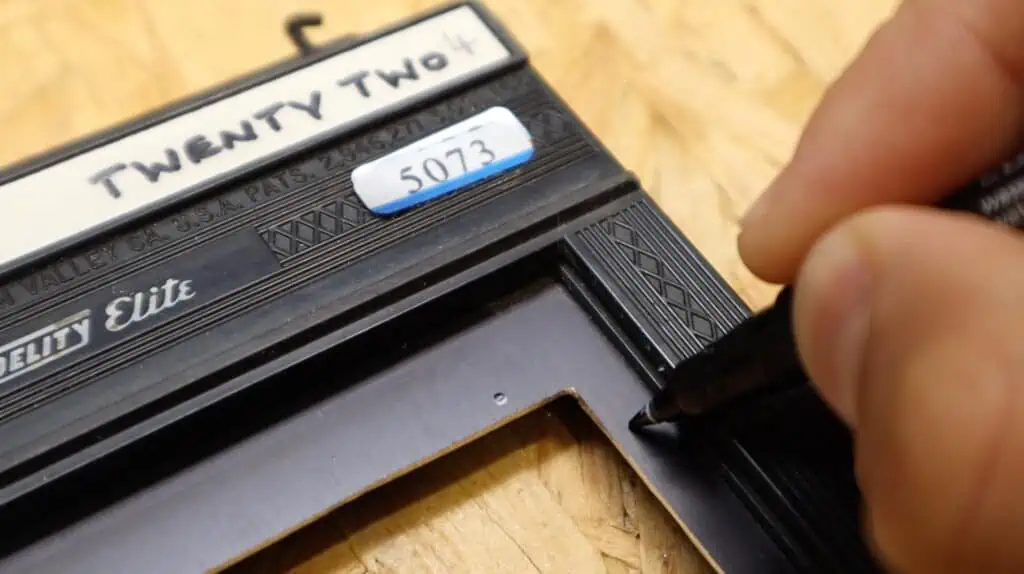
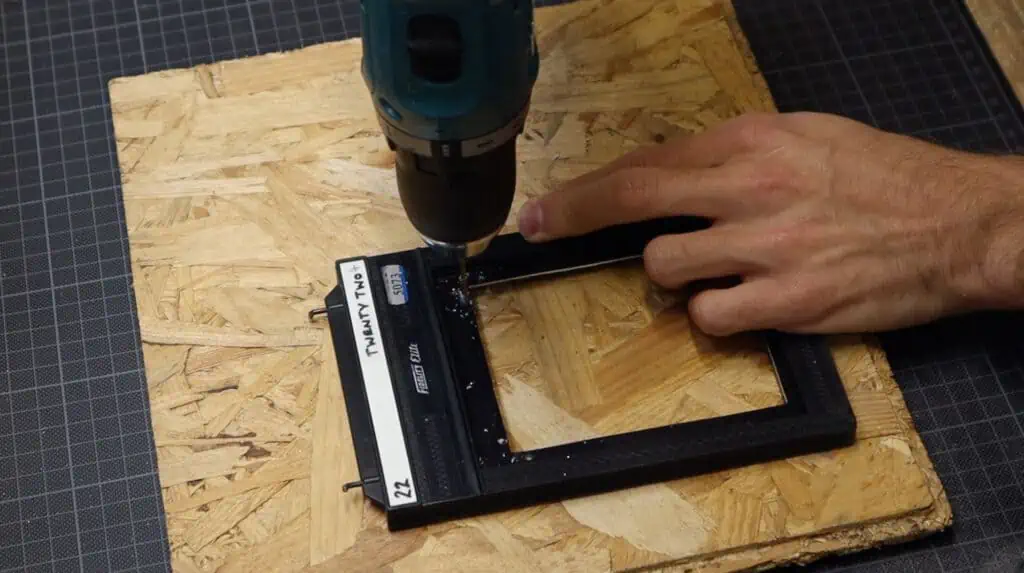
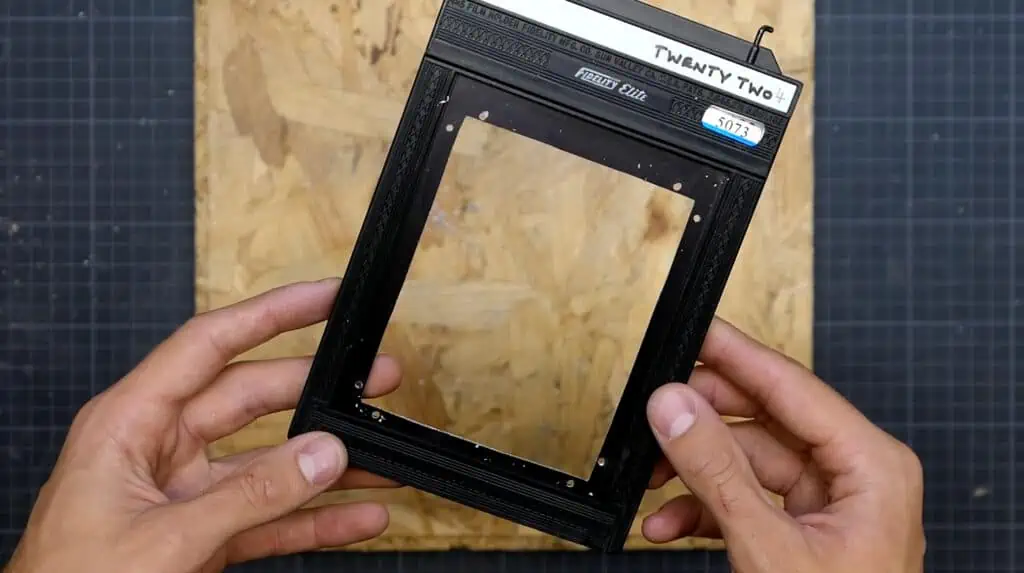
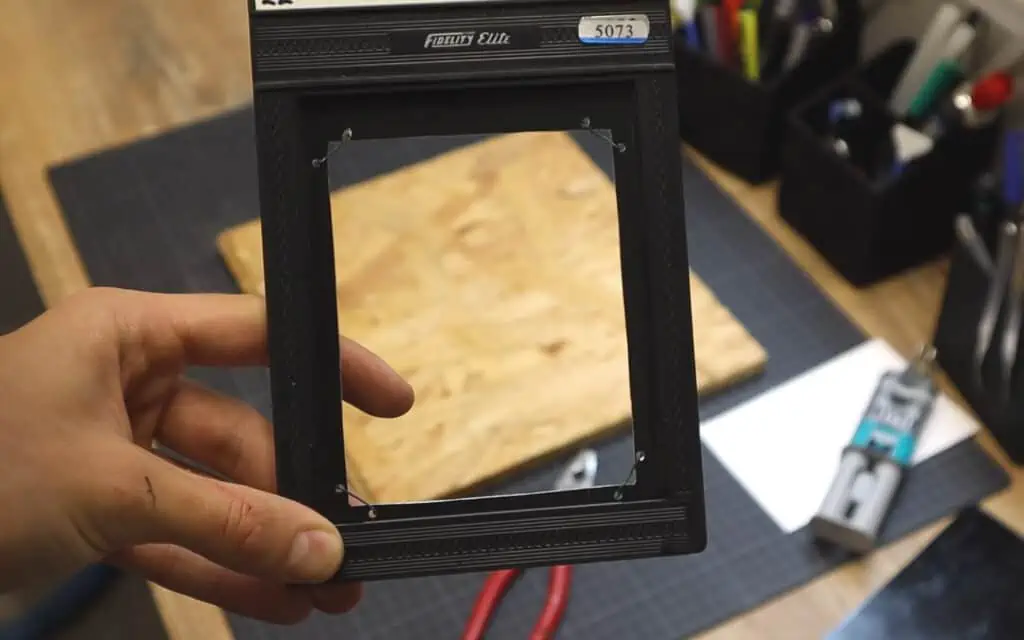
In order to install the wire supports you need to drill some holes. Take a marking pan and mark two drilling points into each corner. Keep an eye on the angle so the wire will cross the corner far enough to support the plate. Once you have all the marks you can start drilling.
Select a drill bit which is just a bit wider than the wire you will use and start drilling. I could use the Rotary tool as well but I find it easier with a drill. Cut slowly thru the mark you made so you don’t break the bit. 1,2,3,5,8 holes and you are done!
STEP 5
INSTALLING WIRE SUPPORTS
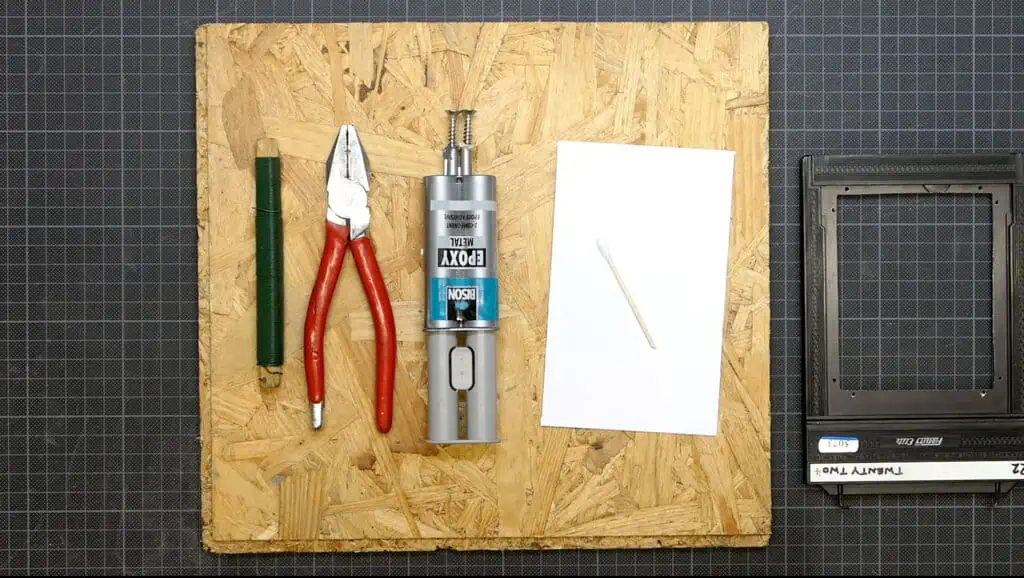
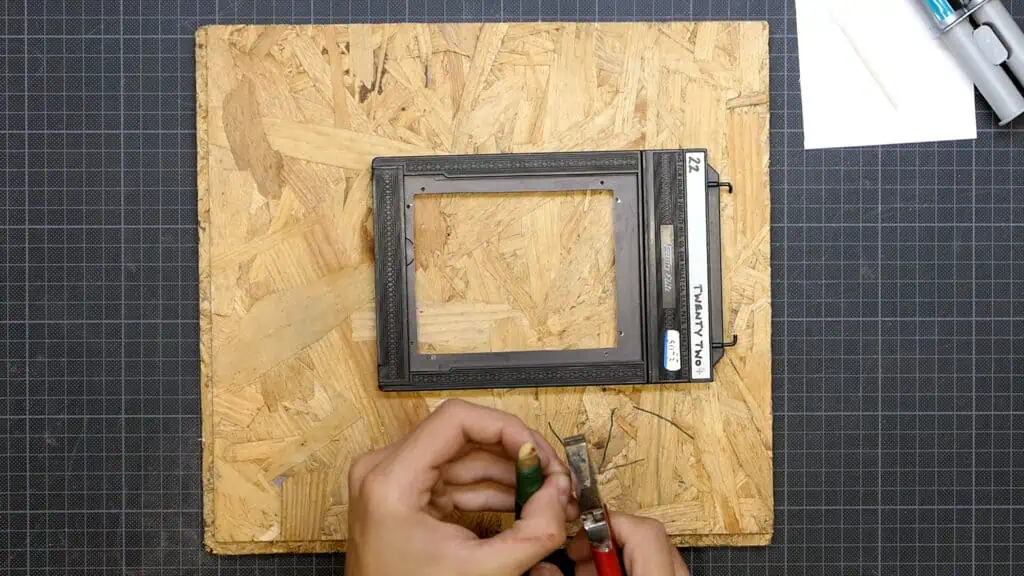
To make and install wire supports you need a wire. Ideally you should be using 99% silver wire as the silver nitrate devours all the other metals thru time. In this tutorial I am using plain metal wire which still holds well in my modified holders after hundreds of dry plates. Its up to you what you will use. I haven’t worked with collodion yet but I assume there is much more contact between silver nitrate and the metal.
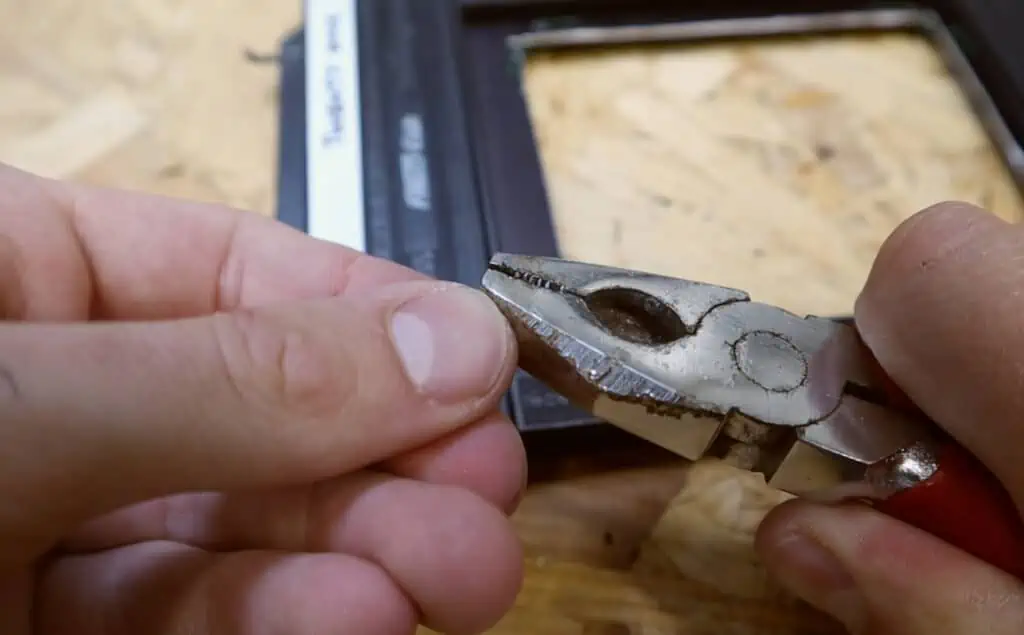
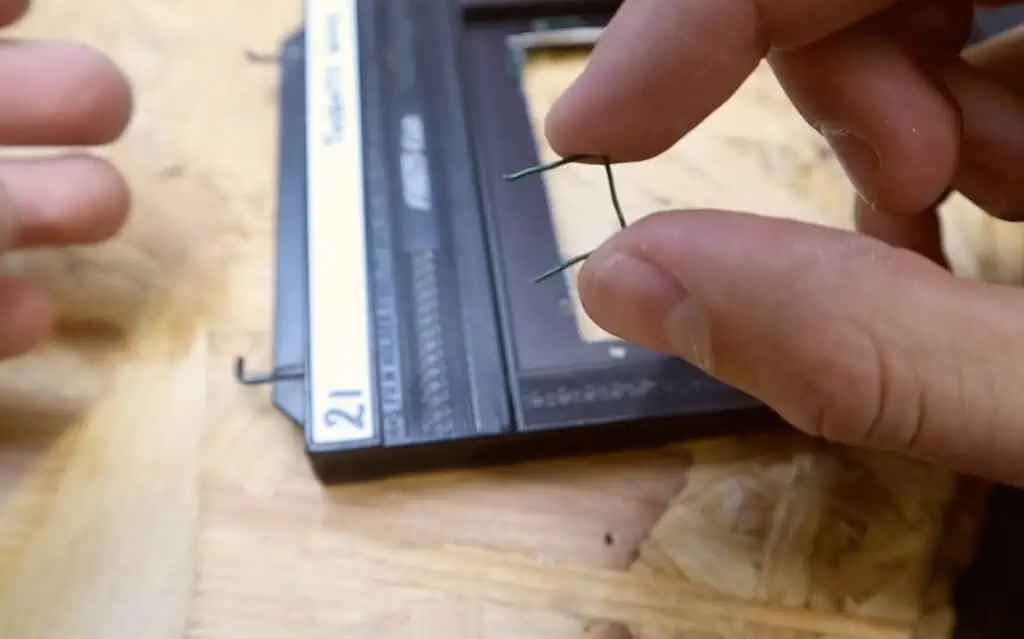
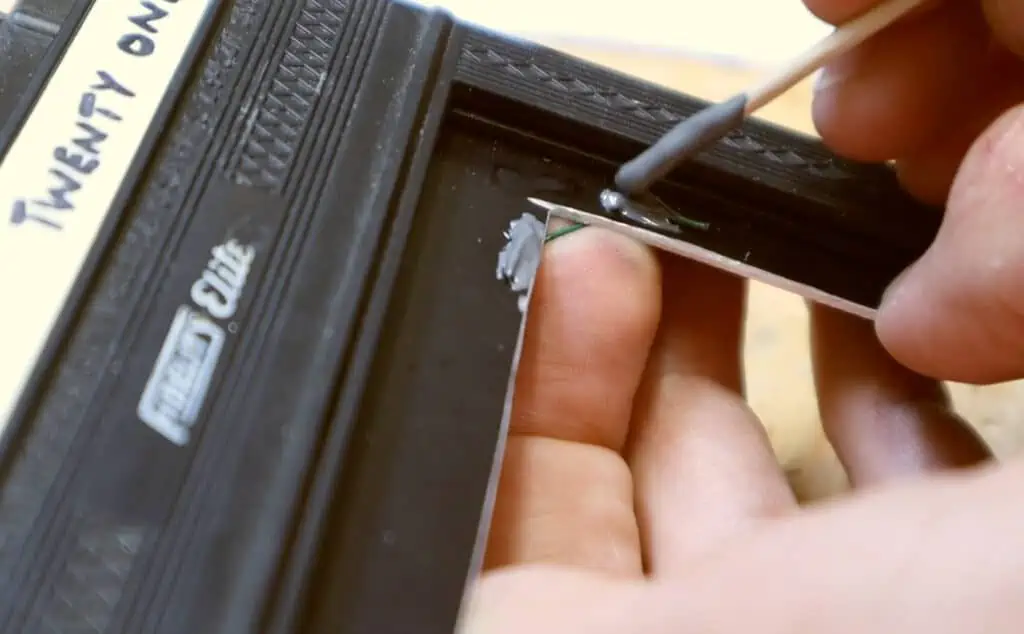
Cut the wire into 4 strips and with a help of pliers make a U shape out of them. Push this U shape through both holes in the corner and bend the wire flat along the edge of the other side of the film holder. This way gluing will be much easier and nicer. Repeat this step until you do all the corners.
STEP 6
GLUING
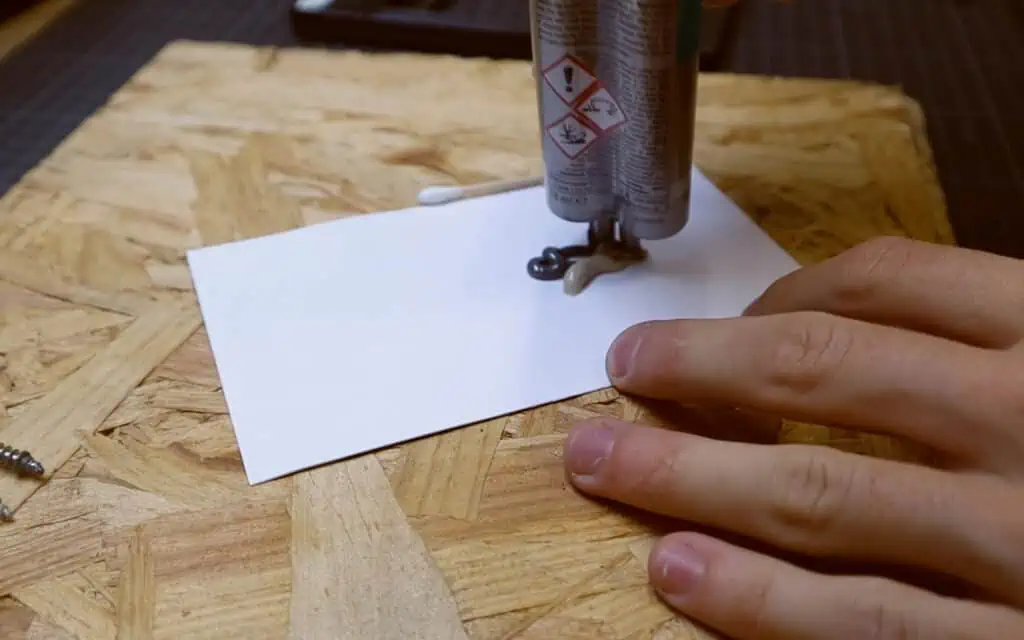
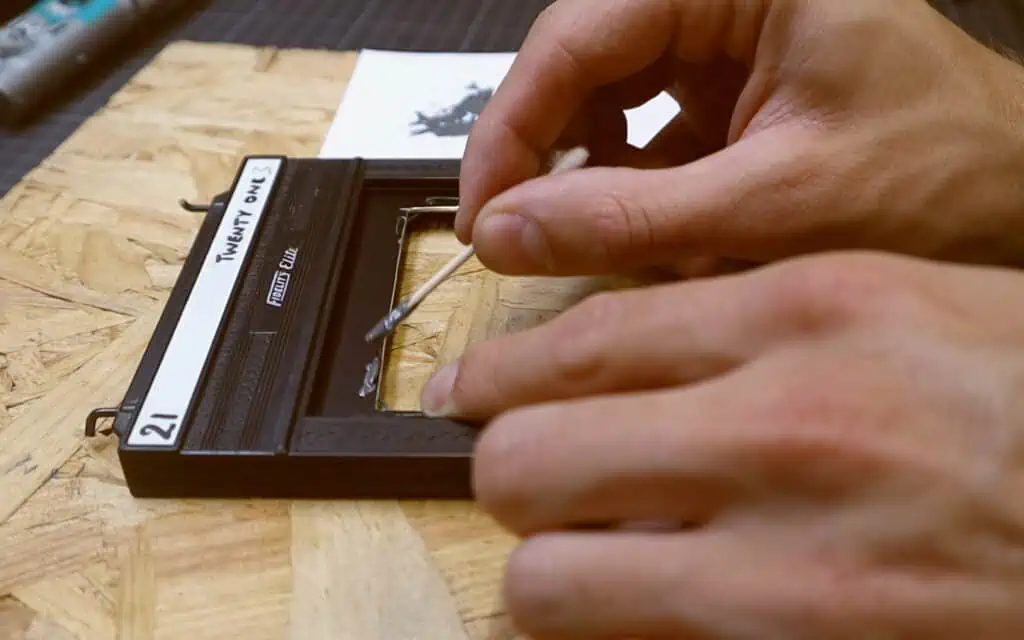
Now that the wire supports are in place you can start gluing them down. I used two component epoxy glue. Apply a small amount per time on the top of the wire and cover it completely. At this point you can also protect the exposed cut edge from the silver nitrate with some paint or nail polish. Again for dry plate use this step is not so important. Once you have glued all the wire ends down leave the glue to dry overnight.
STEP 7
LOADING THE PLATE
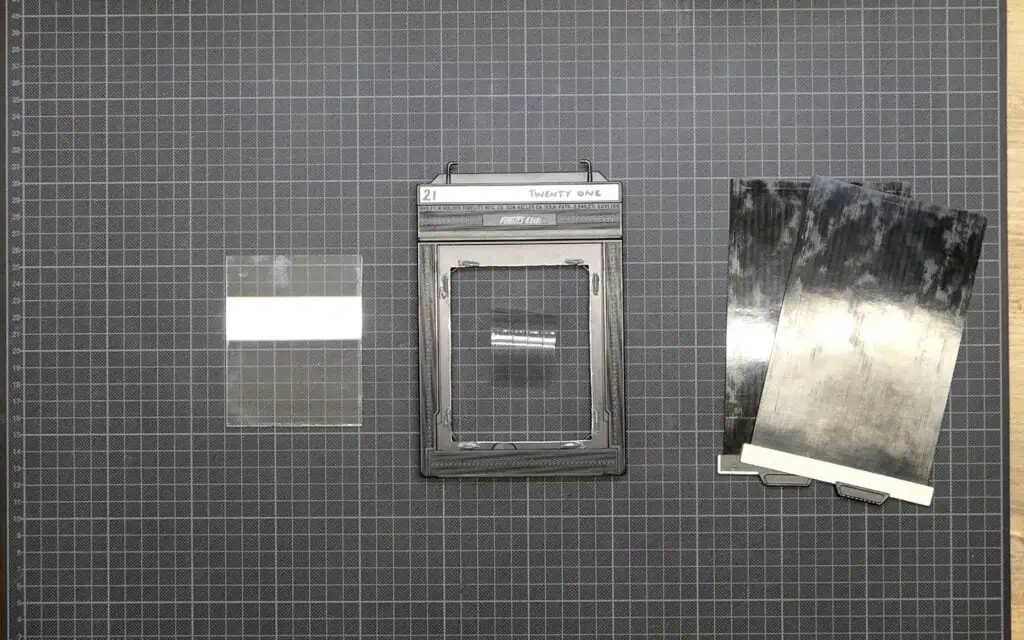
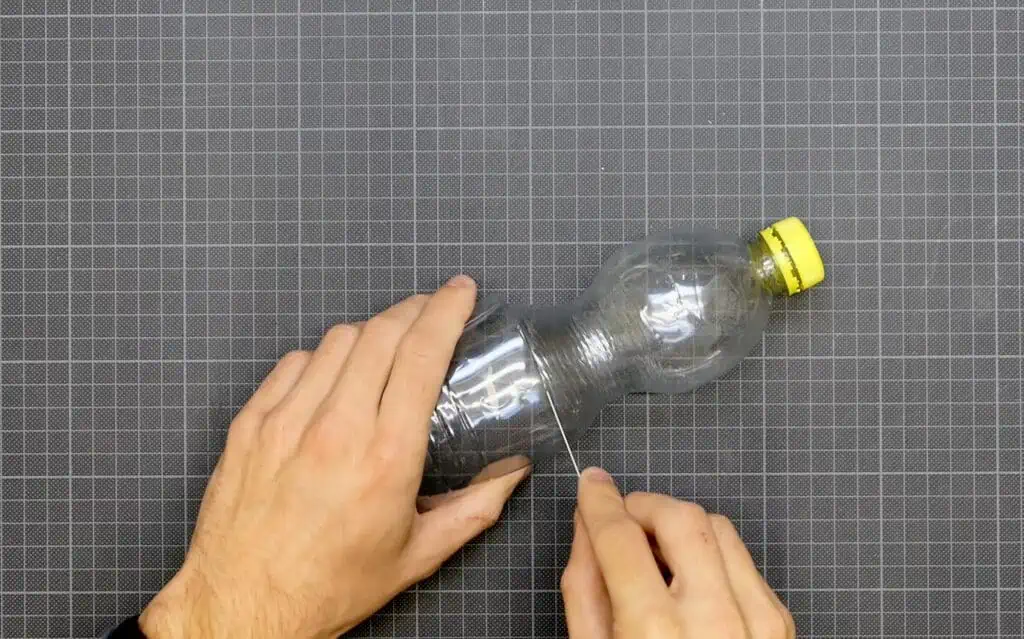
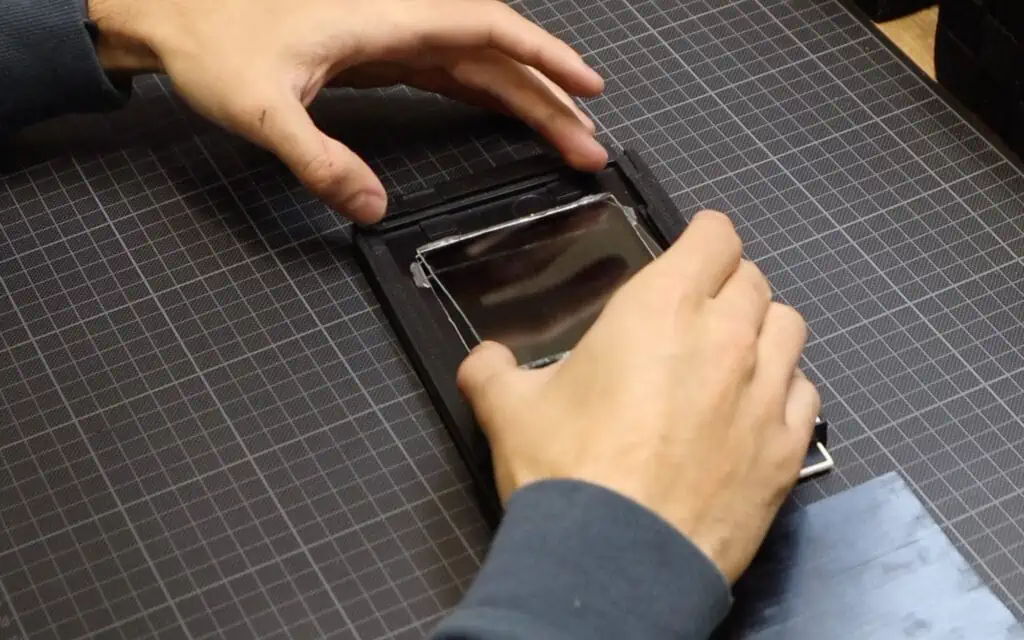
Before you start celebrating and using the modified film holder it’s time to make a test. Get your glass plate, modified film holder and also a plastic spring that you can make from a plastic bottle. This spring will hold your plate in place when inserted. Insert the back slide and position your glass plate (link) emulsion down on to the wire supports. Place the plastic spring on top and close it with the dark slide. After the exposure you would open the rear dark slide, set the spring aside, support the plate with your fingers and turn the film around. Now you are ready to develop the plate and enjoy your new Modified Glass Plate Holder
If its easier for you to watch me do it I also made a VIDEO TUTORIAL

