HOW TO MAKE CYANOTYPES – STEP BY STEP TUTORIAL

This is a step by step tutorial on how to make Cyanotypes from scratch. We will be mixing the chemicals, coating, exposing and developing until we have a cyanotype in our hands. Cyanotypes are one of the easiest and safest alternative photographic techniques. Cyanotypes were invented a long time ago in 1841 by Sir JohnHerschel just 3 years after the invention of photography. It uses a mixture of two iron compounds, which when mixed together, exposed to UV light and lastly washed in water oxidise to create its unique Prussian Blue coloured images. Cyanotypes are becoming widely popular these days among retro enthusiasts. They can be used on many materials from paper, canvas, wood, fabric, ceramic, or any other natural absorbent material.
List of things you need:
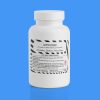
- Ferric Ammonium Citrate
- Potassium Ferricyanide
- Water (distilled if possible)
- Paper
- Brush
- Measuring cylinder or Syringe
- 3 containers for mixing(glass jar or beaker)
- A rod or something else to mix
- Storage bottles
- Gloves
- Scale
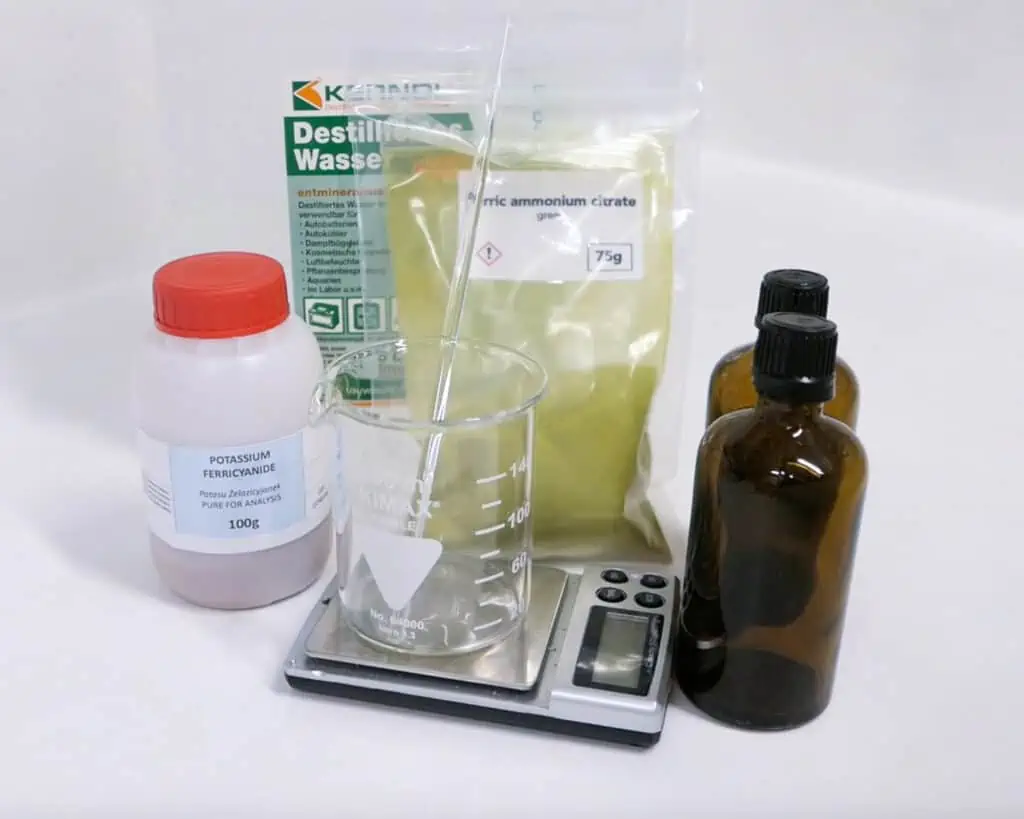
STEP 1
MIXING CHEMICALS (If you pre bought the solutions you can skip this part)
Cyanotype process is based on the mixture of two chemicals, Ammonium Ferric Citrate (light sensitive iron salt) and Potassium Ferricyanide (red iron salt). Both of them need to be dissolved in water so let’s get started.
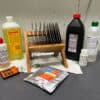
You will need both chemicals, distilled water, a mixing jar or beaker, something to mix with, measuring cylinder or a syringe, storage bottles and a scale. If possible wear gloves and try to do this in a well ventilated area or outdoors (chemicals become sensitive to UV only when they are mixed together).
My storage bottles are 150ml that’s why I will be working with 100ml of distilled water.
Solution A:
36g of Ferric Ammonium Citrate + 100ml of distilled water
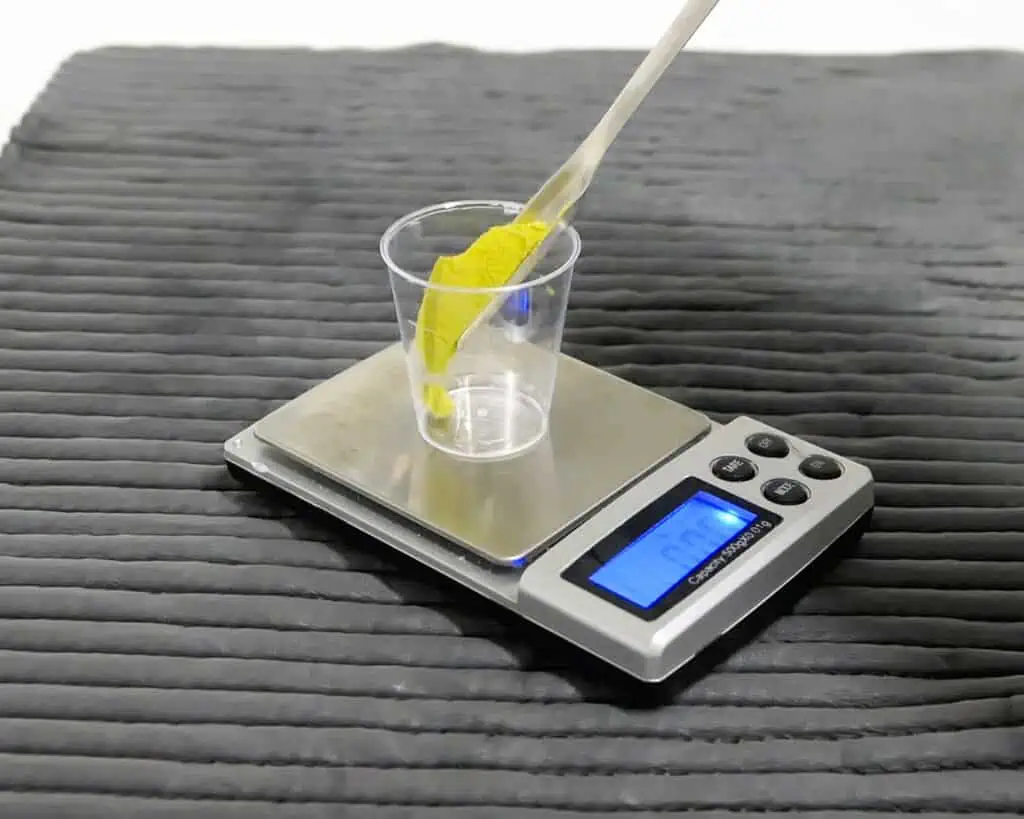
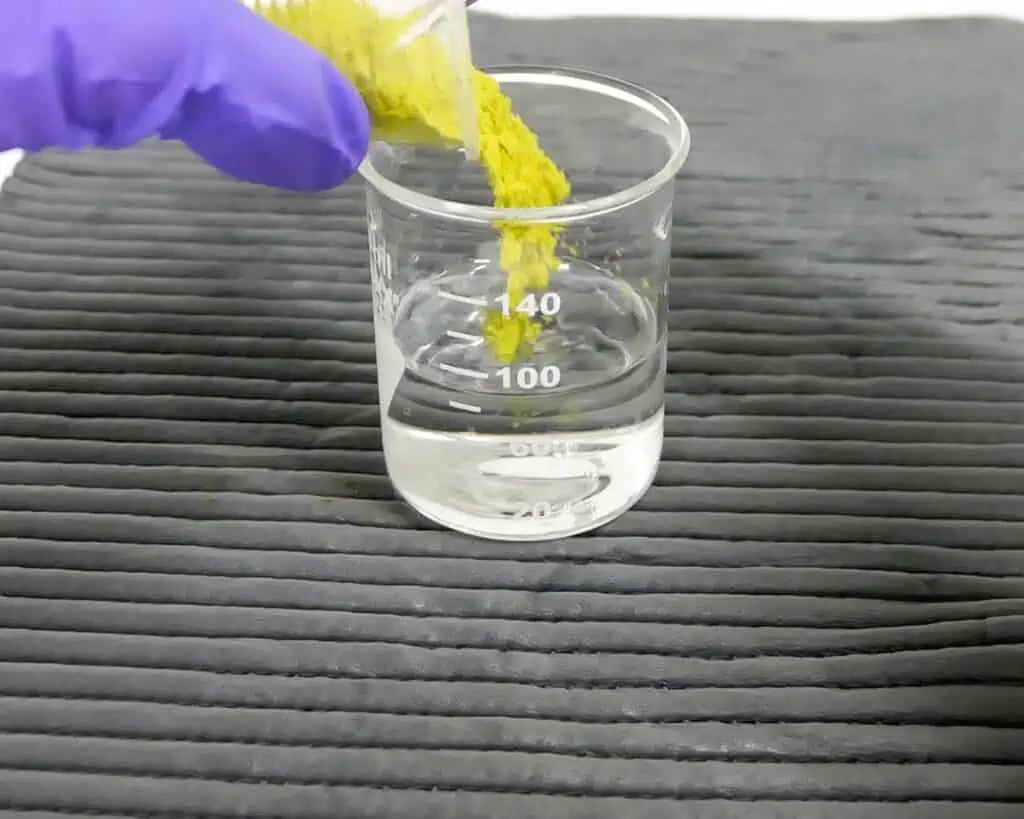
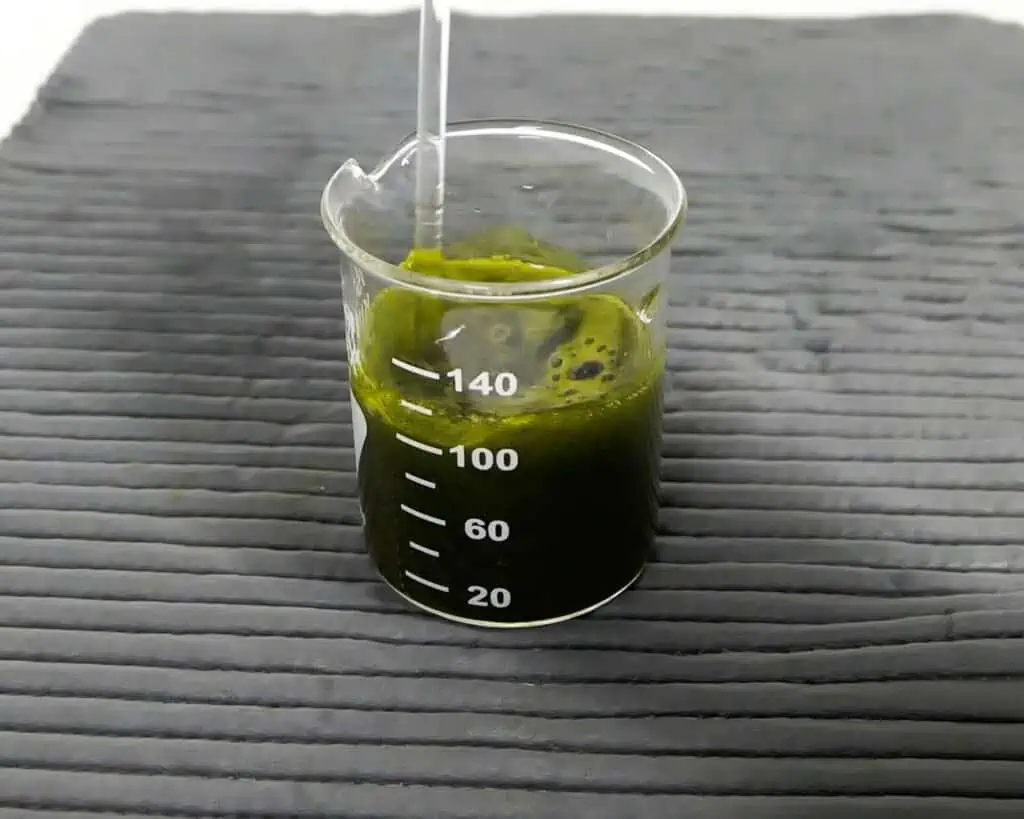
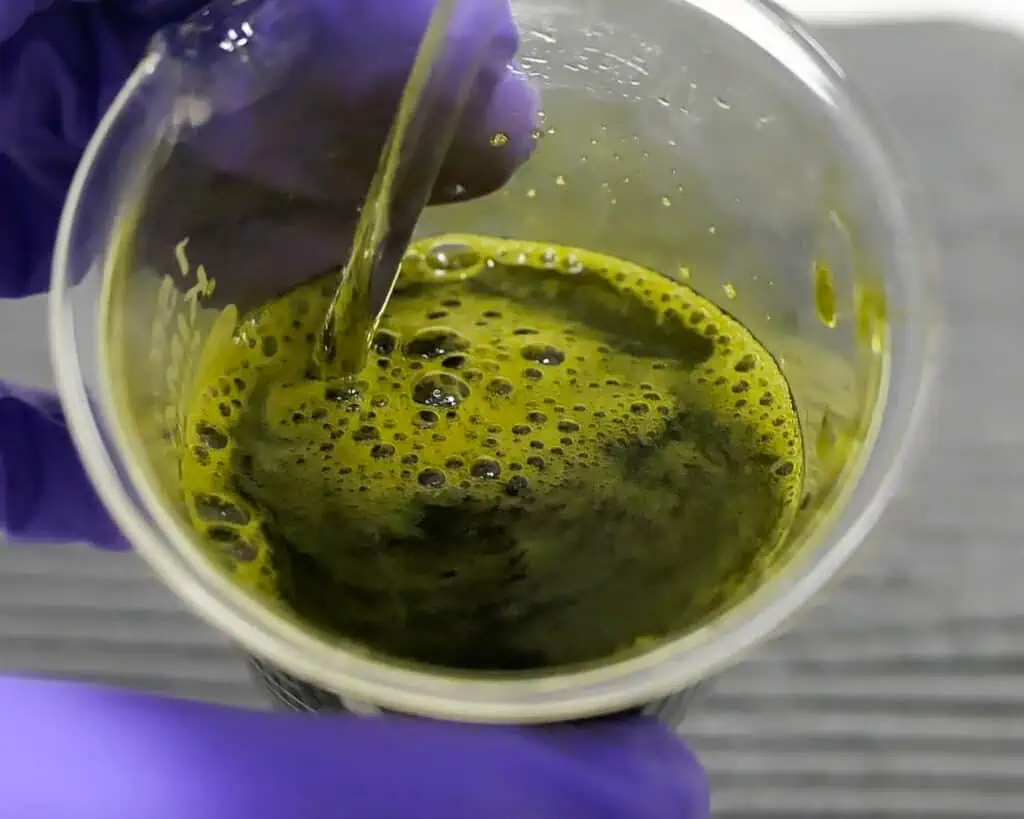
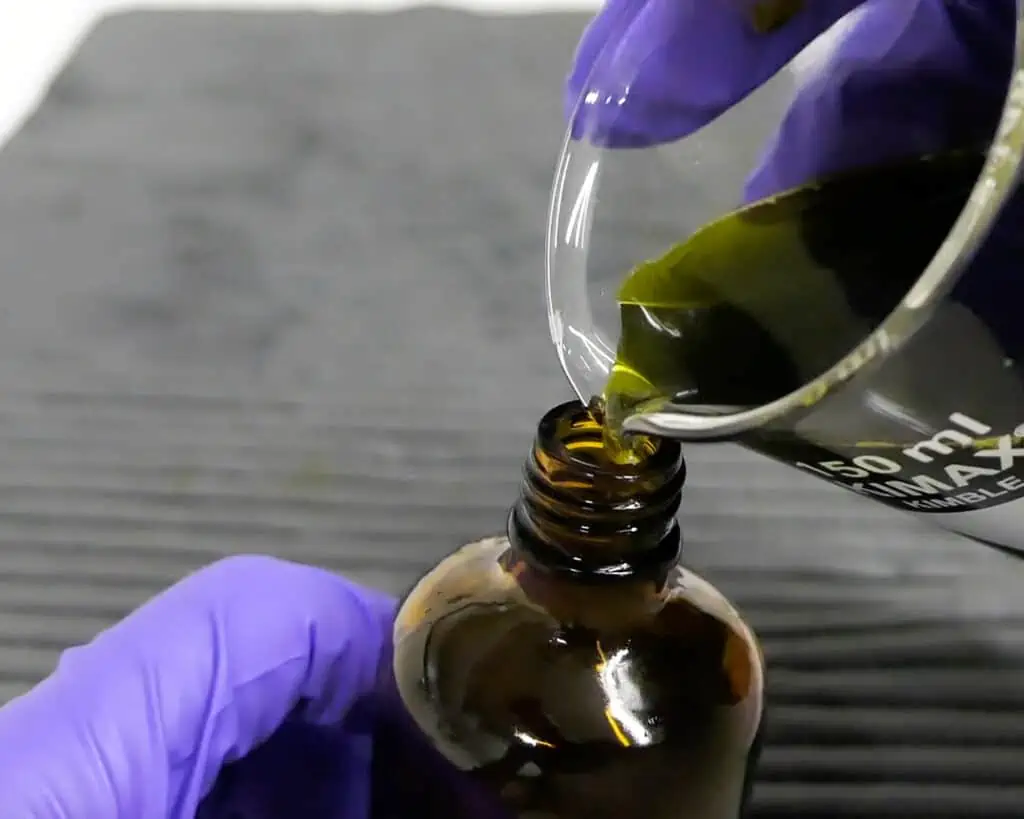
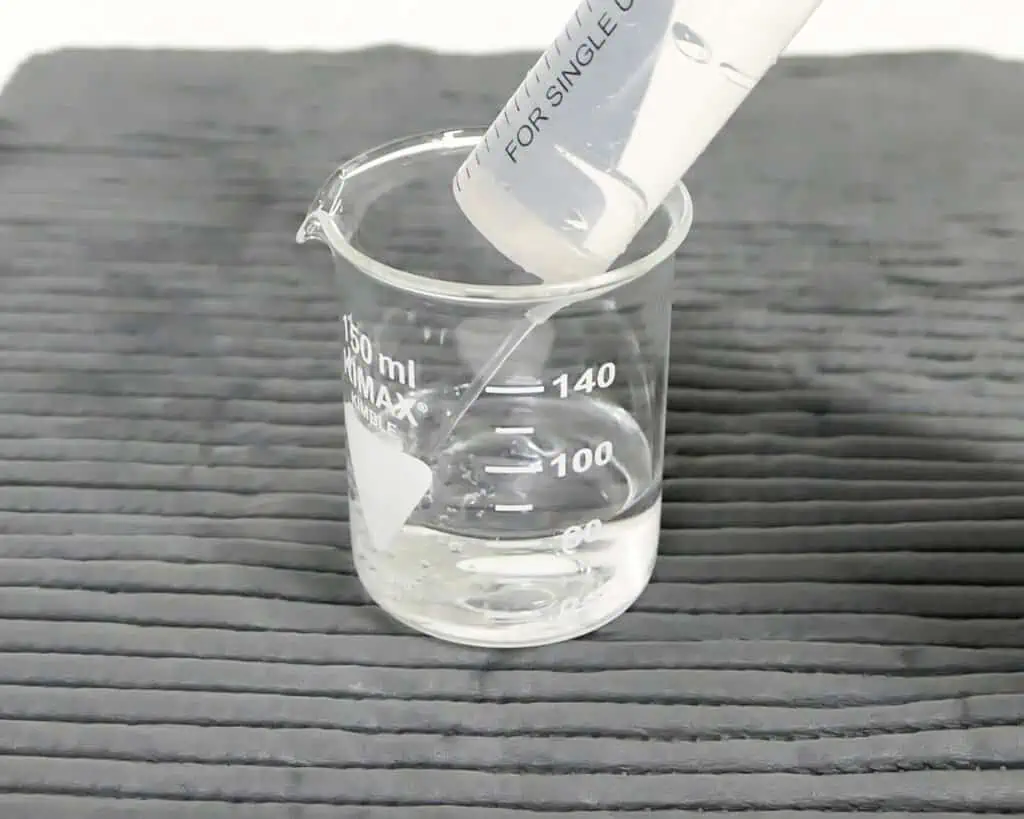
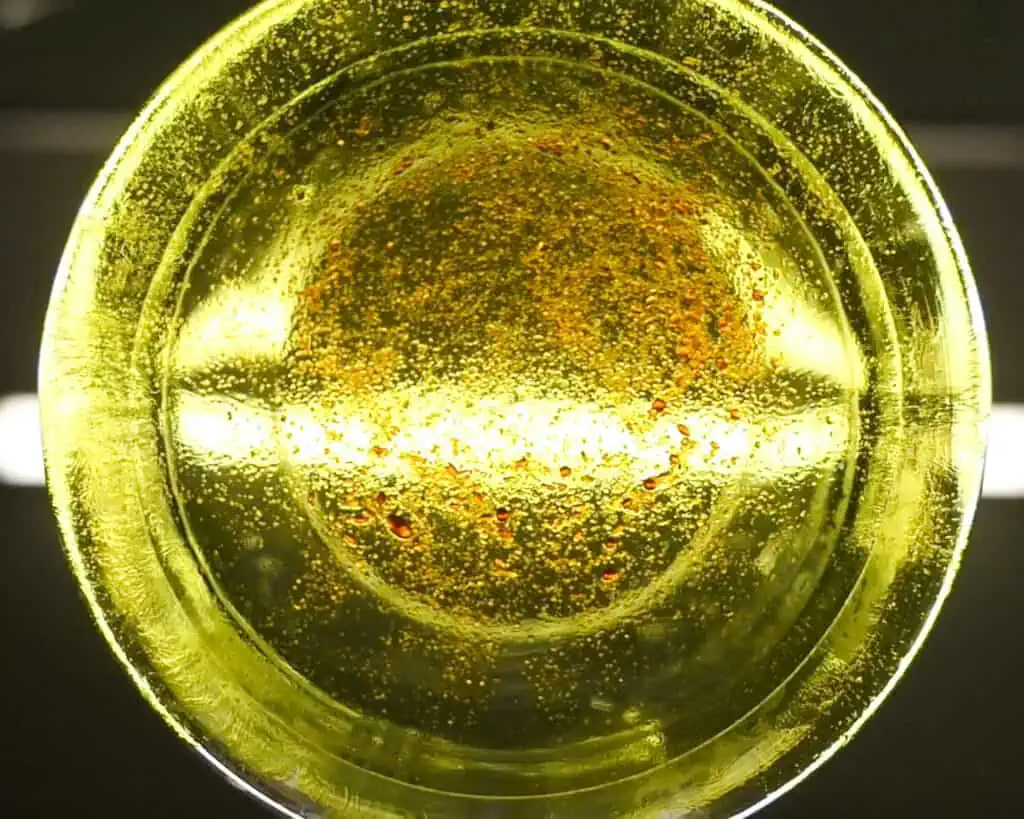
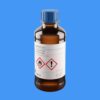
Begin by measuring 100ml of distilled water and weighing 36g of Ferric Ammonium Citrate. After everything is prepared you can start mixing. Try not to add the whole amount of chemicals inside the water at once. Nothing will be wrong, it will only take much longer for the Ferric Ammonium Citrate to dissolve. So add it slowly while mixing. When everything has dissolved you can pour the solution into the storage bottle. I prefer using brown bottles to prevent any bacteria growth.
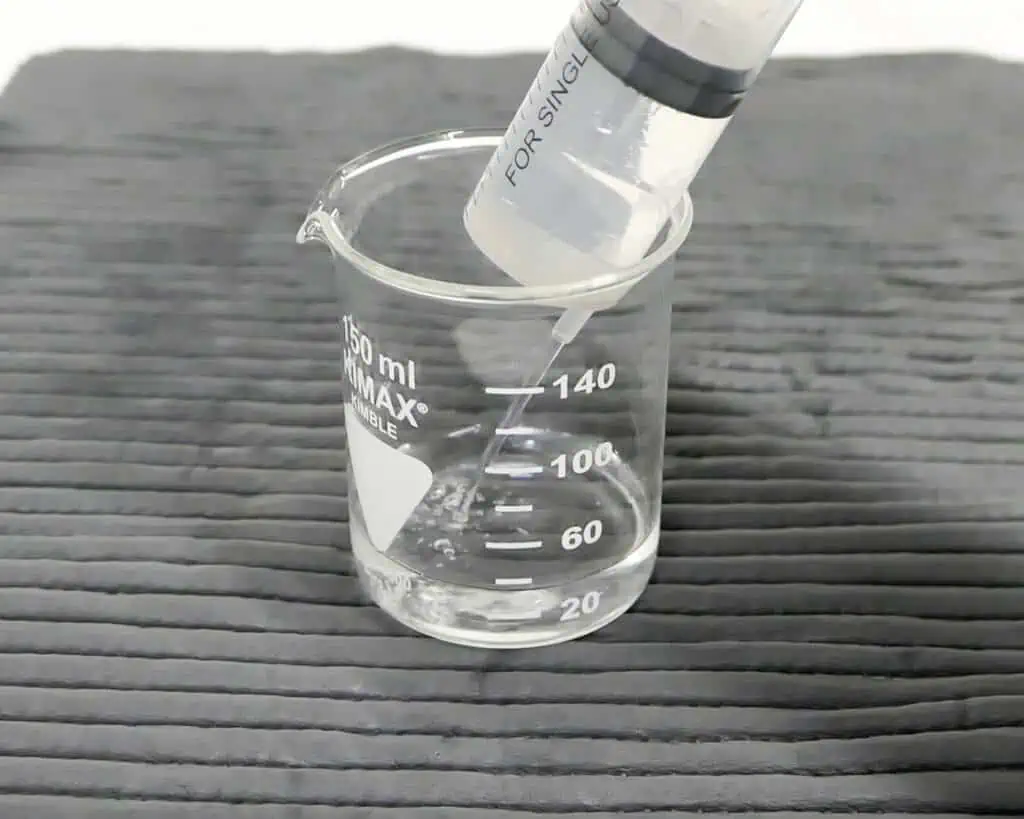
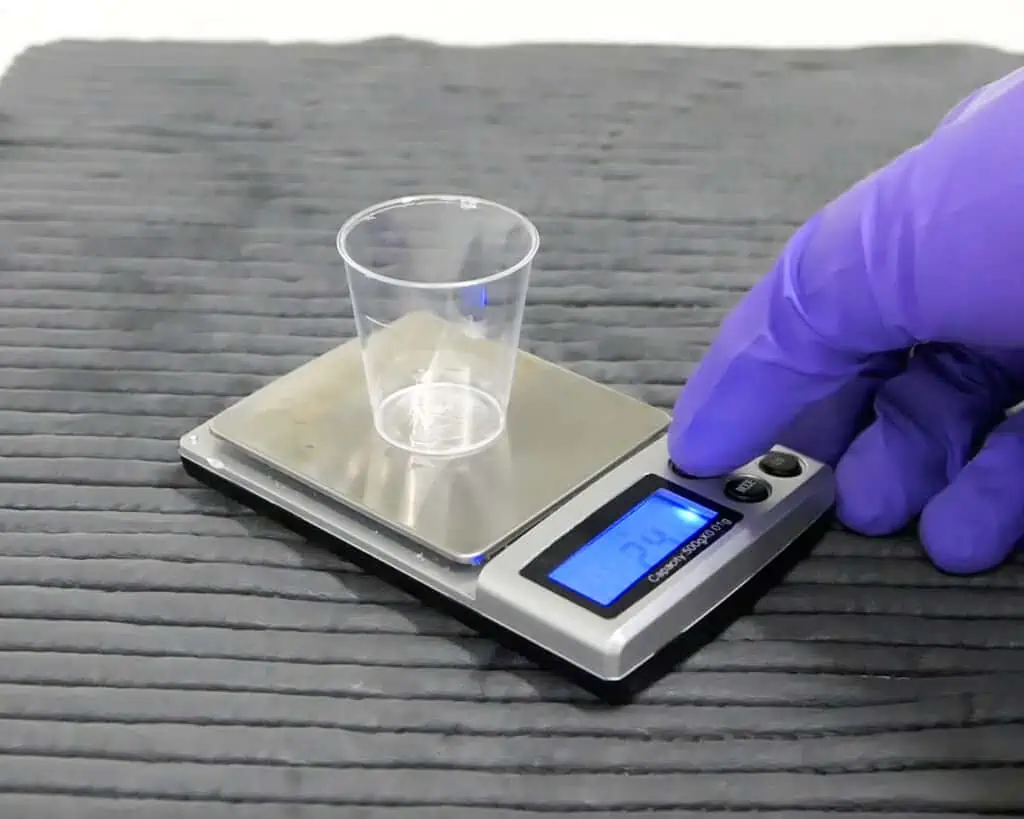
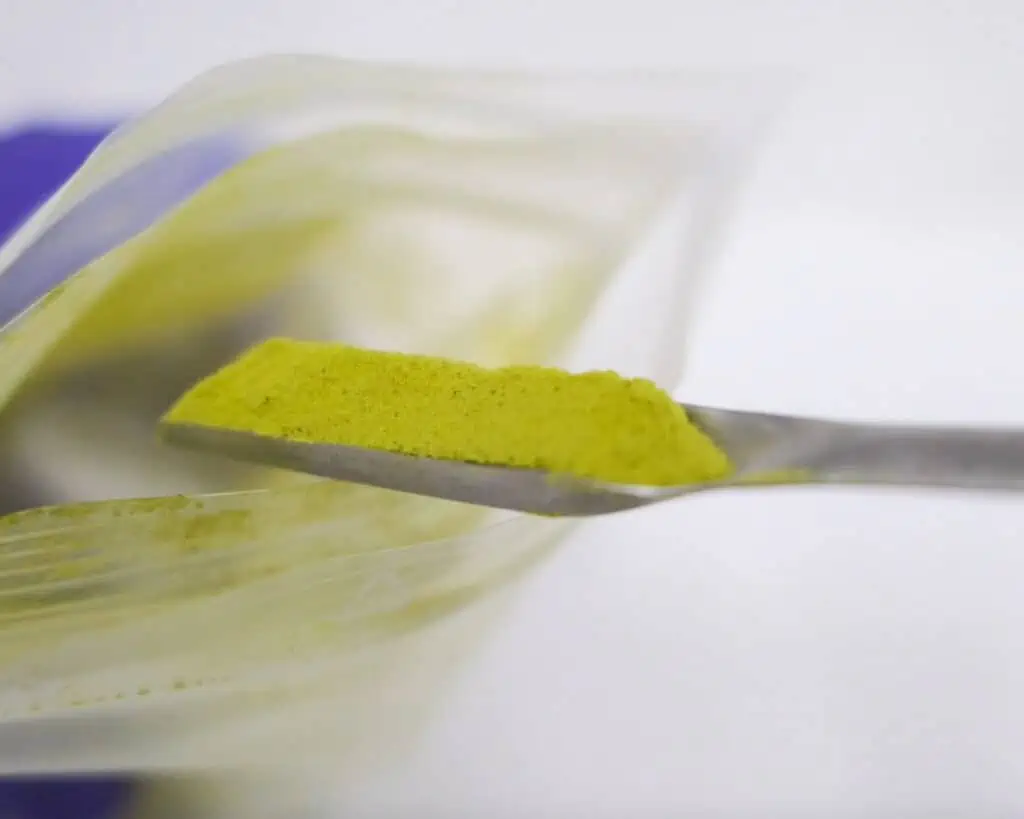
Solution B
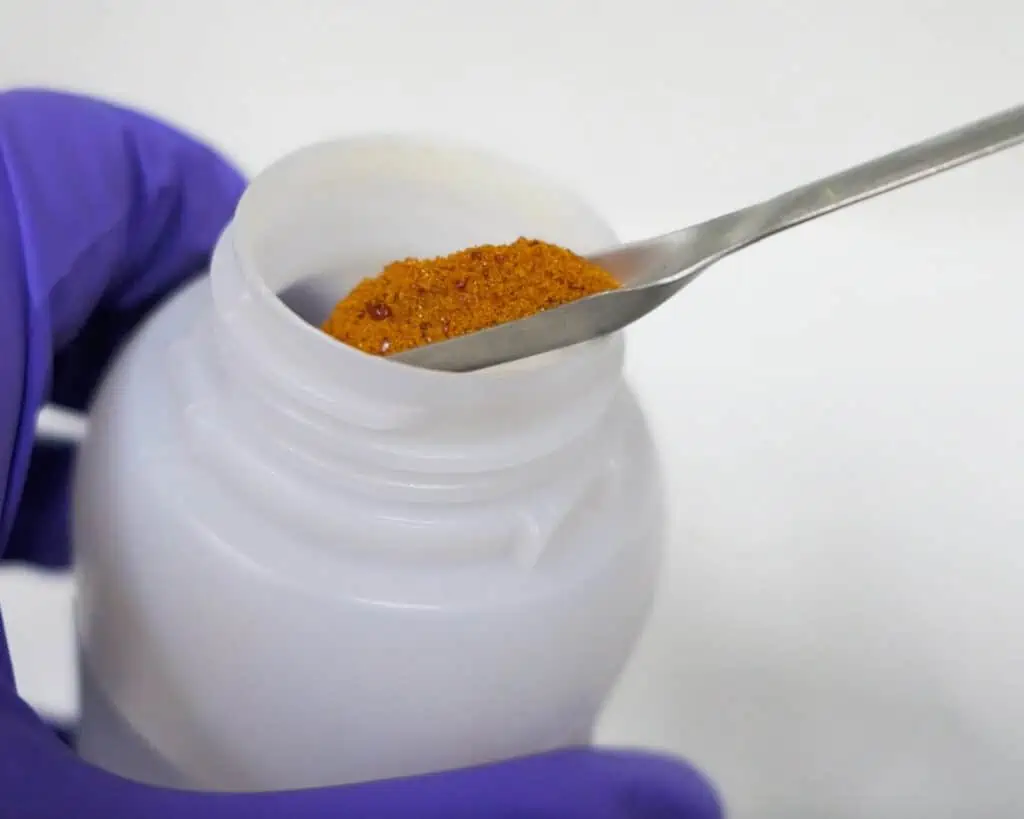
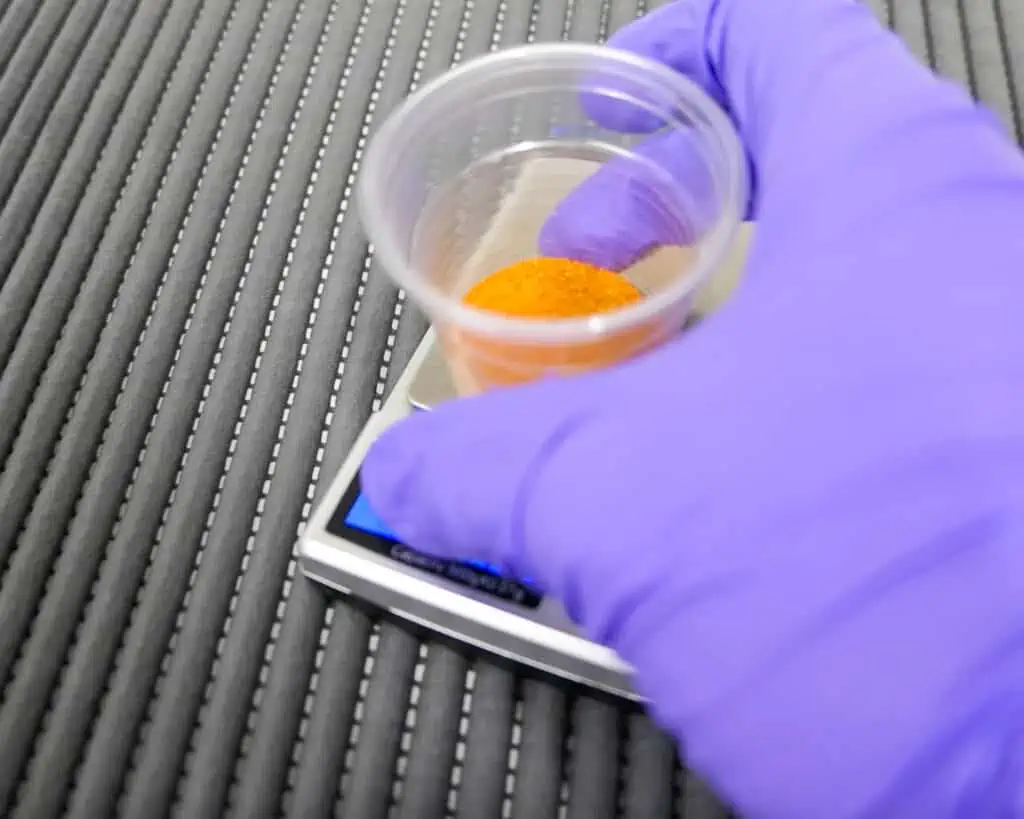
20g of Potassium Ferricyanide + 100ml of distilled water
Process it the same as in Solution A. Measure 100ml of distilled water and weigh 20g of Potassium Ferricyanide. Mix them together and pour the solution into the storage bottle.
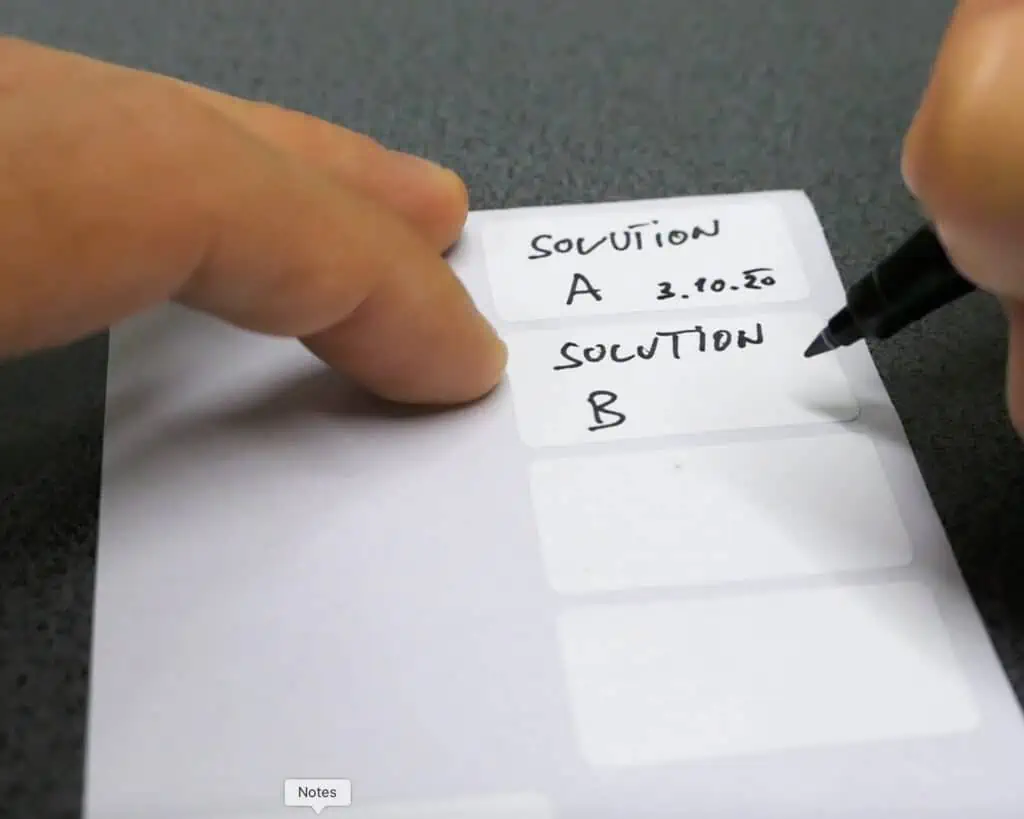
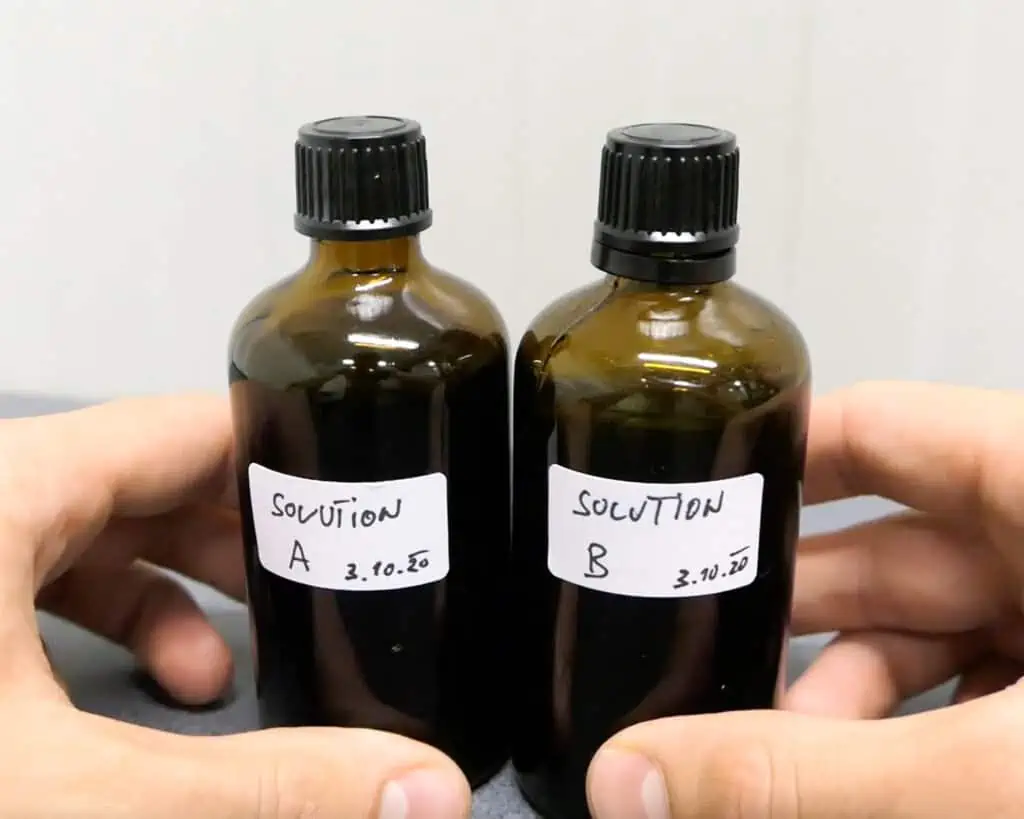
<>I usually label the storage bottles as well to know which solution is which and when I mixed it.
STEP 2
MAKING CYANOTYPE SOLUTION (Solution A + Solution B)
When both solutions are prepared we can mix them together to get a light sensitive Cyanotype mixture. Mixing is very easy using 1:1 ration. I used a measuring cylinder but you can also use a syringe. This part can not be done outside anymore because UV light will start the reaction. Do it inside away from the windows (you can use room lighting).
How much solution do I need?
Well that highly depends on the type of paper you will be using as well as how many coats you will make. I mixed 20ml (10 +10) of the solution to coat a few larger A3 papers.
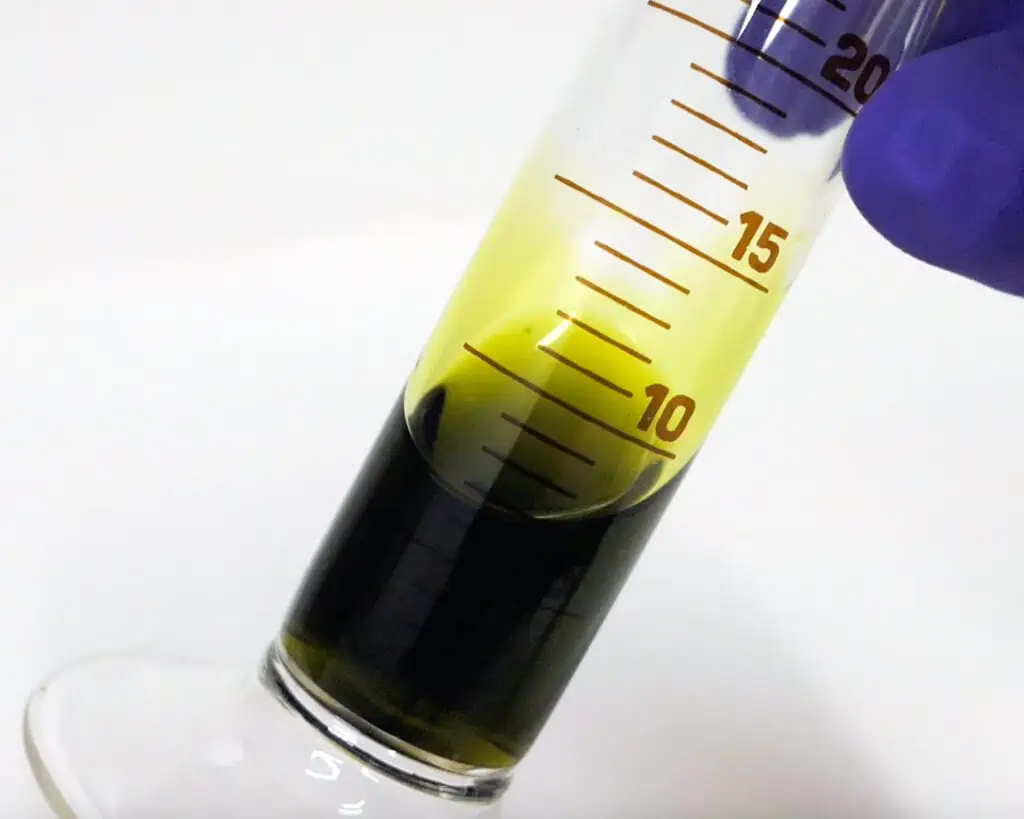
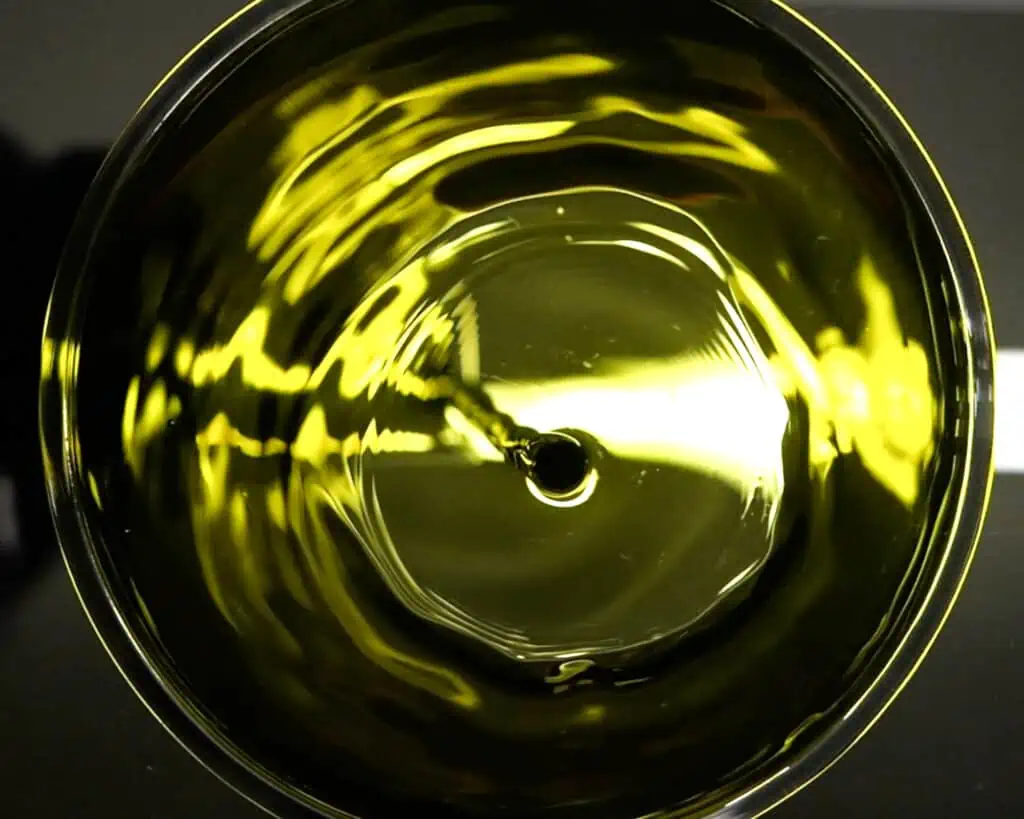
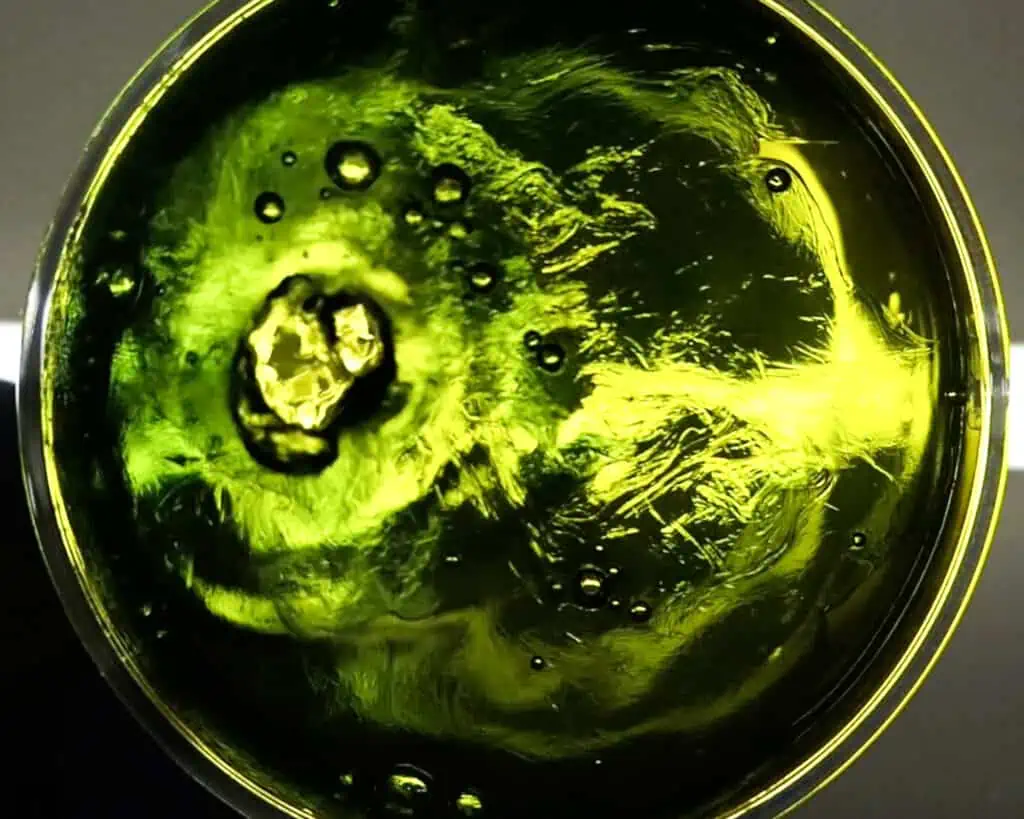
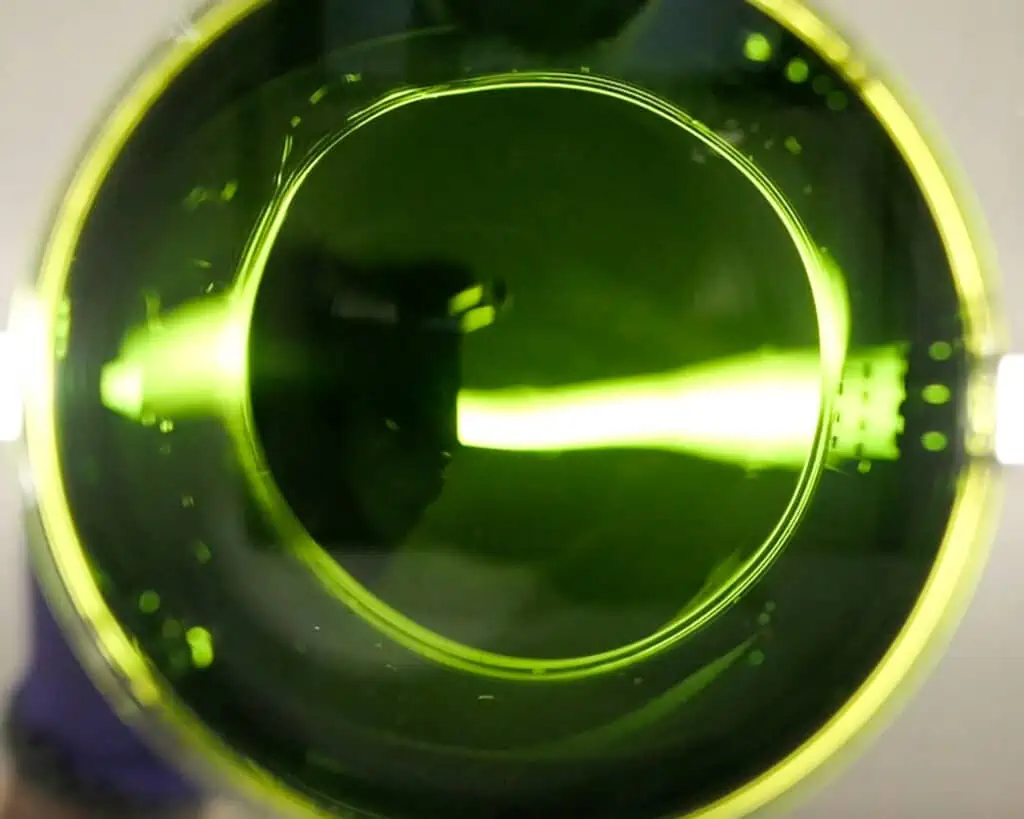
STEP 3
COATING THE PAPER
First of all let me tell you what paper I am using. Actually any paper will do but you will get the best results with aquarel or graphic paper. I am using Fabriano 5 fine or medium grain.
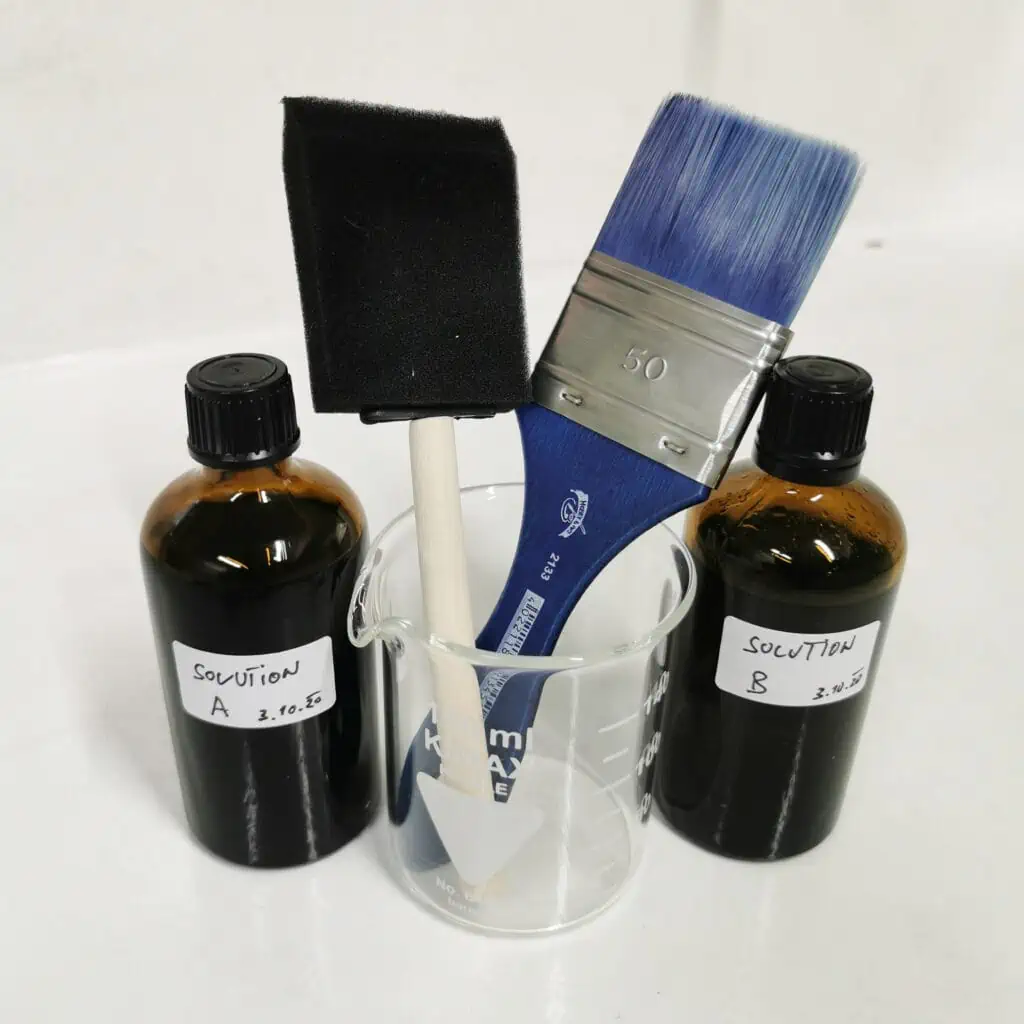
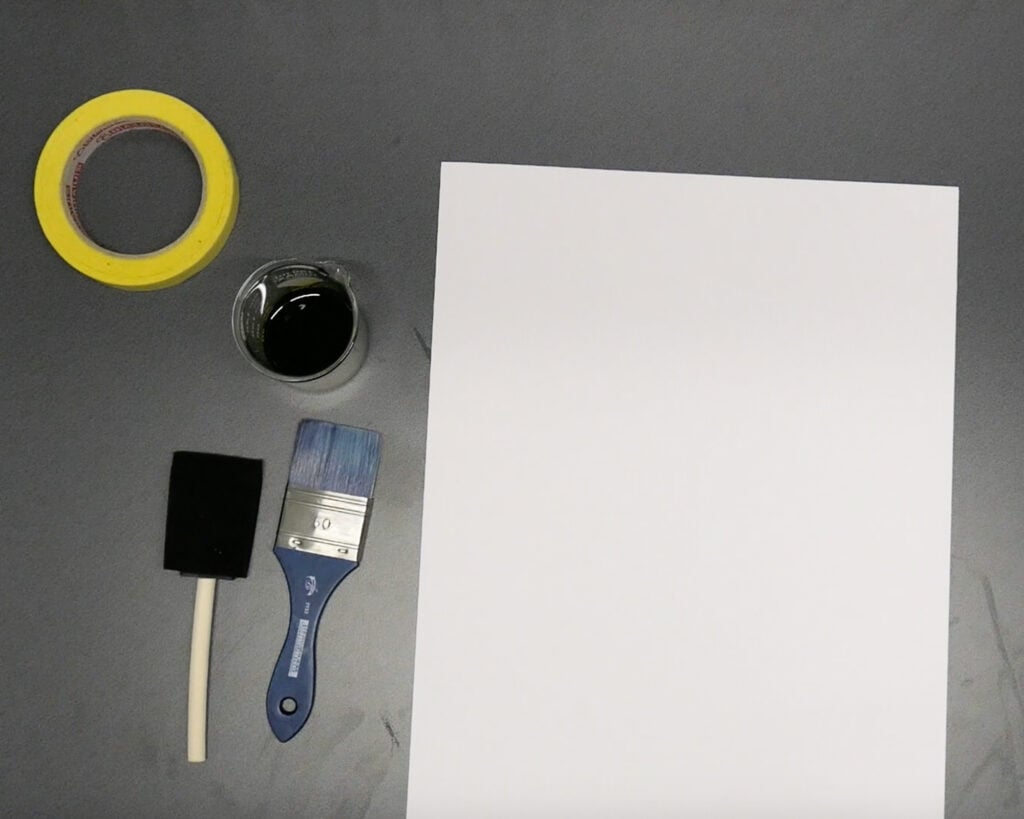
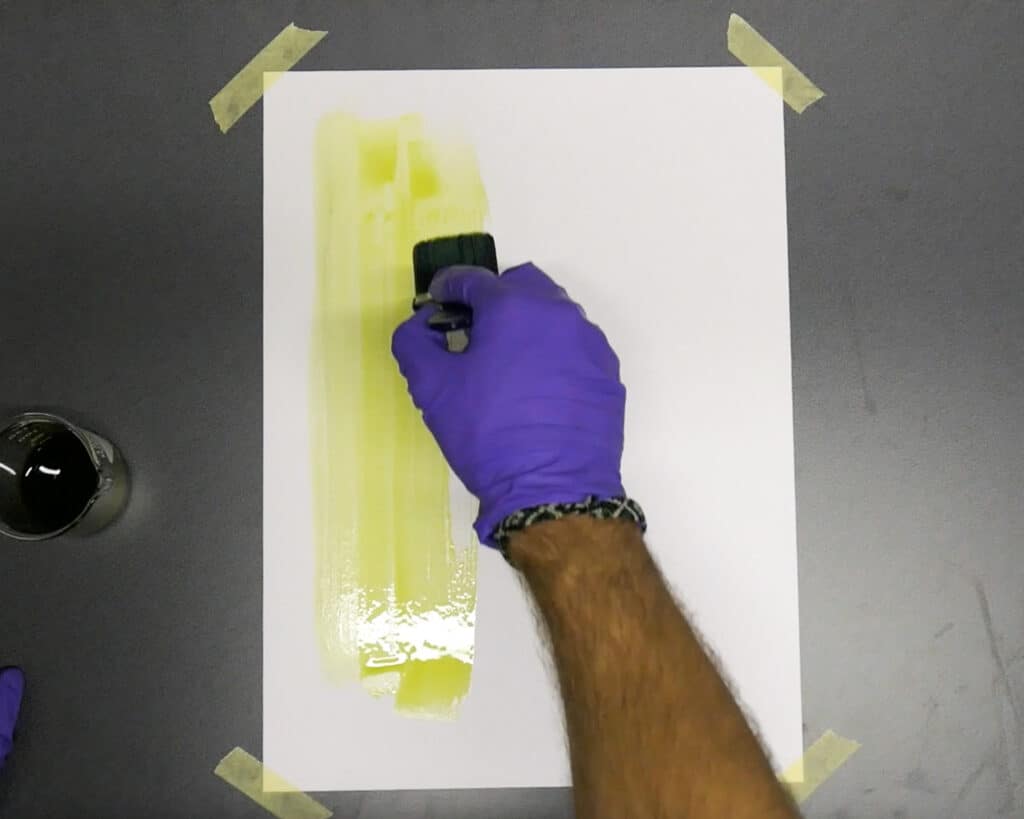
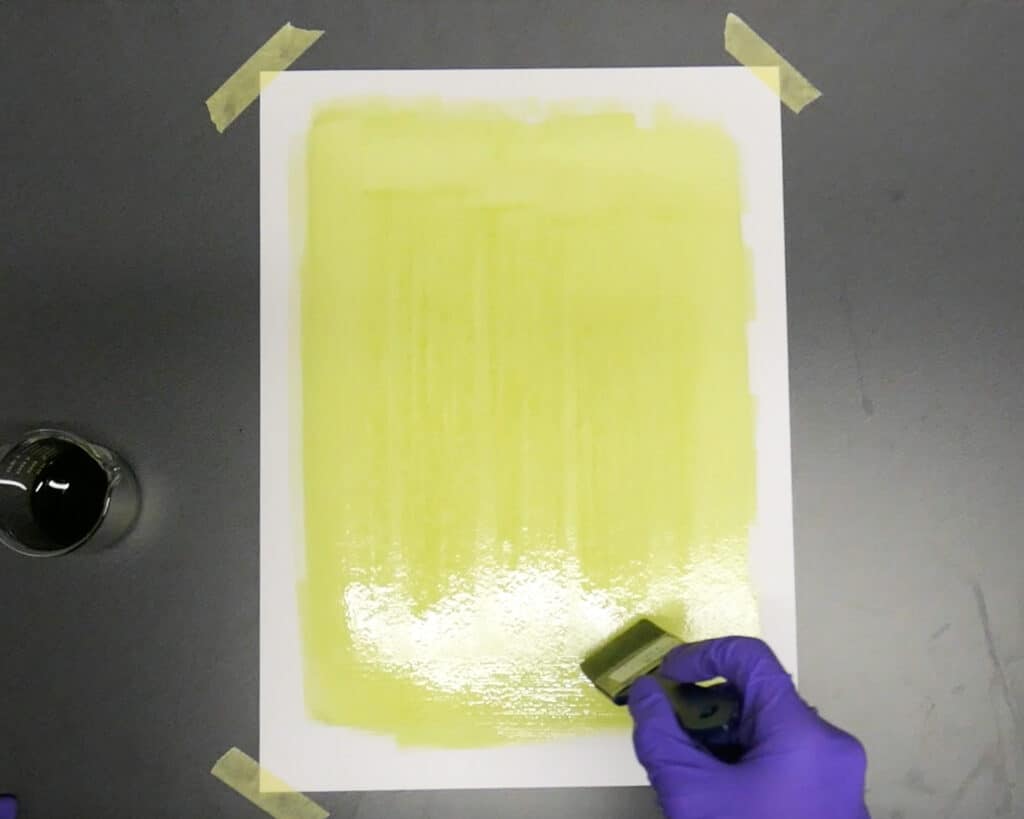
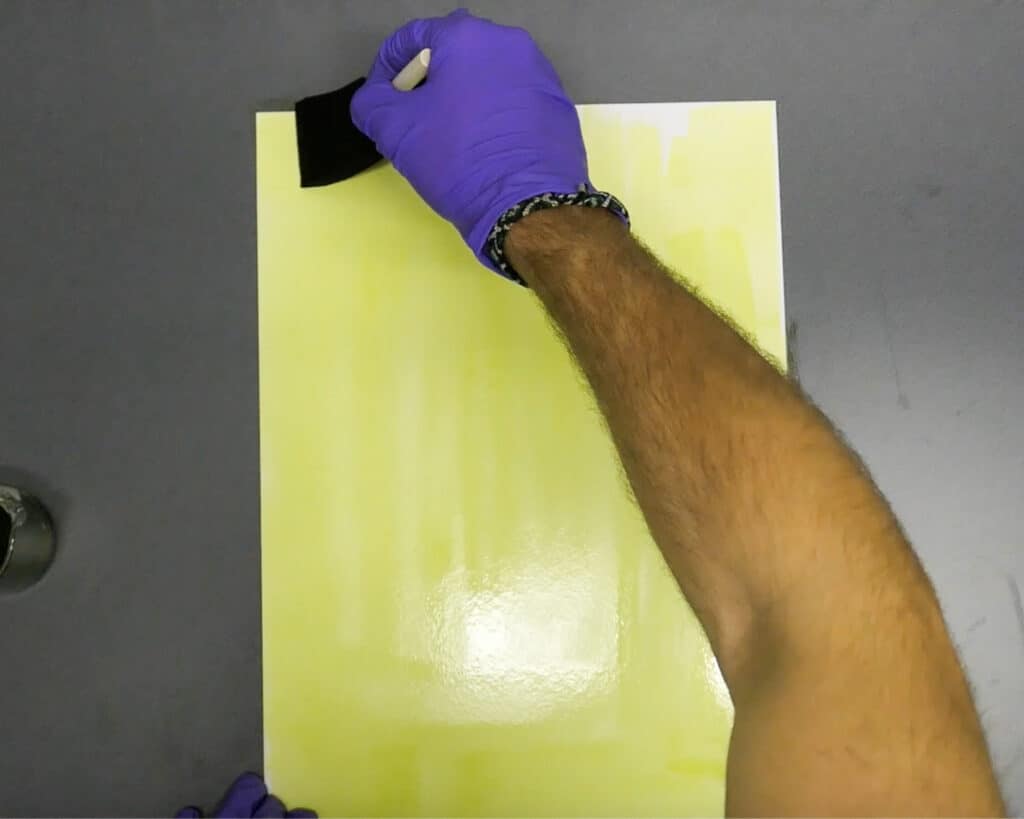
Before you start coating prepare yourself a nice flat surface, cyanotype solution, brushes, masking tape and paper of course. Sometimes I tape the paper down in the corners so it doesn’t move when I start applying the Cyanotype solution. There are many different types of brush you can use from very fine to rough or it can also be made from foam. There is no right or wrong way to coat the paper as long as you spread the solution evenly. Sometimes I even coat the paper all the way to the edges.
STEP 4
DRYING
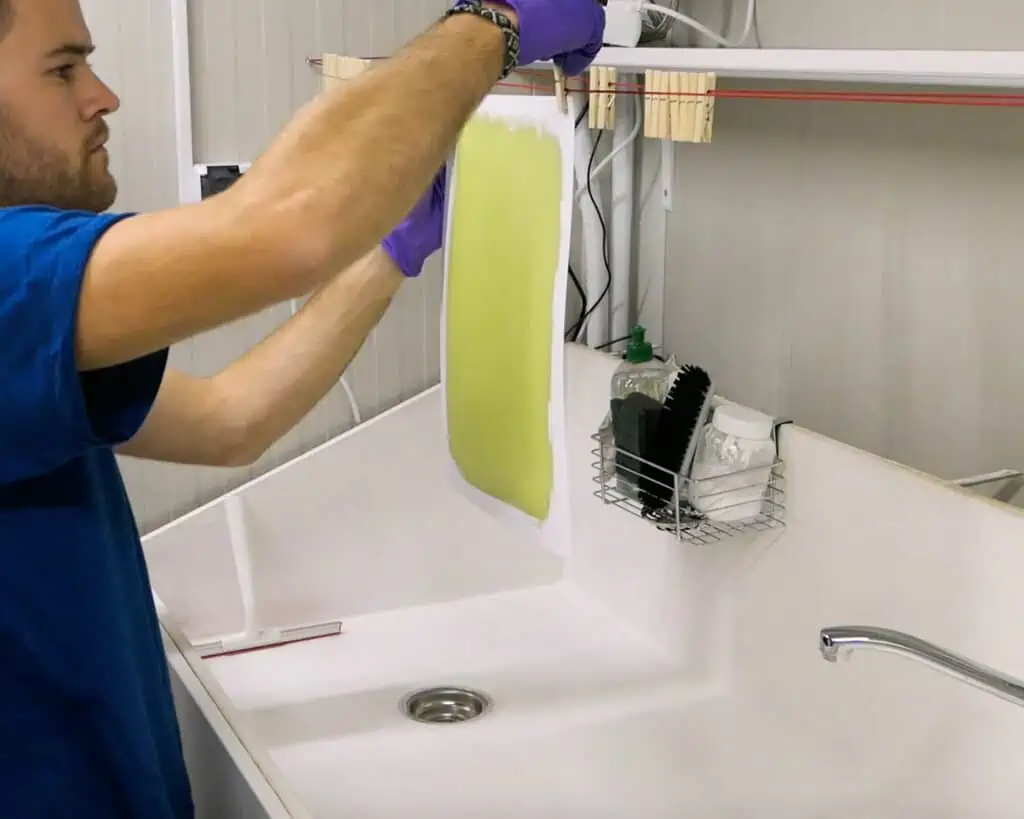
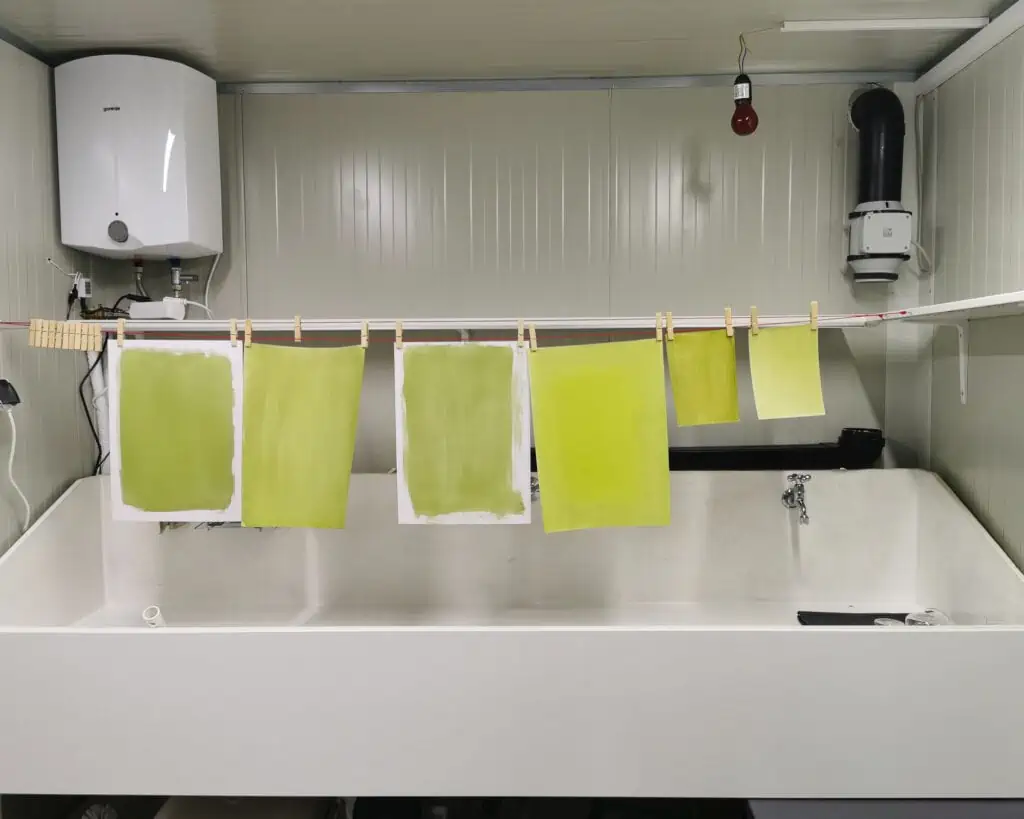
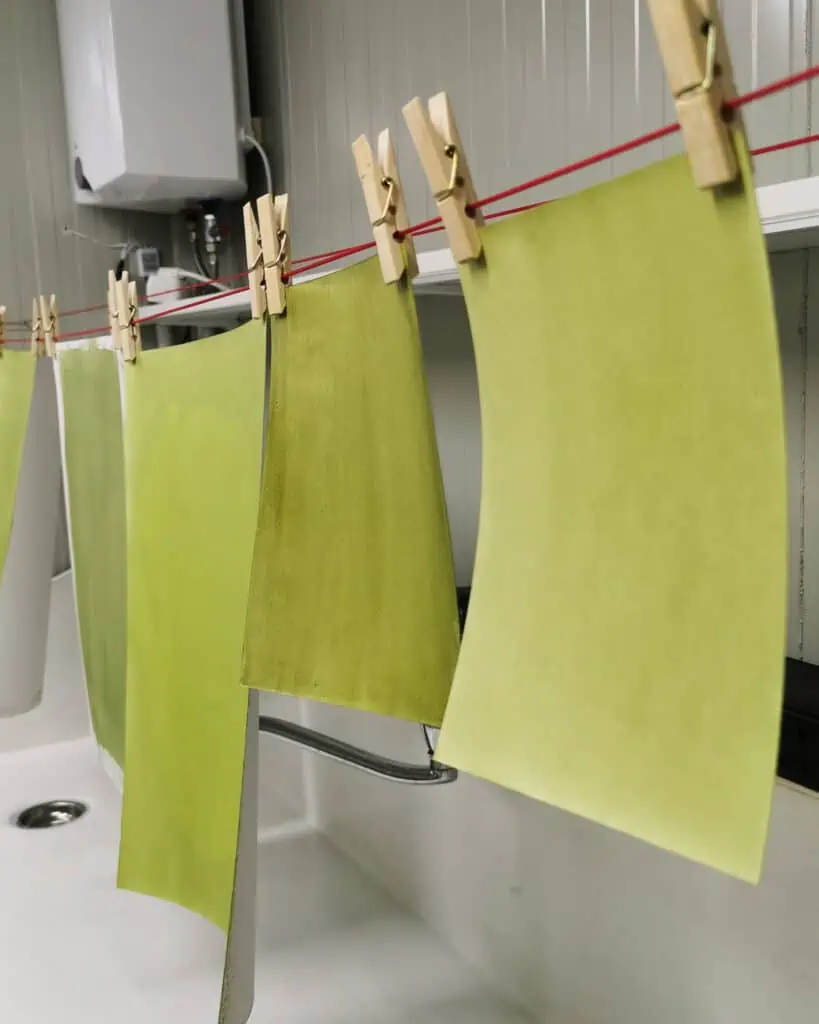
When paper is coated it needs to dry. You can simply leave it laying flat on a surface or hang it. If you would like to speed up the process you can use a hairdryer. I don’t like to use it myself because it often results in an uneven coating…
STEP 5
GATHERING PRINTING MATERIALS
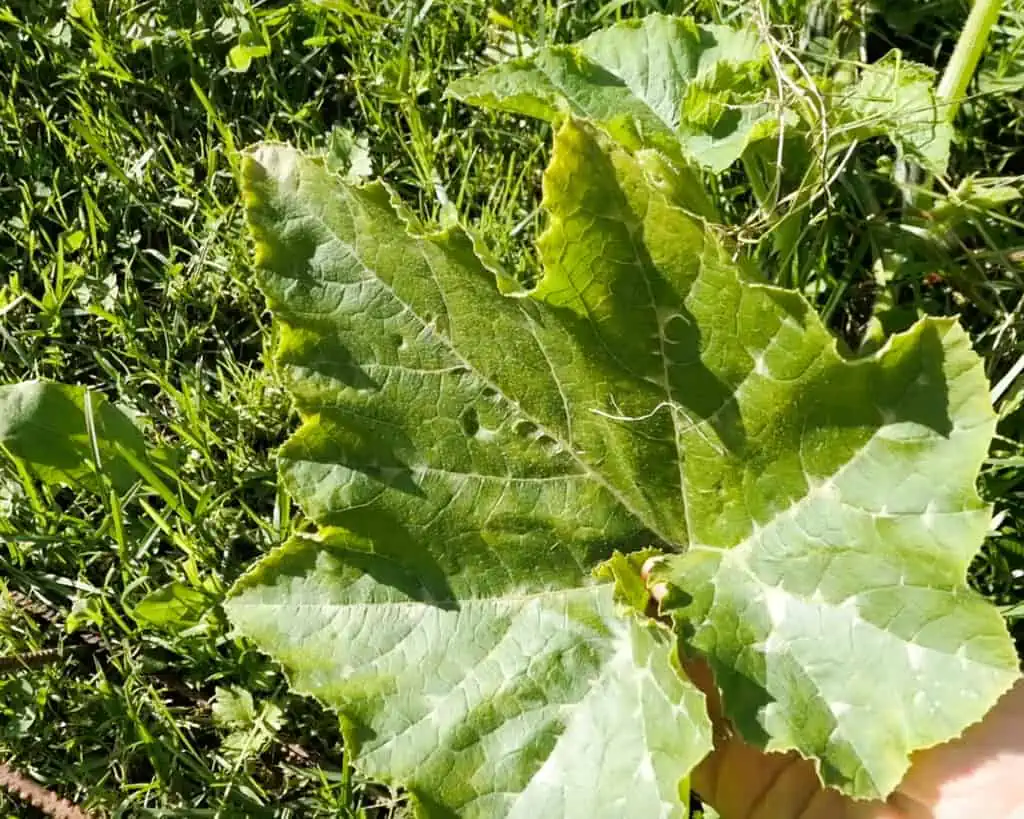
While the papers are drying you can go out and find stuff you would like to print with. Image is formed by contact copying which means you put an object on the paper and expose it. During exposure the object will make a silhouette on the paper. Possibilities are endless here from flowers, sticks, glass objects, plastic bags. You can also print digital images into a negative on transparent film and make a positive with Cyanotype.
STEP 6
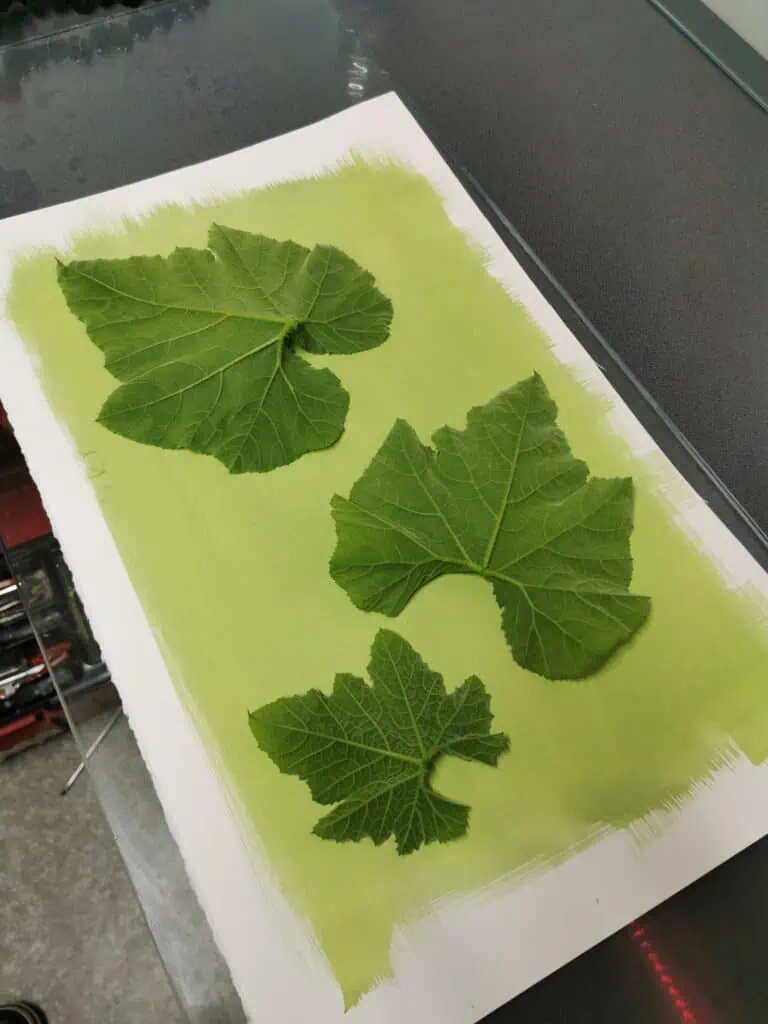
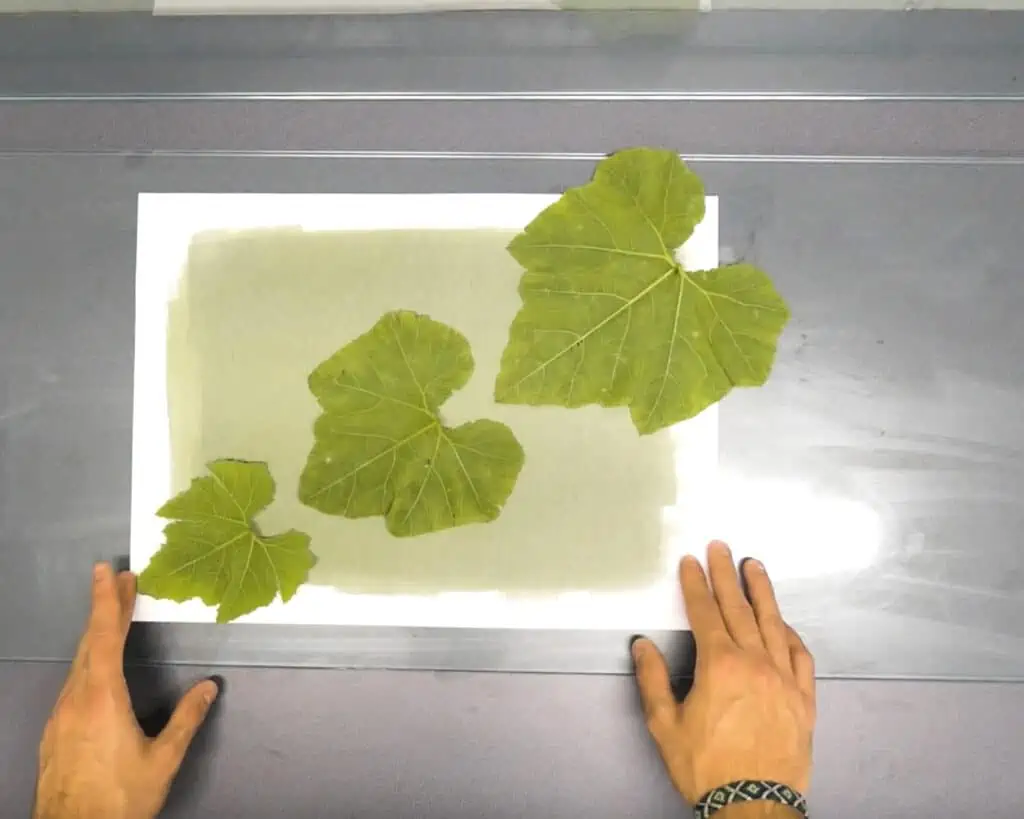
PLACING OBJECTS ON THE PAPER
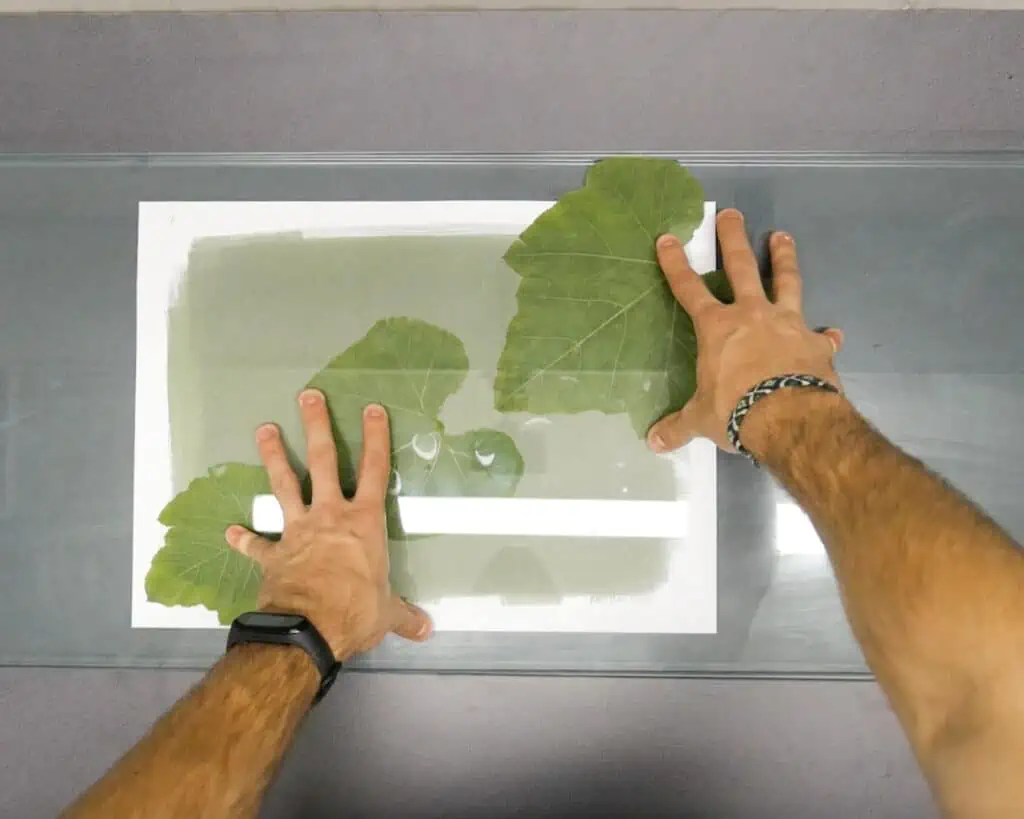
After the paper has dried and you have printing materials you can start placing them on the paper. When you are happy with the composition you need to sandvich everything under a thicker piece of glass which will provide good compression.
STEP 7
EXPOSURE
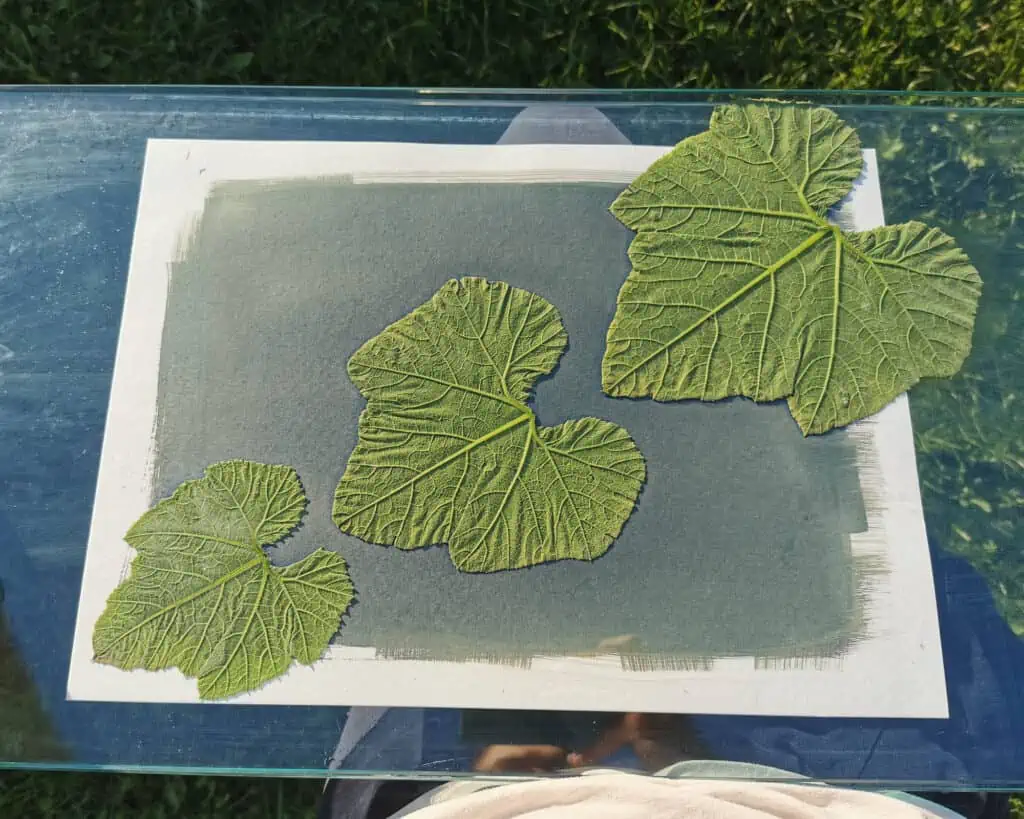
When exposing the paper try to avoid cloudy days because even though there will be some UV coming through it will be hard to get the right exposure. You should print on a sunny day ideally at noon when the sun is highest. Exposure time depends on the location of the sun as well as time of the year. On a summer day it is usually at around 20min but during the winter it can also be 25min +. You will probably have to take some tests before you get it right. Good luck!
STEP 8
DEVELOPING
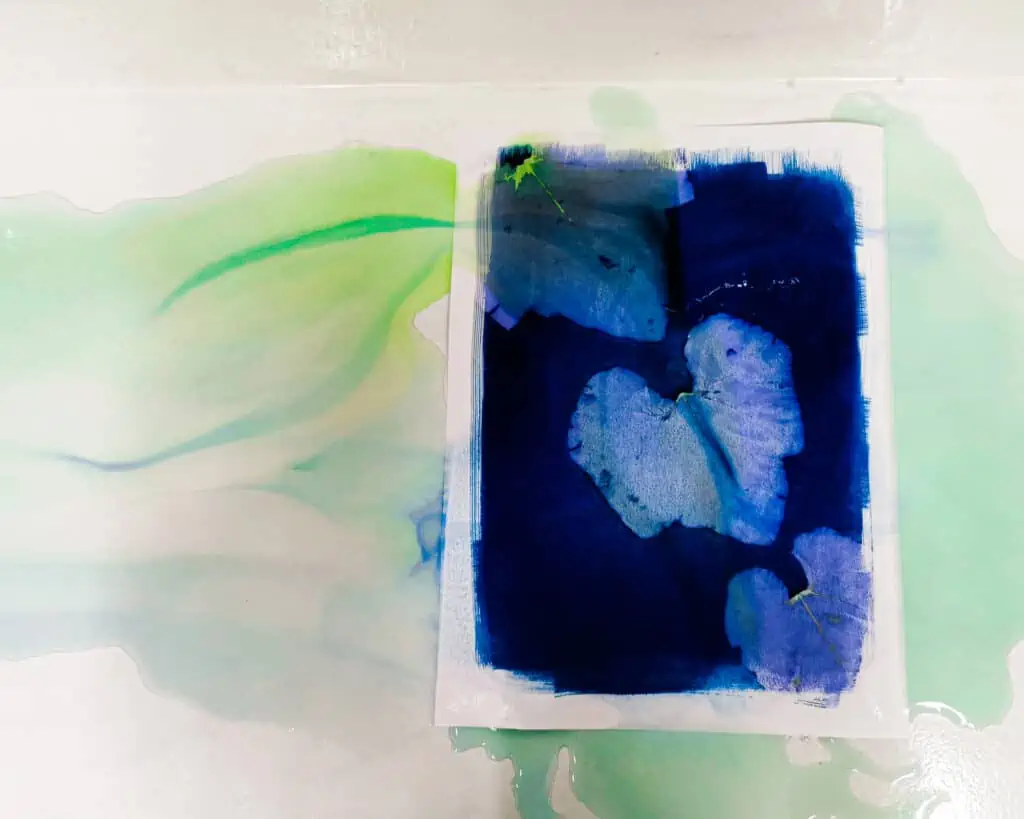
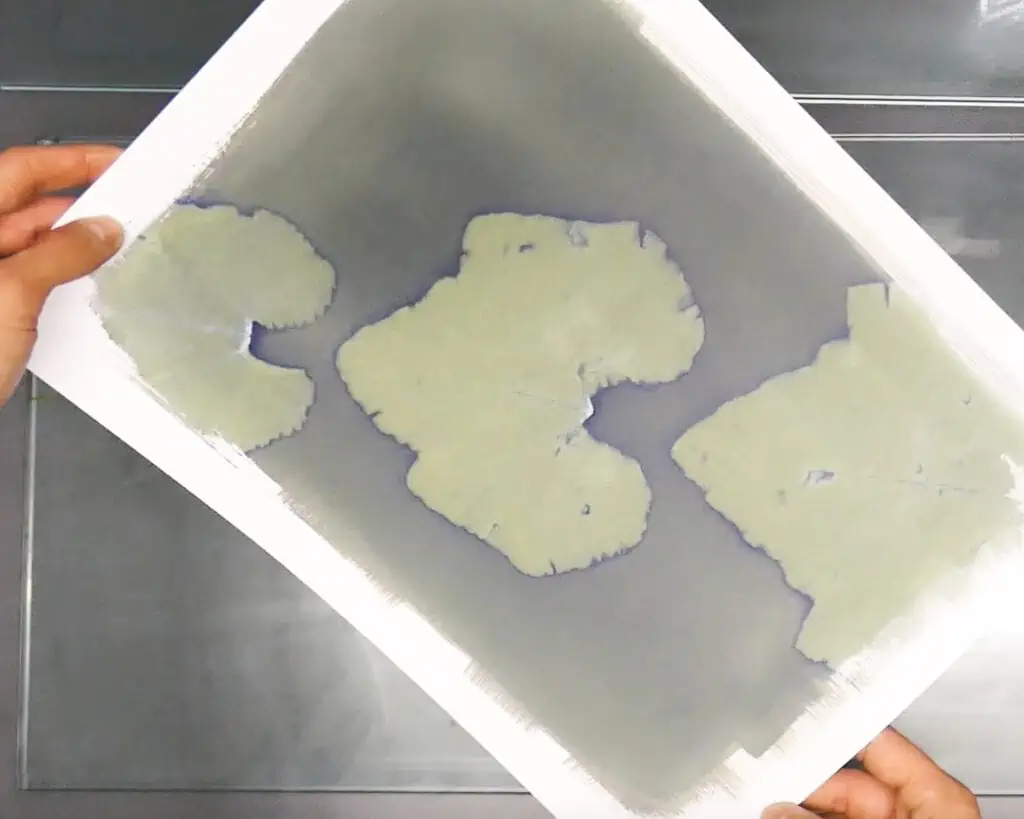
When you have exposed the plate bring it back indoors. During developing all the oxidise particles will wash off and leave a beautiful blue colour behind. For developing all you need is water and a container or sink. You need to wash the paper until the water coming off is clear. Do not use hot water because you will damage the paper!
STEP 9
FINAL DRYING
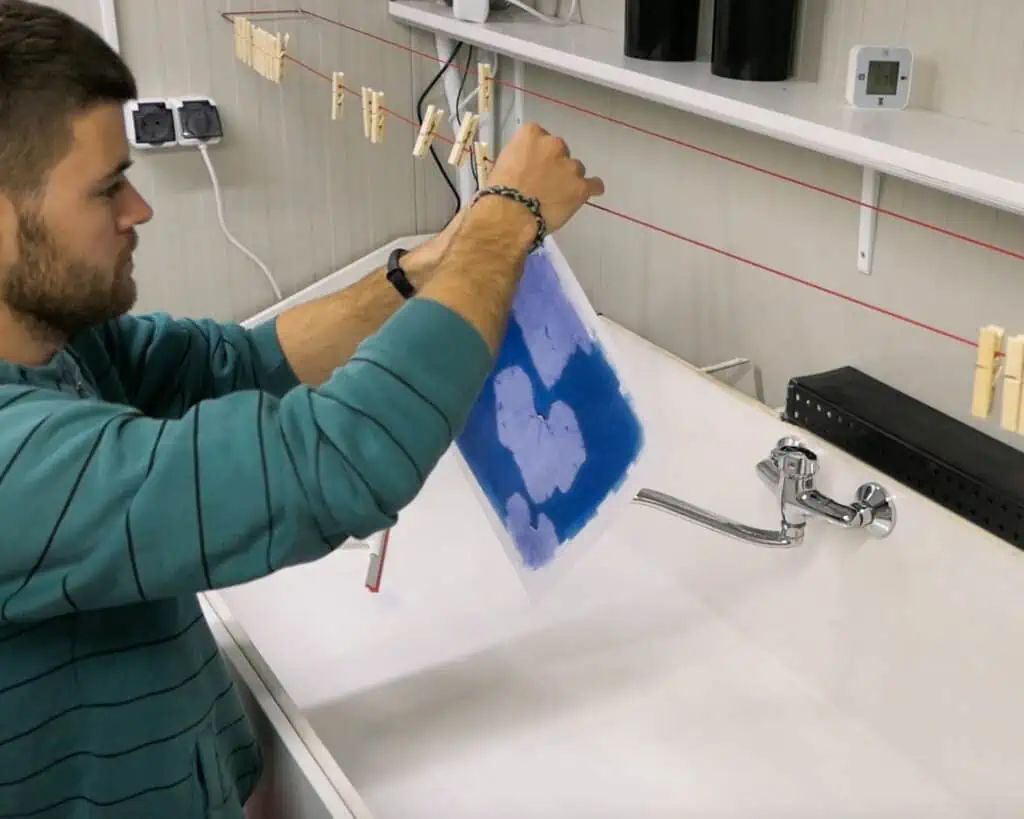
You can not frame it just yet. Leave it drying overnight. Before you hang it, try to get rid of as much water as possible to speed up the process and prevent any paper stains. I usually hang it by the corner so water can drip off from the bottom edge.
CONCLUSION / RESULT
There you go I hope you found this tutorial useful. If you have any questions feel free to contact me.
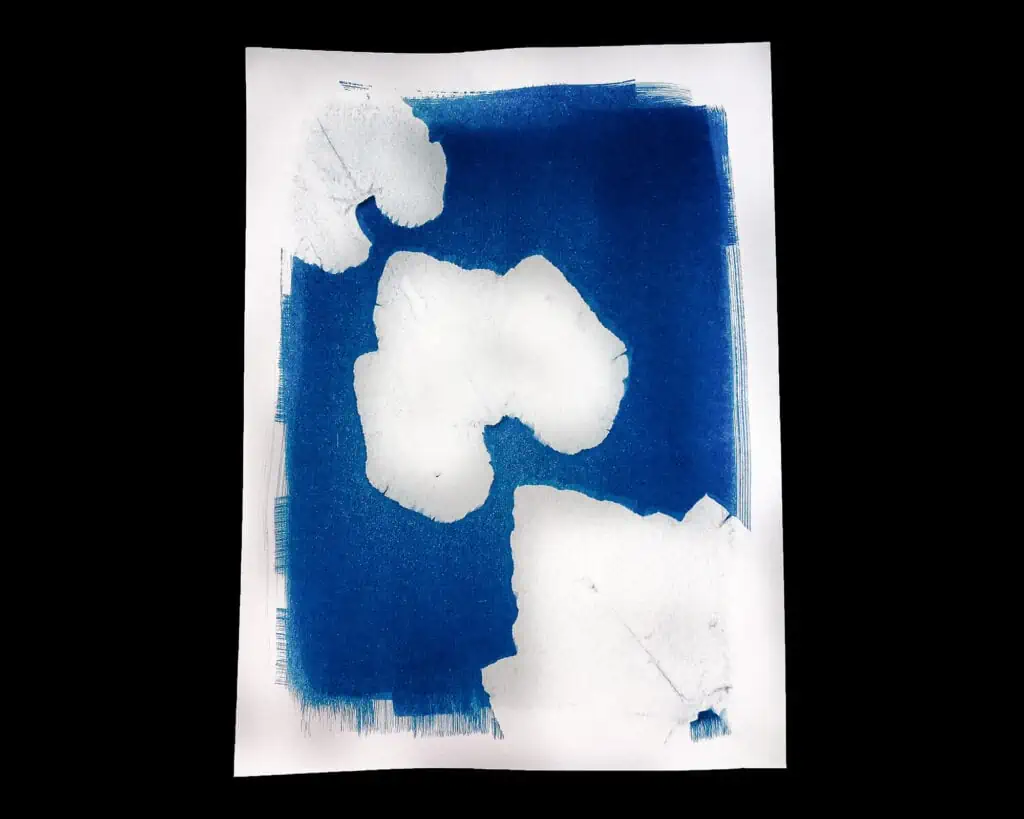
For an even easier understanding of the technique I also made a VIDEO TUTORIAL




Thank you for the great information. Where can I get the chimical powders on line?
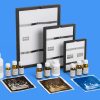
Hey Orly you can now get the chemical kits in our store: https://zebradryplates.com/product-category/alternative-processes/printing-processes/cyanotype/