INSTALLING SHELVES, CABINETS… / Container Darkroom part 6

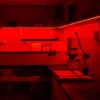
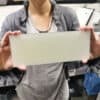
So happy that things are slowly starting to come together. Container looks more and more like an actual darkroom. The sink is just waiting for the plumber to connect everything and there is still so much work to do. I had to instal cabinets and shelves for storage so there was some designing ahead of me again. I knew that for sure I wanted to have a counter on one side of the sink where I will be able to coat dry plates, paper, etc. and potentially install an enlarger in the future. I like to have a lot of space when working so I decided to go for a 60cm wide gray kitchen counter which is sold for just around 30eur here in Slovenia (size: 300x60x5cm). Okay I had a counter so the next thing I did was a trip to Ikea to check if there are any affordable deep drawer cabinets I could instal under the counter.
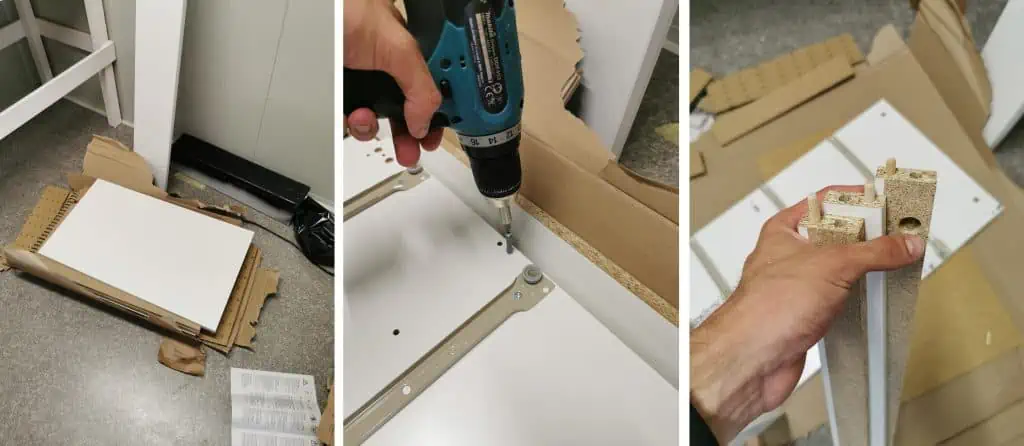
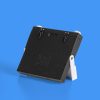
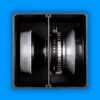
I found a simple cabinet for 60eur (link) that will come very handy specially for storing glass plates, papers, filters, chemicals… Cabinet is 80cm high so when I put the counter on it comes to the perfect working height of around 85cm. In Ikea I also found a small square clock/temperature meter that has red backlight making it perfect for darkroom usage.
I got the idea for it from this video.
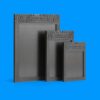
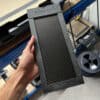
Next thing in my shopping cart were plastic containers that cost only 2,5eur each and will come in handy when developing plates or paper up to 40x30cm (link). I think they are the cheapest alternative you can get at the moment for developing trays. They also come with a cover which is even better so you can leave the chemicals in the tray overnight without dust getting into it. The last darkroom related item was a squeegee which will come in handy when cleaning the sink of excess water especially in the corners. At this point I have to mention that I have corrected the incline of the sink from 1cm drop to 0,5cm drop from one side to the other. This way the water does not get stuck at the end of the sink behind the drain anymore.
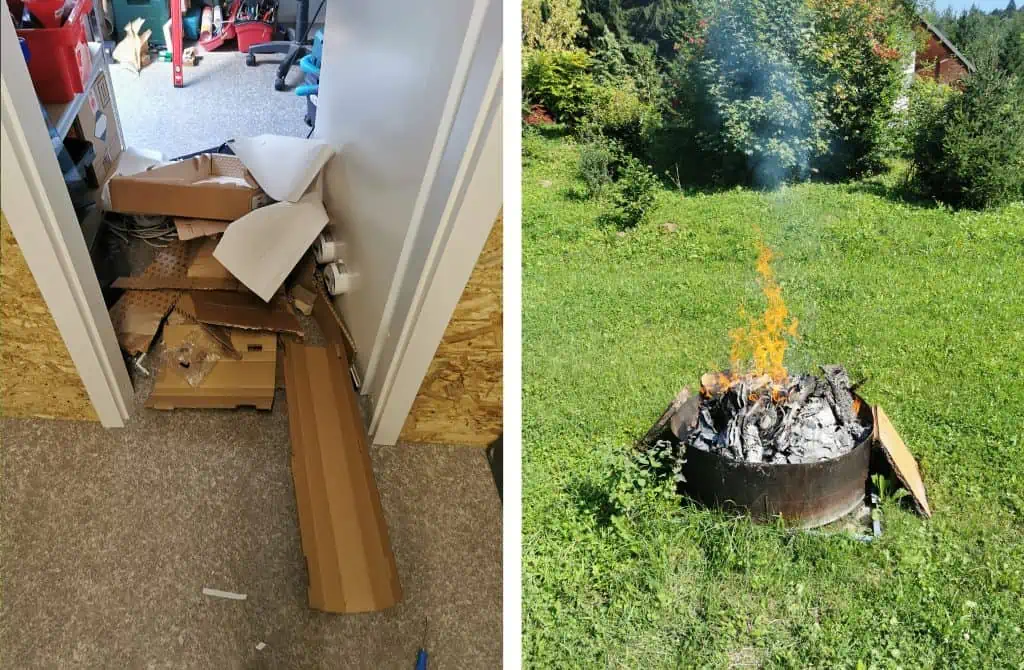
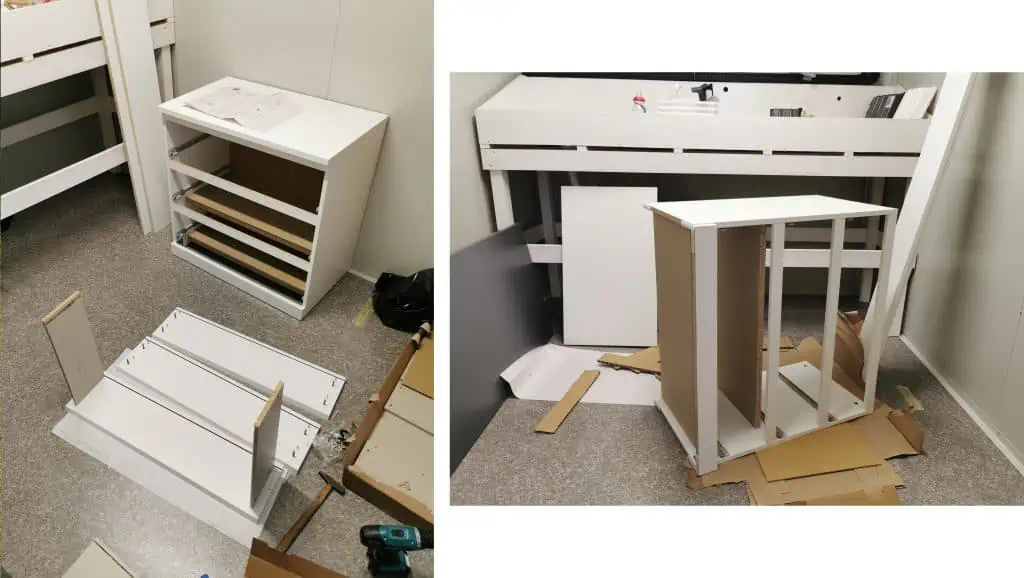
When I got back home it was time to assemble everything. If you are a bit more skilled with building things Ikea furniture is like building with legos so the cabinet was together in no time. Getting the counter on top was a bit harder to do by myself because it is really heavy. Somehow I managed to put it on top and just had to get it level before it would be screwed down. In the corners on the other side from the cabinet I installed metal supporters that are keeping the counter level and stable.
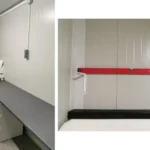
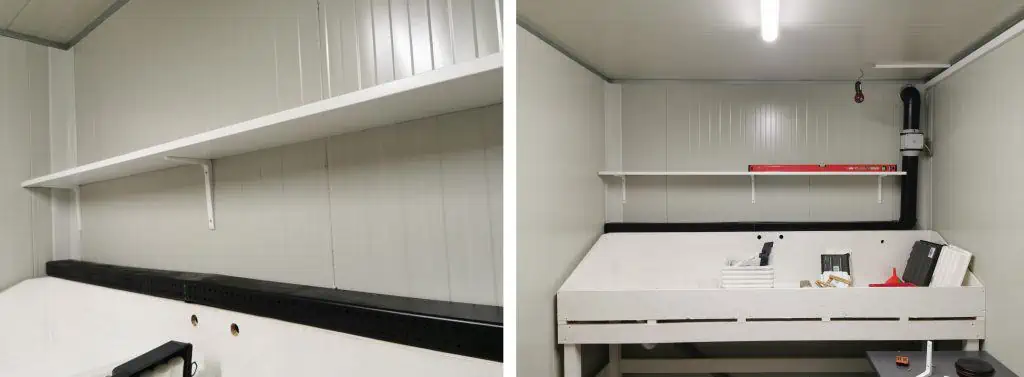
Above the sink I would like to have a bit more space for different things like developing tanks, timers, trays and soon so I had installed another shelf just above the one that also works as a ventilation pipe. After I installed It it looked great and with this shelf I also have a surface on which I can install the led strips for red and white lights (coming in the next post). I also decided to extend the shelf above the counter but have to get it cut first.
I have to address that the heat inside the container is still a big issue for normal work so I had to go forward with buying an AC that will keep me cool during the summer and warm in winter. In the next post I will also be installing the led safelights and other stuff
If you would like to see more content like this you are warmly invited to my Patreon page. Thanks

