CAMERA BELLOWS – Step by Step Tutorial
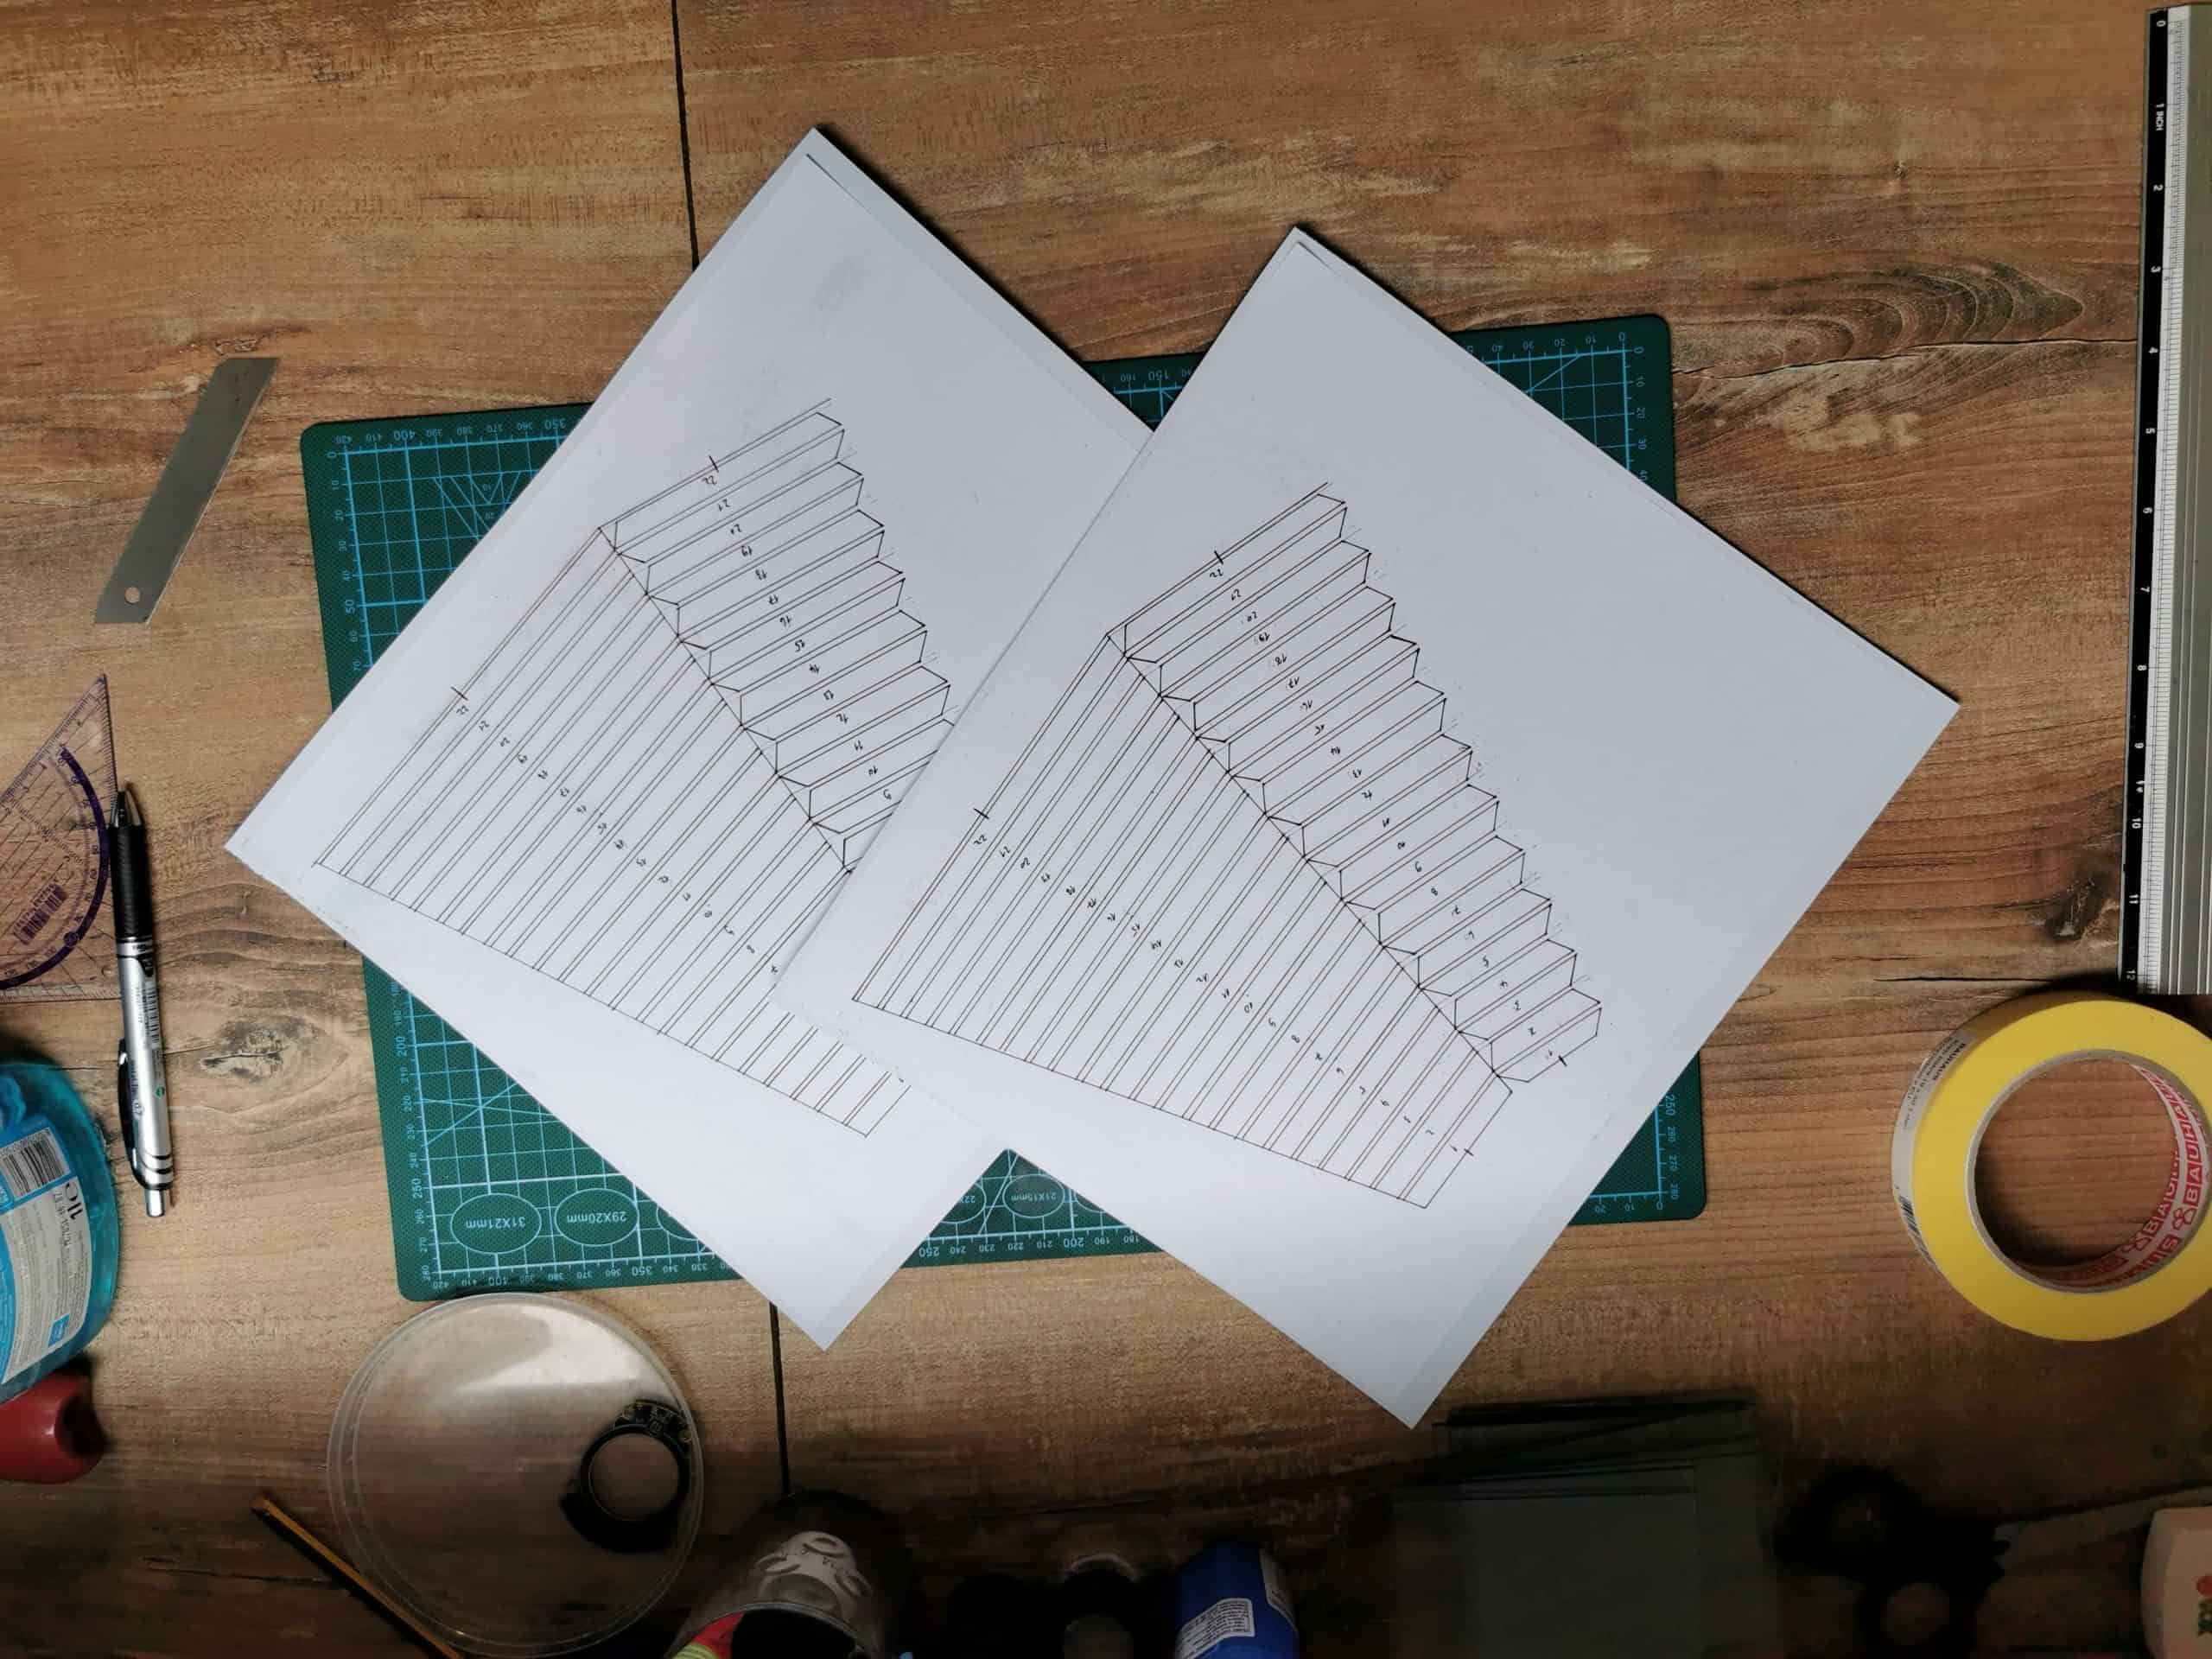
In this blog post I would like to walk you through all the steps needed to make yourself new Large Format Camera Bellows including all the materials I used. In my case I made new bellows for an old Kodak Brownie NO.3 A. It is over a 100 years old camera so bellows were totally weathered down. It was my first time making it as well so before that I searched many forums, watched different Youtube tutorial videos…At the end I put all the useful information and techniques together and combined it into this post. It was very hard for me to get informations about the exact materials used specially for the fabric so I am including my whole list below. Before I walk you thru the steps prepare yourself an exacto knife, cutting mat, spray glue and enough working surface.
STEP 1
DESIGN THE BELLOWS
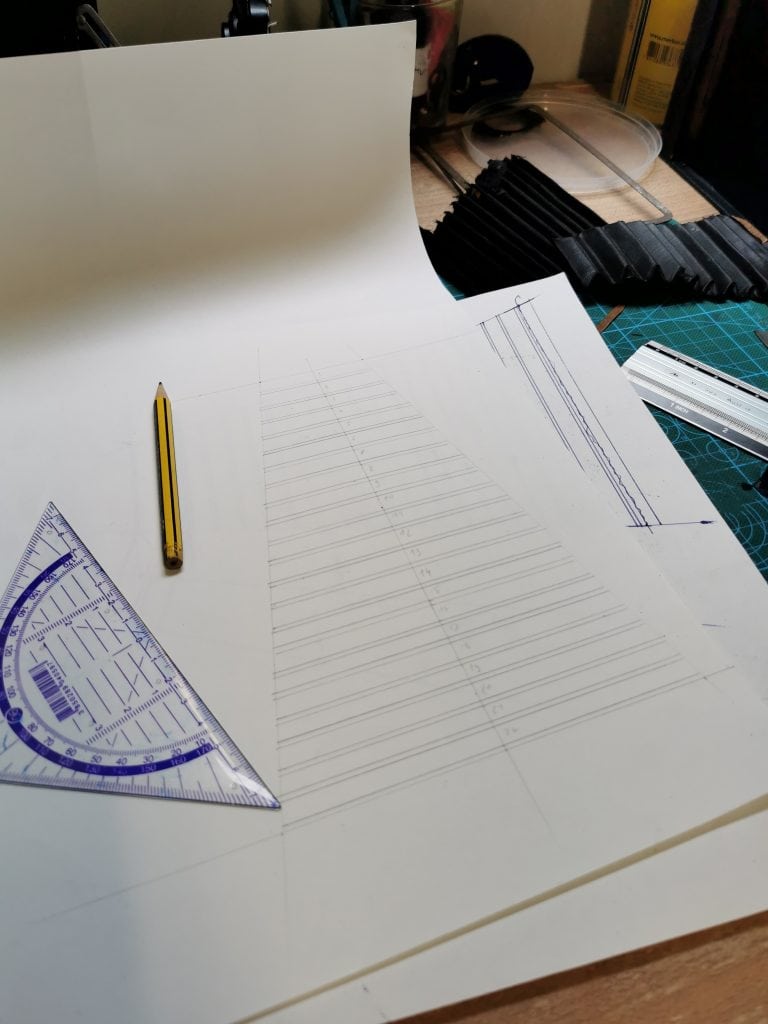
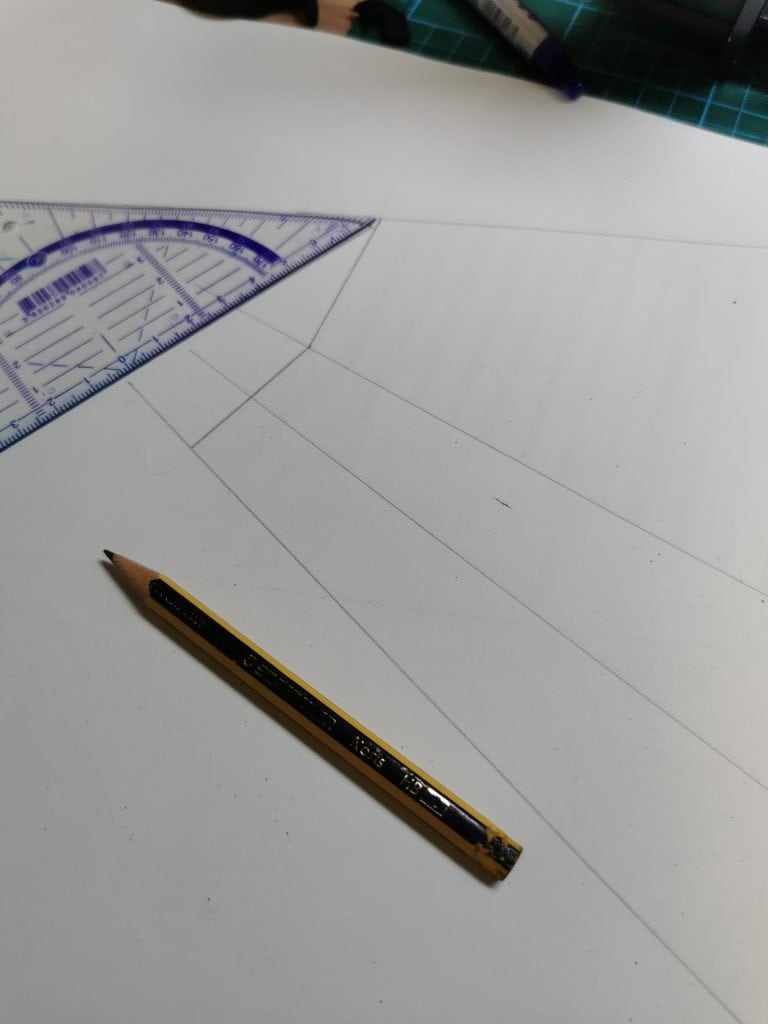
In my case I was copying the old bellows of Kodak camera I am restoring. I took off the original bellow, cut it open and spread it on a piece of paper. I traced everything checking the angles and lengths all the time. Then when the outside was traced I went in and measured the width of each panel. I glad I did that as the panels closer to the camera narrowed down at some point. When I had all the measurements I started sketching them on a piece of paper. In about half an hour the sketch was finished. Before you make a copy of it make sure to trace the design out with a dark pen otherwise you will make yourself a lot of unnecessary work as the lines will disappear through the scanning process. There you go I just finished my design for all 4 sides of the bellows.
If you are making Bellows for a new large format camera I recommend you to use a calculator (link)
STEP 2
GLUE THE DESIGN TO A THICKER PAPER
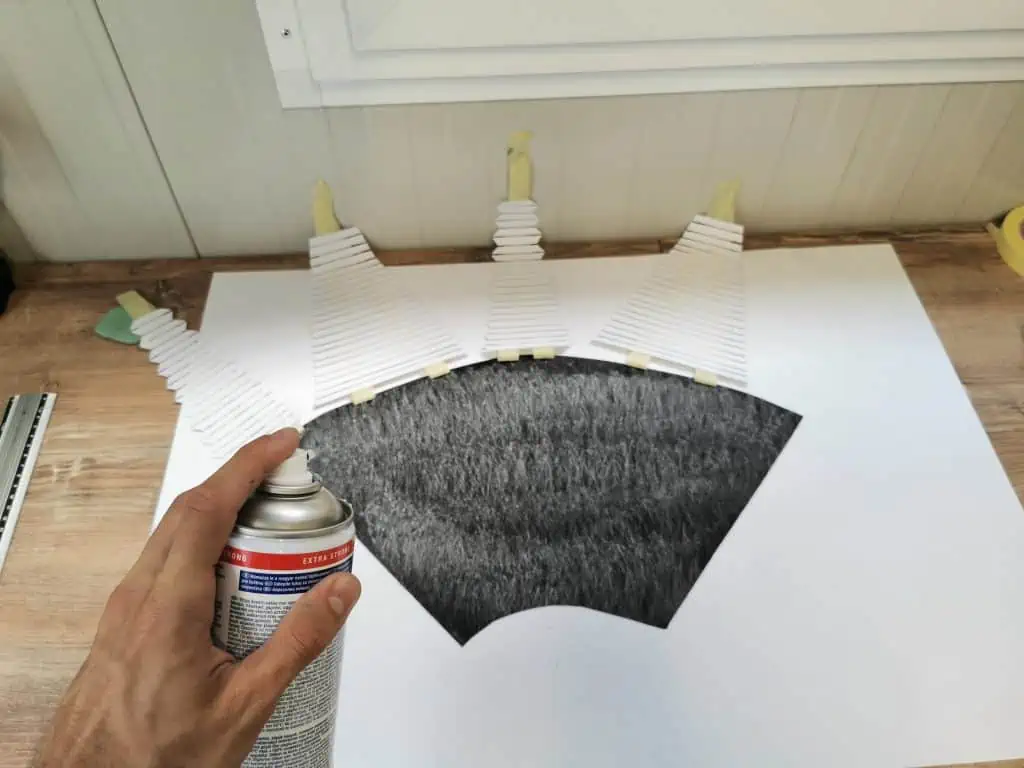
The panels that hold up the form of a bellow need to be made by some sort of thicker material. Ideally I would go for thin plastic but I am a bit tight on the budget and limited with tools so I decided to just go for a thicker paper (200g). I copied my design to a very thin paper which meant I had to glue it on. I used a spray glue and bonded them together.
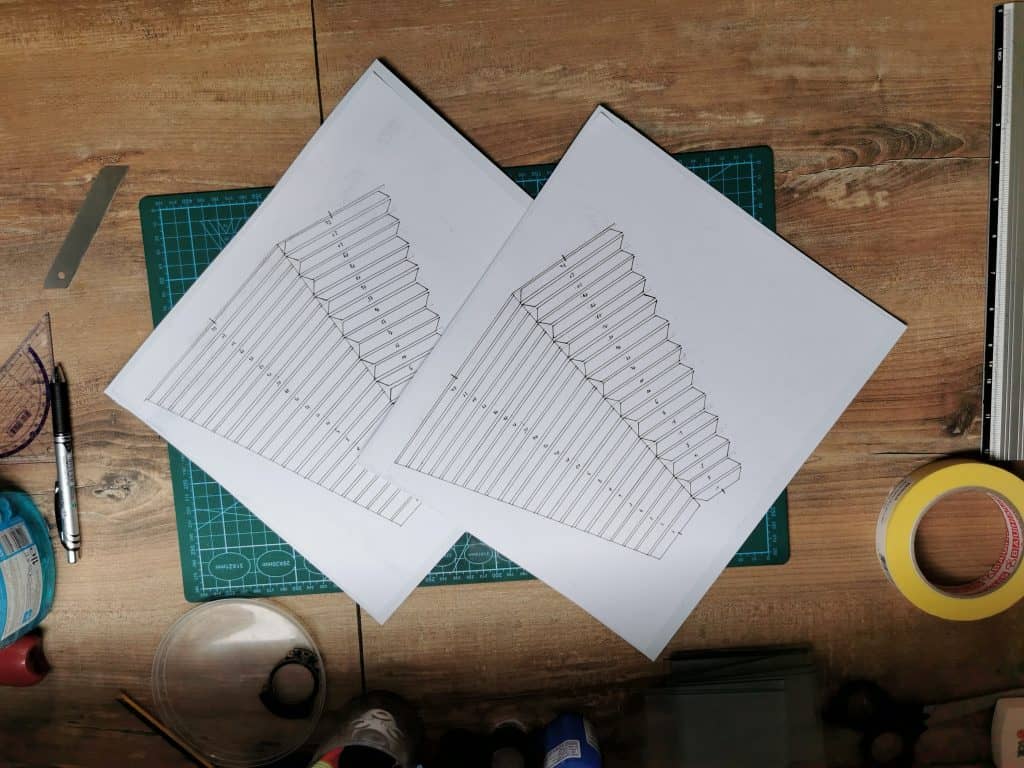
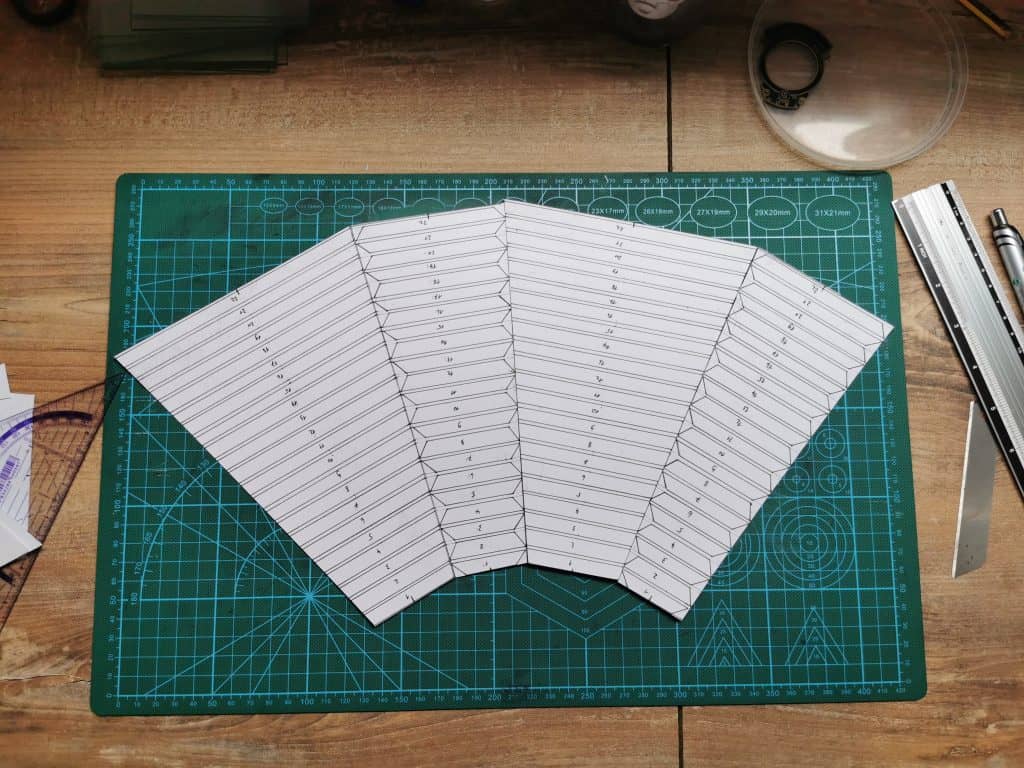
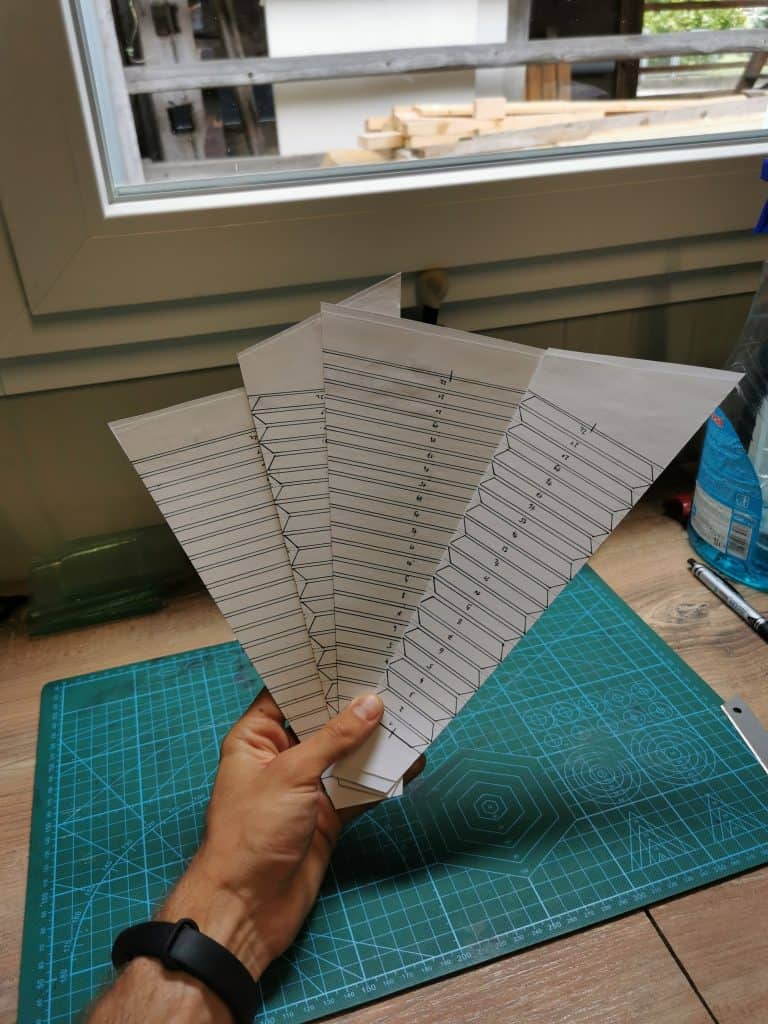
STEP 3
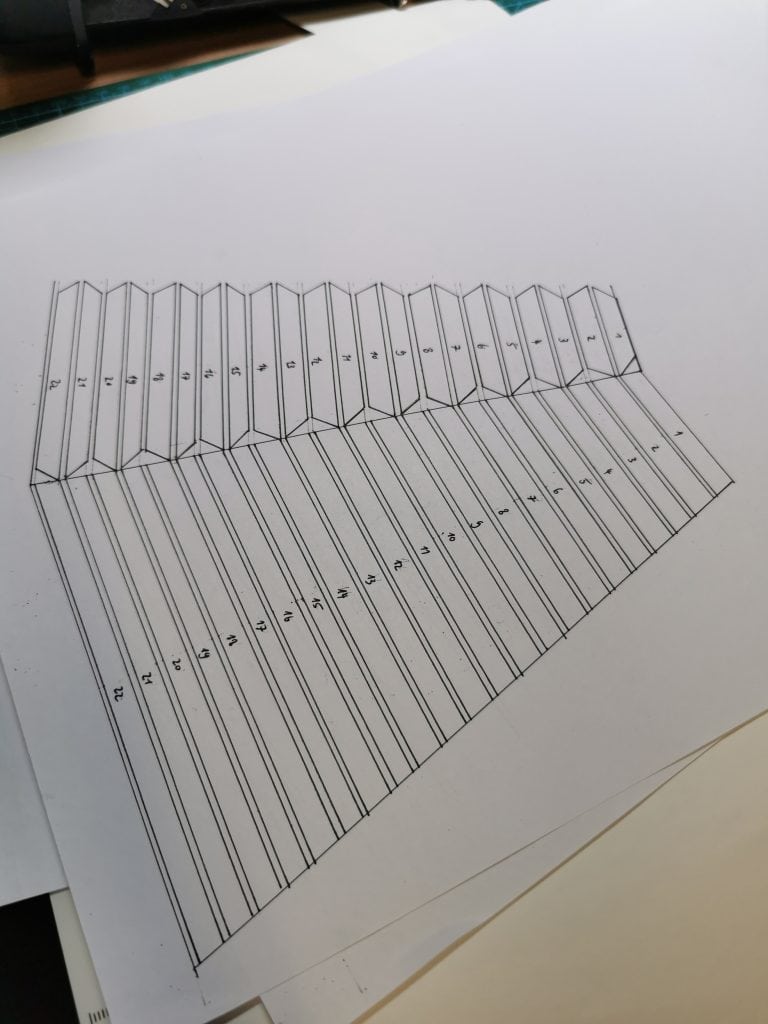
CUT OUT THE DESIGN
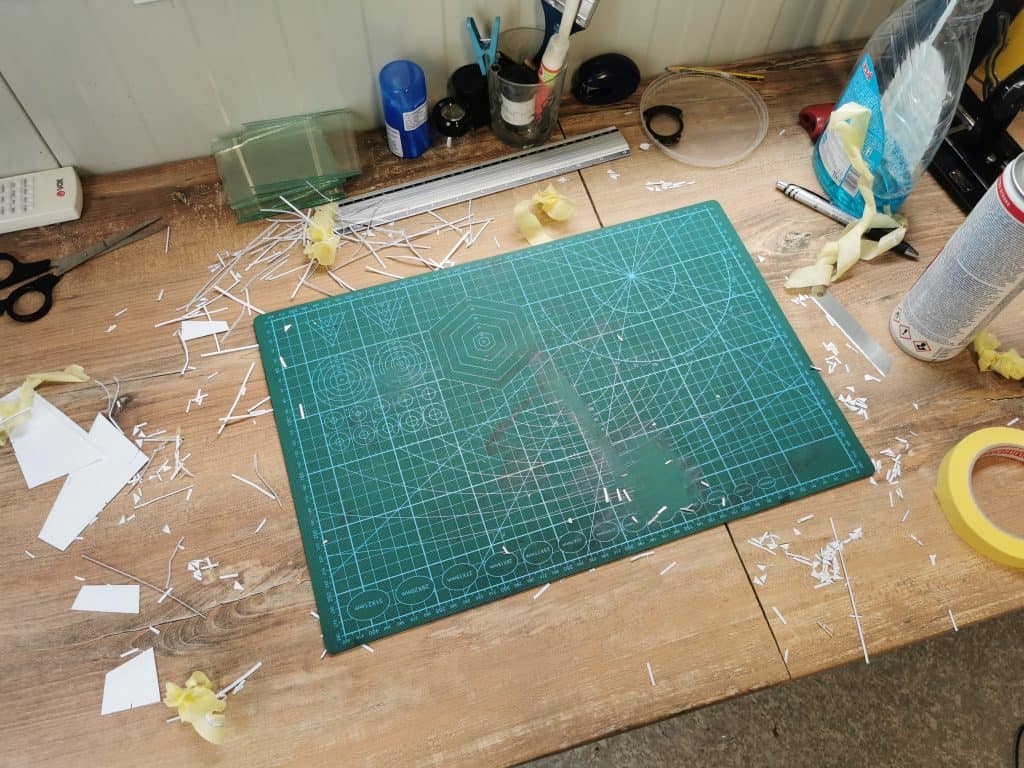
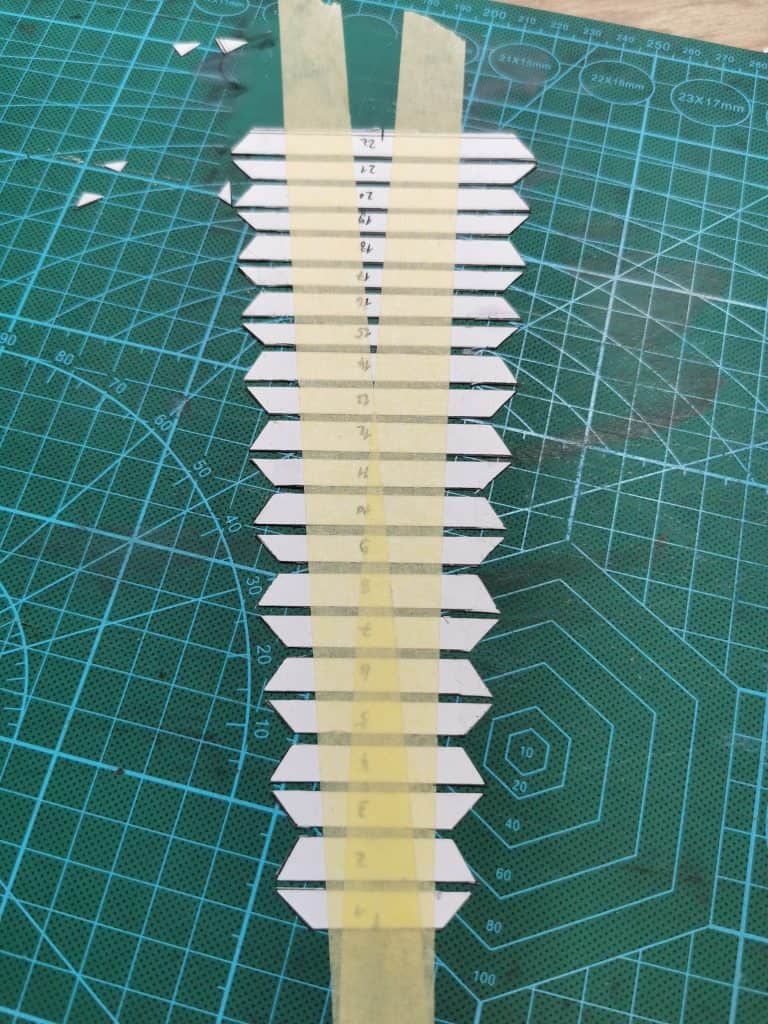
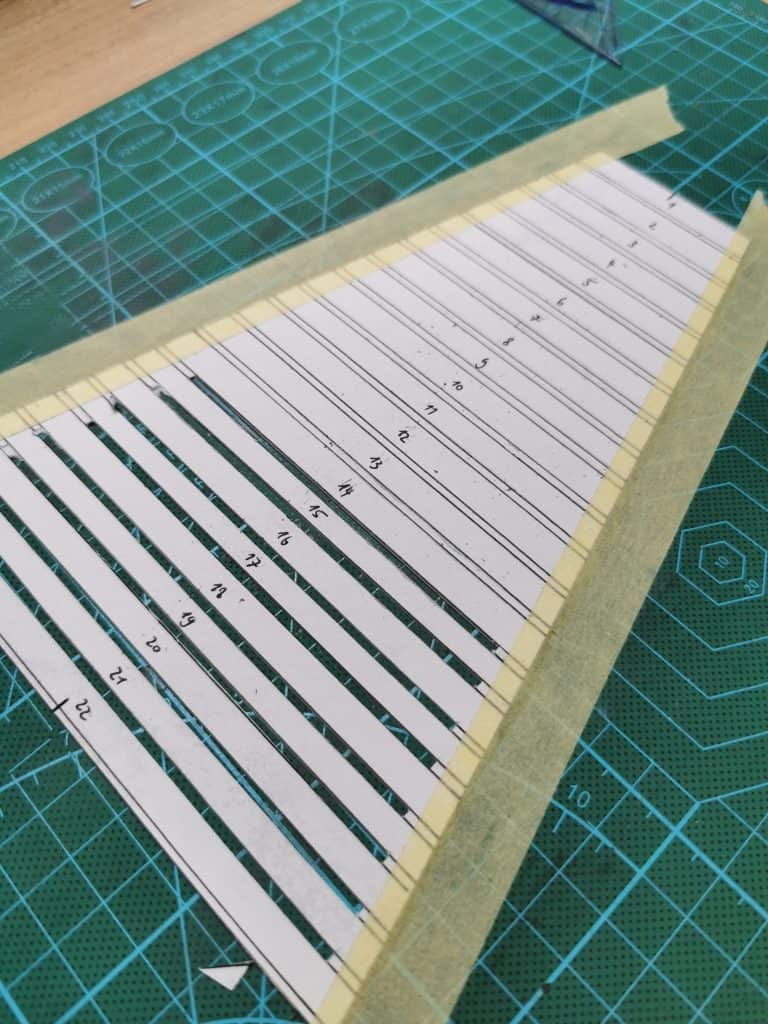
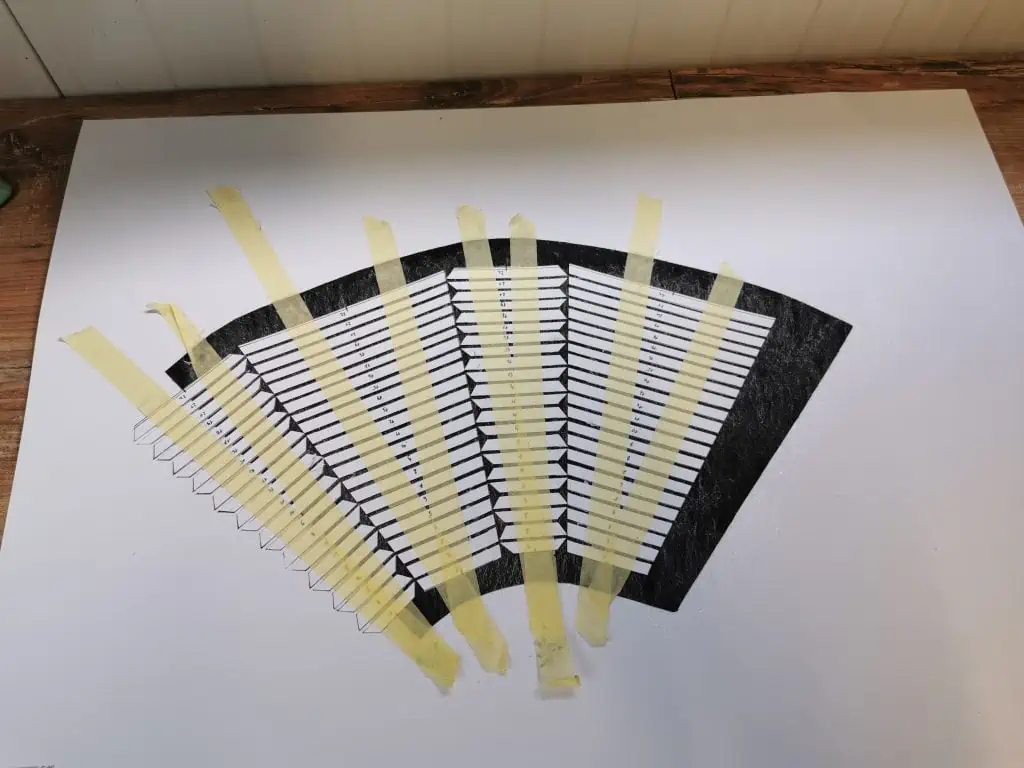
This was probably the most time consuming part of the process. There is sooooo much cutting to be done! I helped myself with some masking tape securing the design down and making sure everything stays in the same position. Sharp exacto knife and metal ruler are a must!
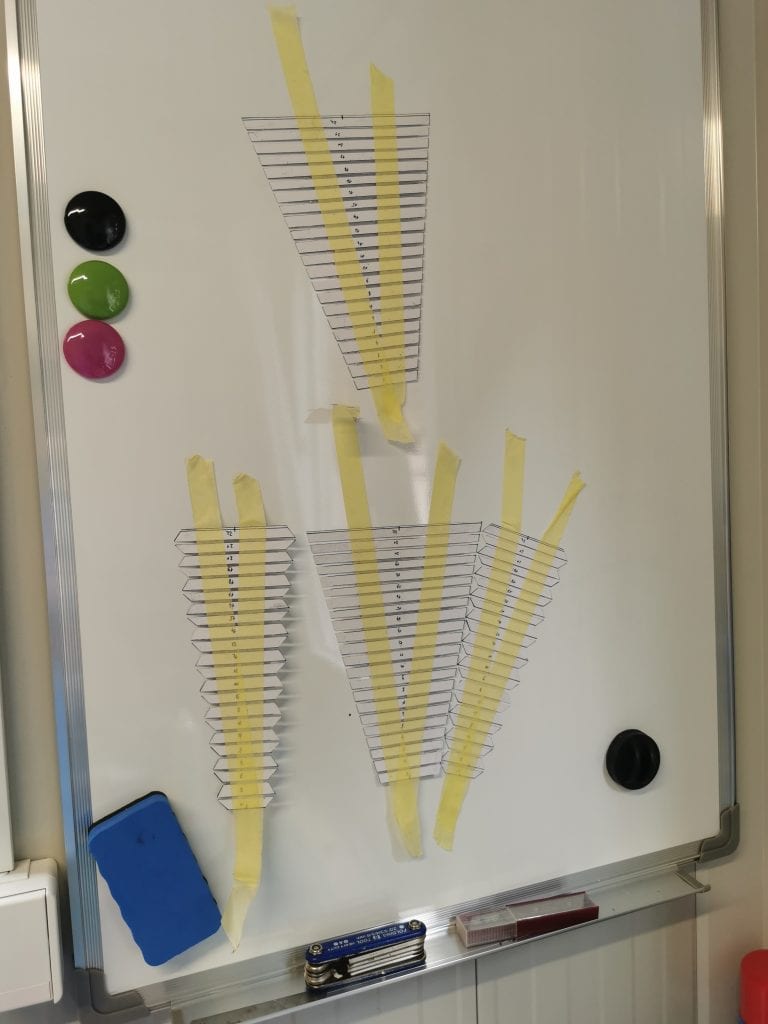
STEP 4
BONDING THE DESIGN WITH THE OUTSIDE FABRIC
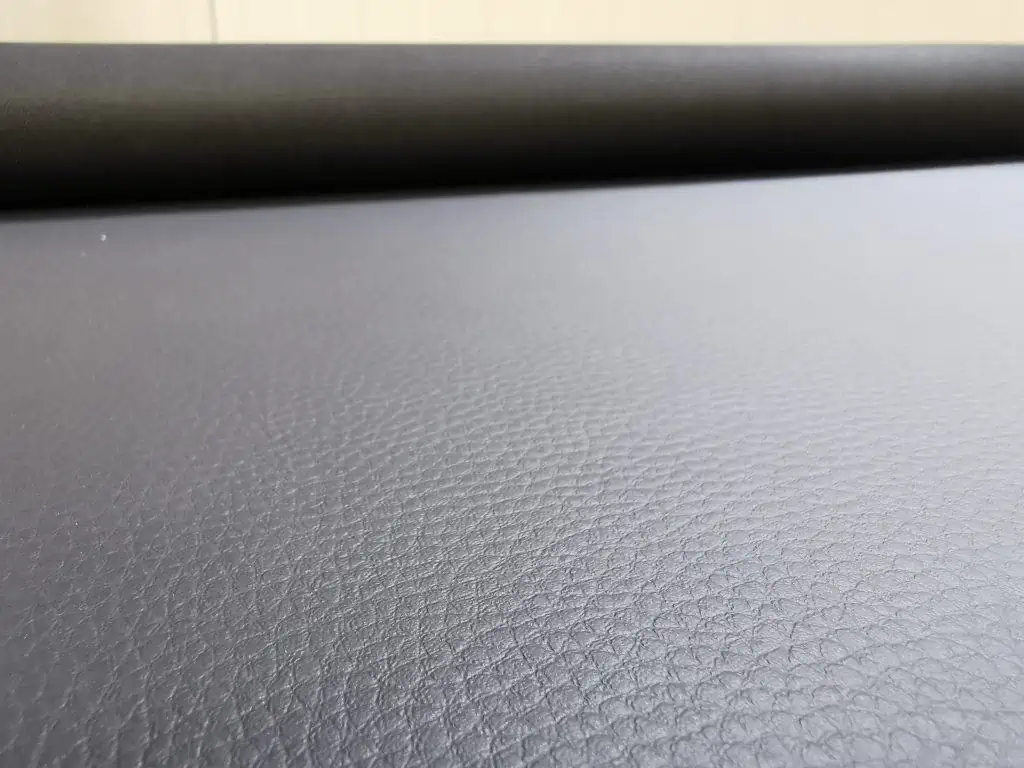
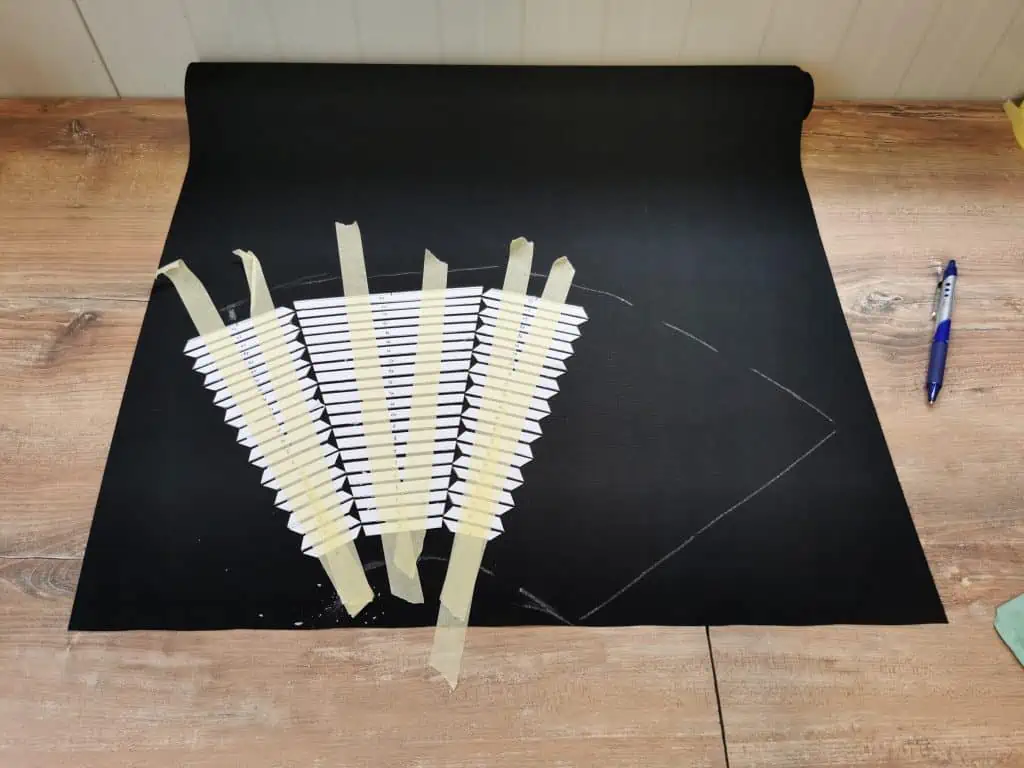
When I finally got all the designs cut it was time to glue it to the outside fabric. I didn’t know what kind of fabric to use, I just knew it needed to be light tight and thin enough for folding. I made a visit to the closeby fabric store hoping they will be able to help me. They were very kind and brought many fabrics to the table. At the end I decided to go for a thin synthetic black leather which was totally light proof. 40cm wide and 1,5m long strip cost me around 6eur (I can make a few bellows from that). To keep everything in position I helped myself with masking tape again. For the technique make sure to watch my video tutorial above.
STEP 5
TRACING OUT THE DESIGN ON FABRIC & CUTTING
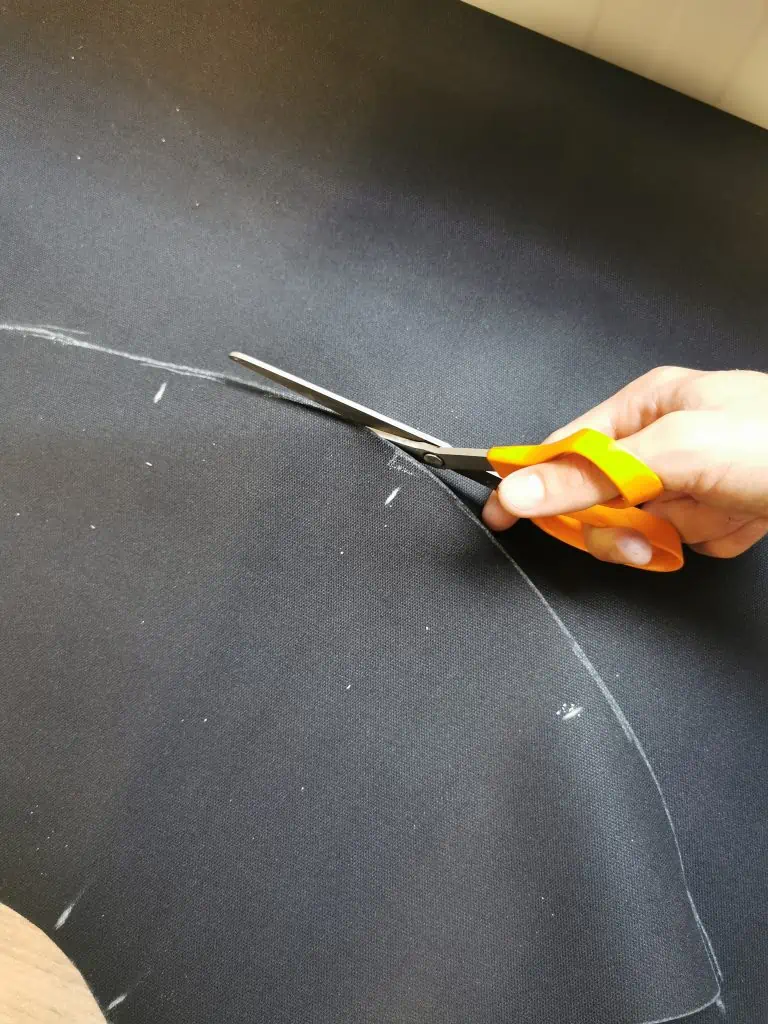
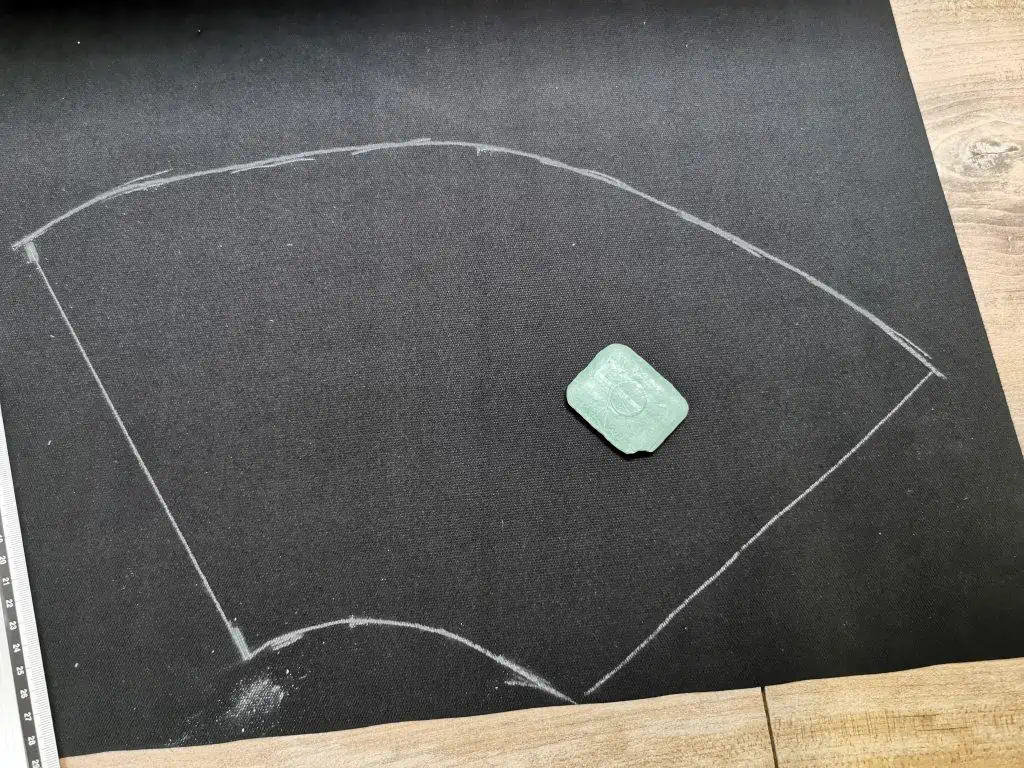
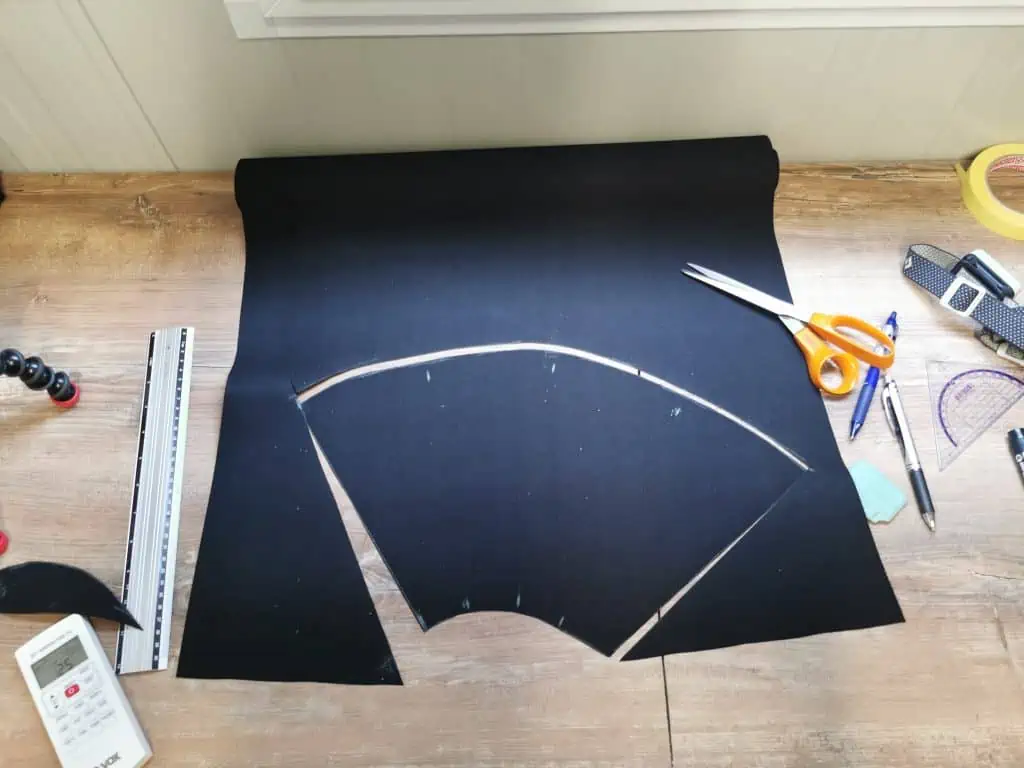
As I wont be needing the whole 1,5m long strip I had to cut out the fabric I will need. I used a piece of chalk and left around 1,5cm extra on the edges. I cut the fabric with scissors.
STEP 6
COPY THE DESIGN TO THE INSIDE FABRIC
For the inside fabric I went for a very cheap thin balck fabric that cost me around 4eur for a 40cm x 150cm piece. It doesn’t need to be light tight as the whole purpose of it is to hold everything in place. I just copied the outside piece to it with the help of chalk. When that was do it was time for gluing.
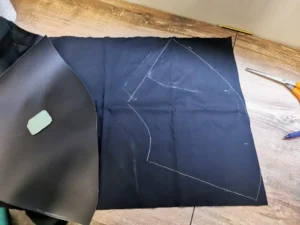
STEP 7
POSITIONING AND GLUING THE PANELS
Before I marked the centers of each panel so I could maintain the exact same position through the whole process. I moved the panels back which were held together with masking tape and applied glue. For the adhesive I used spray glue which is quite pricey but does a great job and is easy to apply. I used it for the first time so in some places I used it too much. Make sure to go easy on it but still enough for everything to bond. When the panels were glued I pressed firmly to assure good adhesion. Ideally they need to dry for a few hours.
STEP 8
BONDING WITH THE INSIDE FABRIC
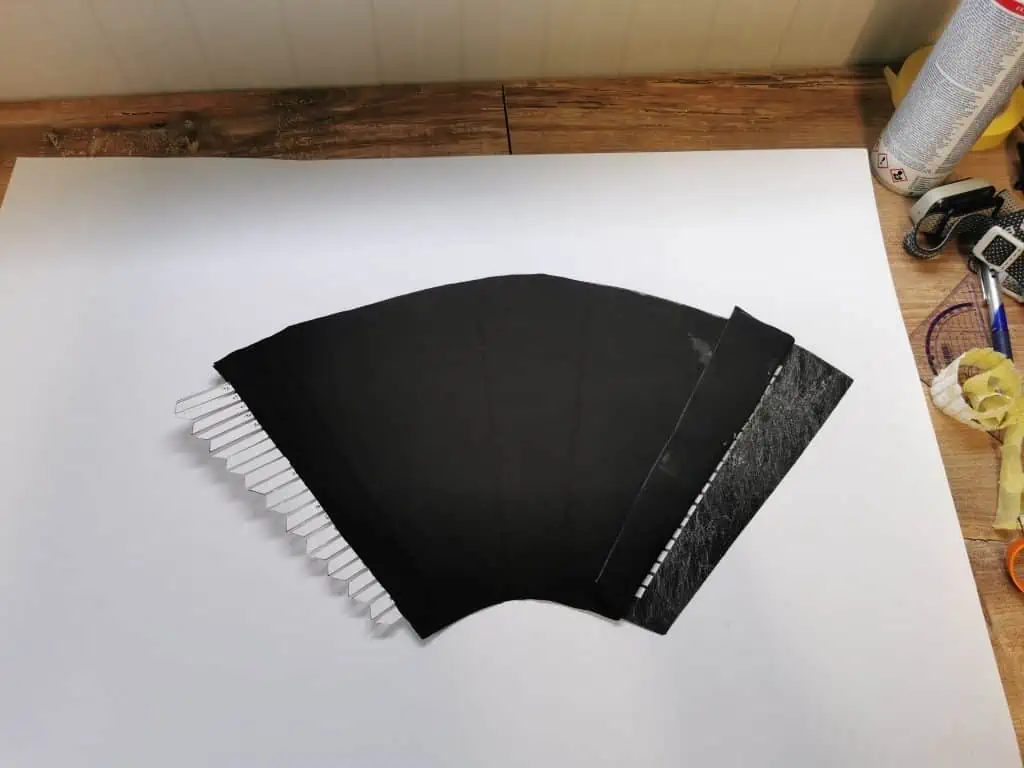
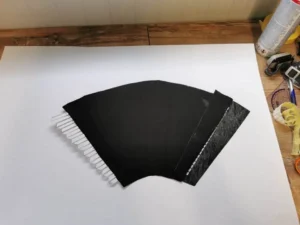
Panels need to be glued in a sandwich so the next step was gluing the inside fabric on top. Again I used spray glue and applied pressure afterwards. I left one half of the corner panel out and on the other side there was extra fabric sticking out. This way I was able to close everything up tight in the next step.
STEP 9
CLOSING UP THE CAMERA BELLOW
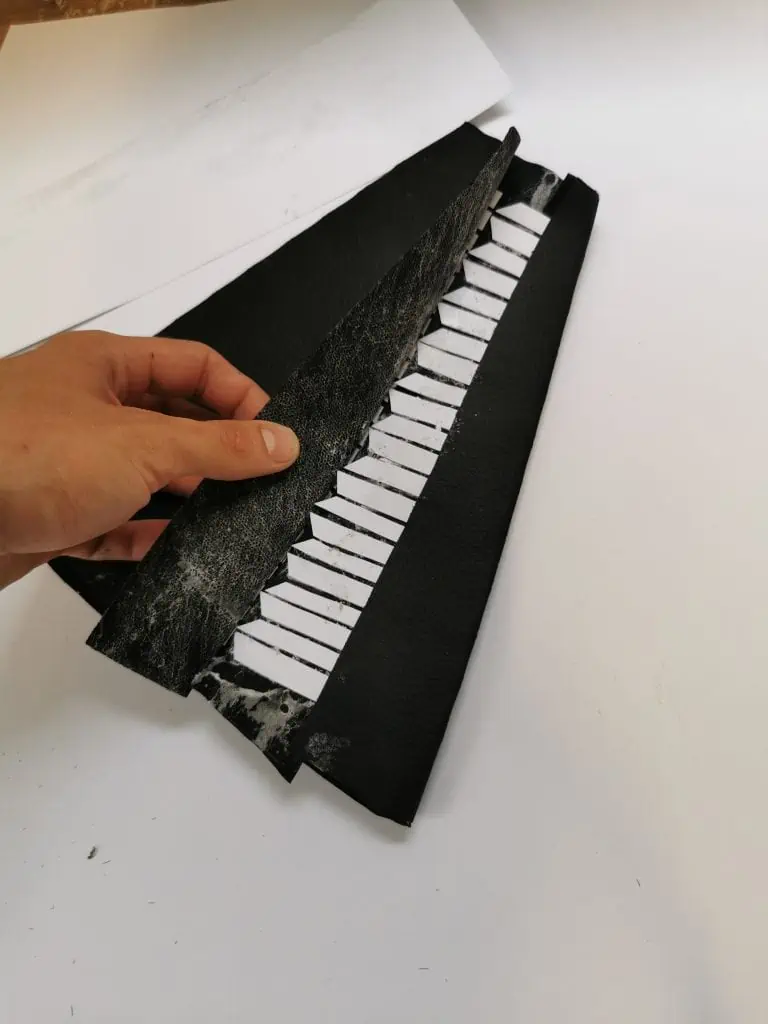
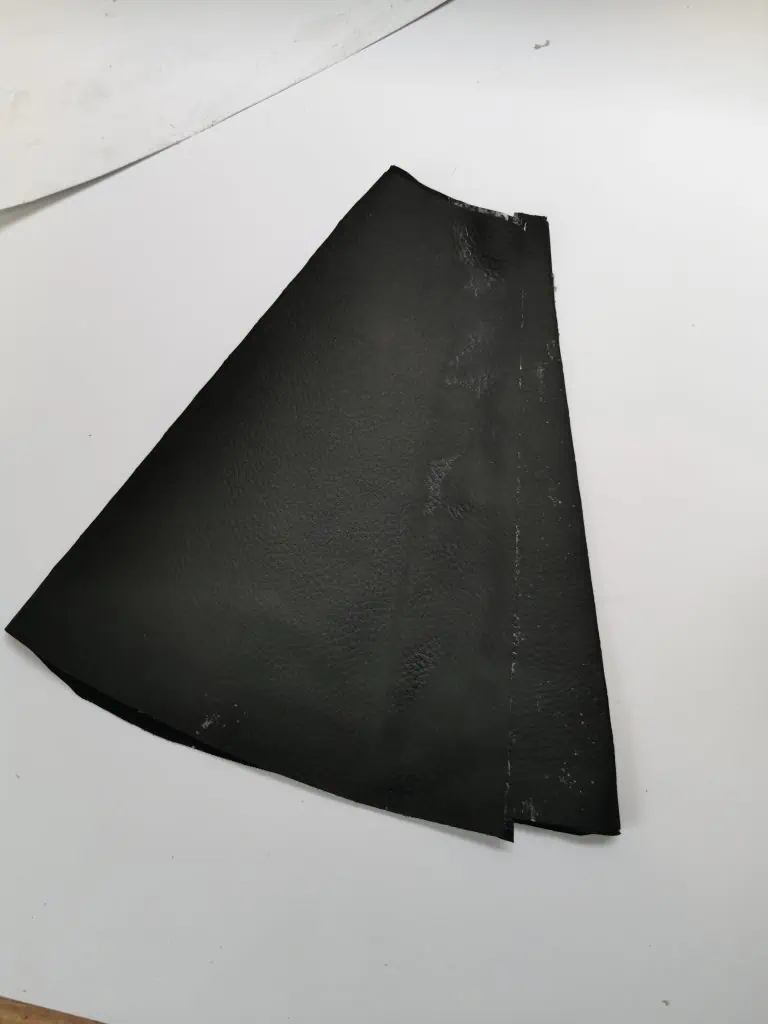
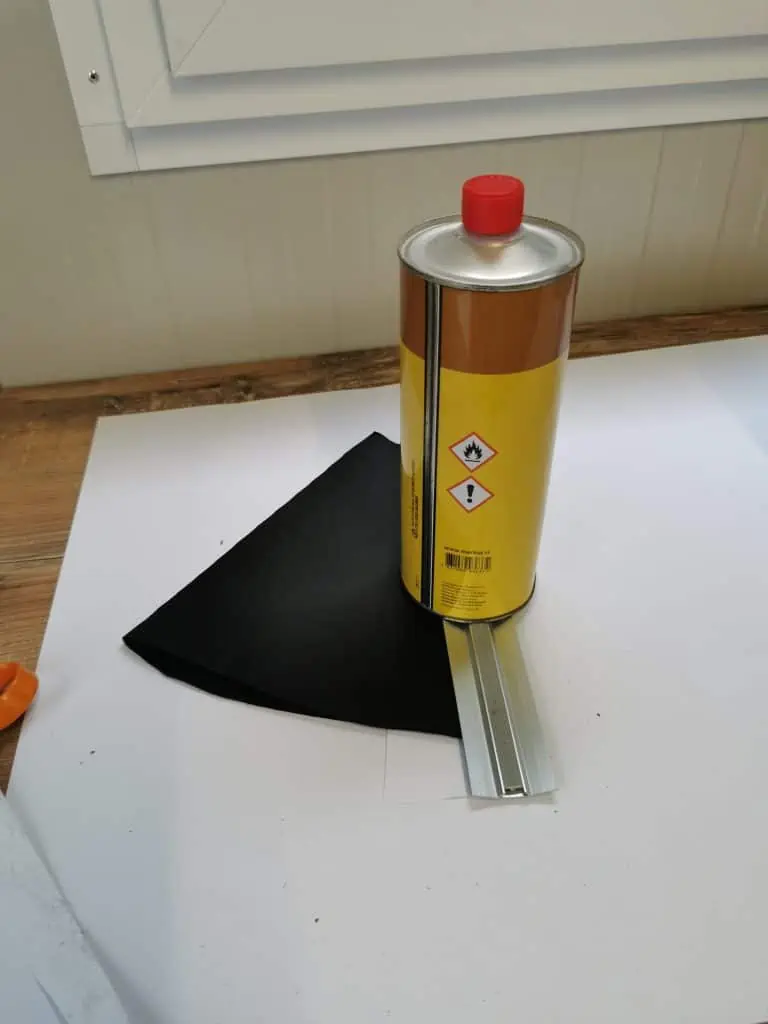
I first applied glue to the inside fabric and put a piece of scrap paper underneath while doing it so the glue would not leak to the inside. Then I positioned the half of the panel and glued it to the inside fabric first. When this was done it was time to close it up. Again I applied glue on the edge of the outside fabric and pressed it firmly on to the panels to close them up. Fabric overlaps so there is no chance of light leaking! Let the cone dry overnight…
STEP 10
FOLDING IT DOWN SECTION BY SECTION
Next day It was time to start folding. As I said I never did it before so it took some practice to get it going. At the start it seems it wont work but when you get the feeling id folds down quite easily. Panel by panel I folded it down completely. I left it folded for a few days in order for the fabric to take its shape.
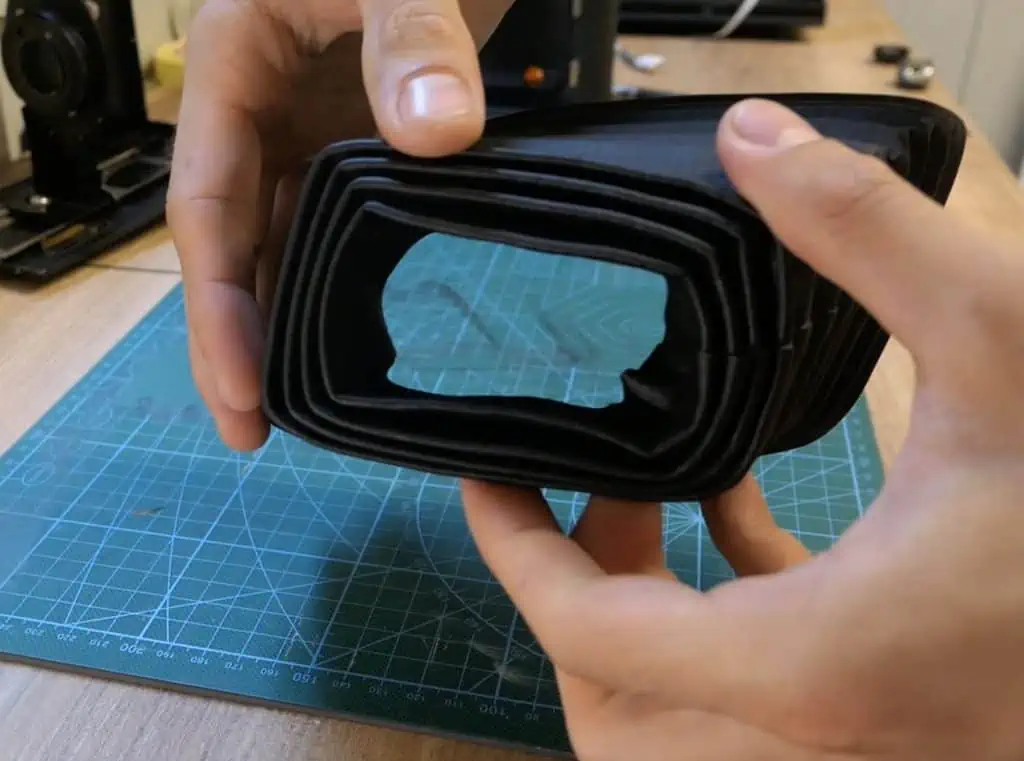
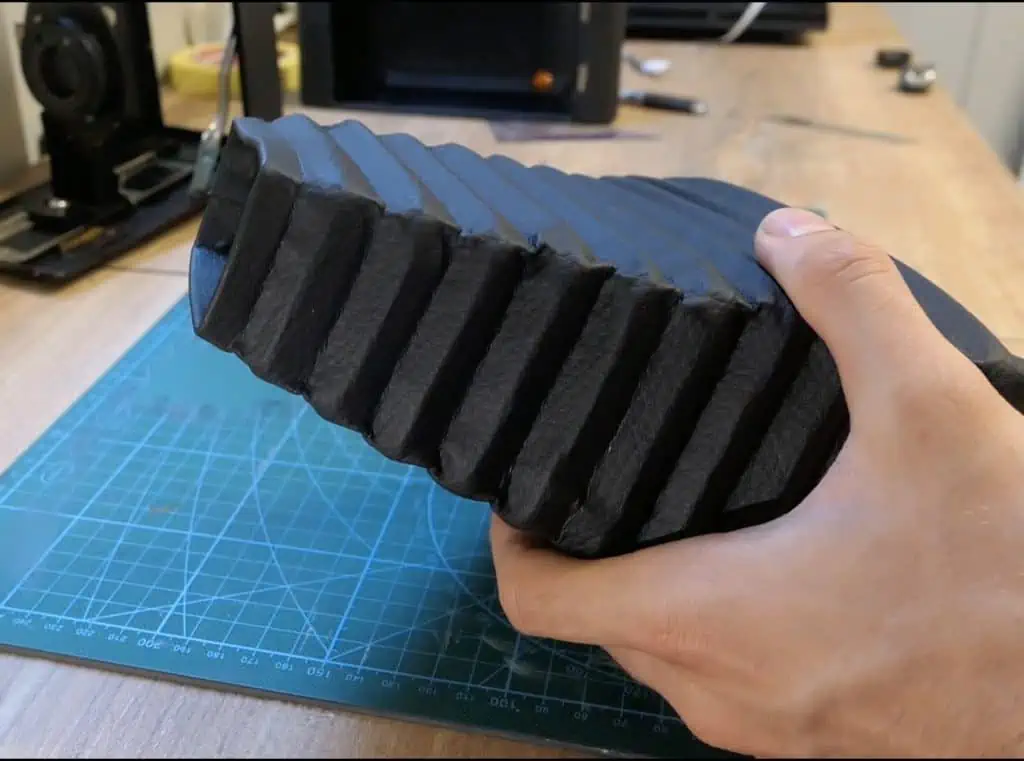
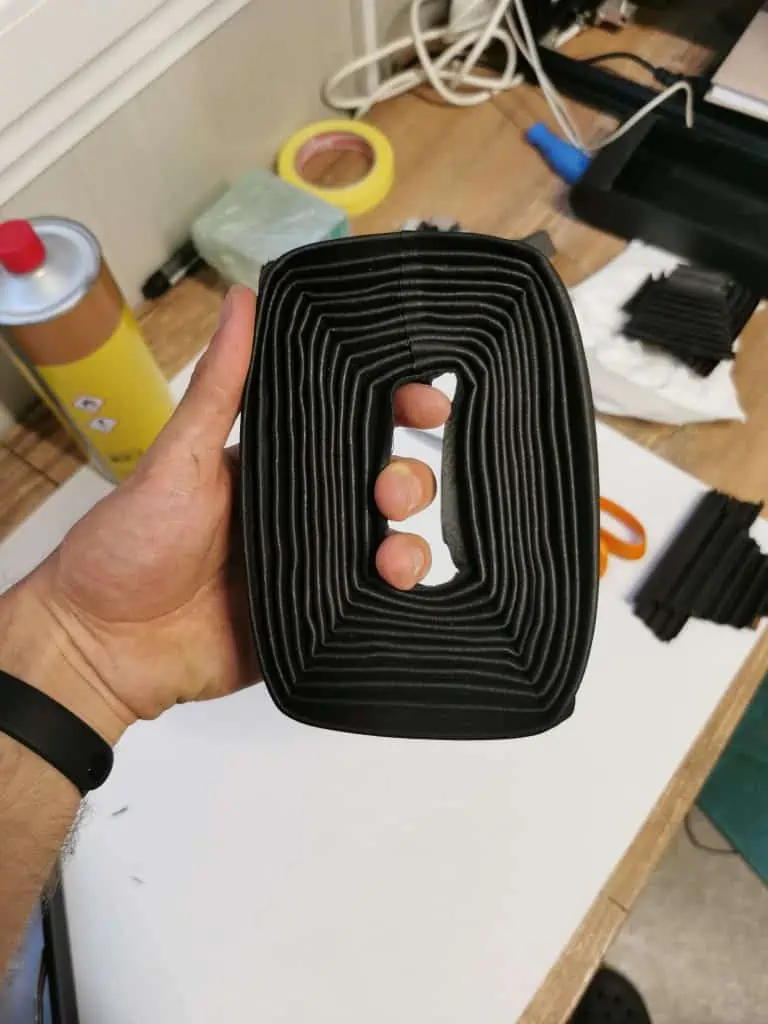
There you go I made myself a brand new camera bellows for my Kodak camera. I hope this tutorial will help you make your own. Don’t forget to watch my VIDEO TUTORIAL because it will be much easier to understand some parts of the process when you see me doing it
As promised I am also adding a list of materials needed:
- Sketching material (ruller, pencil…)
- Cutting mat
- Exacto knife
- Masking tape
- Synthetic black & thin leather (for outside)
- Thin & cheap black fabric (for inside)
- Spray glue
- Thicker peace of paper for panels (200g in my case)
If you like reading the posts I write and want to see more, head over to Patreon and join my community. You’ll get exclusive access to additional videos, recipes, blog posts… Hope to see you there ? If you join the community it allows me to take bigger risks and make more ambitious videos, blog posts and creative projects a reality. It would really mean the world to me if you decide to support me. Thanks❤️




Nice! Can you let me know where you bought the materials for the inner and outer leather/fabric? Best, Janne
Hey. In a local fabric store 🙂
I don’t suppose you fancy making a set for me, I’m pretty sure it’s the same camera.
Amazing. Thanks so much for sharing this.