BUILDING A DARKROOM SINK + TABLE / Container darkroom part 3
My container darkroom is slowly coming together. Space is separated into light and dark areas, doors are installed so the next step was building furniture from tables, storage cabinets and the essential piece of every darkroom is the sink.
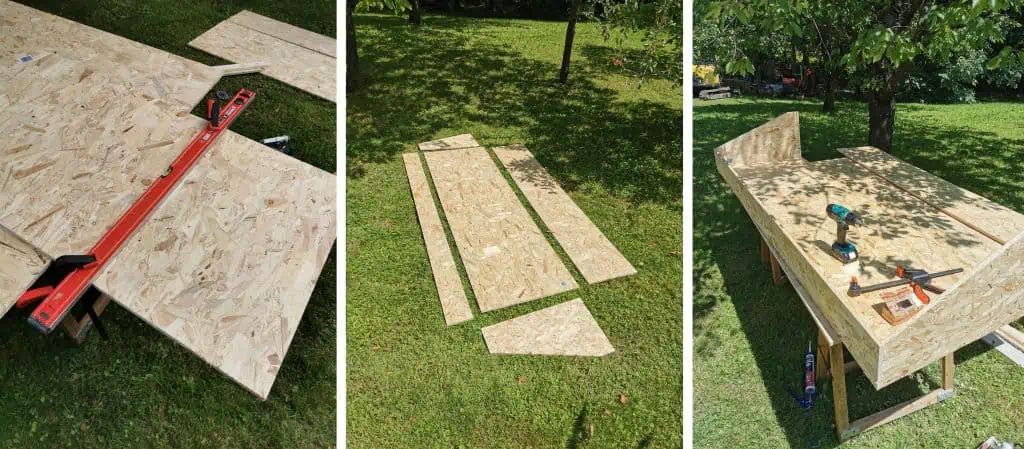
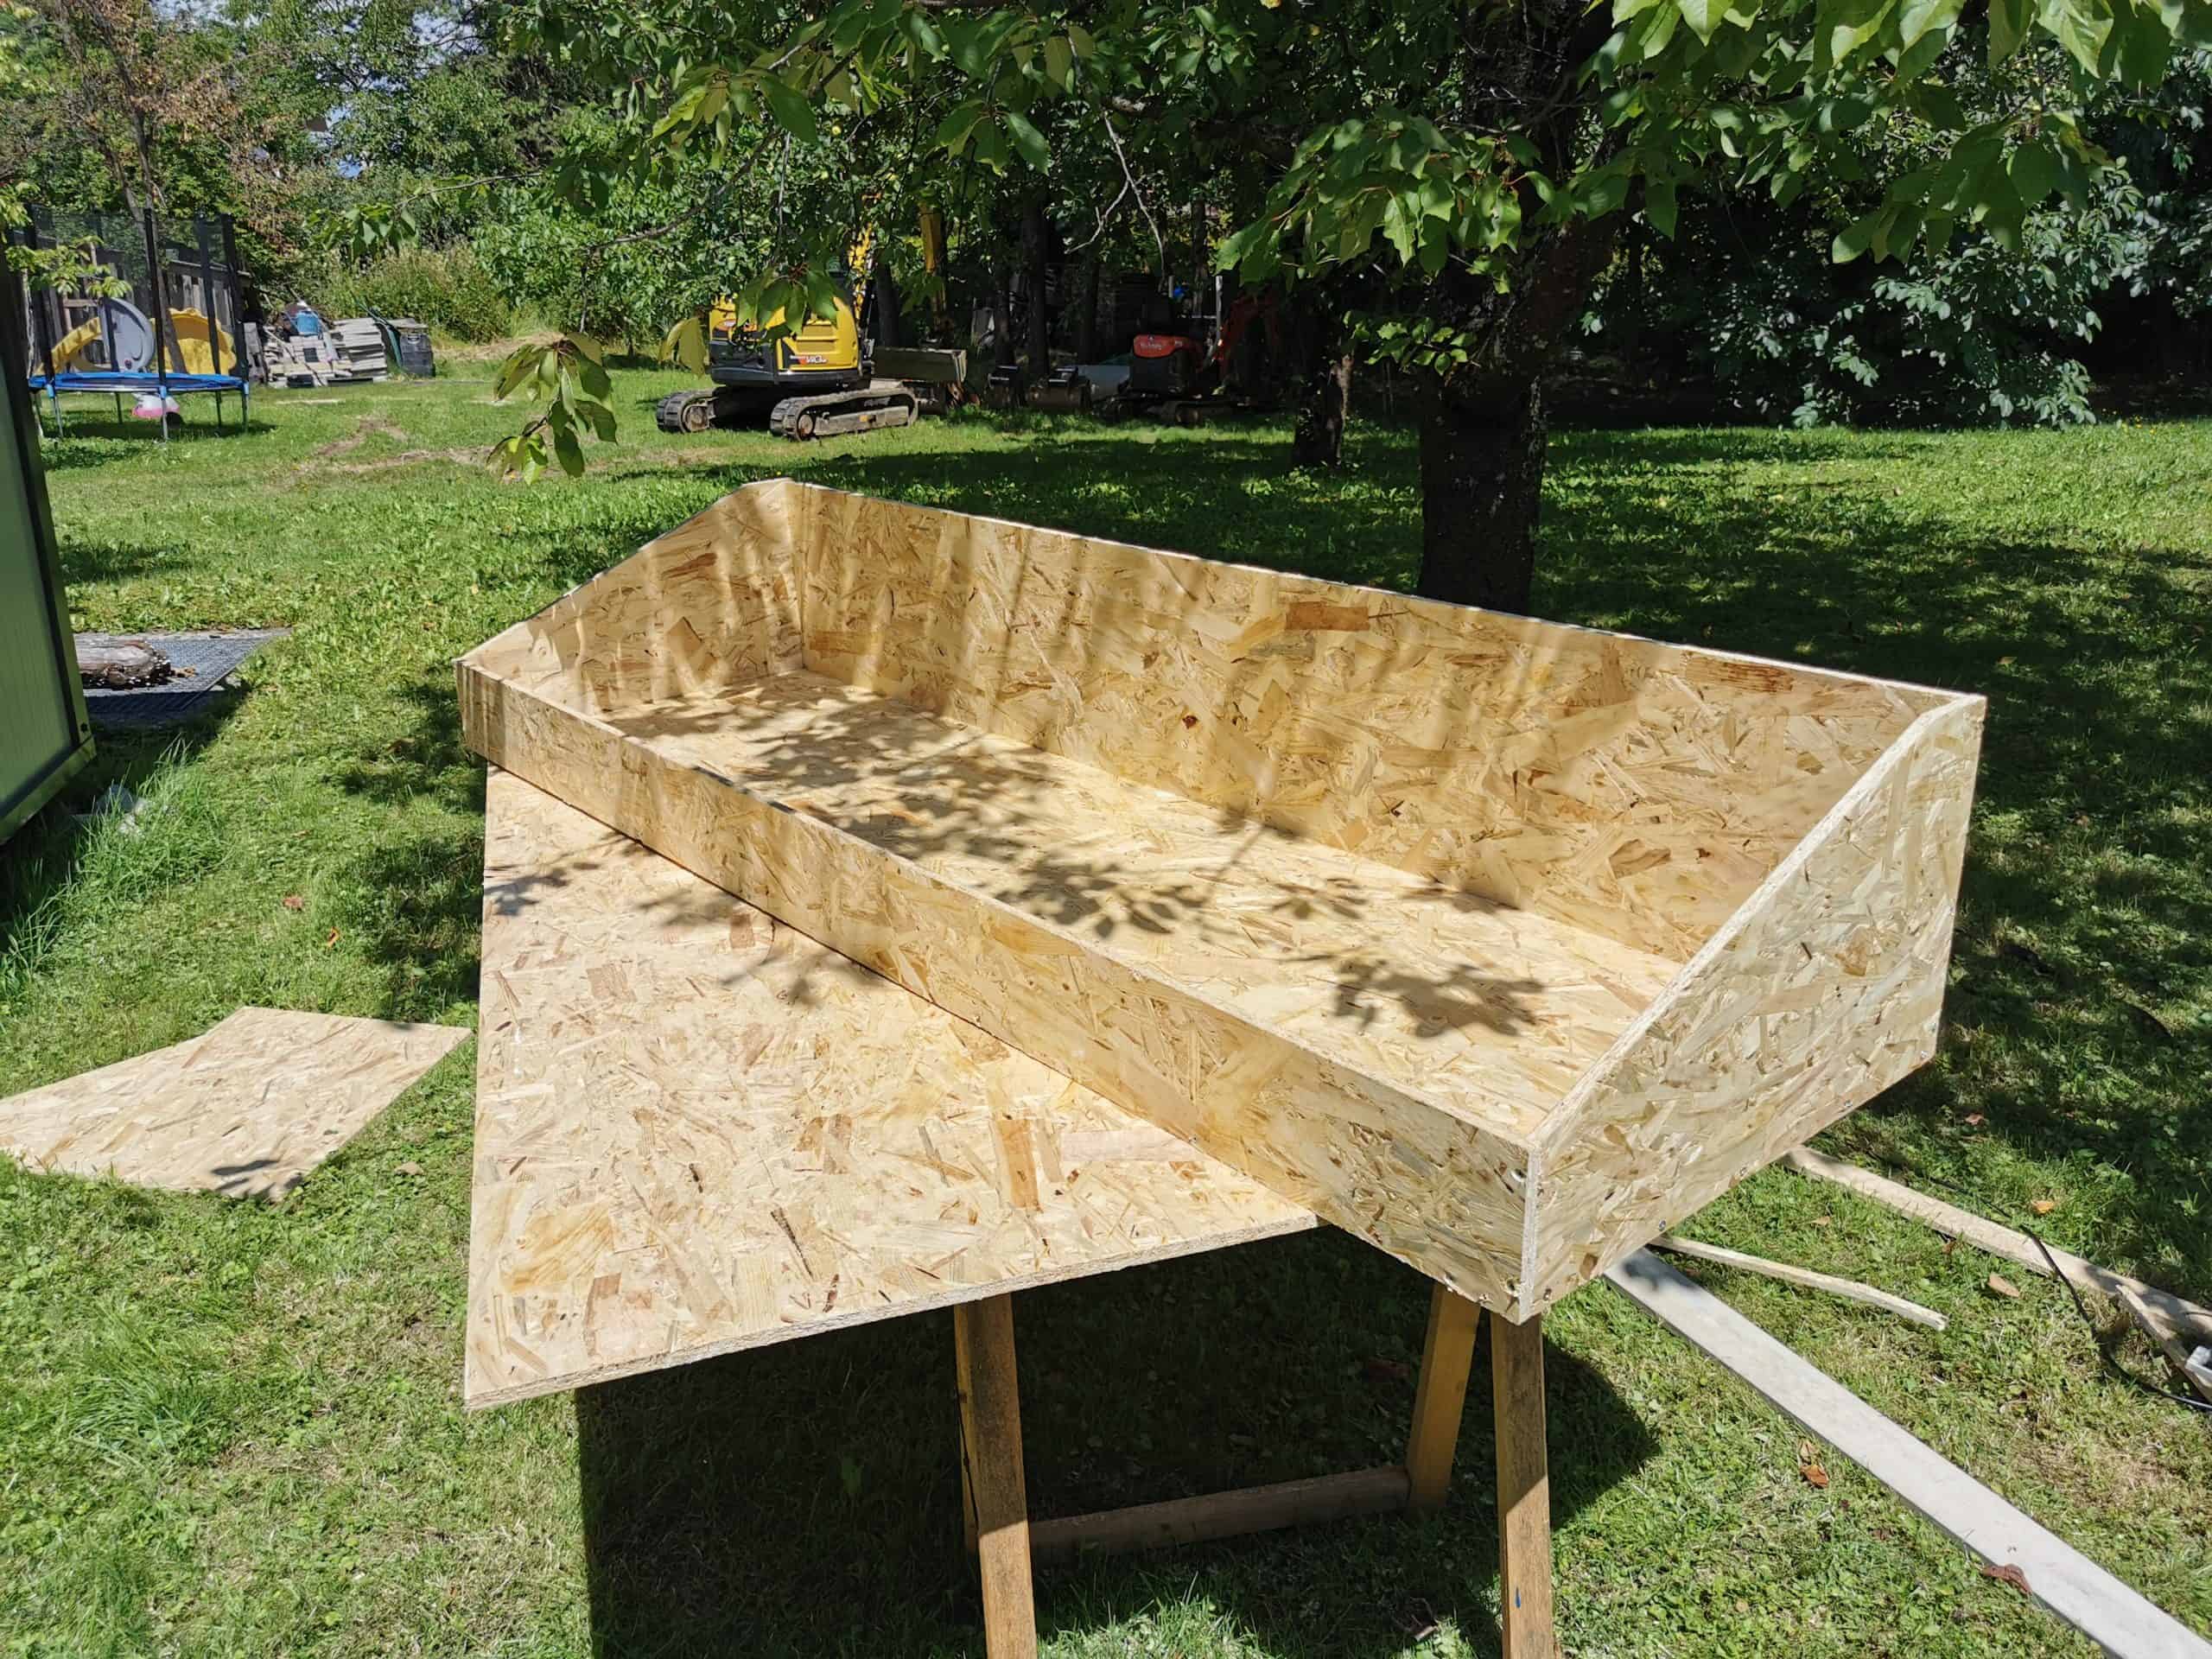
I have some experience with college dakrooms and sinks that are being used there so I had a slight idea how everything should look and work. When surfing the web looking for plans or ideas I haven’t found much besides a few forum posts and youtube videos. My darkroom sink will be placed opposite to the door at the end of the container. This means I could build it really wide which was great. I had more than 2m of space so the final width was 218cm. Before I started building it I sketched a brief plan and looked for the best building material. In Slovenia plywood is crazy expensive so I decided to use 2cm thick OSB plates again. They are not as sturdy as normal Plywood but it would only be around 60cm deep with added support on the bottom. The only problem with OSB is that it is not smooth so there was a lot of plastering and sanding ahead of me.
When I got all the measurements done I started cutting all the pieces. Boards came in a size of 2500x1250mm so it was quite a challenge to move them around. They were cut according to my plans and it was time for screwing and gluing. I had to be careful as the plates can chip off easily but I managed to put it together nicely.
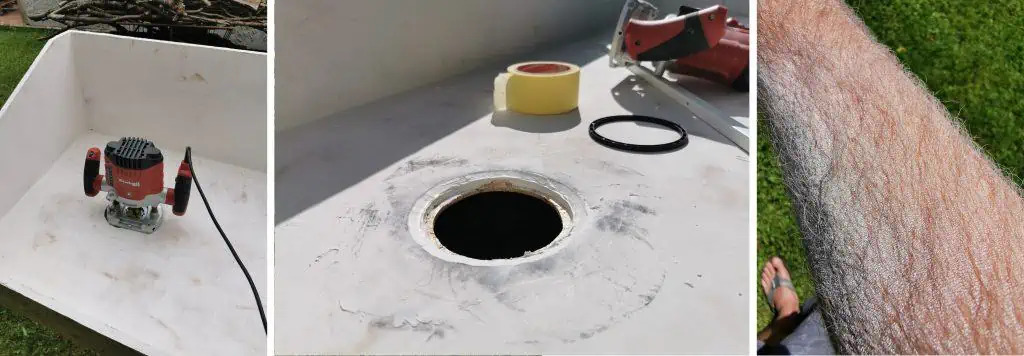
Plastering was quite a challenge tho. Before I started I had to glue the seams with silicone like paste to eliminate the risk of water leakage. Then it was time to plaster. I used almost 1kg of white acrylic plaster throughout the three layers I made. Before the second layer I also routed the holes for the drain and pipes. I decided the drain to be on the side of the sink which will have approximately 1cm drop from one side to the other. This should help draining the water away. The hole was also plastered to fit the drain as good as possible to prevent water/chemicals retention. Thank god I had orbital sander otherwise it would take me weeks to sand smoothly. I paid special attention to the corners so they had a nice curvature which will make painting and cleaning much easier.
Exact sink plans can be downloaded here 🙂
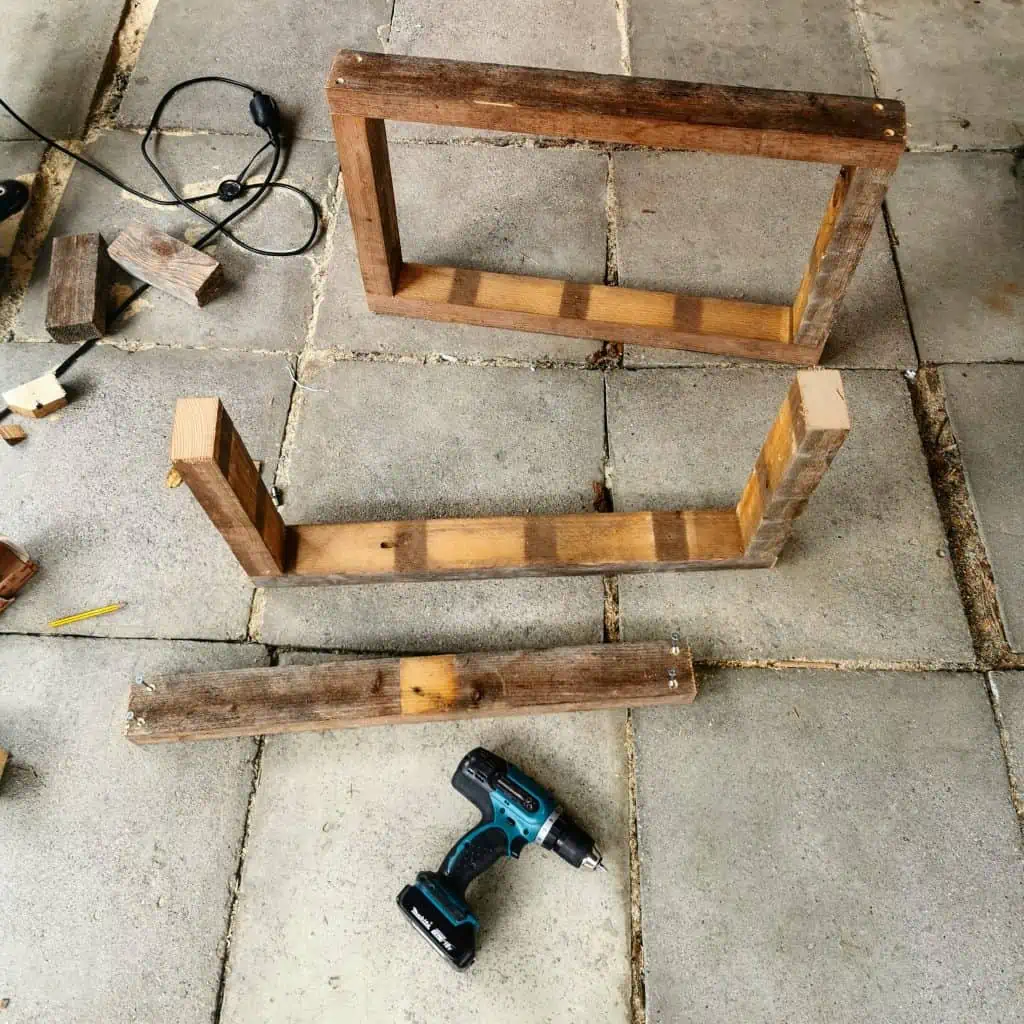
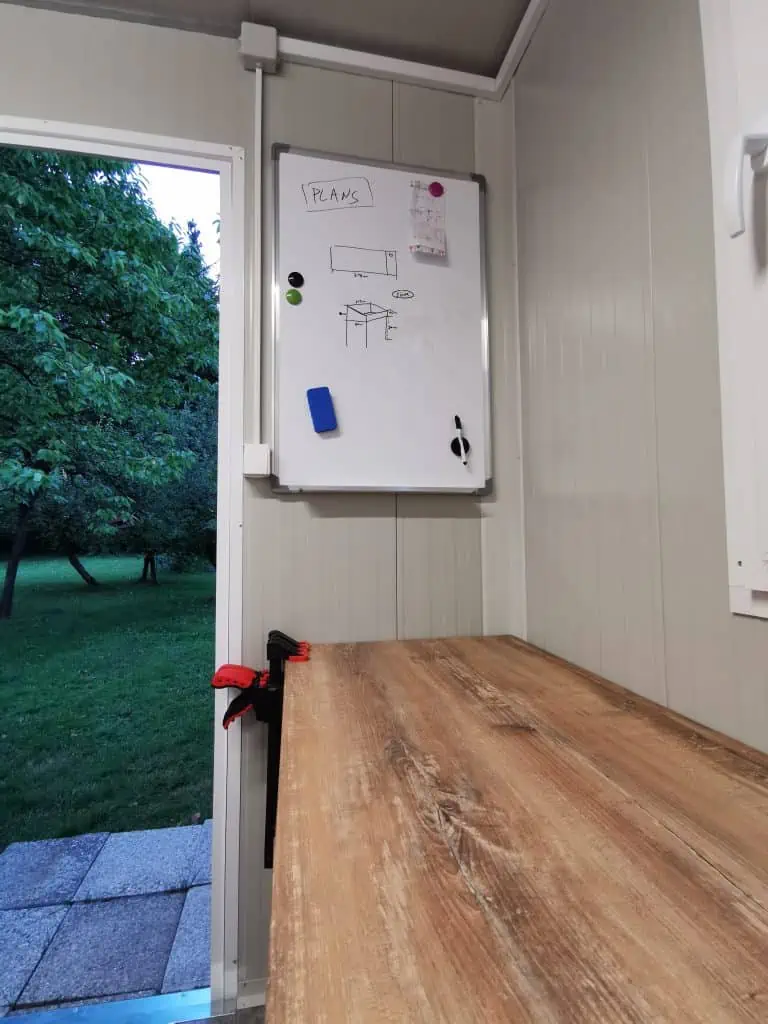
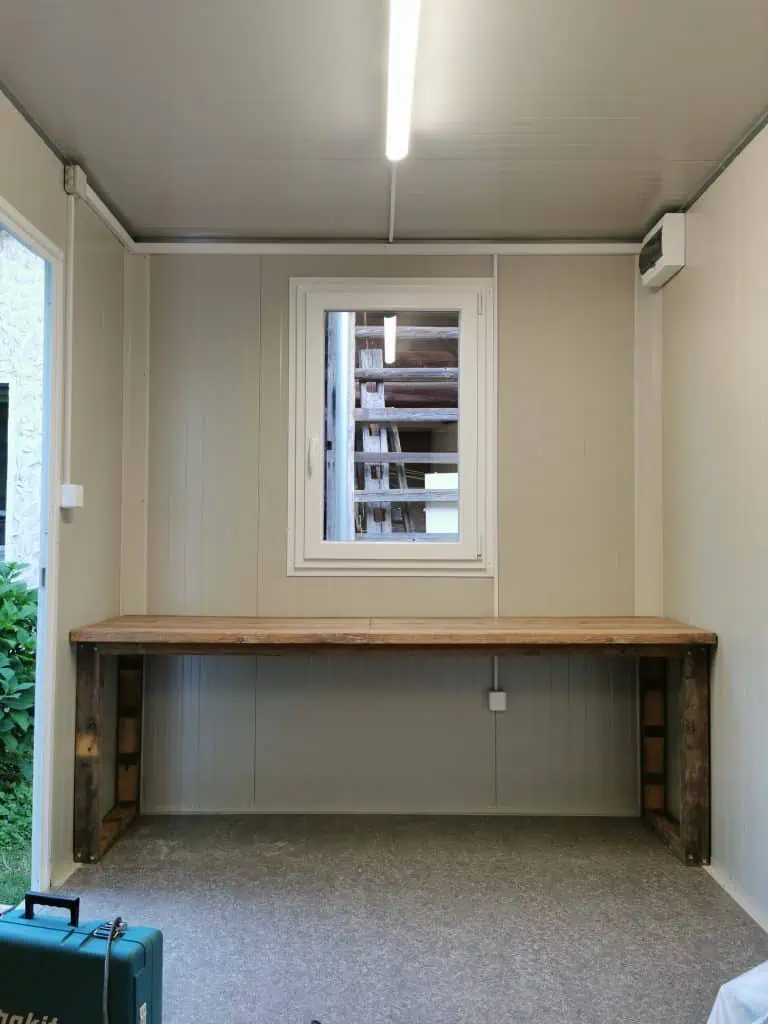
When the construction was finished I added wooden supports to the bottom and started searching for the best paint/coating material. On forums I found quite a few recommendations for West System epoxy which I could not find in Slovenia so I had to order it from Slovakia.While I was waiting for the epoxy to arrive I also built a desk for the light part of the container. I used a left over kitchen counter that was laying around in the garage to which I just added a wooden frame and voila I have a desk now (exact plans can be found on my Patreon page)
Thanks for reading!
PS:
I have also finally managed to set up my Patreon account for all of you that would like to support my work and see how everything is done. Thanks

