Building a Darkroom Drying Cabinet for Dry Plates: A Comprehensive Guide
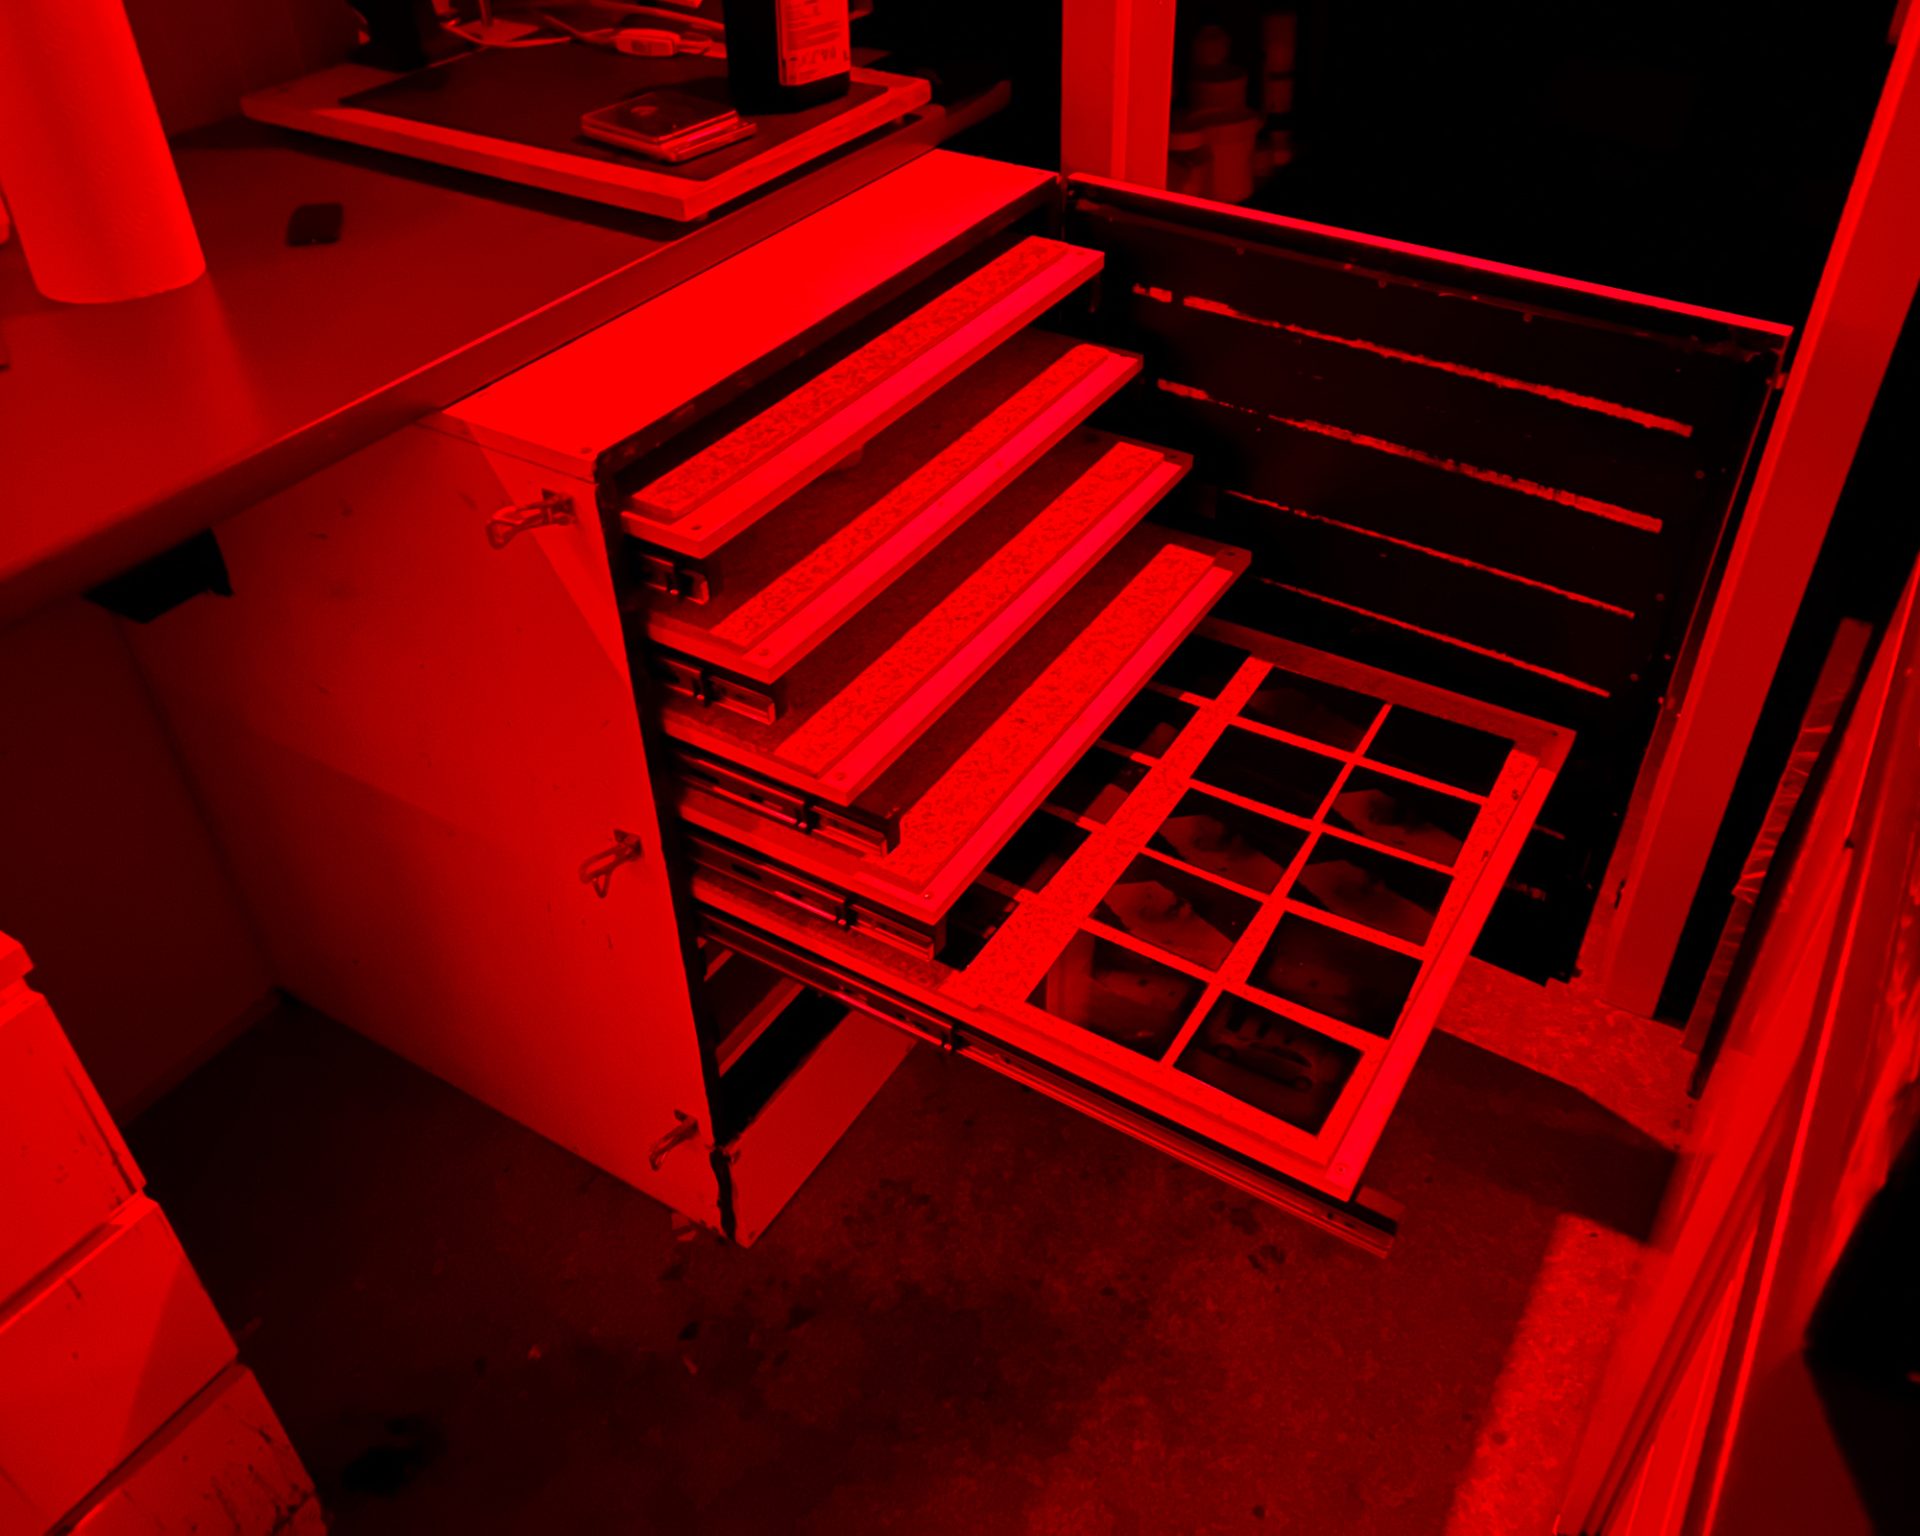
Following my last video, many of the viewers and my followers were interested in knowing more about my Darkroom Drying Cabinet for drying dry plates, so I have decided to put together another video and this blog post to give you a better insight into how the cabinet was built and how it performs after two years of heavy use. At the bottom of this blog, you can also find a detailed list of materials as well as links to the STL files for the 3D-printed parts.
Why Build a Darkroom Drying Cabinet?
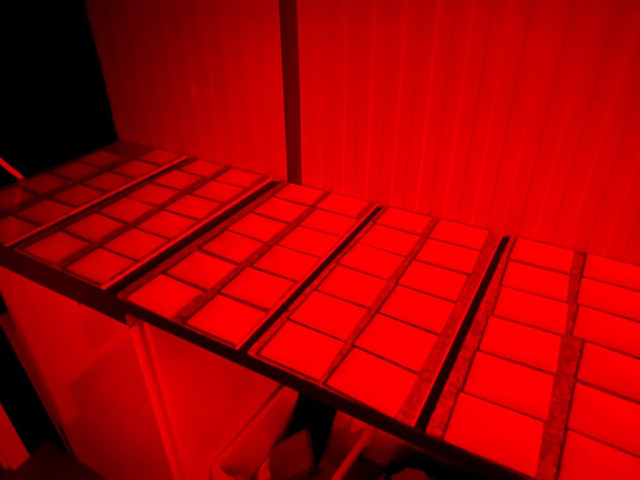
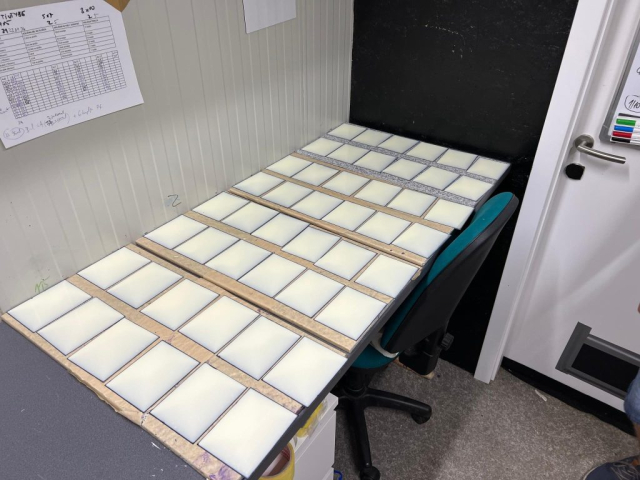
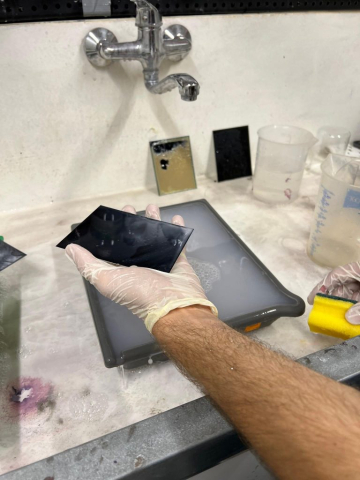
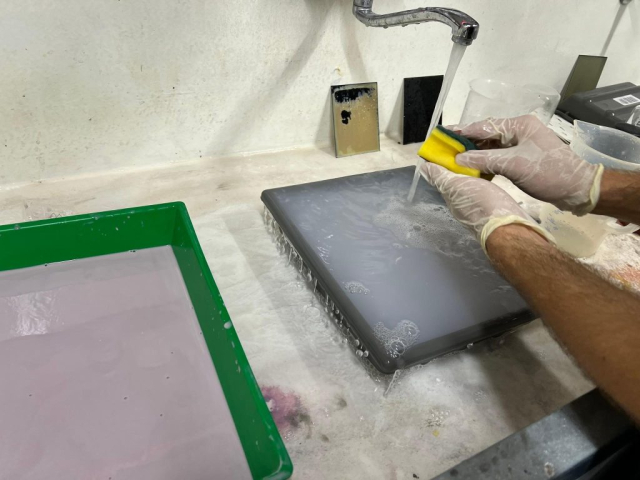
I have been commercially producing Zebra Dry Plates since 2018, and I can’t tell you the frustration when you have plates drying on counters and someone accidentally turns the lights on, ruining the plates. This has happened to me a couple of times, forcing me to soak hundreds of ruined plates in a bleach and water solution to soften the emulsion, clean the glass, and start over. It effectively doubled the work, wasted time, and delayed order dispatches. After the fifth time, I said to myself, “No more,” and decided to build a proper light-tight drying cabinet, which I’ll show you how to make in just a second.
How to Build a Darkroom Drying Cabinet
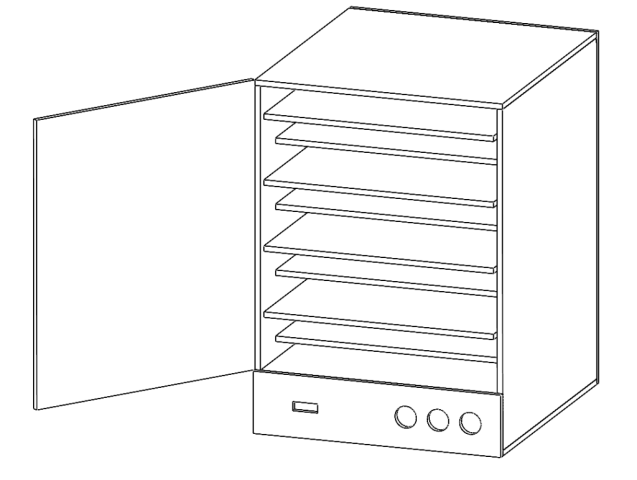
Based on my experience with making Zebra Dry Plates, I had a pretty good idea of how I wanted the cabinet to function and what size it should be. My main goal was for the cabinet to be completely light-tight, have a good ventilation system, and fit as many plates inside as possible, given the available space under the counter. Another wish was to have completely leveled shelves on runners that could extend outside the cabinet for easy loading under safelights. Such a cabinet is quite specific, so buying one pre-assembled wasn’t an option. As always, when I need something I can’t buy, I build it myself and learn along the way. With some sketches and the help of my employee, Jakob, we came up with this design.
Building the Cabinet
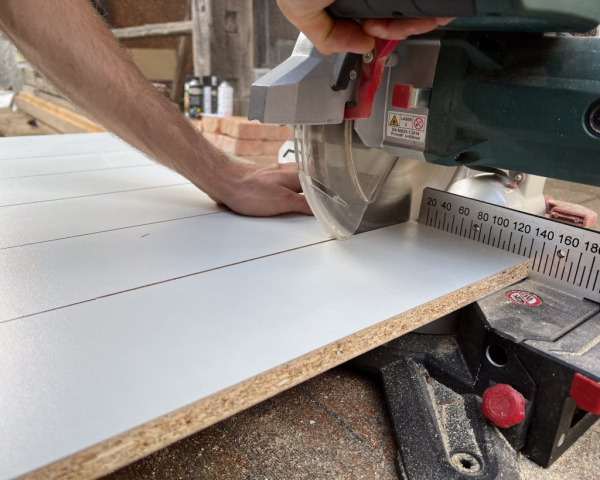
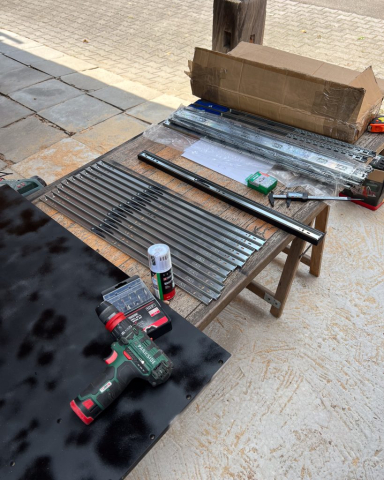
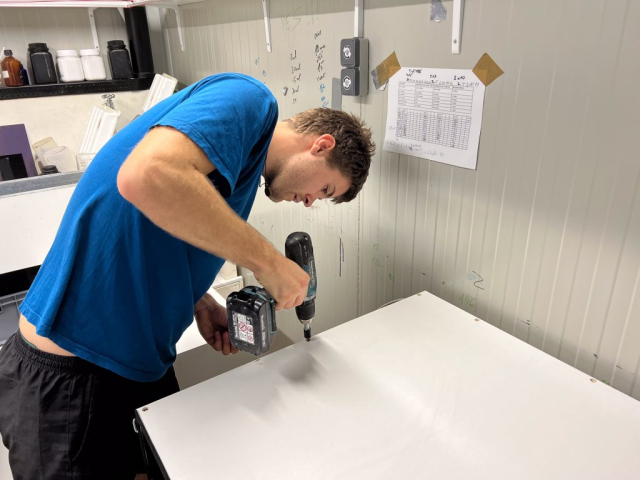
It was all pretty straightforward. We took the sketches to the local woodworking shop, and they cut all the framework parts for us from 16-18mm white Multilayer Faced Chipboards using CNC. While waiting for the cutting to be completed, we ordered all the required hardware parts such as fans, heating units, and latches. After about two weeks, we had everything in the workshop and were ready to start the build.
Painting the Interior:
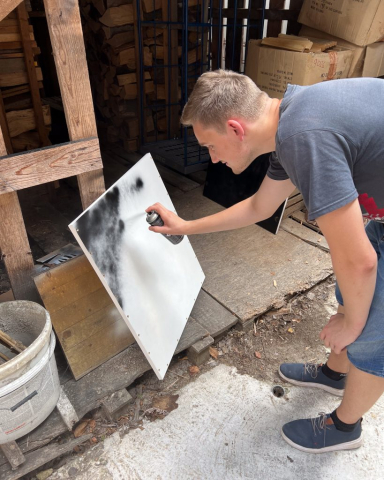
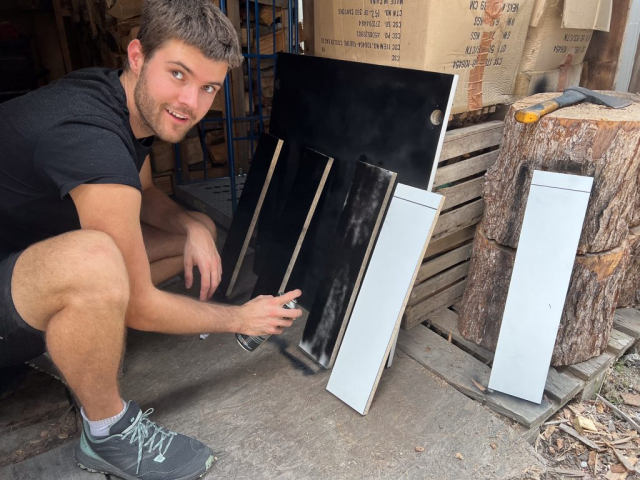
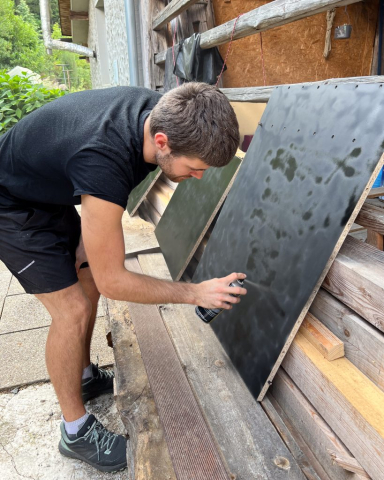
We first painted the interior surfaces with black paint. Black multilayer chipboards were an option, but white was much cheaper even after accounting for the cost of two cans of spray paint. We put the pieces together roughly to see which surfaces needed painting, then applied two to three coats. It was a bit of a workout for the index finger!
Initial Assembly:
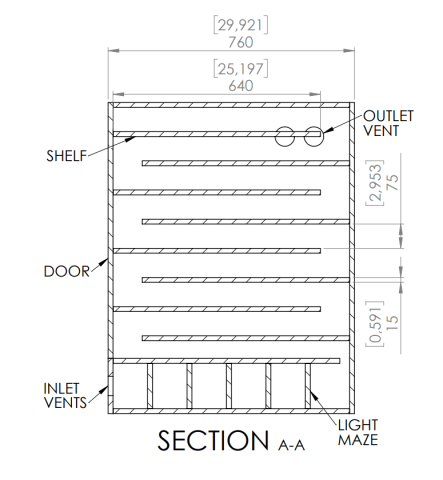
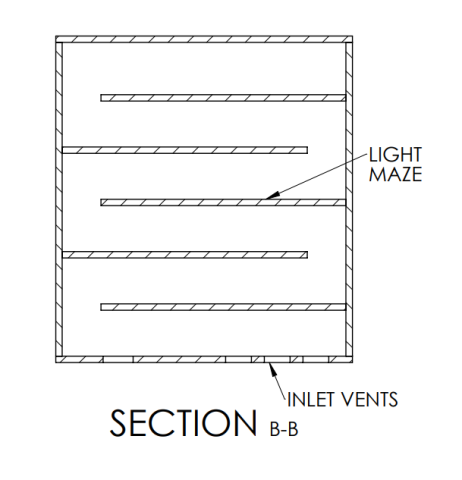
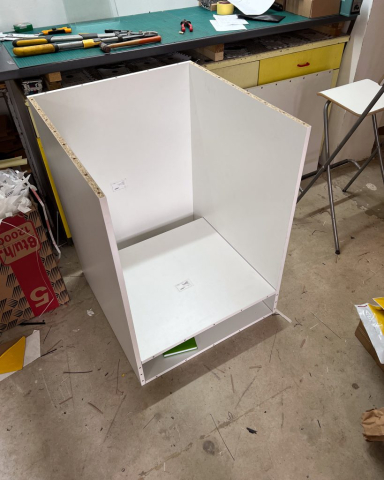
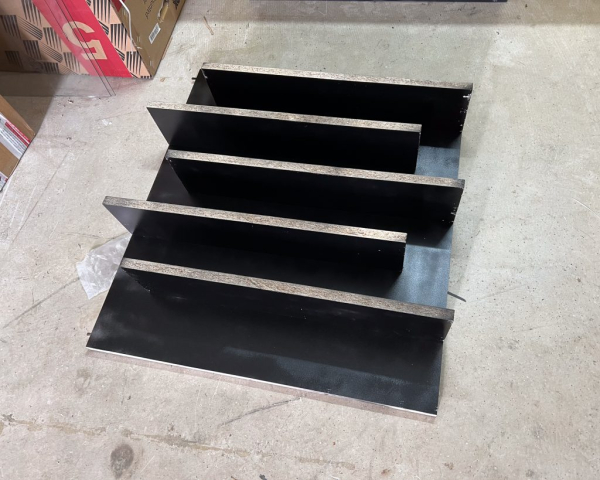
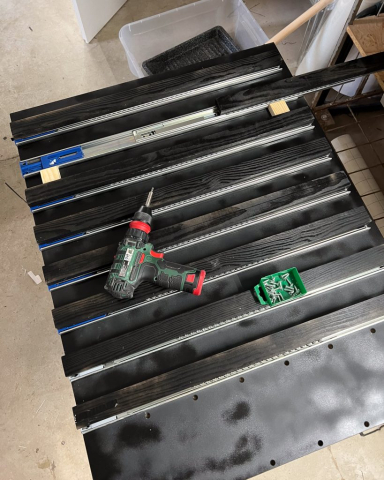
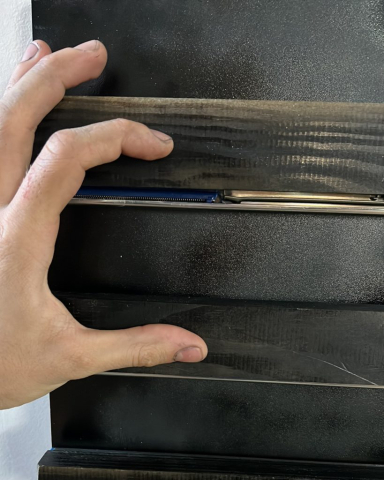
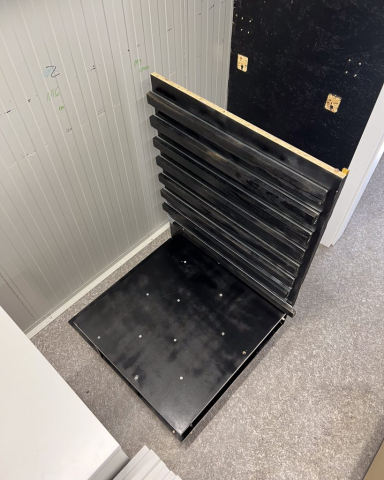
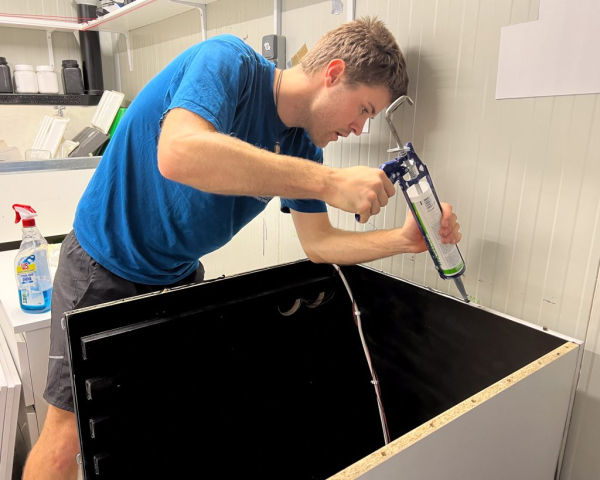
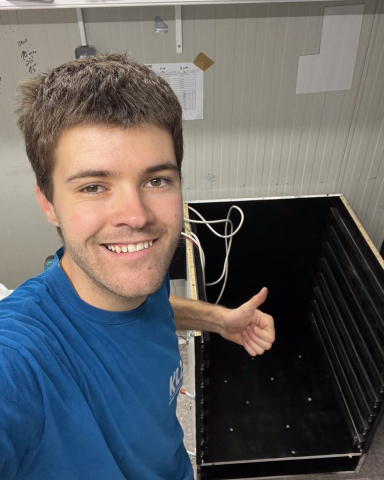
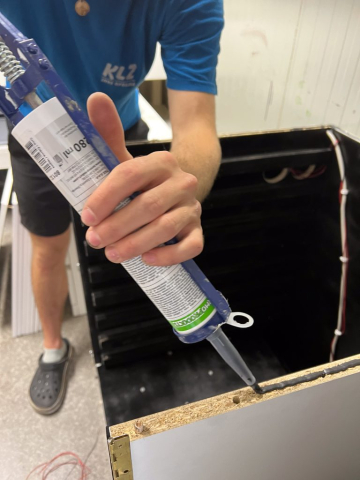
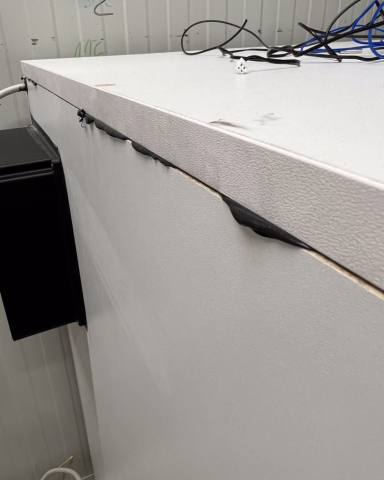
Once the interior surfaces were painted and dried, we started assembling the cabinet. We first built a light maze at the very bottom, then installed the drawer runners on both side panels. We also attached additional wooden boards to the guides, where the shelves would later be mounted. We built the cabinet inside the darkroom itself since it was the only way to make it fit in the small space of my shipping container. We used black silicone between all the joints before screwing things together to ensure there were no light leaks. It was messy, but it worked!
Main Structure Assembly:
The main framework came together quickly. We ensured the cabinet was level, which is crucial for evenly setting the emulsion on the plates.
Electronics Setup
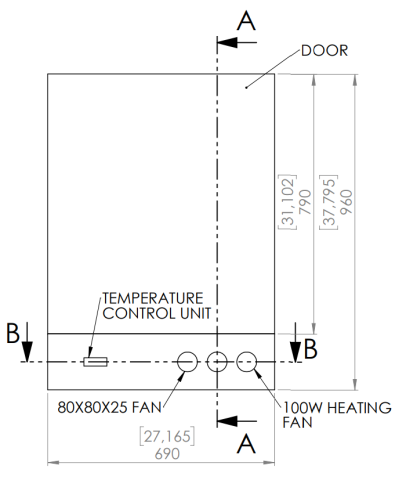
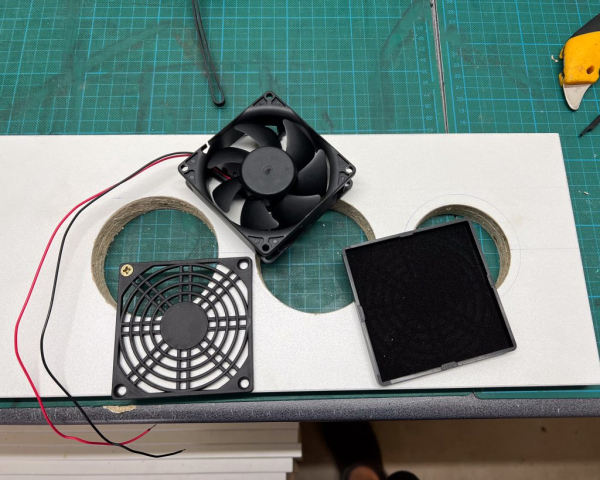
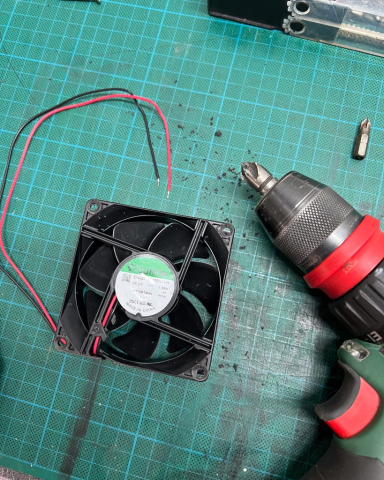
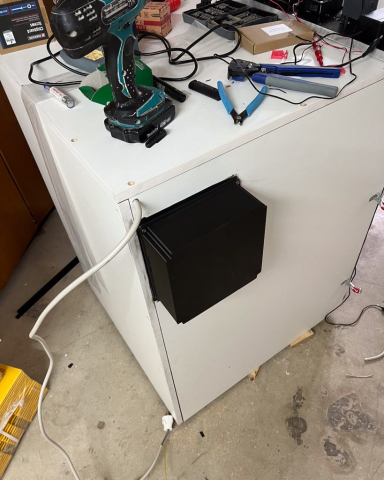
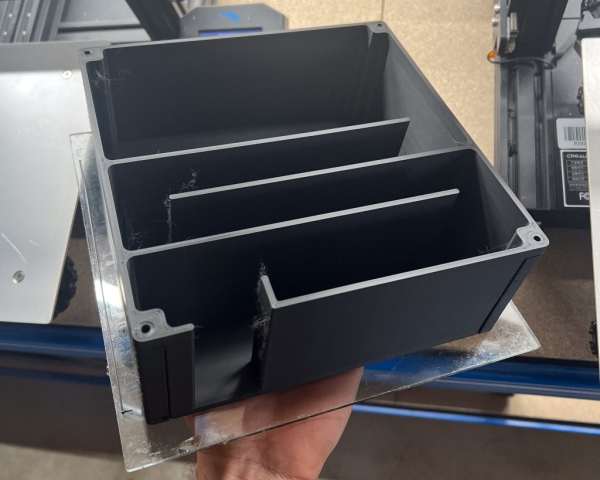
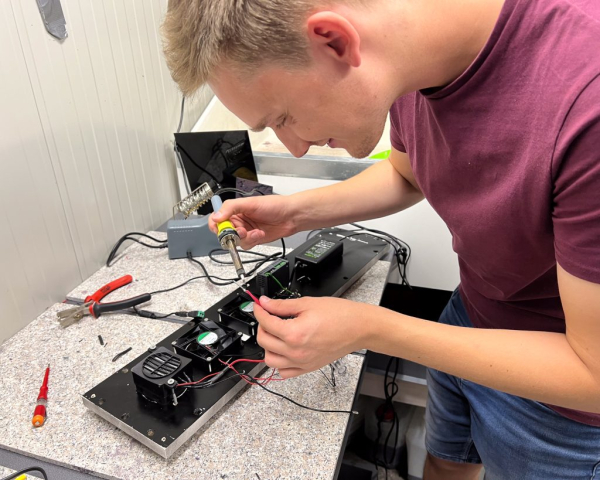
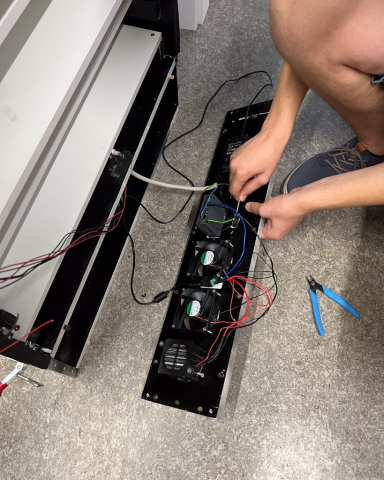
Once the framework was done, we moved on to the complicated part: installing the fans, heaters, cabinet door, and wiring everything up. The cabinet was designed so the bottom front panel, which houses all the fans, is removable and easily accessible in case something breaks. We used four 80x80x25mm fans—two for the outlet on the top and two for the inlet at the bottom. A 3D-printed light maze was used to allow airflow while blocking light. Once printed, we installed the outlet fans and covered them with the light maze housing using screws and black silicone sealer.
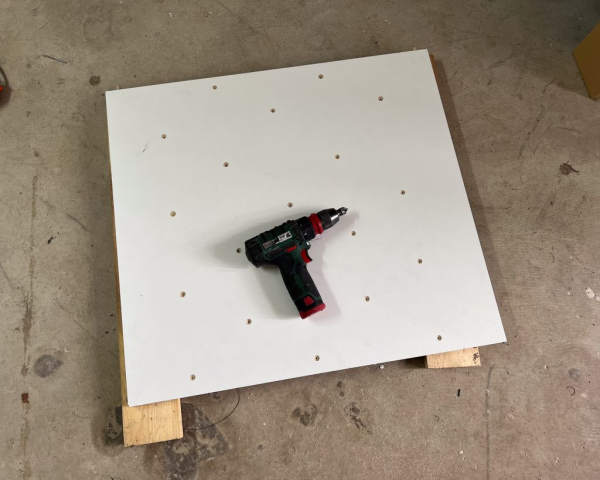
For the inlet fans and the 100W heater fan unit, we made holes in the bottom fan panel and mounted the components. Fan covers with ultra-fine filter mesh were installed to prevent dust from entering the cabinet. After installing the digital temperature controller, toggle switch, and the 12V power adapter, we wired everything up.
Wiring Everything Up
The digital temperature controller came with a long wire and a temperature sensor, which we attached to the center of the box for accurate readings. The main power was wired to one side of the toggle switch, and a wire from the other side was connected to the 12V power adapter. The adapter powered the four fans and the temperature controller unit, which in turn powered the 100W heating fan. This setup ensures that when the toggle switch is turned on, everything starts running, with the heater fan being controlled by the temperature controller to maintain a steady 28-30°C for optimal drying conditions of the Dry Plates.
At this point, I’d like to recommend building a plastic or metal box for all the electrical components for better safety, rather than mounting everything directly on a wooden panel.
Report After Two Years of Use
Two years later, I’m happy to report that the cabinet has held up perfectly, even after drying tens of thousands of plates. Nothing has broken, and we have never experienced any light leaks. The cabinet has significantly increased our production capacity, and we are already planning to build a few more to expand further.
For those of you who plan to build one yourselves, feel free to adjust it to your needs and share your builds with us on social media using #zebradryplates. And for those who can’t build one, we’ll be launching a smaller DIY drying cabinet kit on a budget soon—so stay tuned!
If you would like to see how the Cabinet looks and operates in person check out the video bellow as well!
Complete Materials List for the Darkroom Drying Cabinet
- 1x DC 12V voltage transformer power adapter
Link to Amazon - 4x Main 80x80x25mm fans
Link to Amazon - 4x Fan Cover with Ultra Fine Dust Filter
Link to Amazon - 1x Fan Heater Car 100 W 12 V
Link to Amazon - 1x Digital Temperature Controller
Link to Amazon - 1x Toggle switch
Link to Amazon - 3x Toggle clasps
Link to Amazon - 16x Full Extension Drawer Runners Length 700mm
Link to Amazon - 3m of Foam rubber seal for the doors
Link to Amazon - 16x Granite Slabs for the shelves (60x30x1cm size)
- 1x 1m Piano hinge for the cabinet doors
- 2x 2m Black PVC Equal L-shaped Angle profile 20x20mm
- 1x 3D printed outlet fan housing with light labyrinth inside
STL File Link
* Additional Tools and Materials: Screws, cables, smaller wooden panels, black spray paint, etc.
Material List Key Light Switch:
- Key Light Switch: Link to Amazon
- 3D Printed Housing: STL File Link



Dear Sir,
I am a photographer and I make my own prints on glass (Goldtones)
Unfortunately I am not able to built my own darkroom dryer cabinet because I dont know how.
Would you accept to built one for me and sell it ?
That would be extraordinary and so much easy for my work.
Thank you for your answer
Anne Kuhn
Hey Anne,
We are actually working on a diy carboard drying box where you would simply assemble it yourself and dry your plates for cheap!