FINALLY STARTED TO USE IT! / Container Darkroom part 11

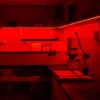
So stoked to inform you that my container darkroom is finally ready to start printing, coating, creating… I was away for two weeks and had many things going on in the last week after I returned back home from a holiday in Greece. First off all I had to develop two plates I shot during the trip and edit everything into a video.
Part one is already uploaded so make sure to check it out and Subscribe to catch the next one!
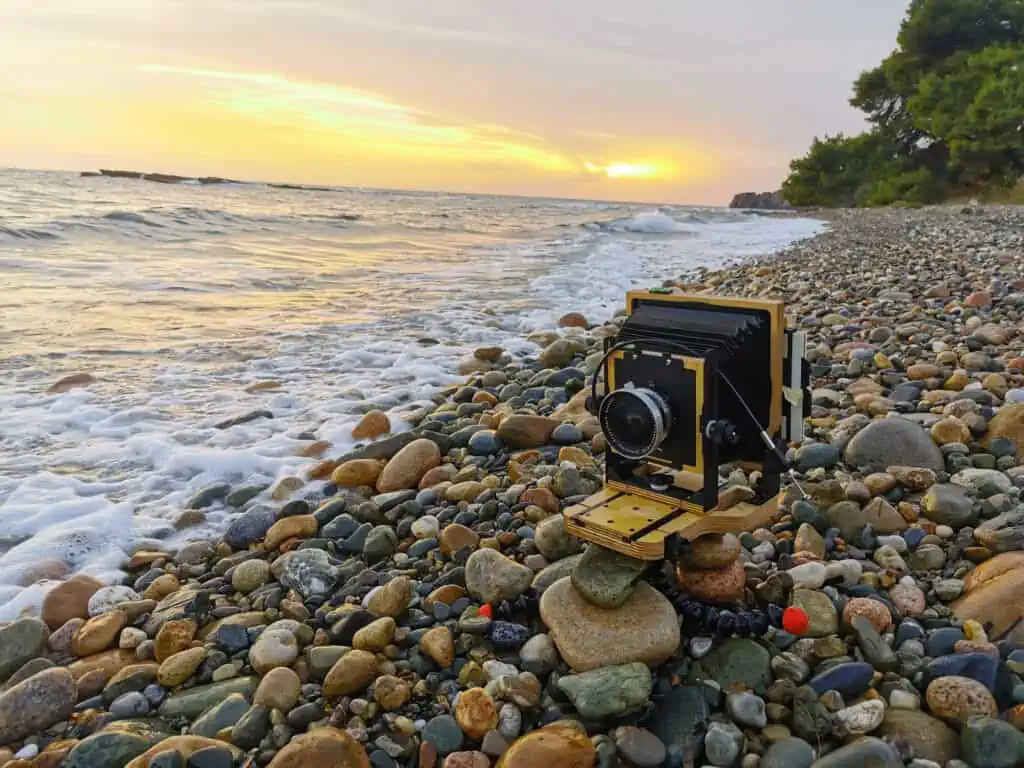
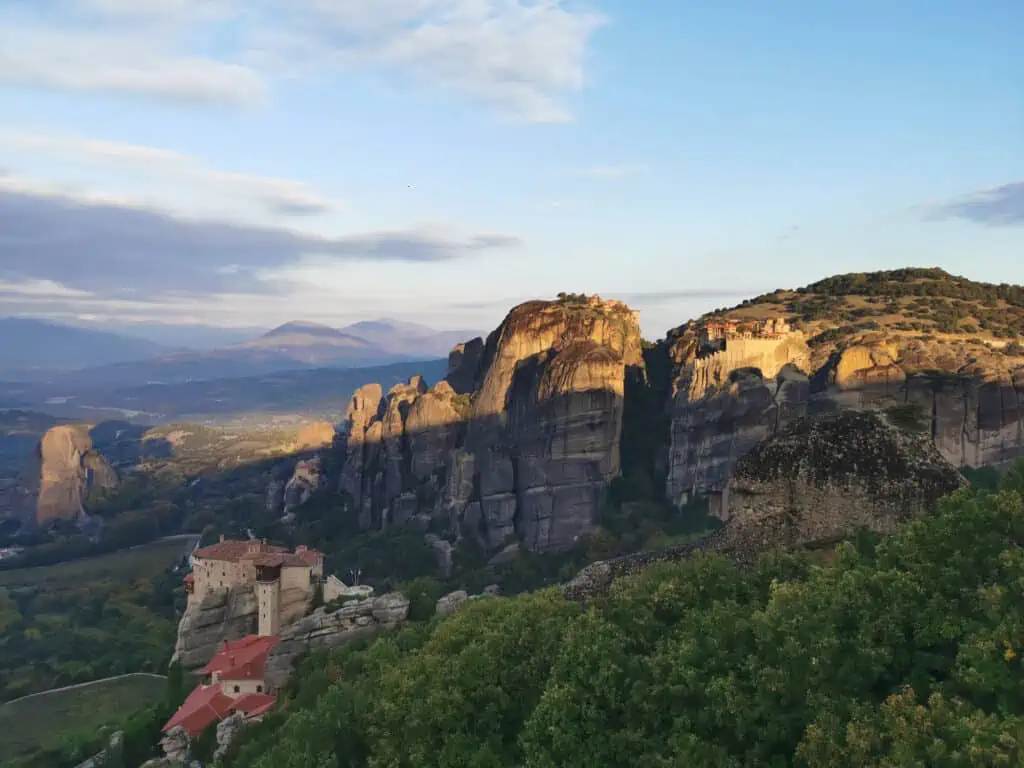
After so much construction going on all the time I have to admit my darkroom was a mess but shelves and drawers were there so It was time to get everything back in order. When I am working I can quickly create a mess that’s why everything needs to have its place so when I finish It can find its way back 😀
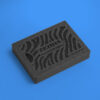
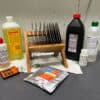
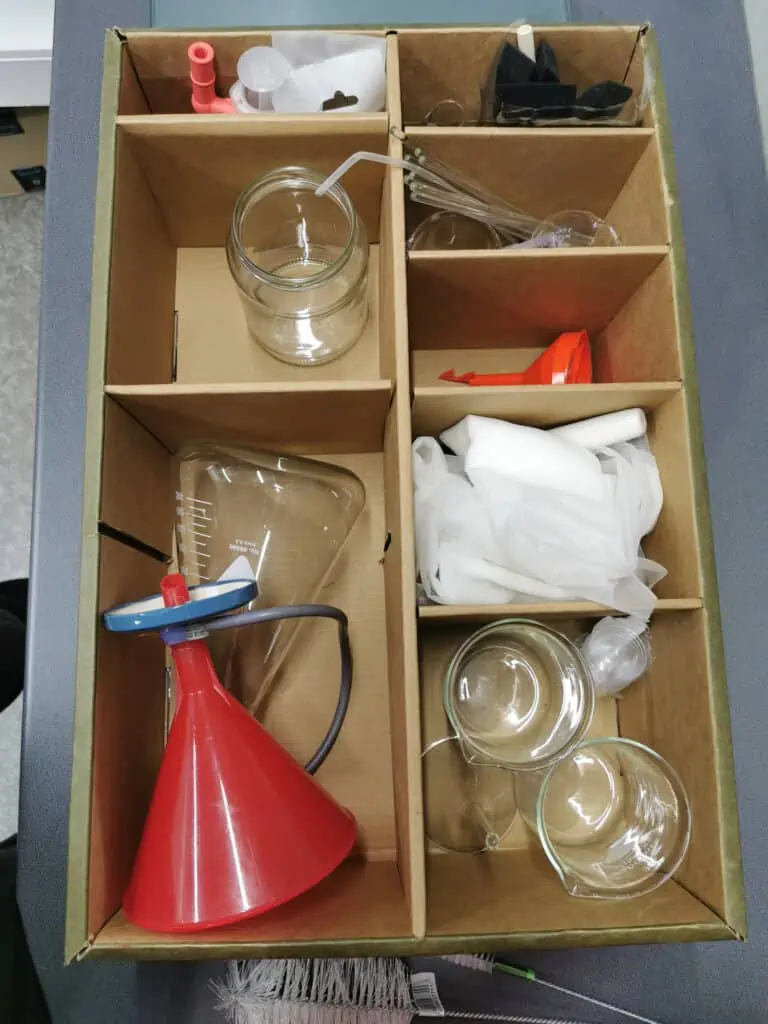
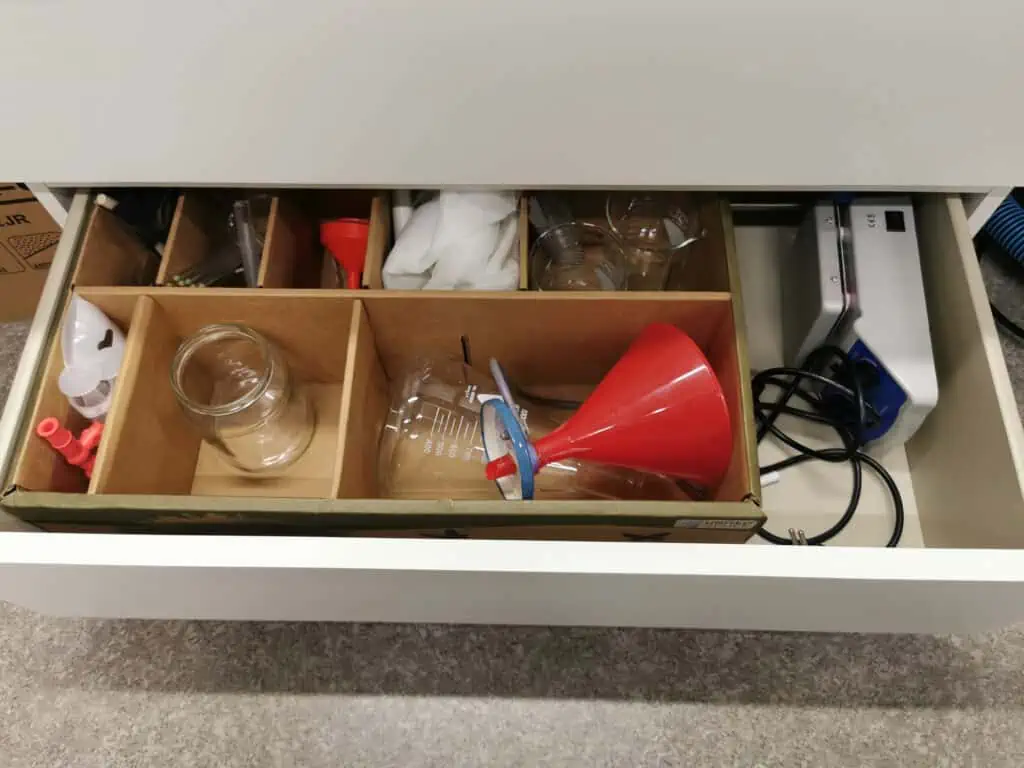
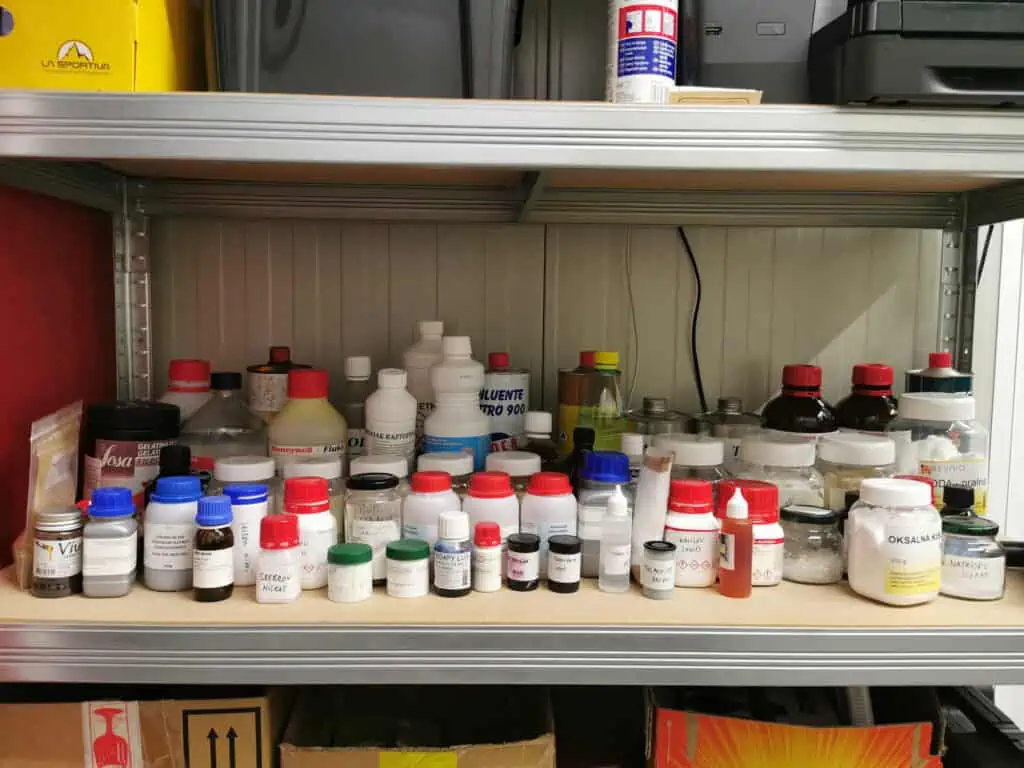
So I started opening boxes and organising my glassware, papers, dry plates… I am always on a lookout for nice cardboard boxes while shopping for groceries and this week I found a very nice box with compartments that fitted in my drawer and became a storage box for the glassware, syringes and mixing rods. There is still a lot of work to be done and the next thing I will be doing is putting in order all the chemicals. I would like to make a list of all the chemicals I have with their quantities so I know If I have enough for the projects I do or not . I am doing all kinds of stuff from emulsions, mixing my own developers, autochromes, etc. so believe me there are many chemicals there.
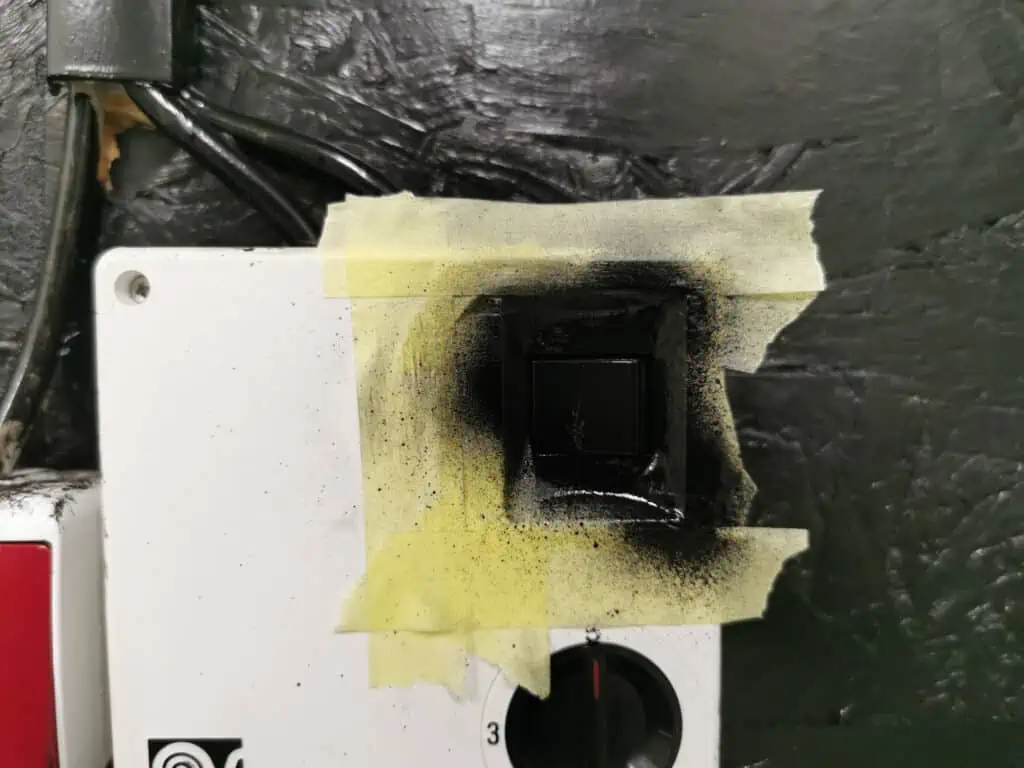
There was also one light source inside the darkroom that I had to fix. It was coming from the ventilation switch so I simply masked it out and sprayed it with a few coats of black paint. Now it is pitch black when the lights are off!
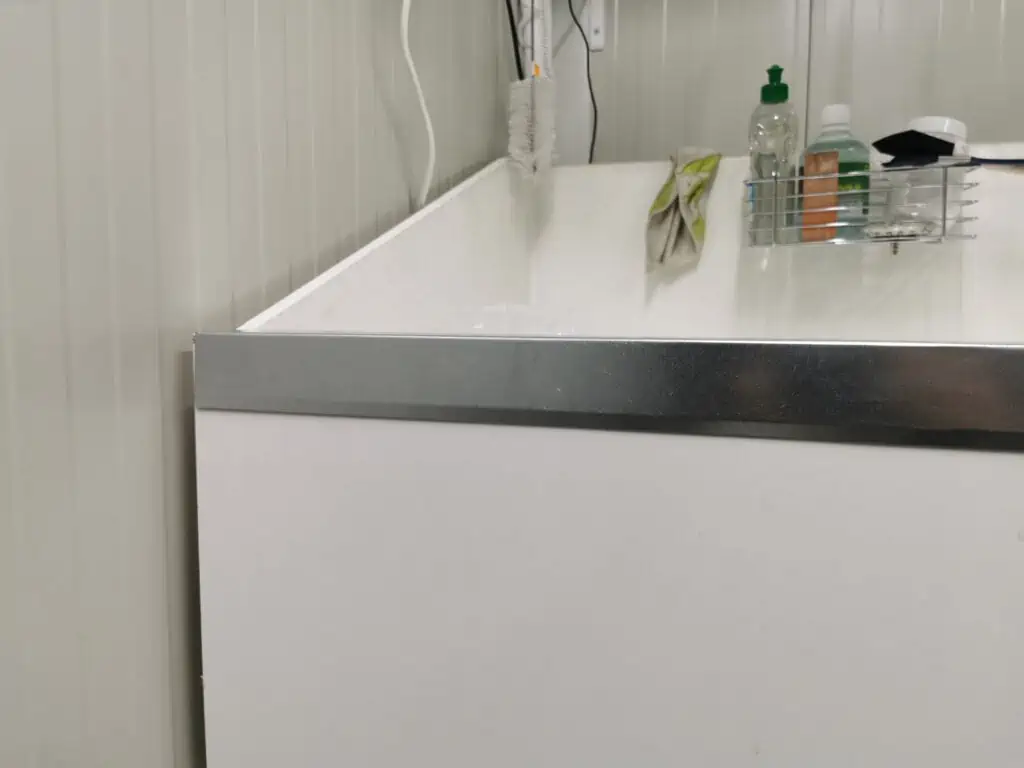
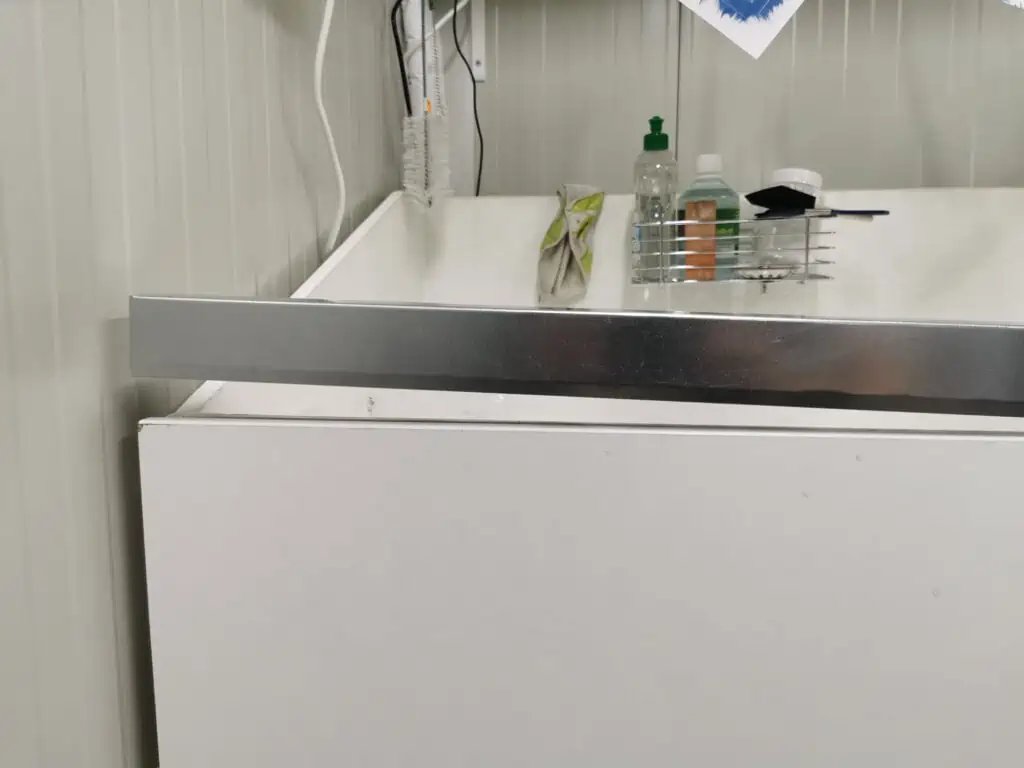
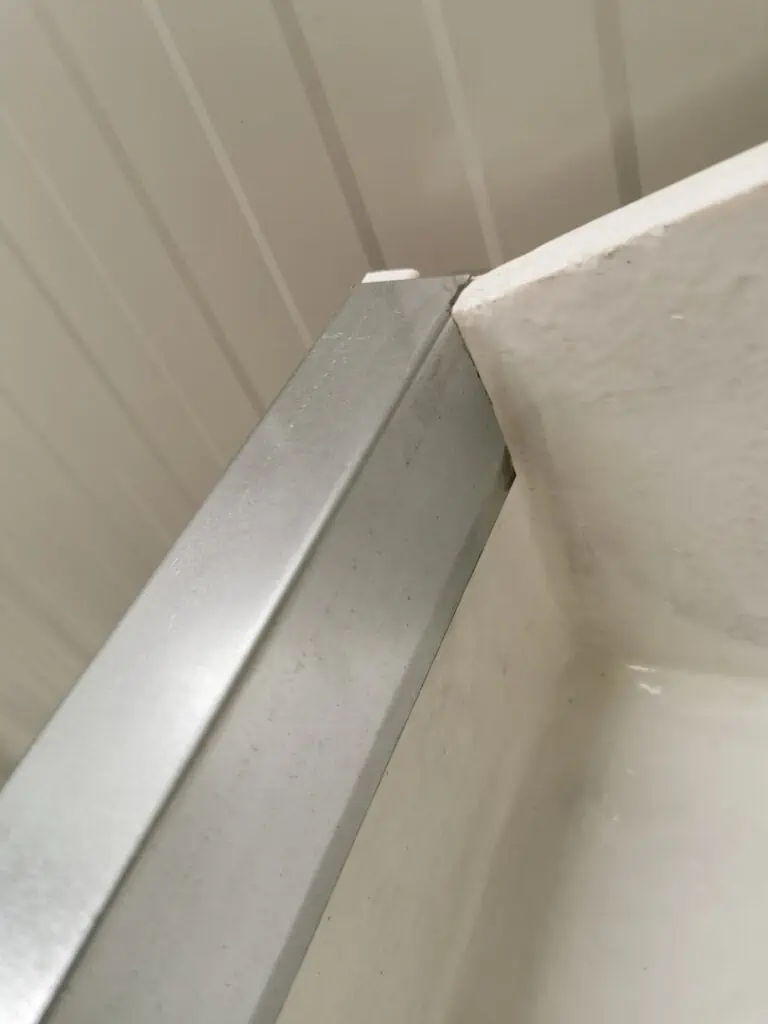
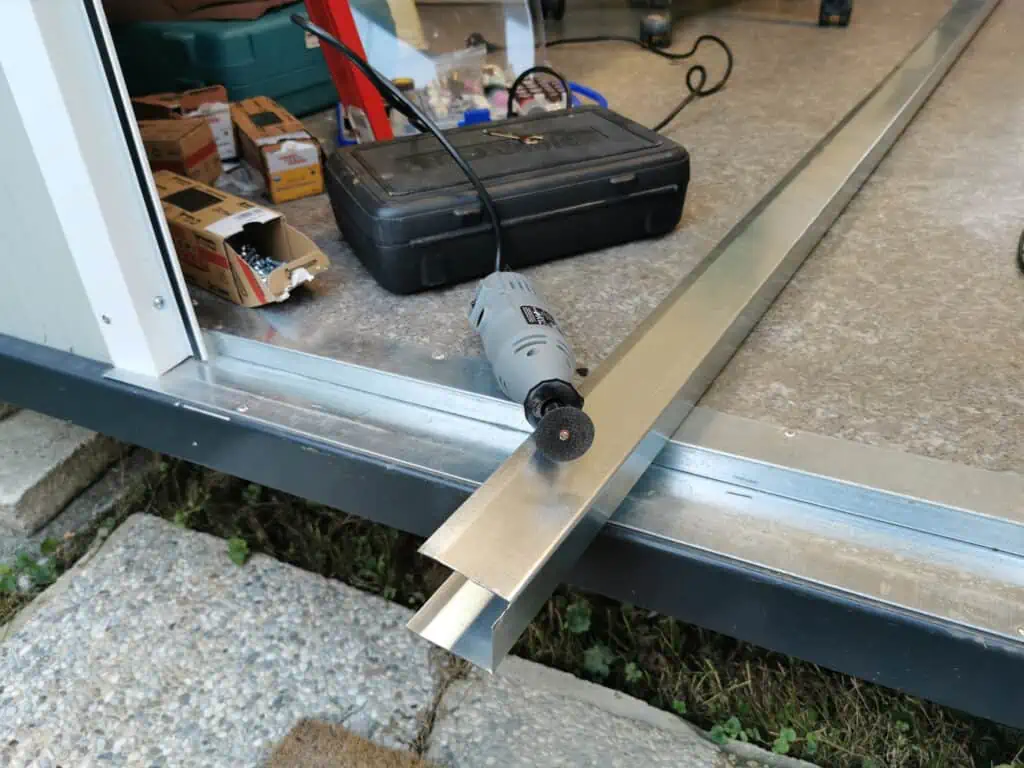
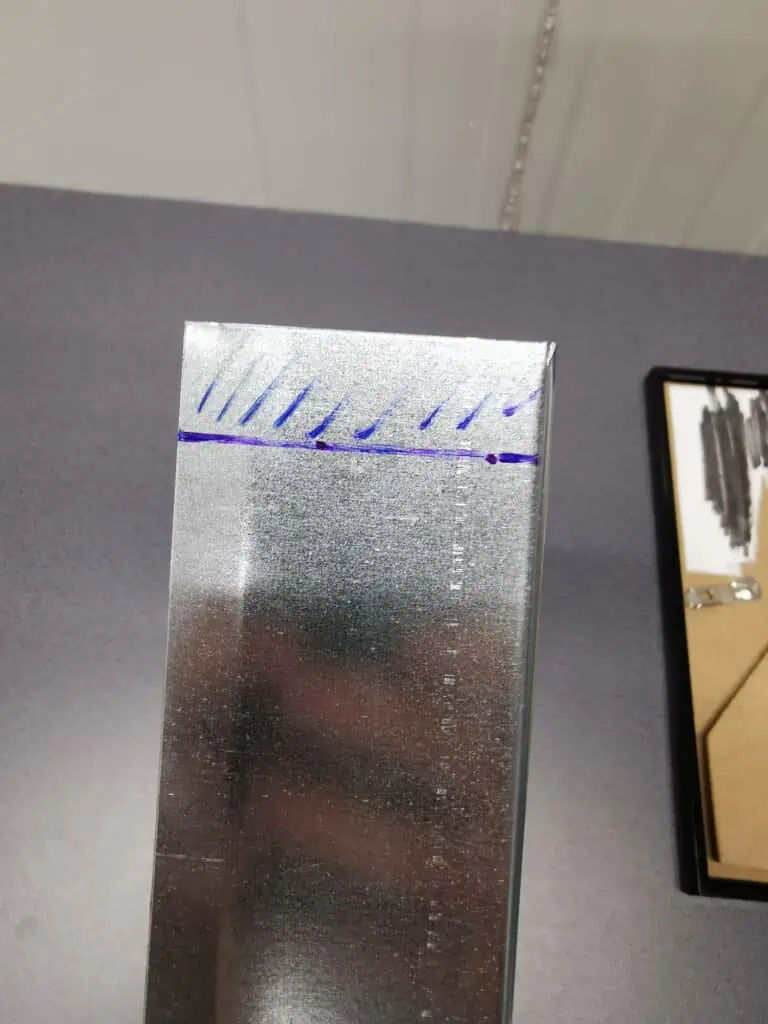
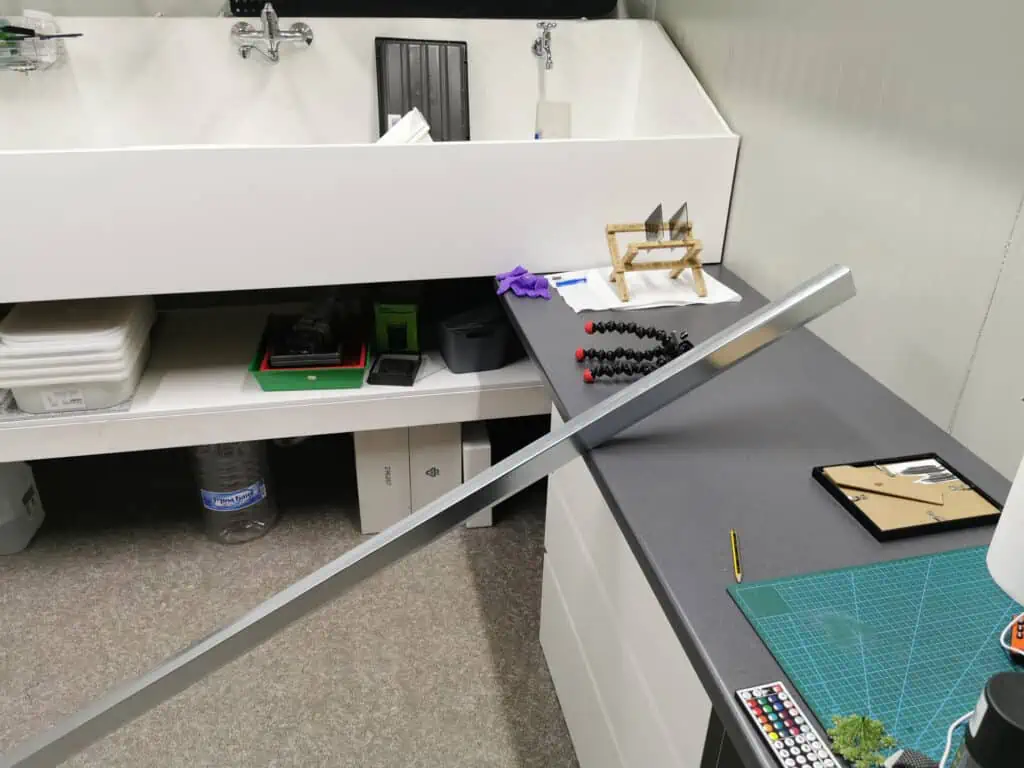
With the help of my father in law we also built a metal channel that was installed on the front edge of the sink. Previously I have attached another piece of white chipboard to the front panel of the sink to make it a bit thicker and nicer to look at. With this I have created a gap on the top thru which water and other more nasty liquids could penetrate. Now after I installed the metal channel on the top this gap is sealed. There was no glueing or screwing needed as the channel is designed in a way that it crimps well to the surface. I had many requests to also film myself while I built these things in my darkroom and upload them to my YT channel as well. What should I say it’s coming!
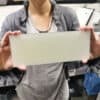
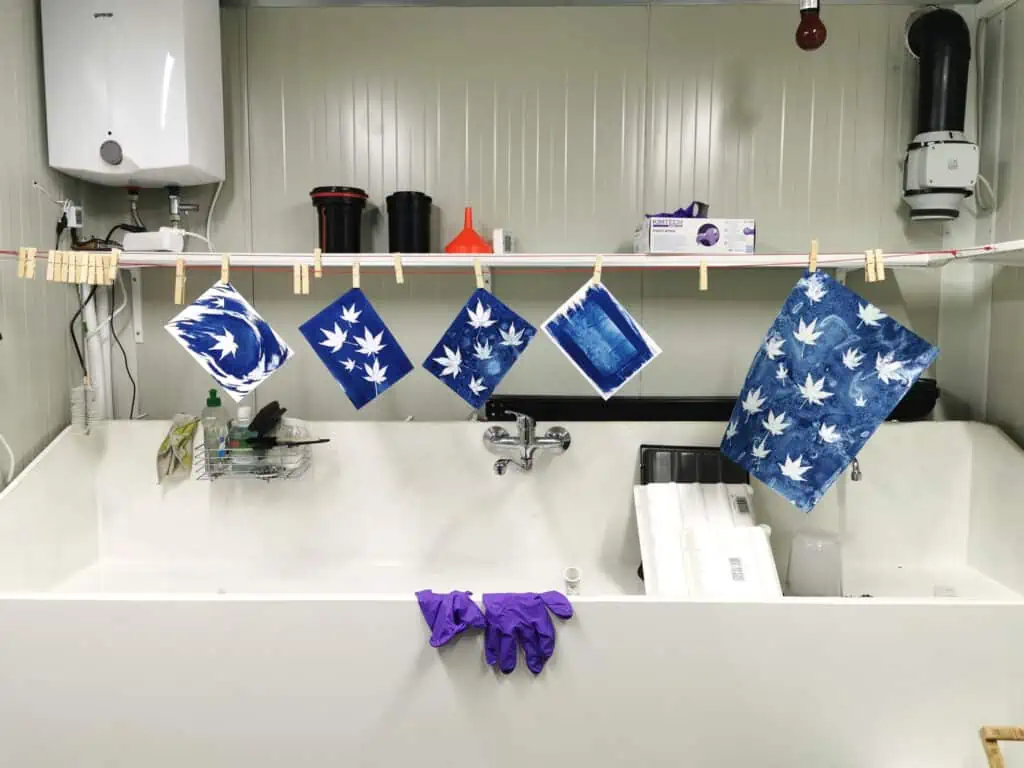
There was a lot of printing going on especially with cyanotype technique. I was mostly printing greeting cards and a few bigger pieces which will be framed and hanged. Some of them are ordinary cyanotypes and some of them are wet cyanotypes. If you haven’t yet make sure to check out a blog post and video tutorial on how to make them.
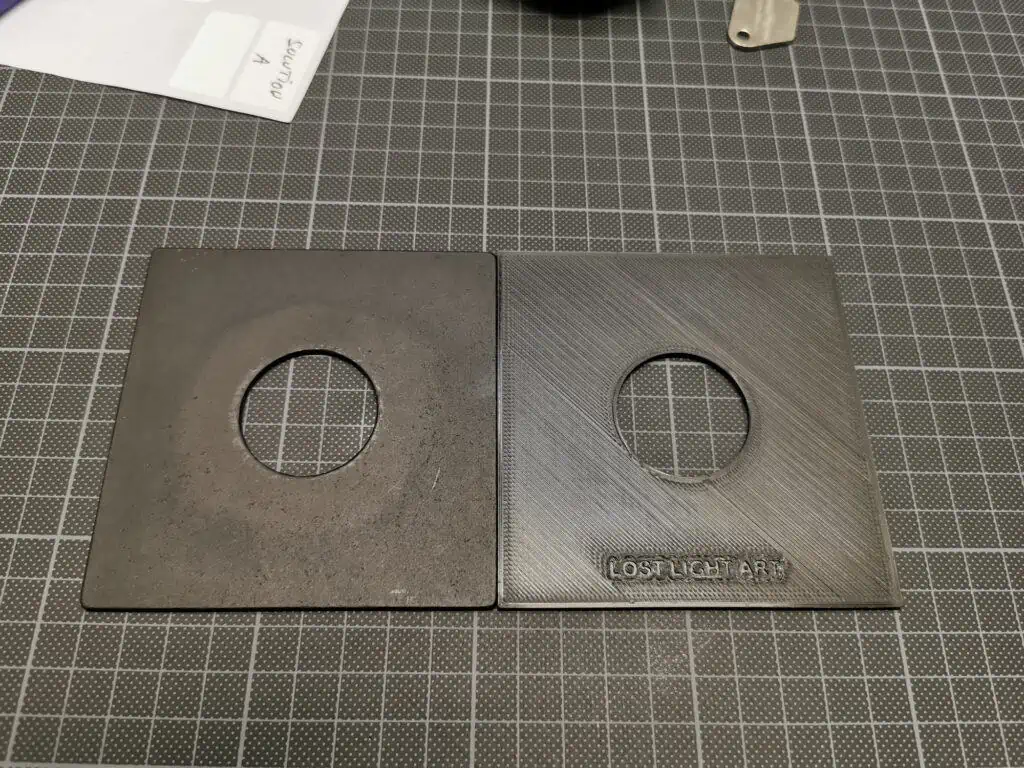
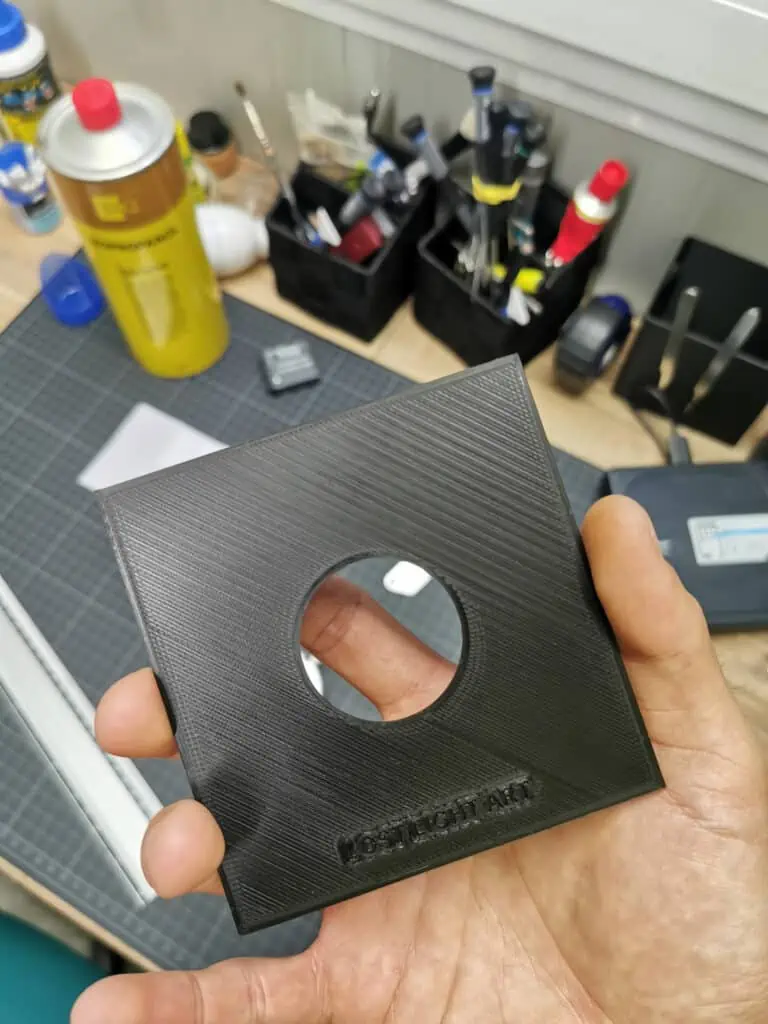
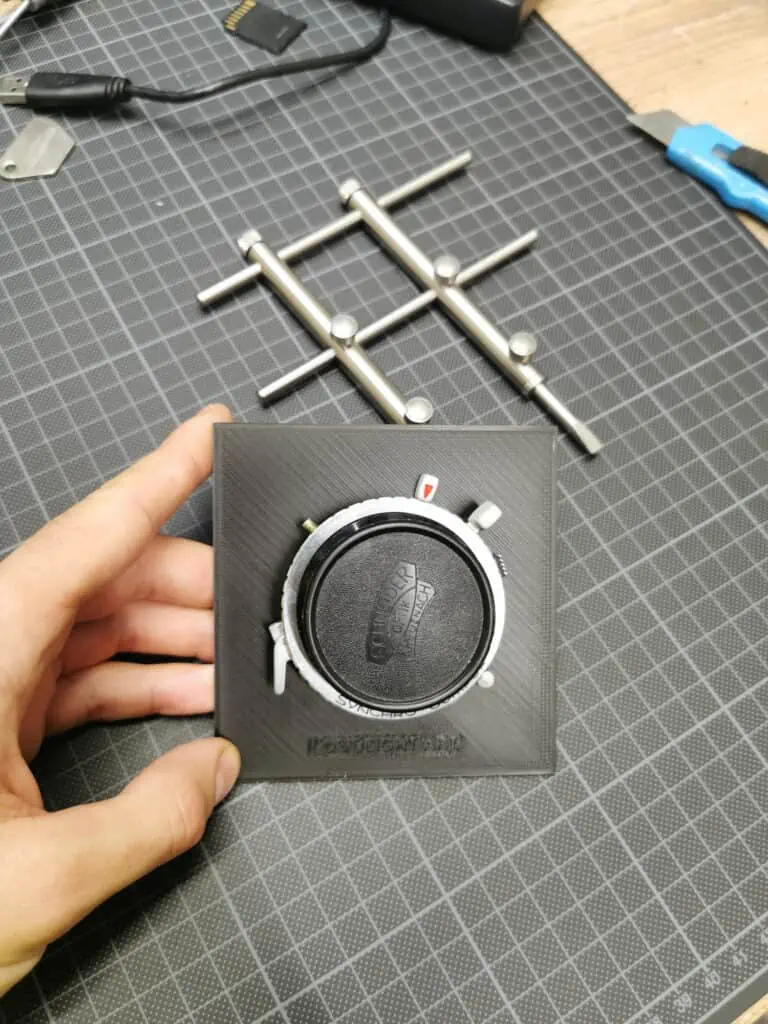
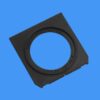
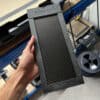
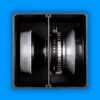
And to finish up the week I have also designed and 3D printed lens boards from PETG that fit onto my Intrepid camera and in my Lens Storage Box I designed. It is very light and surprisingly strong so I think I will be making a few more soon…
