PAINTING DARKROOM SINK + BUILDING THE FRAME / Container Darkroom part 4
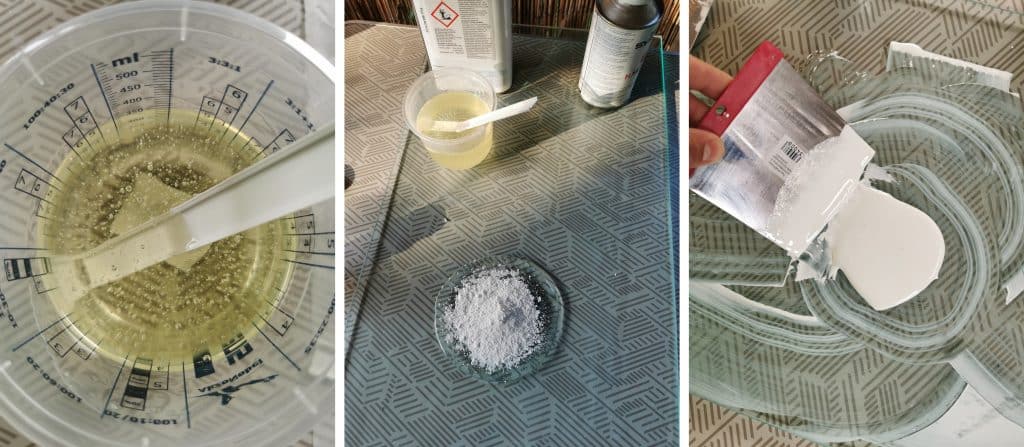
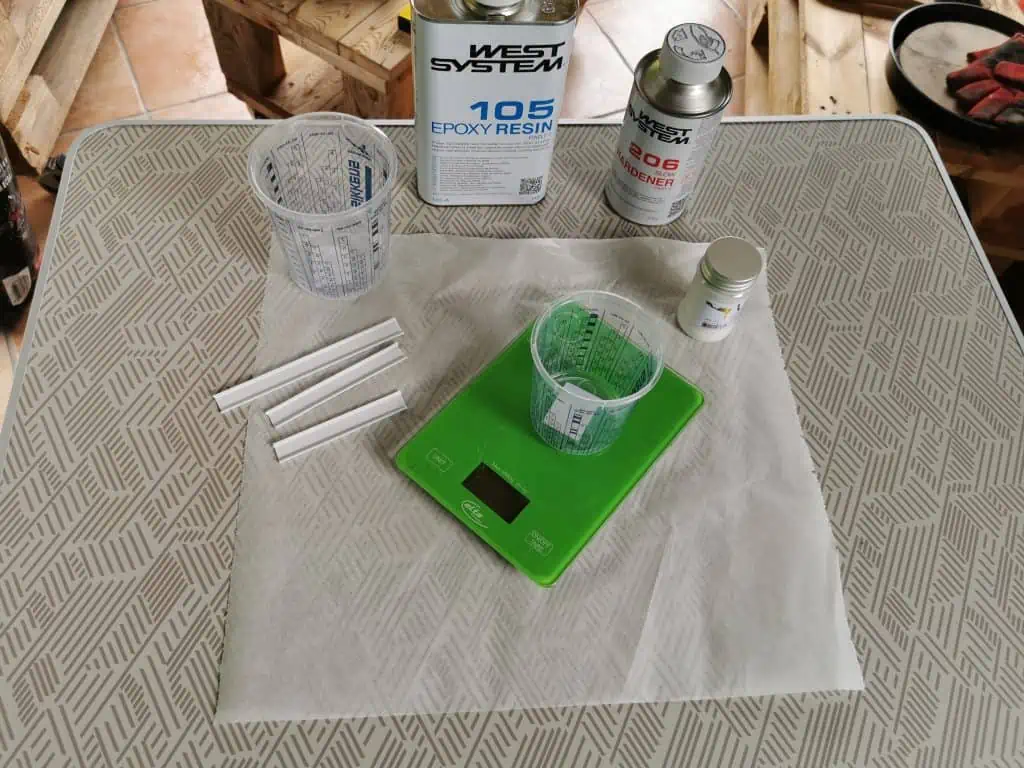
After a week of waiting the paint has finally arrived. I used West System epoxy 105 + 206. First off all I have to mention that I have never used epoxy before so while I was waiting for the package I started searching for tips and tricks on how to use it. First of all I had to find a way to colour the transparent epoxy to white. At the end I used simple mat white pigment which had to be mixed into the epoxy. Mixing in pigment was probably the hardest thing while working as it is very hard to get rid of lumps. I started by adding a small amount of pigment to the small amount of mixed epoxy. I was using a glass slab and metal scraper moving epoxy and pigment back and forth. After slowly adding more epoxy and repeatedly mixing I ended up with more or less smooth paste. This paste was then mixed into the rest of epoxy and that’s how my epoxy became white. For the first batch I did not use enough pigment so when epoxy dried it had a milky look to it. When mixing the second one I made sure to add more so the ratio was 25g of pigment to 300g of epoxy mixture which was mixed in 1:5 ratio (hardener : resin).
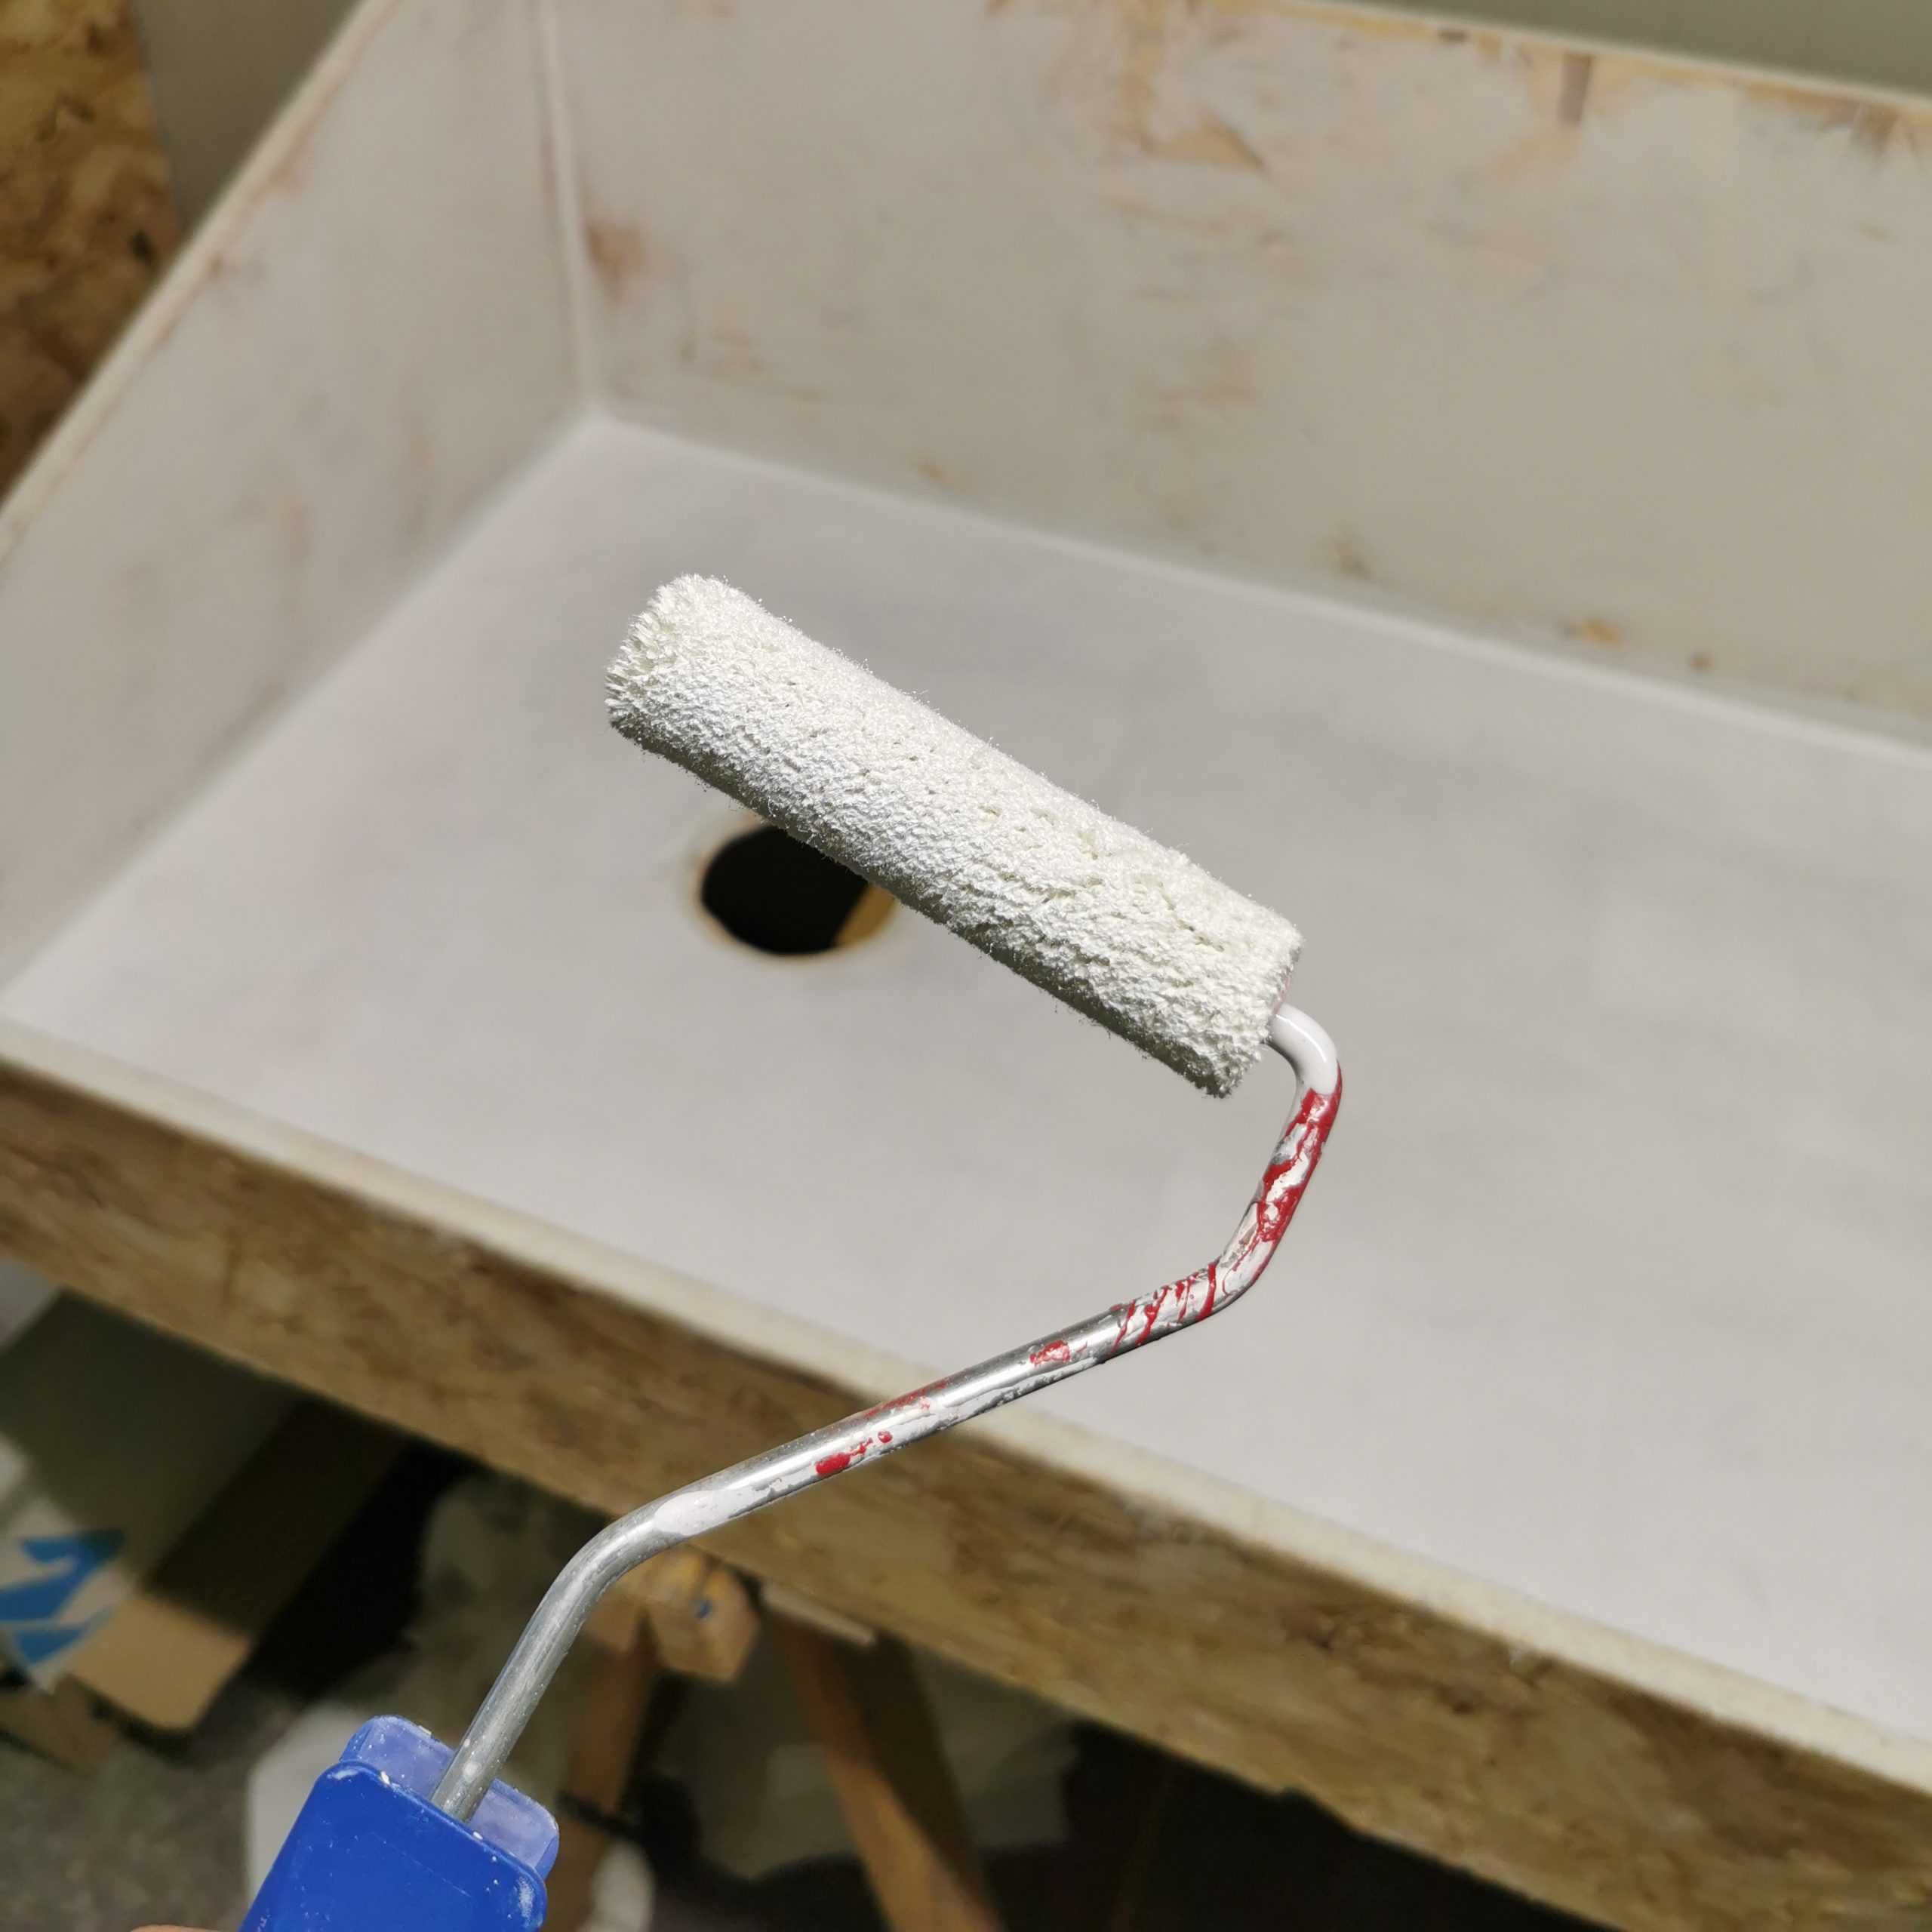
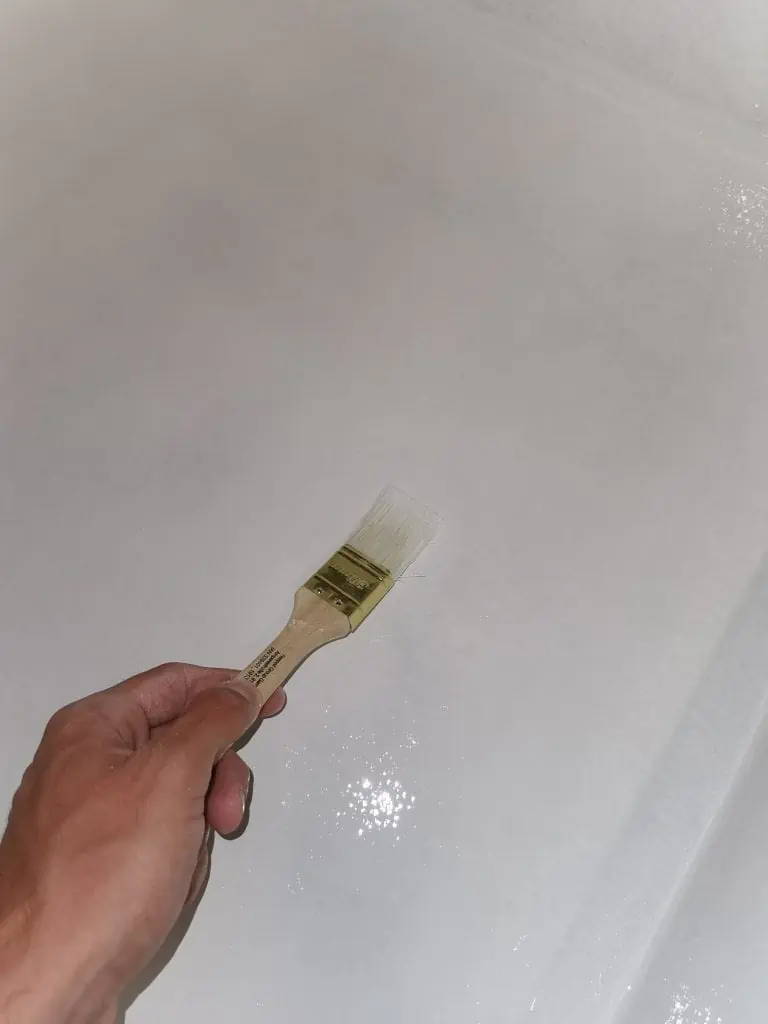
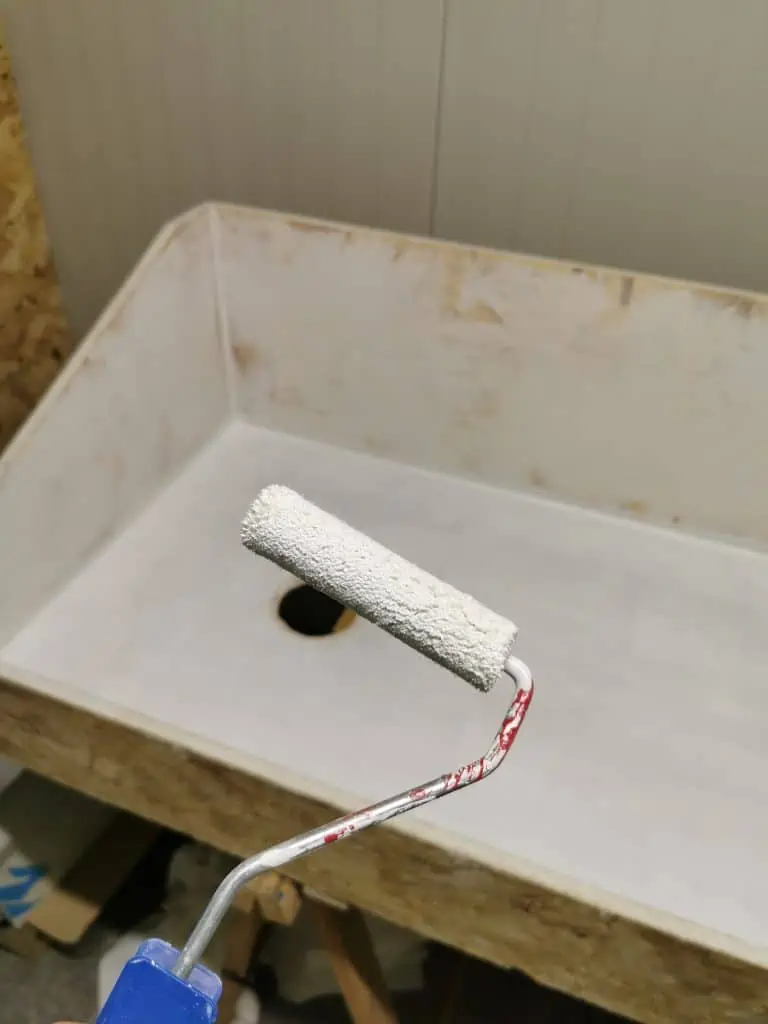
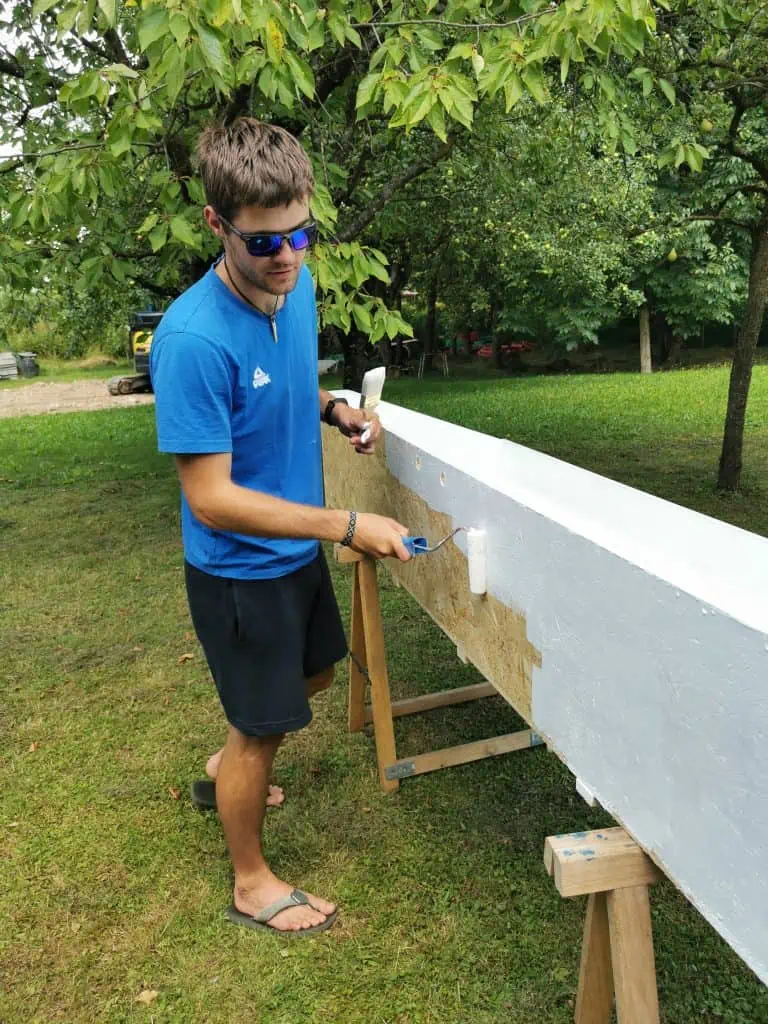
At the start I used a puddle pusher to spread the paint but it was taking too much time so I ended up using a simple foam roller which worked great. The only problem was that It was leaving a lot of air bubbles. For the first two coats I didn’t bother as I had to sand it down anyway but for the final coating I first tried to pop them with hairdryer which did not work so I ended up using a simple hand brush which I lighty dragged thru the surface. Yes – bubbles were completely gone! I coated the sink three times and during each layer I had to wait at least 12h for epoxy to dry so It could be sanded. I was using orbital sander + hand sanding in all the corners with 180 grids. Epoxy is nasty stuff so when working with it make sure to protect your eyes with glasses, hands with gloves and lungs with a face mask. Due to Corona protection accessories are literally lying all around
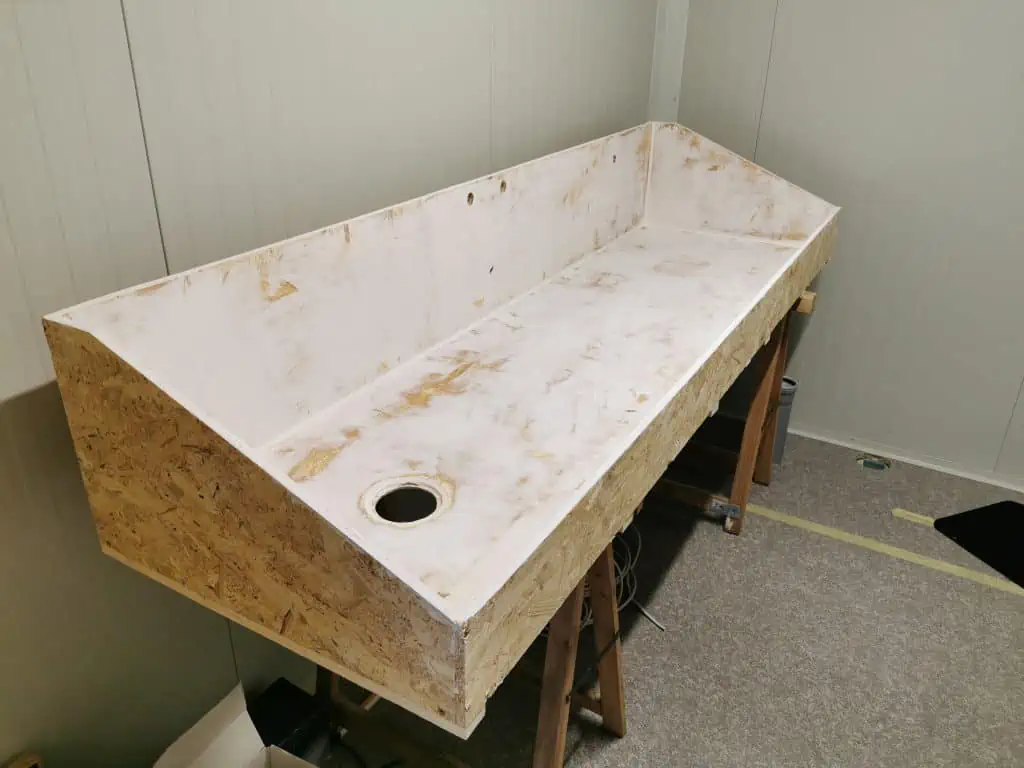
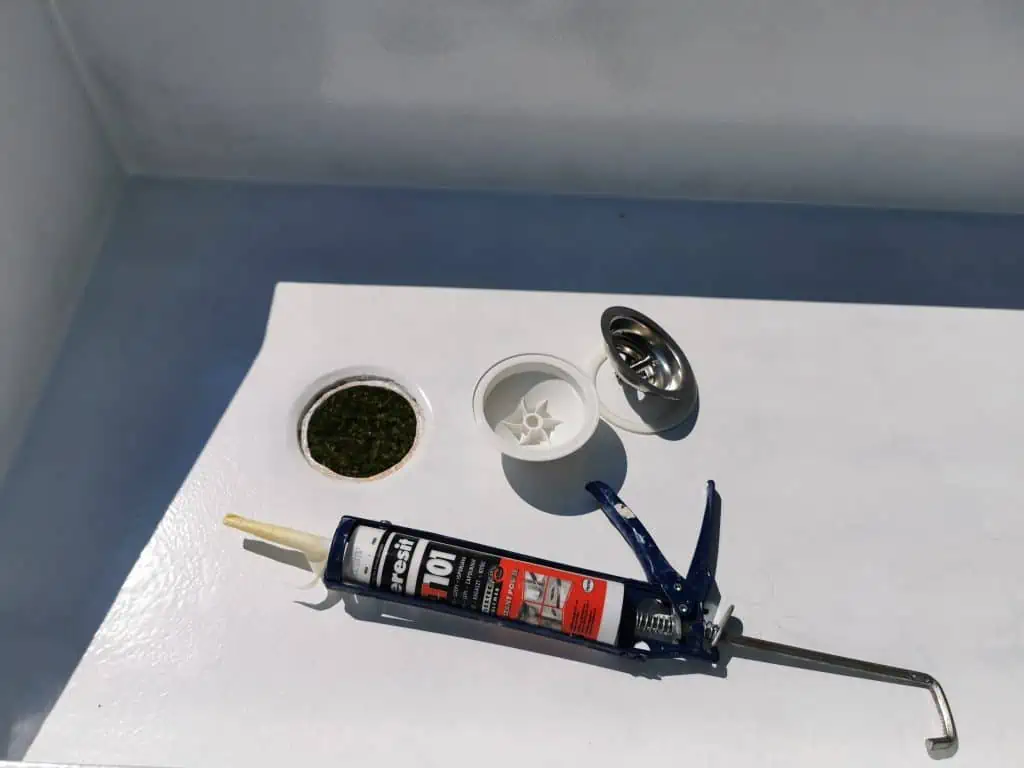
My advice to you would be to inspect carefully if all the parts where coated as epoxy will not bond if there is even a slighted amount of grease on the surface. After the last coat I left the sink to dry for 2 full days. During the wait I built a wooden frame to support the sink using 5x5cm slats for legs and spruce boards to keep everything together (exact sink plans can be downloaded here)
). Frame had a 1cm drop from one side to another so the water would flow towards the drain. Boards in the middle will also be used as a support for a shelf that will be underneath the sink which is still waiting to be installed. The lip of the sink together with the frame comes to the height of 114cm which is perfect for my height 185cm.
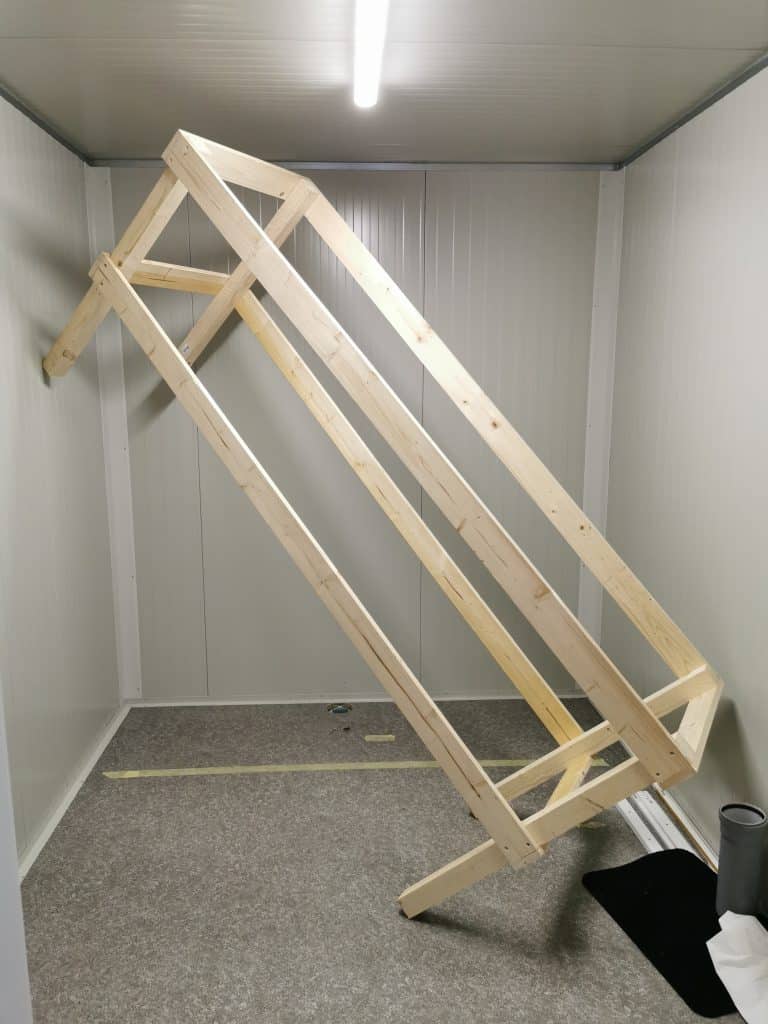

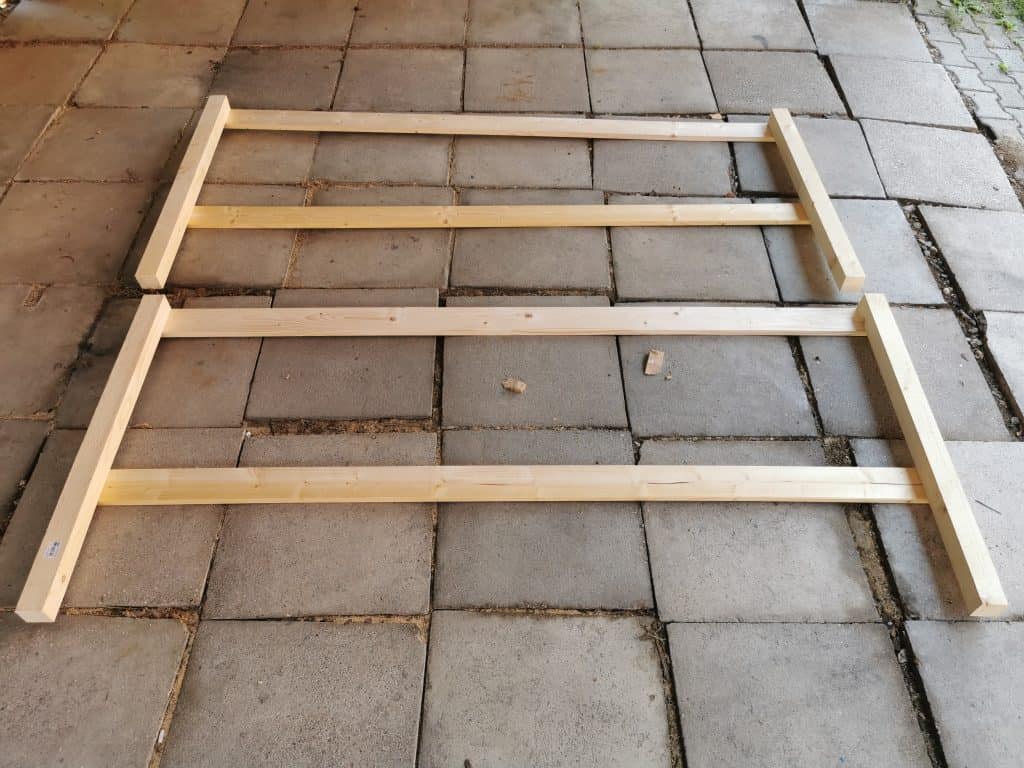
Sink had dried and it looked amazing. Perfectly smooth, 100% waterproof, nice and white…just waiting to be installed. First I tried to instal the frame but I just couldn’t get it into place. There is only a centimeter or two of a gap on each side and I just couldn’t turn it towards the back wall of the shipping container. After a bit of thinking I realised that the only way the frame would fit was If I unscrew in appart and screw it back when in place. After quite a bit of hustle it was waiting on the exact position for the sink. After having so much trouble fitting the frame in I was afraid that also the sink could not be maneuvered into place. Imagine that after working on it for a few weeks… Fortunately there was just enough room to get it to the right position.
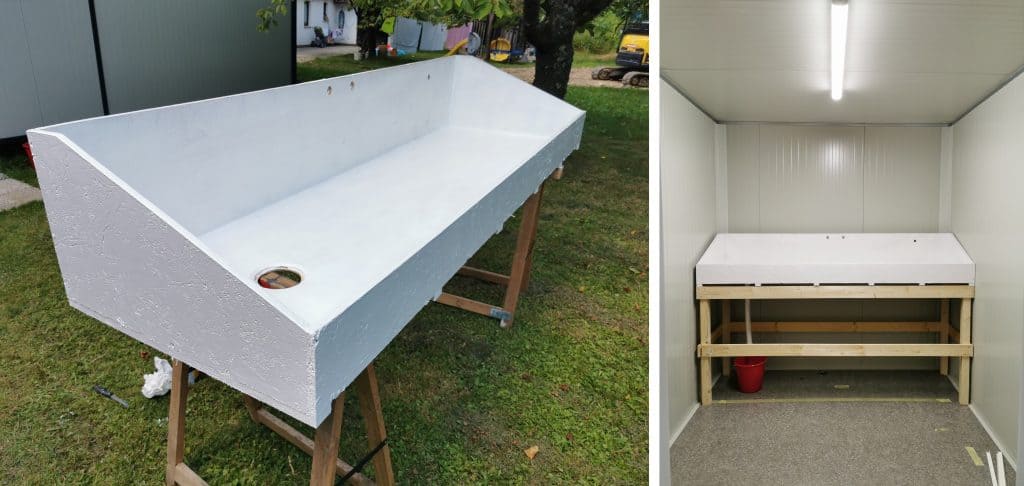
I will be testing the sink + installing the sink ventilation in the next post…
Thanks for reading!
PS:
I have also finally managed to set up my Patreon account for all of you that would like to support my work and see how everything is done. Thanks











Hello there, I am currently doing something like this, but I want to use fiber glass underneath the epoxy. I just read that sink becomes more waterproof like this. Am not sure though. One question. Can’t find the file you provided earlier, just curious how you managed the slope? I am having some trouble with this. Also what kind of glue you used to stick the OSB together. I am thinking of using screws without any glue at all, is that something you think I can do?
Thanks a lot.
Hey,
Sure putting down a layer of something that is stronger in long term is a good ideal like Fiberglas’s for example. Ie used screws to put things together mostly. Then the corners and the screw holes can be filled in with wood filler or even better car filler 😉