DARKROOM VENTILATION + SINK TEST / Container Darkroom part 5

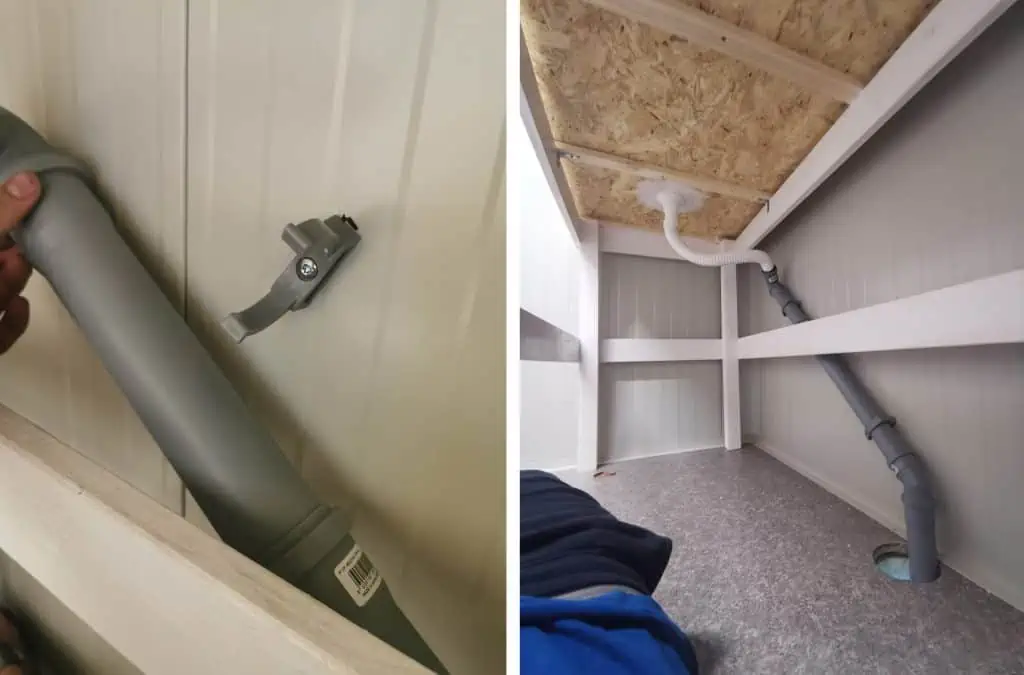
After finishing the sink in the previous post I had to try how it works. I am still waiting for the plumber to instal the taps, water heater…so I had to do it manually. I took a watering can filled it with water and poured a fair amount of water inside. Epoxy is behaving great and water flows straight to the drain. I started with a 1cm drop from one side of my 2m sink to the other but I think that the angle is too big so I will try to make it smaller. Drain is deep enough into the bottom of the sink that it catches all the water nicely. After this test I have also connected the drainage pipes to the main system and secured them to the walls of the container. From the sink to the back wall there is a 10cm gap so the taps could be connected.
Another thing that plays a very big role in every darkroom especially health vise is a good ventilation system. I have checked many different options from big industrial ventilators to simple bathroom vents and at the end decided to go for an inline fan. It fits a 10cm wide pipe so the intervention into the container was not too big. I decided for an inline fan because they are small, quiet (35db) and can create a big air flow for their size. Model I am using is a Vortice Lineo 100Q that costs 80eur here in Slovenia. I bought it a while ago so in the meantime I was thinking how + where to mount everything. I also bought a speed controller and on off switch that will be installed on the inside wall of the darkroom (this way I don’t need to open any doors to control it).
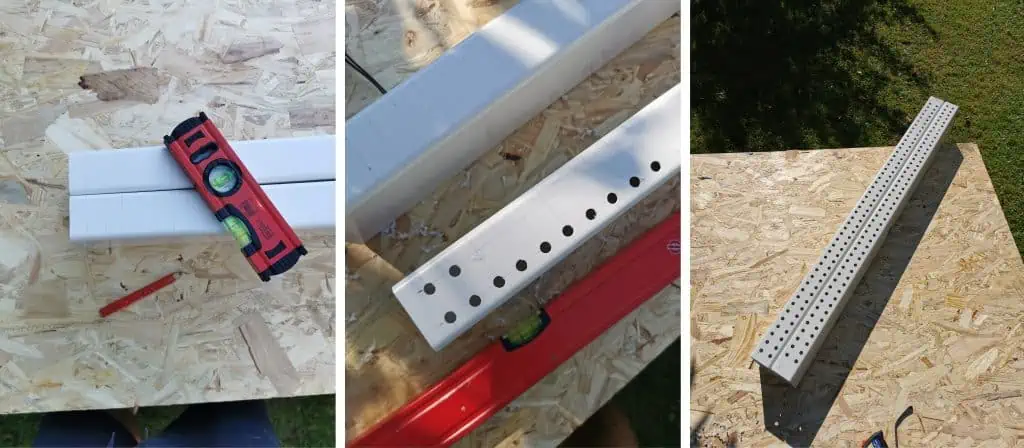
As I said, ventilation is very important especially for my work that involves many more or less hazardous chemicals. After checking many blogs and forum posts on the topic I knew that the ventilation needs to be installed right above the sink. In this case all of the fumes get sucked in before they reach the head of a person working. I had to design some sort of a unit that will sit on the top part of the sink and won’t interrupt with the taps and other hoses. As said the sink is 10cm away from the back wall which gave me enough space to instal the unit in between that will also serve as a shelf. So I was on my way to home dipo again where I surprisingly found exactly what I wanted. I bought 2x 2m long rectangular pipes that are 10cm wide and 4cm high and can connect to a normal round 10cm pipe with the help of an adapter. Things I bought as well were 1m long 10cm round pipe, a few wall mounts, 90 degrees elbow and the outside cover.
Exact sink plans can be downloaded here 🙂
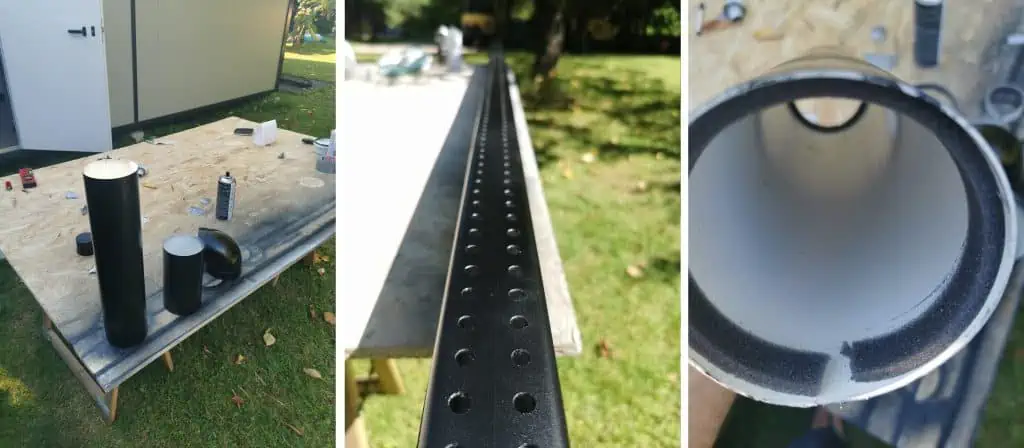
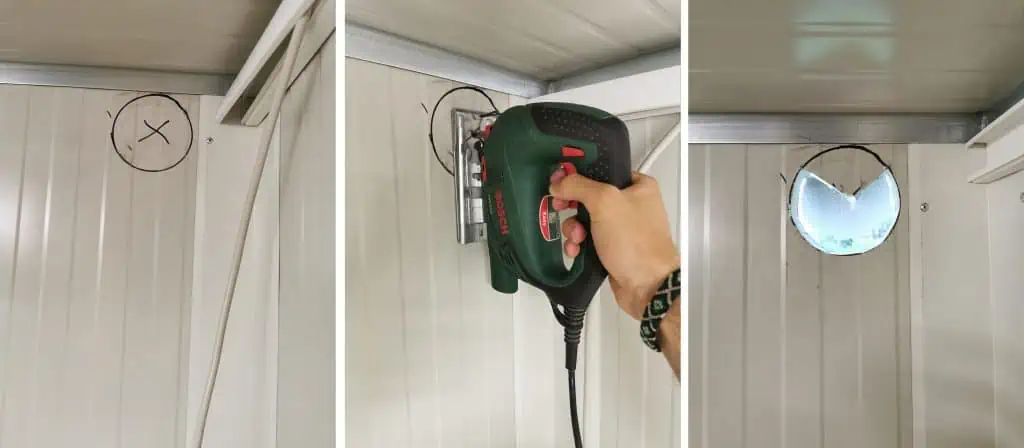
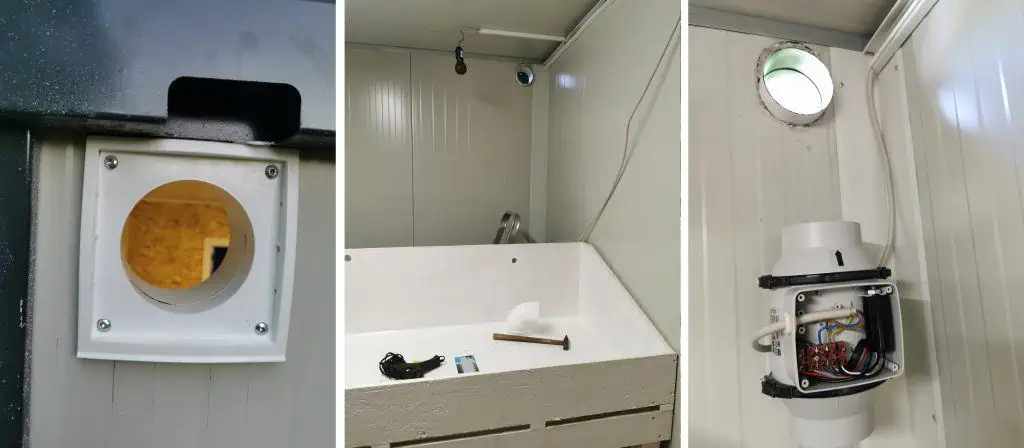
Before I could start assembling everything I first screwed the holders on the back of the sink on which the rectangular pipes will sit. These pipes had no hold in them so there I was making 200 holes total through which the fumes will be able to enter the vent system. For now I connected the two pipes with duct tape but it’s not working too well so I will probably have to fix it in the future. Now that I had all the parts ready there was the scary part of the installation waiting for me – drilling the hole thru the container. For the job I worked there the hole would be and then drilled a hole through it on the edge in which I was able to fit the jigsaw. Despite a huge amount of dust from the insulation of the container I managed to make a hole surprisingly easy. On the outside I mounted the outside cover and attached the first part of the pyping to it. Through the process I realised that the white pipes I bought are not the best in terms of blocking light (haha) so I spray painted everything black before I started. Also all the seams were taped with foam from the inside to insure a tight connection.
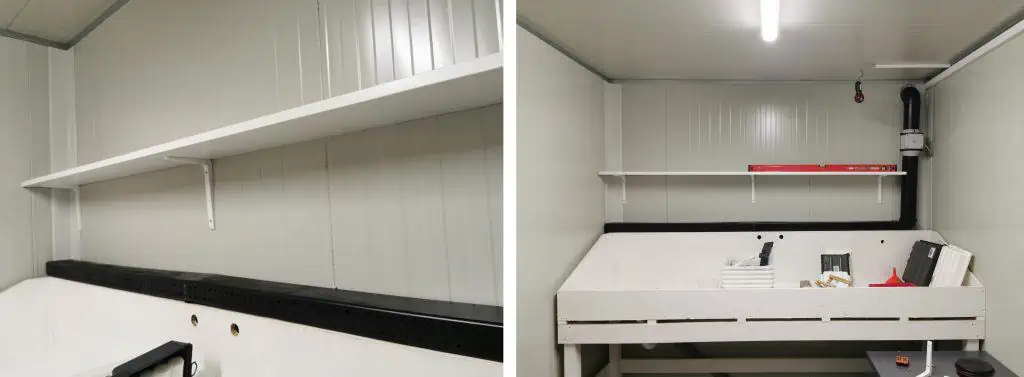
I screwed the inline fan to the wall and wired everything together with the regulator/switch which was quite a hassle. I don’t know if I mentioned it before or not but here in Slovenia we are at the peak of the summer at the moment with 35°C + so working in closed spaces without AC is like working in hell. The moment my brains started to boil I decided that the next thing I will do is instal an AC unit! Anyway back to the ventilation. I then connected all the pipes and tested the Ventilation. I have to say it works great, the only thing I am not very pleased about is that because of the design it has a much stronger air intake on one side than on the other. I could fix that by connecting the main hose to the middle but I think I will just instal another fan like that to the other side in the future.
There you go, I hope you enjoy reading my posts and get some useful information from it!
If you would like to see more content like this you are warmly invited to my Patreon page. Thanks


