


Building Professional Darkroom: Flooring, Painting, Ventilation, Lighting & Layout
It’s time for another update—and honestly, this one feels pretty special. After so many months of groundwork and invisible progress, the new Zebra darkroom is finally starting to look and feel real. I can walk through the space now and actually imagine working in it. It’s happening!
Tiling, Sealing, and Treating It Like a Bathroom
One of the biggest milestones lately was finishing the tile flooring throughout the darkroom. This was a key step for me, especially around the sink area, which will be used constantly. I decided early on to build this part of the darkroom like a bathroom—properly sealed and waterproofed—so it can handle heavy, wet daily use without any issues. It took a bit more time and effort, but I’m really glad I didn’t cut corners here. This darkroom is being built to last.


Painting the Doors Zebra-Style 🦓
We also installed all the windows and doors, which instantly made the whole space feel more finished. And yes—I couldn’t resist adding a bit of character: the main doors are now painted in bold Zebra stripes. It’s a small but meaningful touch, and now there’s no mistaking what kind of darkroom this is.
But the doors aren’t just decorative—we also built a massive removable wall section that acts as an access point for our new coating machine. This section of the wall can be unscrewed and moved aside, essentially becoming a giant, hidden entryway. Since the coating machine is huge—and won’t be going anywhere once it’s inside—it made sense to design something robust and semi-permanent. Let’s just say it’s not a one-person job… it takes four strong people to move the doors! Thankfully, that’s not something we’ll need to do more than once in the next few years. 😅


Blocking the Light—And Your Words on the Door
The darkroom itself is completely windowless, just as it should be. Since we’ll have a proper ventilation system, there’s no need for natural light—and no risk of light leaks ruining our work.
That said, there’s one small window left to deal with—on the main entrance door. This window leads to a short, sealed hallway we’ll use as an escape path, allowing us to enter and exit the darkroom in complete darkness. To keep the light out, we’ll be covering the window with black plexiglass or vinyl.
And here’s where I’d love your help:
What should we write on it?
The door is already painted with bold Zebra stripes, so this could be a fun space to add something playful, clever, or just uniquely Zebra. Should it say something like:
- “Welcome to the Darkness”
- “Zebra Zone”
- “No Light Beyond This Point”
- “Darkroom Magic Happens Here”
I’d love to hear your suggestions—drop them in the comments or message me directly! Let’s make it memorable. 🖤
Ceiling Insulation, Electrical Work, and Plumbing—All Done ✅
Another huge relief: the ceiling insulation is complete, and the upper floor is now fully prepped for future expansion. It feels great to know that we’ll have space to grow later—whether that’s for extra storage, a creative studio, or even a teaching area.
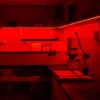
The electrical installation is now finished, including all the lighting setups (both red and white), outlets for the coating machine and drying cabinets, backup power, and more. Huge thanks to our electricians who somehow kept their cool through what looked like a tangled mess of cables. Plumbing is done too—valves, water lines, everything we need to make the darkroom truly functional is in place. And yes, I’ve already painted the darkroom walls, which instantly gave the space a clean, ready-to-work atmosphere.


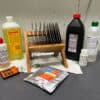
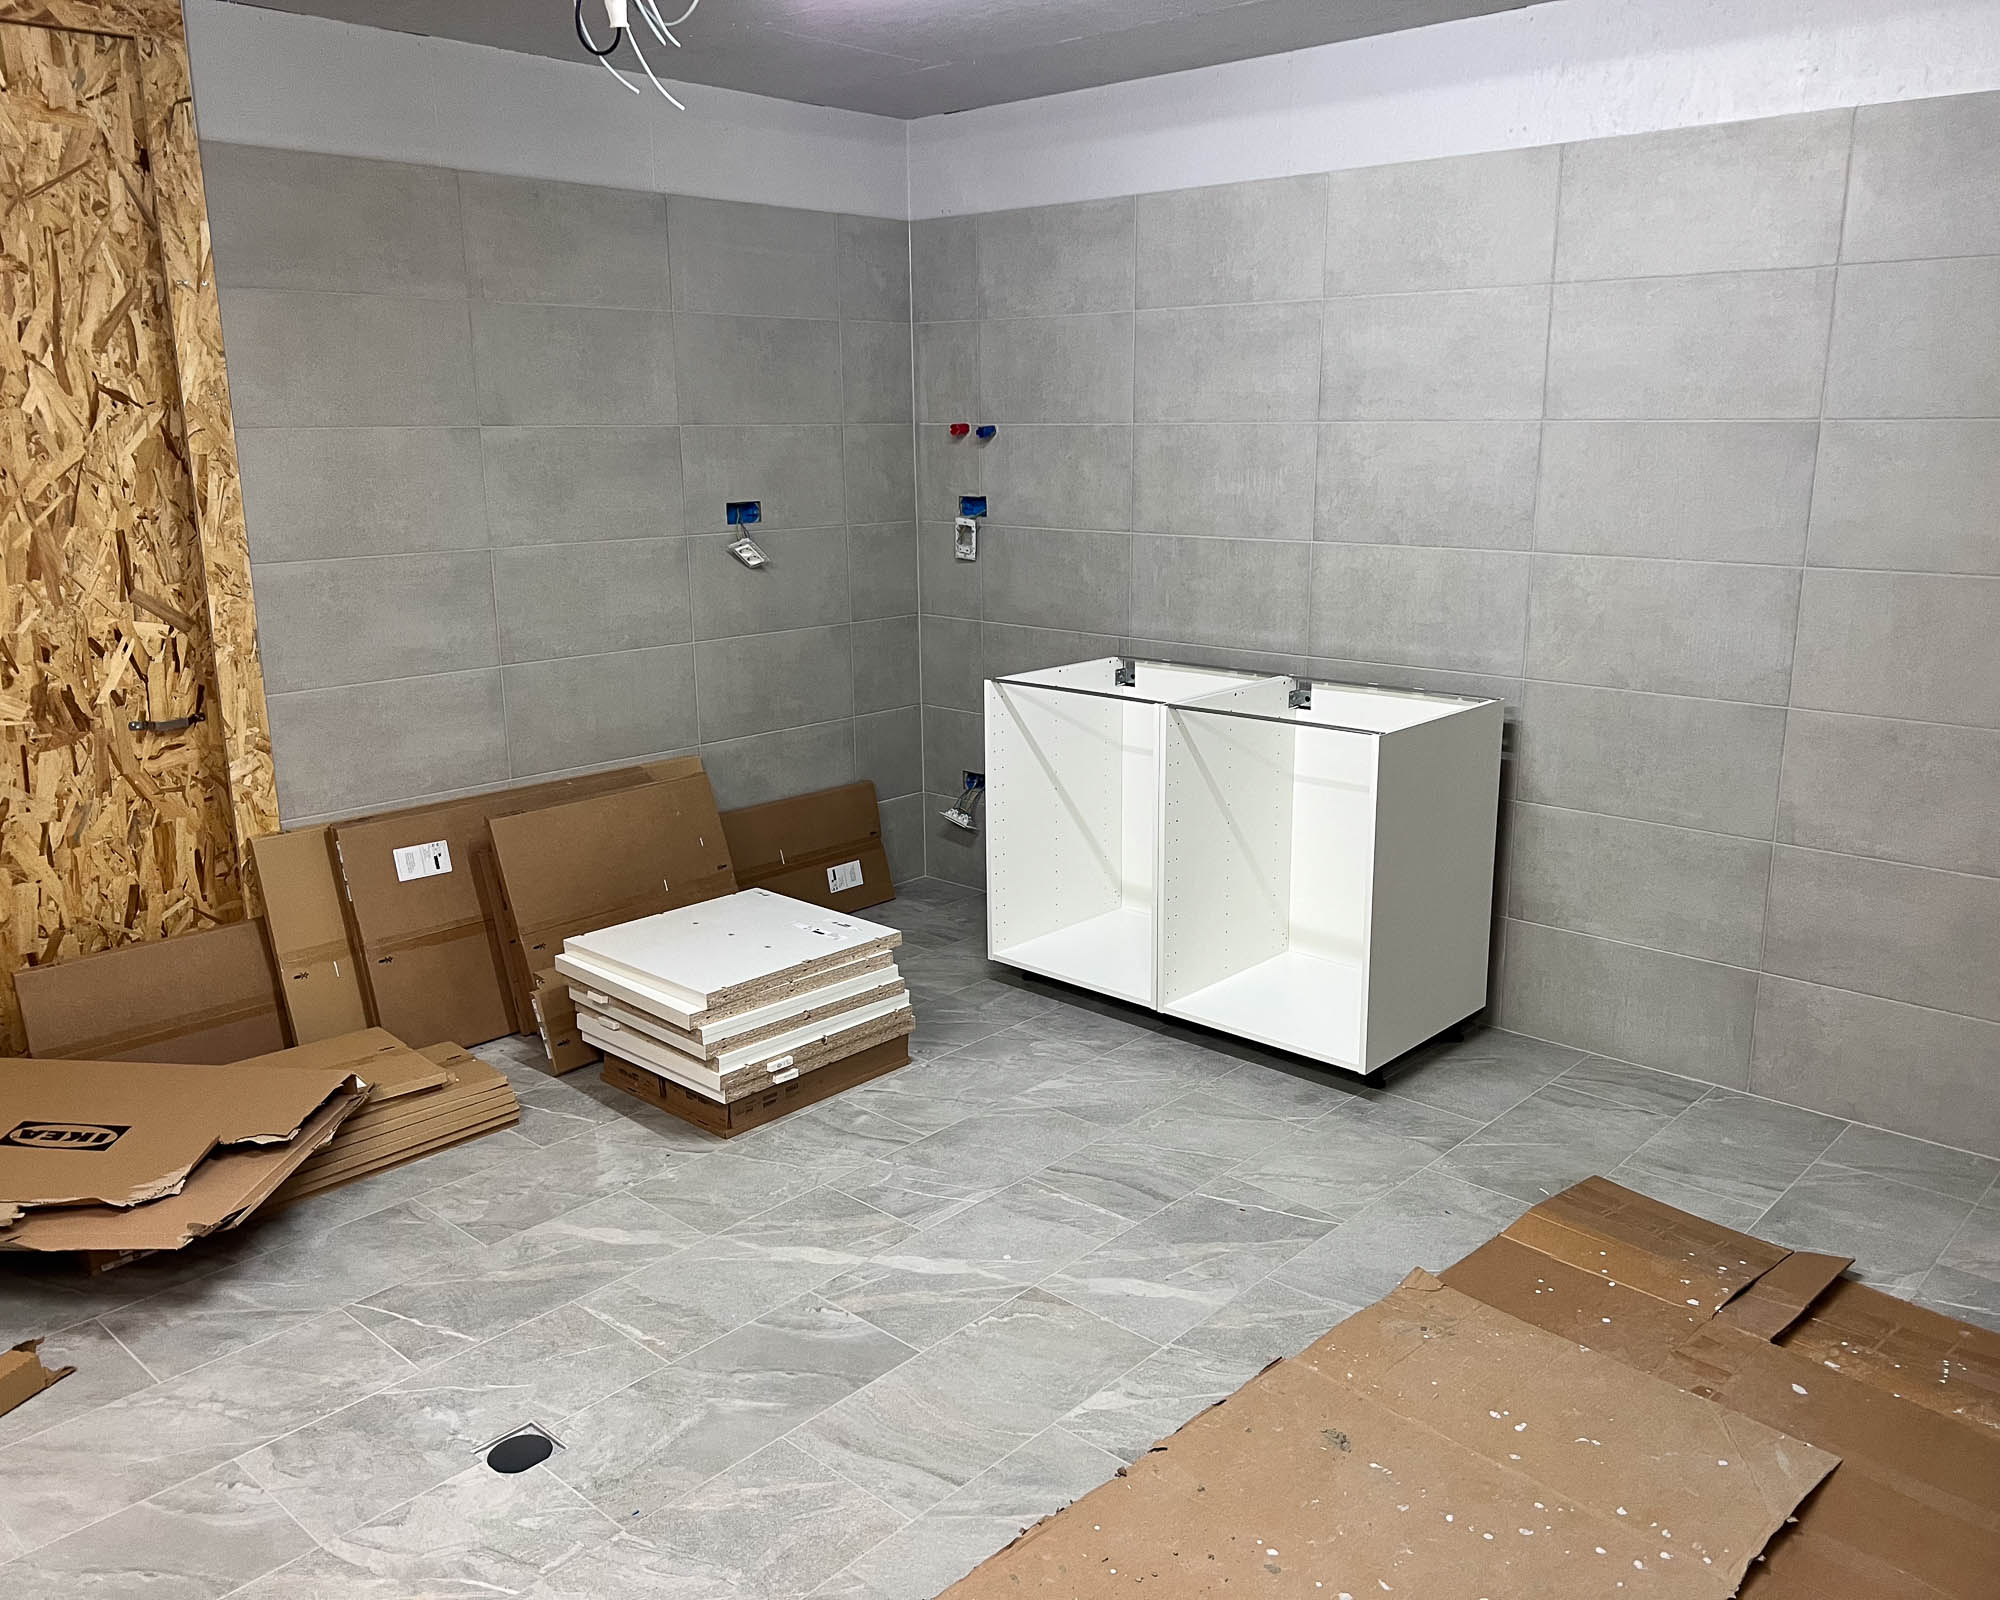
Cabinets, Counters, and All the Fun Details
ORight now, I’m in the process of installing kitchen-style cabinets, which will give us proper storage for trays, tools, and all the small things that make darkroom work efficient. After years of working out of a 6m² container, having space—and organized space, at that—is a total dream.
Next up, I’ll be:
- Fitting the darkroom sink
- Installing counters
- Mounting our custom safelights
- Wiring in all switches and outlets
- Powering the whole system
And of course, I’m really looking forward to finishing our custom-built rolling island table, which will serve as the centerpiece for workshops, online tutorials, and hands-on projects. It’s being built specifically for flexibility and ease of use—one of those “why didn’t I do this years ago?” kind of things.


Ventilation Incoming
The final key piece is the heat exchange ventilation system, which is already on its way. Since the darkroom is completely sealed (no windows, no light leaks allowed), proper airflow is crucial for both comfort and safety. This system will let in fresh air while keeping the room dark, quiet, and consistent—exactly what we need.
Almost There…
So what’s left before we can finally open the doors (the normal ones, not the four-man monster wall 😄) and start working?
- Finish custom safelight and outlet installation
- Power up the whole system
- Mount sink and counters
- Install the ventilation unit
- Move everything
- Organize gear and tools
- Final cleanup and testing
Building a Space for the Future
More than just a place to make plates, I’m trying to build a darkroom that’s not only highly functional but also visually inspiring. Since I plan to do a lot of filming, tutorials, and in-person teaching here, I want it to look as good on camera as it feels in person.
For the first time, I’ll have a dedicated space to host online workshops, film detailed process videos, and create new resources to help you dive deeper into dry plate photography—no matter where you are in the world.
This is more than a workspace. It’s the heart of the next chapter of Zebra.
🚀 Coming Soon: New Kickstarter for the Zebra Daylight Processing Tank
As the darkroom nears completion, we’re also getting ready to launch our next Kickstarter—this time for the Zebra Daylight Processing Tank!
It’s a clean, compact, and fully light-tight system that lets you develop plates anywhere, no darkroom needed. Perfect for field work, travel, or small home setups.
👉 Launching soon—subscribe early and get an exclusive gift with your pledge! Subscribe HERE.
Thanks so much for your continued support. You make innovations like this possible!
Thanks for Being on This Journey
None of this would be possible without you. Whether you’re using Zebra Plates, backing our Kickstarter, or simply sharing your photos with the world—you’re helping this community grow.
I’m so excited to share the final reveal with you soon—and maybe even host some of you here one day.
Until then, stay inspired and keep shooting.
Nejc