Autochrome step 1: 1st varnish
GLASS BASE
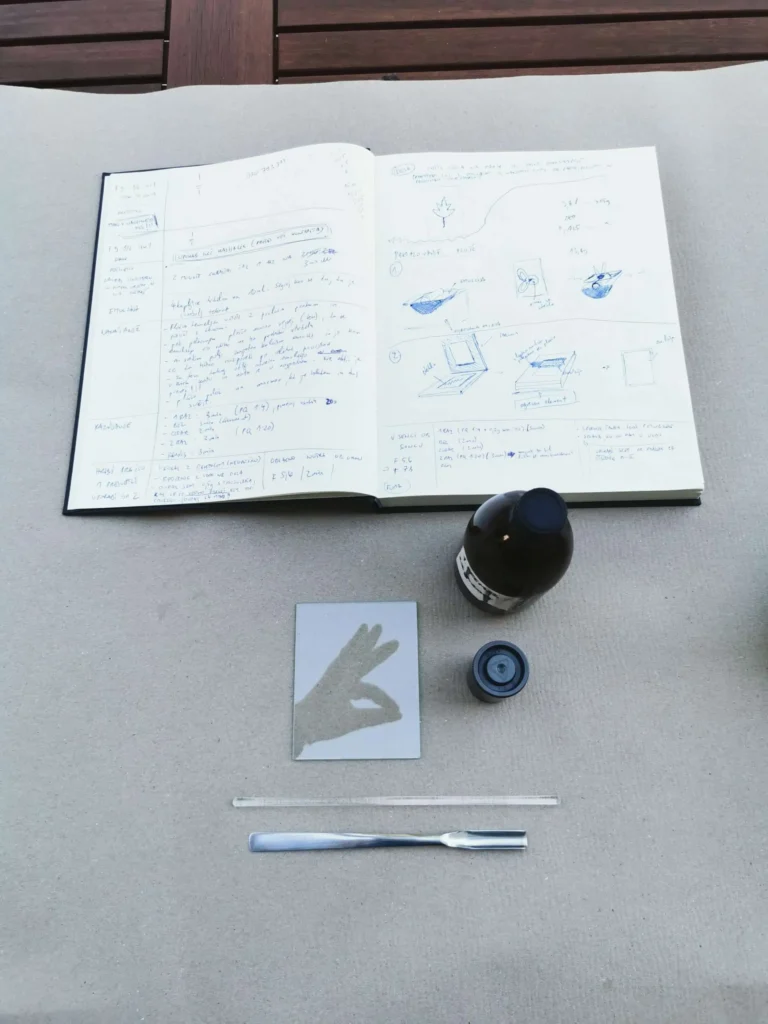
Before I start talking about 1st varnish I have to dedicate some words to support (glass) which serves as a base on which all the layers making up autochrome are coated. Many of you probably question what is there to talk about glass? When used for autochromes it serves not just as a support but it actually plays a role during exposure. Usually at lets say wet-plate or dry-plate photography plate is turned towards the lens in such a way that emulsion is directly pointing to the light source. With autochrome the plate is turned emulsion side facing away from the light source so the light can travel thru the glass,1st varnish, filter thru coloured screen, 2nd varnish and finally make a mark on emulsion.
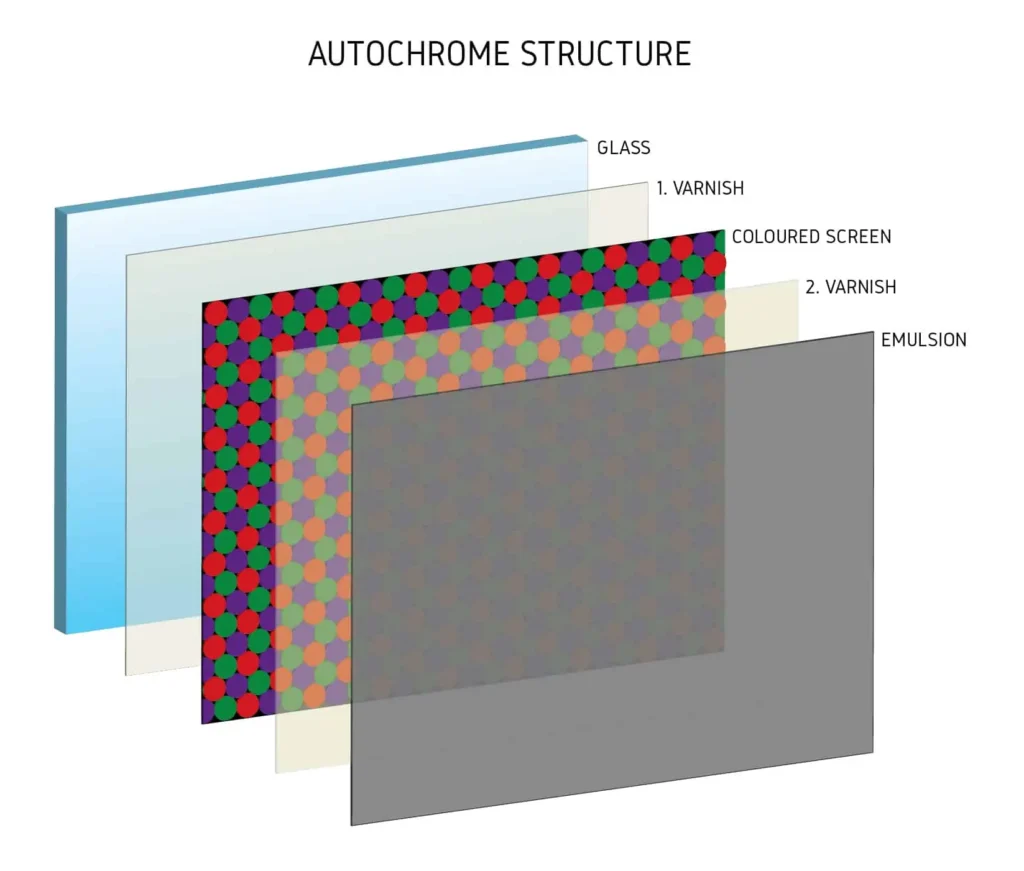
This means that the glass needs to be free of all imperfections which is not a problem today anymore but it was quite a hassle back in the days when original plates where being produced. Equally as important factor is the thickens of the glass. Autochrome requires glass as thin as possible so there is no diffraction when the light is being transmitted. Lets say if we take a thick glass and make an exposure with wide angle lens that projects the image in at a very sharp angles the light can distort when passing thru the glass and may not fall on the coloured particles at a 90 degree angle. This means that the mark on the emulsion is made on a different spot maybe even under the neighbour coloured particle which at the end results in lack of contrast and incorrect colours! With extremely thin glass we can easily avoid this kind of problems but it makes the whole process specially compressing the coloured screen almost impossible. This is why a good ratio has to be selected between glass being too fragile or being too thick which in my experience somewhere between 0,8 to 1,6mm. It needs to be cut to desired size and then its ready for applying the first varnish.
1st VARNISH
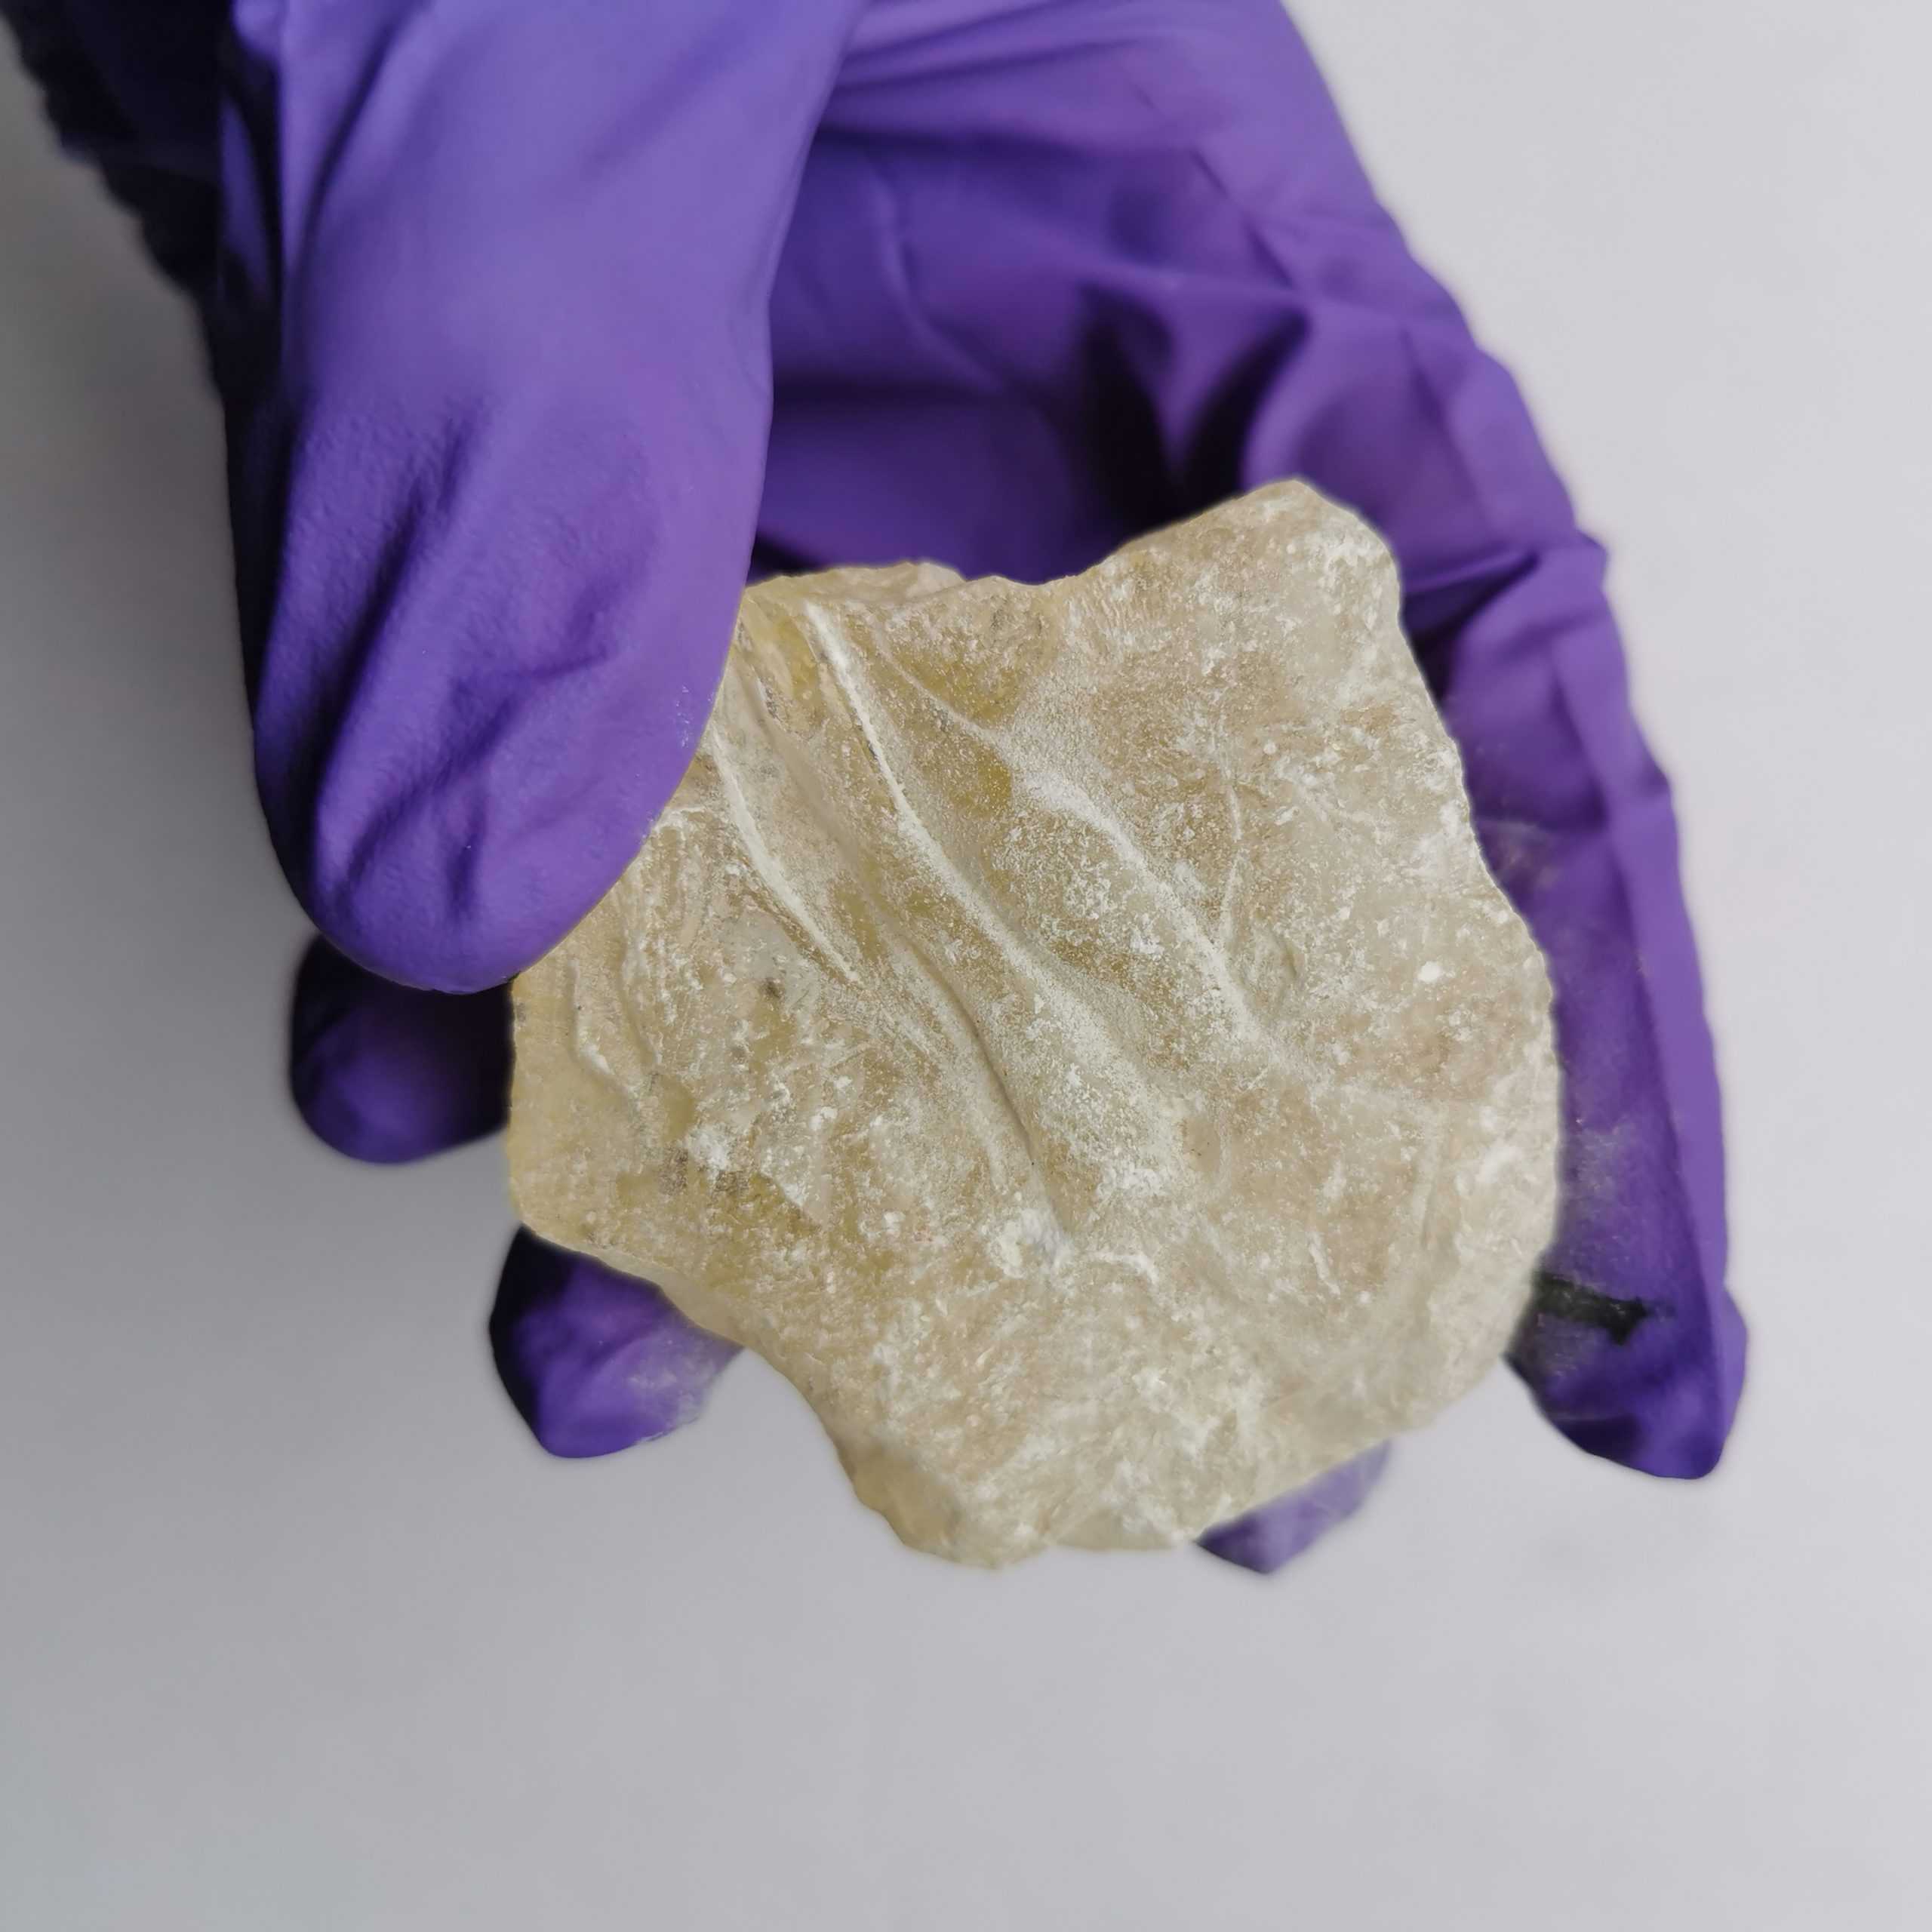
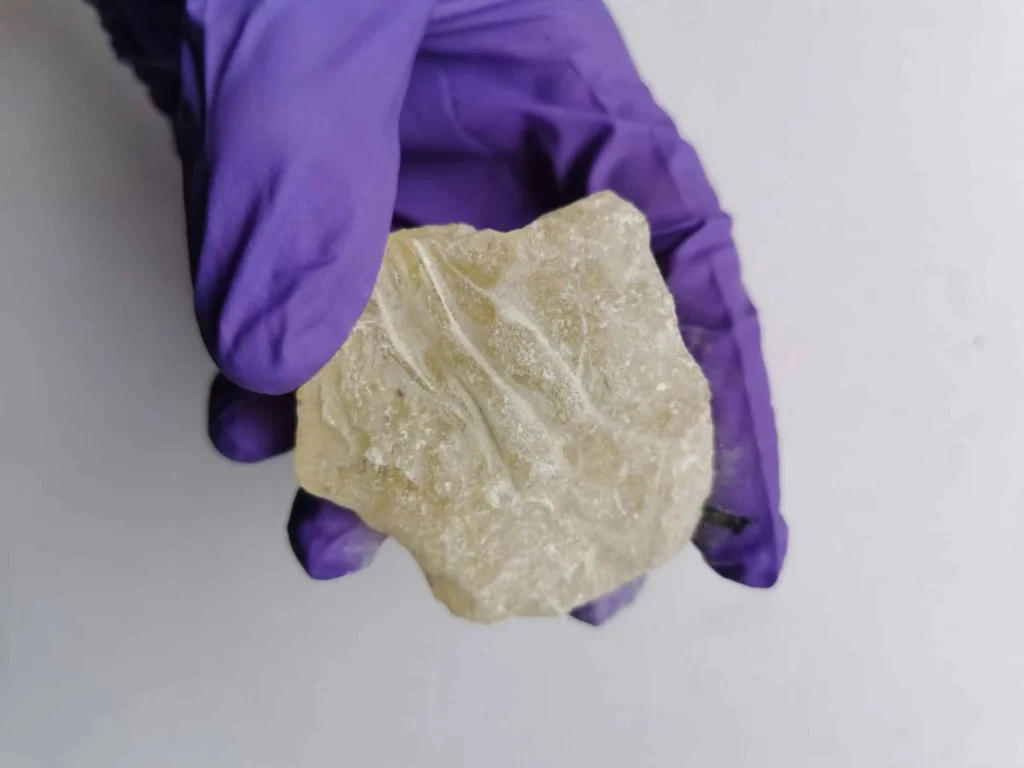
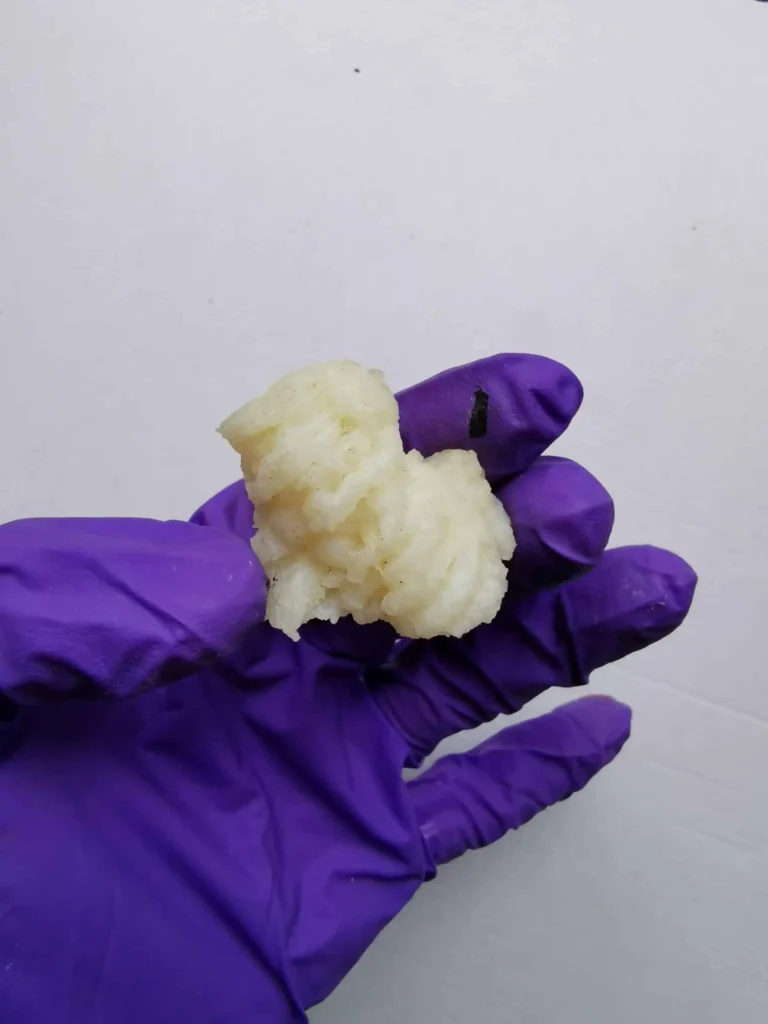
The main purpose of first varnish is to form a thin, clear but very sticky layer to which the coloured particles can stick and form coloured screen. When I made it myself I was surprised with how very basic ingredients can work so brilliantly well. In the original recipe the base of the varnish is latex dissolved in benzene(part A) to which the resene dissolved in benzene(part B) is added. Resene is the leftover of damar resin dissolved in ethyl acetate and gives the 1st varnish its sticky characteristics. The whole process of making the varnish is quite time consuming as all the ingredients take up to a few days to properly dissolve in the solvents. It is interesting to watch how a piece of natural rubber (latex) gets more and more swollen and clear each day until it is spread thru the whole jar. The only ingredient I have changed in my experiment was switching toxic benzene for more health friendly toluene and it worked great. When part A and part B are mixed together we get a bit thicker but still runny liquid that is perfect for hand coating and can be stored in a brown bottle for months.
Before I start to coat the plate it needs to be cleaned off all the dirt and grease. The most efficient cleaner is some sort of strong acid (hydrofluoric acid, nitric acid…). After cleaning a small amount of 1st varnish is poured on the middle od the plate and moved from corner to corner with tilting. Excess is poured back to the bottle and the plat e is ready for drying. Lumiere brothers did it with a special drying machine but I just dry it off with a help of a hairdryer. Also drying takes some practice because if the air flow is too strong puddles can form on the edges resulting in uneven coating. When drying you can see how the solvents slowly evaporate and leave a clear sticky layer behind.












You mention using hydrofluoric acid to clean the plates. I remember my chemistry teacher (in school) saying how horrible hydrofluoric acid is, as it can displace calcium in your bones and is generally extremely horrible. I also believe that it can etch glass. Can hydrochloric acid be used instead, it is also a much stronger acid than HF? I have seen people prepare plates using regular soap, is there an advantage to using acids like HF?
Thanks for putting so much work into this research and blog. This is an amazing resource.