


A New and Probably the Cheapest Way to Make Silver Gelatin Emulsion: Elio’s Story and Full Step-by-Step Tutorial
Every once in a while, a story finds its way into my inbox and quietly reminds me why I fell in love with photography in the first place. It happened again when a young photographer named Elio reached out to share an idea he had been working on. He had discovered a way to make silver halides using only materials found at home. There was no silver nitrate involved, no specialized equipment, only the wish to understand photography at its most fundamental level and to bring the process within reach for anyone who shares the same fascination.
As we exchanged messages, I began to recognize a familiar spark, the same one that drew me into this craft years ago. I invited Elio to share his story in full so that the Zebra community could learn from it, experiment with it, and perhaps take it even further. His journey begins with a childhood camera, winds through a school chemistry lesson, and leads to a working photographic emulsion created at home.
How Elio fell into silver photography
Elio grew up around cameras. His father always had one with him. When Elio was about ten, he somehow ended up with a Zorki 4K 35 mm rangefinder. They shot a few rolls that did not quite work, and the camera drifted into a drawer. For years, he tinkered with digital photography, driven more by curiosity than an urge to make art.
Last winter, a friend happened to mention that he had started shooting 35 mm film. That simple conversation was enough to bring the old Zorki back out of the drawer. As Elio began experimenting again, something quietly shifted. He found himself less interested in composing images and more fascinated by the way film. The darkroom drew him in, the chemistry even more so, and soon he wanted to understand every part of photography and make his own materials.
That said realization turned his curiosity into a mission.

The mission
Create a photographic emulsion from scratch using only household items or commonly available materials. Avoid silver nitrate and specialist equipment. Keep it accessible, affordable, and replicable for anyone who is curious.
Elio started studying every evening. Videos, documents, forums, and articles about black and white and color processes. He learned about developers, emulsions, and different films. A friend’s father who began his career in analog photography invited him into the darkroom. Together they developed and printed his first black and white films. That hands-on work confirmed the truth. Chemistry is what he loves most.
Then came the first wall.
The first wall: silver nitrate
The price of silver nitrate nearly ended the project. It was far beyond his budget, and proper lab glassware and tools were also out of reach. He paused, but he did not stop. He kept learning. He read about brands, processes, and the logic of emulsion making. He kept looking for a way in.
The spark came from a school chemistry lesson.

The spark: a redox lesson at school
In class they studied redox reactions. The teacher showed a piece of copper placed into a silver nitrate solution. Because silver is more noble, silver ions in solution take electrons from the metallic copper and plate out as silver metal. Copper goes into solution. The memory tool is OIL RIG. Oxidation Is Loss of electrons. Reduction Is Gain of electrons.
The core of silver halide preparation is to bring silver ions Ag+ into contact with halide ions such as Cl-. They form an ionic bond and precipitate as a light sensitive salt, for example silver chloride AgCl. With silver nitrate this is straightforward. Dissolve AgNO3 to get Ag+, add salt for Cl-, and you have AgCl. Without silver nitrate, you need another path to Ag+.
That thought stayed with Elio.

Building a simple reactor to create Ag+ at home
Electrolysis became the idea. Put a silver electrode in a mild salt solution along with an inert counter electrode, and drive a direct current through the bath.
The setup
- Electrolyte. Water with table salt at about 1 to 2 grams per liter. This provides conductivity and Cl- ions.
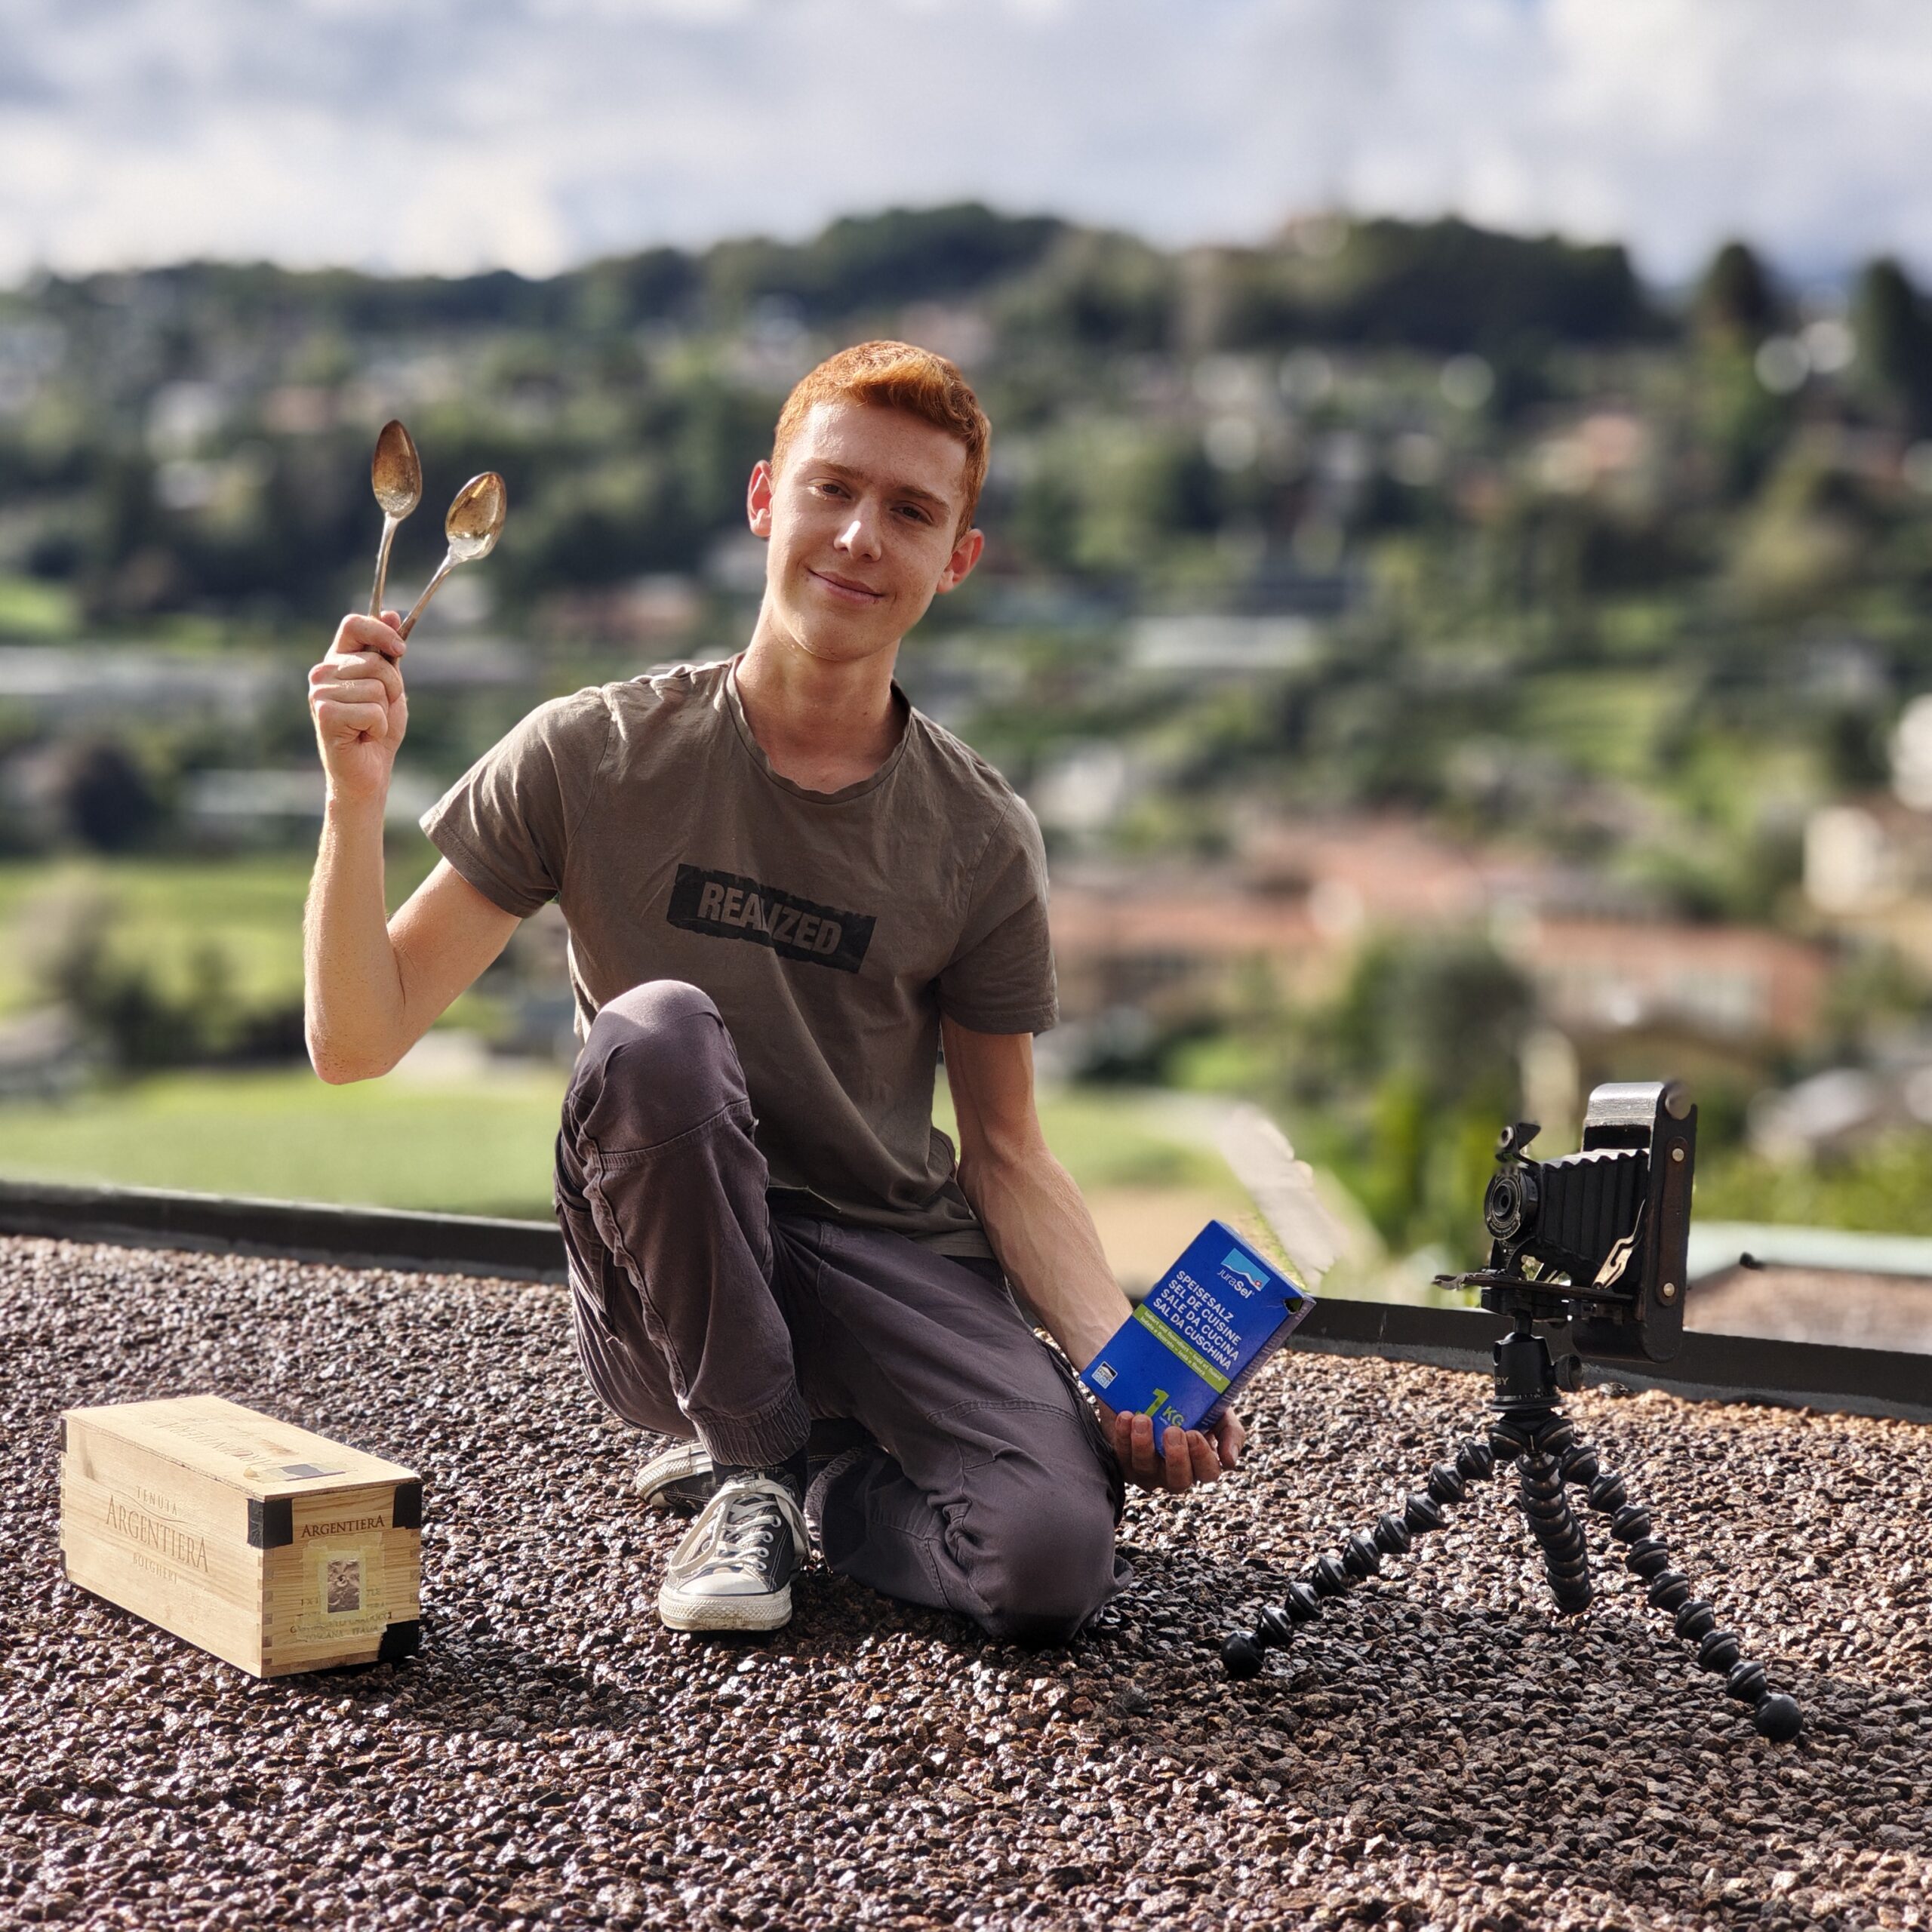
- Anode. Silver. Elio began with silver plated cutlery since it was available.
- Cathode. Graphite from a pencil, chosen to be inert.
- Power. A small adjustable DC power supply with clip leads.
- Light discipline. Once precipitation starts, switch to safe light because AgCl is sensitive mainly to UV, violet, and part of blue light.
Connections and what happens
- Positive leads to the silver anode.
- Negative leads to the graphite cathode.
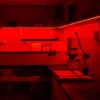
- Electrons flow from the cathode to the power supply. At the anode, silver loses electrons and becomes Ag+. Those Ag+ ions meet Cl- in the water and instantly form silver chloride AgCl, which appears as a milky suspension.
Elio’s first trials were done outdoors on his balcony. The water turned milky. It was working.


Early variables, discoveries, and exact numbers
- Salt concentration
Elio found that the reaction only proceeds properly around 1 to 2 grams of NaCl per liter. Above that, the silver surface darkens and the desired reaction stalls.
- Voltage and current
At about 3 volts the reaction works but is very slow because small electrodes pass limited current. Production can be increased by enlarging electrode surface area, reducing the gap, or raising voltage. Elio has worked as high as 24 volts DC. That is faster but requires caution around water and electricity.
- Electrode maintenance
AgCl deposits on the silver anode. If left in place, it passivates the surface. Regular agitation, tapping the anode against the jar, and occasionally scraping off buildup keeps the reaction active.
- Safe light
Since AgCl is primarily sensitive to UV and violet, work in safe light conditions once precipitation is visible to prevent fogging.
Three major issues and how he solved them
1. Contamination from plated cutlery
When the thin silver layer wore off, the base alloy began dissolving and introduced copper chloride, zinc chloride, and other contaminants. These are harmful to the environment and can degrade emulsion quality.
- Solution: Monitor the anode and replace it before the plating is gone. Use pure silver when possible.
2. Self reduction of silver halide at the cathode
Suspended AgCl crystals that touch the cathode receive electrons and reduce to metallic silver. That is essentially unwanted development inside the reactor and makes the halide unsuitable for emulsions.
- Solution: Wrap the cathode in a coffee filter and secure it with rubber bands to prevent direct contact. Keep gentle circulation so particles do not sit on the cathode.
3. Chlorine gas formation
If polarity is reversed or if the anode passivates under a dense AgCl layer, chlorine gas can form from Cl- ions. The smell is unmistakable. Graphite does not form stable chlorides, so under the wrong conditions it can drive Cl2 evolution.
- Solution: Maintain correct polarity, scrape and agitate the anode to prevent passivation, and always work outdoors or in very well ventilated space.
Extra note on gases
Hydrogen bubbles at the cathode are expected and flammable, but volumes are small. Even so, avoid sparks and keep the area ventilated.


Safety you must read before attempting
- Ventilation
Perform electrolysis outside or under strong ventilation. If you smell chlorine, stop and correct the cause.
- Electricity and water
Treat 24 volts DC in conductive liquids as hazardous. Keep hands dry, use insulated clips, remove jewelry, and avoid accidental shorts.
- Waste handling
Collect all spent electrolyte, rinses, and scrapings. Do not pour them down the drain. Take them to a local hazardous waste facility. Copper and zinc salts are harmful to aquatic life.
- Light
After AgCl forms, keep illumination low and work under safe light to reduce fogging.
- Glass handling
Use gloves and mind sharp edges.
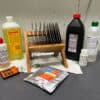
Materials checklist
- Anode. Pure silver is best. Silver plated cutlery works for short periods if carefully monitored.
- Cathode. Graphite rod or another piece of silver.
- Jar or beaker. Glass or plastic, cleaned before use.
- Power supply. Adjustable DC preferred, with clip leads.
- Sodium chloride. Plain table salt. If available, potassium bromide can be tested for bromide emulsions using the same approach.
- Coffee filters and rubber bands. To wrap the cathode and for filtration.
- Stirring tool. Plus a way to agitate or tap the anode.
- Syringe or turkey baster. For decanting the supernatant.
- Gelatin. Photographic grade if possible. Food grade sheets can work with adjustments.
- Thermometer and a way to hold 60 C steadily.
- Clean glass plates, subbing solution if desired, and coating tools.

Step by step procedure in full detail
- Prepare the electrolyte
Mix 1 to 2 grams of table salt per liter of water in a clean jar. Fill to roughly three quarters.
2. Prepare the electrodes
If using a silver ingot, attach a wire securely and cover any exposed copper with hot glue so copper does not touch the solution. Wrap the graphite cathode in a coffee filter and secure it with rubber bands. Clip the cathode to the rim of the jar so it stays fixed.
3. Connect power
Positive to the silver anode. Negative to the wrapped graphite cathode. Double check polarity.
4. Control light
As soon as the solution begins to go milky, switch to safe light. AgCl is mainly sensitive to UV, violet, and part of blue.
5. Run electrolysis
Start at a low voltage. Confirm bubbles at the cathode and milky AgCl formation at the anode. If needed, increase voltage to raise current. Keep the anode moving or tap it gently against the jar to shed AgCl buildup. If a dense sheet forms, scrape it off. If using plated cutlery, replace it before the plating wears through.
6. Settle in the dark
When the liquid is sufficiently milky, stop the power. Let the suspension settle for at least 24 hours in the dark. The supernatant should clear.
7. Decant carefully
Use a syringe to remove the clear water, taking care not to disturb the fine crystals. Leave enough liquid to reach a workable concentration. As a guide, a final emulsion in the range of 20 to 50 grams AgCl per liter is reasonable, but you can adjust.
8. Estimate yield quantitatively
Weigh the silver anode before and after the run. The mass loss in grams multiplied by 1.34 approximates the grams of AgCl formed. This factor is the molar mass ratio of AgCl to Ag.
9. Add gelatin
If using photographic gelatin, follow the supplier’s recommendation. If using food grade sheets, Elio suggests 100 to 170 grams per liter. More gelatin increases stickiness and can cause swelling and lifting in development, so tune to your workflow. Bloom the gelatin, then warm gently until fully melted and combined.
10. Ripen
Hold at about 60 C with constant stirring for 45 to 60 minutes to promote Ostwald ripening. Smaller crystals dissolve and feed larger ones, which improves sensitivity.
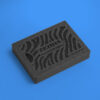
11. Set and inspect
Allow the emulsion to set. Once firm, check the bottom. If you find coarse aggregates or unreacted pieces, trim that layer away to avoid specks.
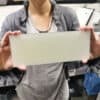
12. Coat plates
Use your preferred coating technique. To practice without wasting silver, make a training gel by substituting flour or food dye for salts so you can visualize flow and thickness. Skim bubbles, control dust, and aim for consistent thickness. Albumen subbing improves adhesion. Taping plate edges helps prevent developer from creeping under the emulsion.


Exposure data and shooting notes
- Speed
Approximately ISO 0.07.
- Exposure guide
Around 10 minutes at f 11 in strong midday UV.
- Best time window
Roughly 12 00 to 17 00 local time when UV radiation is strongest.
- Dynamic range
Very low. Expect silhouette like results with bold shapes and high contrast.
- Practical tip
Check UV conditions in your area. Outside this window exposures lengthen dramatically.
Cameras used so far
- A homemade pinhole camera built from a wine box. It had a focal length near 280 mm with an initial effective aperture near f 560, later improved to about f 140. It was still very slow.
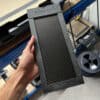
- A modified Kodak Hawkeye No. 2B with an approximate f 11 working aperture. Plates were taped to the back and the body wrapped in aluminum foil to control leaks. This worked surprisingly well.
- A new build. Elio designed and 3D printed a basic camera using a random lens found at home. It accepts his plates at 110 by 90 millimeters. Testing is waiting for better weather. Photos are attached.


Development and fixing with household items
Developer that worked for Elio
- Vitamin C 10 grams per liter
- Baking soda 40 grams per liter
Always dissolve the baking soda in water first, then add Vitamin C. Mix right before use, since ascorbic acid developers oxidize quickly and lose activity. Earlier trials with standard caffenol stained the plates brown, which made assessment difficult. The Vitamin C plus baking soda formula produced clearer results.
Fixing that fits the home setup
A saturated saltwater bath can fix silver chloride plates if given sufficient time. Plan for overnight and possibly a bit longer. It is slow but matches the household materials goal. If you later adopt a conventional fixer, keep it clearly separate and label it to avoid confusion.
Washing and drying
- Rinse thoroughly after development and fixing to remove residual salts.
- Dry in a dust controlled space.
- Consider a hardening step only if handling requires it.


Practical tips and small but important details
- Use pure silver if possible. Plated pieces work only briefly and can contaminate the bath.
- Keep the cathode wrapped to prevent self reduction of halide crystals.
- Agitate and occasionally scrape the anode to prevent passivation and chlorine generation.
- Subbing the glass with albumen improves gelatin adhesion.
- Tape the edges of dry plates to block developer creep and reduce lifting.
- Perform safe light work once AgCl appears to reduce fogging.
- For practice without wasting emulsion, train with a gelatin plus flour or food dye mock emulsion.
- Basic digital post processing on scans can boost contrast and show more of what the plate captured.
Troubleshooting checklist
- No milky suspension forms
Check polarity. Verify NaCl concentration is near 1 to 2 grams per liter. Reduce the gap between electrodes. Increase voltage modestly. Confirm the anode is actually silver. - Strong chlorine smell
Stop immediately. Verify polarity. Clean AgCl crust from the anode. Improve agitation and ventilation. - Crystals darken in the bath
Ensure the cathode is fully wrapped in a coffee filter. Increase the distance between electrodes. Reduce voltage if aggressive. - Emulsion lifts during development
Reduce gelatin concentration or add a subbing layer such as albumen. Tape edges. Avoid prolonged soaks that over hydrate the emulsion.
- Specks or coarse grains in coatings
Trim away the coarse bottom layer after setting. Filter if needed. Scrape the anode to avoid large flakes entering the emulsion.

Why this matters
This is not only an alternative way to make silver halides. It is a path that lowers the barrier to learning real emulsion chemistry. Many are discouraged by the cost of silver nitrate and lab gear. Elio’s method uses silver metal, salt, patience, and care. It is not yet fast or high in dynamic range. It is, however, a meaningful doorway for learners who want to understand photographic materials from the inside.
From here the community can iterate. Explore potassium bromide or mixed halides. Design better wrapped cathode holders. Refine concentrations, temperatures, and ripening schedules. Improve coating technique. Share exposure data. This is how a rough idea becomes a reliable method.
A final word and an open invitation
Elio’s curiosity and determination are contagious. He began with a family camera, learned from a school chemistry lesson, tested on a balcony, built a pinhole, modified a Kodak box camera, and even designed and 3D printed a camera that fits his 110 by 90 millimeter plates. He created a working emulsion with silver, salt, gelatin, and patience. I am grateful he shared all of this with us.


If you have a project, a process, or an experiment like this, I am always happy to share a story of anyone like this here on the Zebra blog so others can learn from it too.
Thank you, Elio, for your generosity and spirit. I cannot wait to see the first images from your 3D printed camera when the weather clears!
A wonderful achievement, keep up the great work.
Wow, thank you for this opportunity! It means a lot to me. I wish I will be able to improve the process and the emulsion itself and update you. It hasn’t been easy as I didn’t have any starting point.. but somehow it worked.
Again tank you very much for dedicating me a post here!
Elio
This is really interesting. I defo want to try it. Thanks for sharing.
Hi Elio, hi Nejc,
what a great story! 🙂
As a people wetplate photographer, I used to get annoyed that my process only has about ISO 0.5. And digital photographers are always asking me how I manage with that. But it works, and I’ve adjusted.
Even less? Hats off to your patience, and I hope you continue to enjoy your process. 🙂
Karsten
well done – could you clarify some points please – in stage 8 you state to add gelatine, is this the gelatine which has bloomed and then made to a 10 to 17 percent solution, this is normally at 40 to 42 degrees C – so how much of the silver chloride solution is added to a liter of gelatine – – in stage 9, the other point is the temperature for ripening to be held at 60 degrees C for about 45 minutes – will the gelatine not be damaged as this over 52 degrees C
At that stage I got a solution of water with a suspension of AgCl crystals. Based on the volume of this solution I calculate the amount of gelatine to add.
Then I mix dry gelatin directly in the solution and I let it bloom and then melt.
For the ripening, I never got any problem holding the gelatine at high temperature, anyway you could rip the solution before add the gelatine, that doesn’t make any difference.
Bye✌️😀
Excellent work! Keep going! Thanks!
Incredibile come ci si possa appassionare alla storia che si cela dietro alle comodità di cui godiamo oggi i servizi: in questo caso la magia della fotografia. Riscoprire le intuizioni e le alchimie che l’hanno resa oggi un insostituibile strumento per tracciare la nostra vita a 360 gradi.
Grazie Elio per il tuo impegno nel volerci mostrare come poter ripercorrere la magia della fotografia!