










The Complete Guide to Zebra Direct Positive Photography
Table of Contents
Welcome
Welcome to Zebra Direct Positive Photography.
Whether this is your very first experience with alternative photography or you’ve been working with large format cameras for decades, we’re delighted you’ve decided to explore one of the most rewarding photographic processes available today.
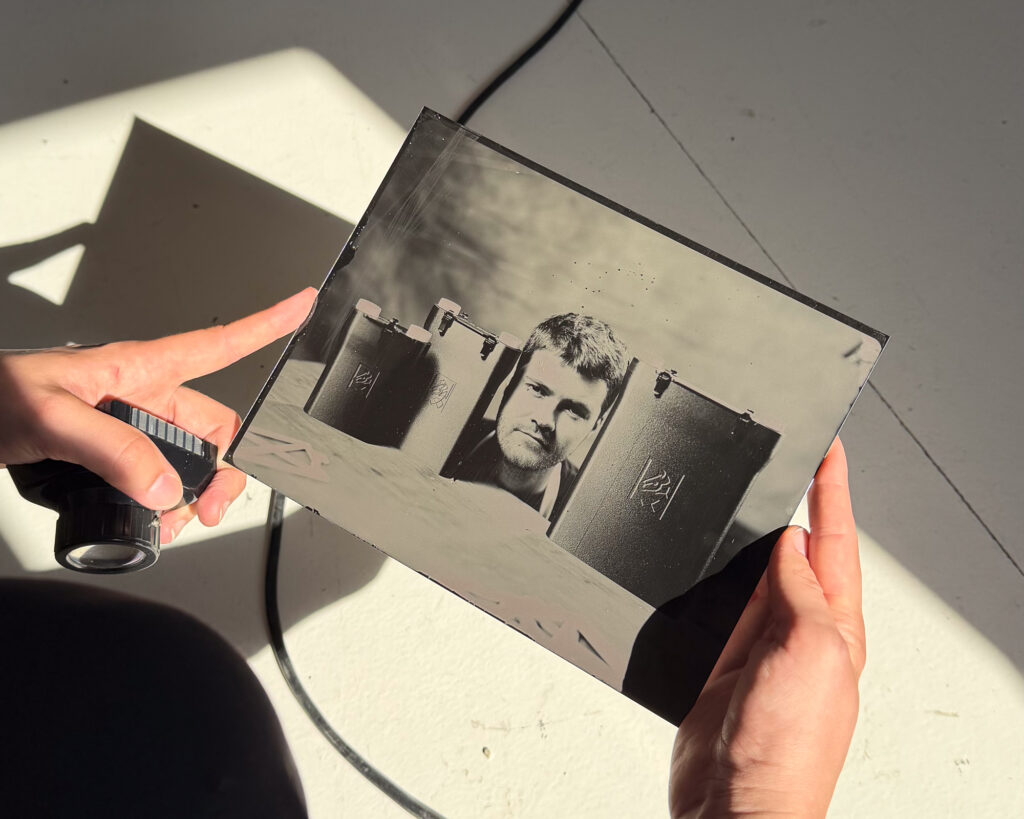
Unlike a film negative that requires printing, or a digital file that can be copied endlessly, every Zebra Direct Positive Plate is a unique photograph. The finished image exists only once, formed from real silver suspended within a gelatin emulsion and viewed directly on black anodised aluminium or black glass. Every exposure produces an original piece that cannot be perfectly replicated.
Although the appearance is reminiscent of historic tintypes and ambrotypes, Zebra Direct Positive Plates are a thoroughly modern photographic material. They arrive fully coated, ready to expose and require no silver nitrate bath, portable darkroom or last-minute plate preparation. Simply load the plate, make your photograph and develop it whenever it suits your workflow.
This guide has been written to help you achieve the best possible results from your plates. Rather than simply listing exposure times and chemical formulas, we’ll explain what is happening throughout the process, what you should expect to see during development and why each recommendation matters.
Over the years we have exposed and processed hundreds of experimental plates while changing one variable at a time. Different developers, complexing agents, temperatures, fixing baths and development times have all been carefully evaluated to better understand this fascinating process. Everything you’ll read in this guide is based on those experiments as well as feedback from photographers around the world using Zebra Direct Positive Plates every day.
Whether you simply want to produce your first successful direct positive or enjoy experimenting with every aspect of the chemistry, we hope this guide gives you the confidence to explore the process and make it your own.
Let’s get started.
Quick Start
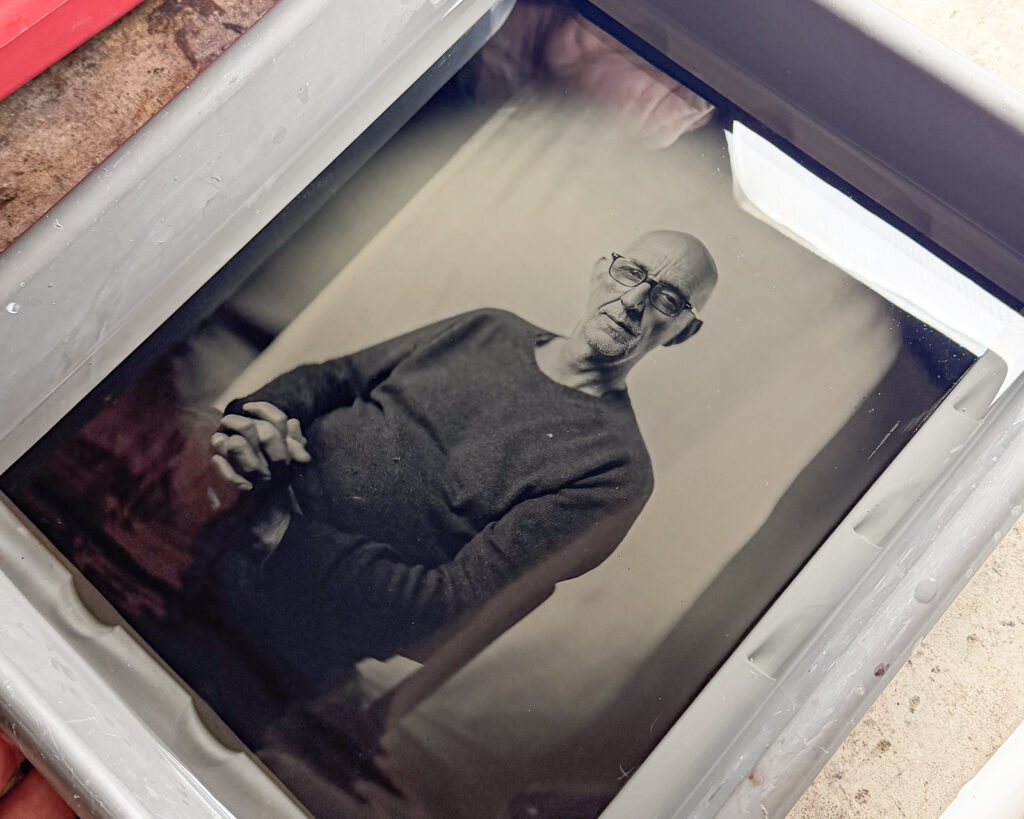
If you’re eager to make your first direct positive, follow the workflow below. Every step is explained in much greater detail throughout this guide, but this page provides a simple overview that will get most photographers started successfully.
1. Store Your Plates
Keep unopened plates refrigerated at approximately 13°C or below. Before opening the package, allow the plates to slowly reach room temperature while still sealed. This prevents condensation from forming on the emulsion.
2. Load the Plate
Under a suitable red safelight, remove one plate from the protective packaging and load it into a Zebra plate holder with the emulsion facing the lens.
3. Meter the Scene
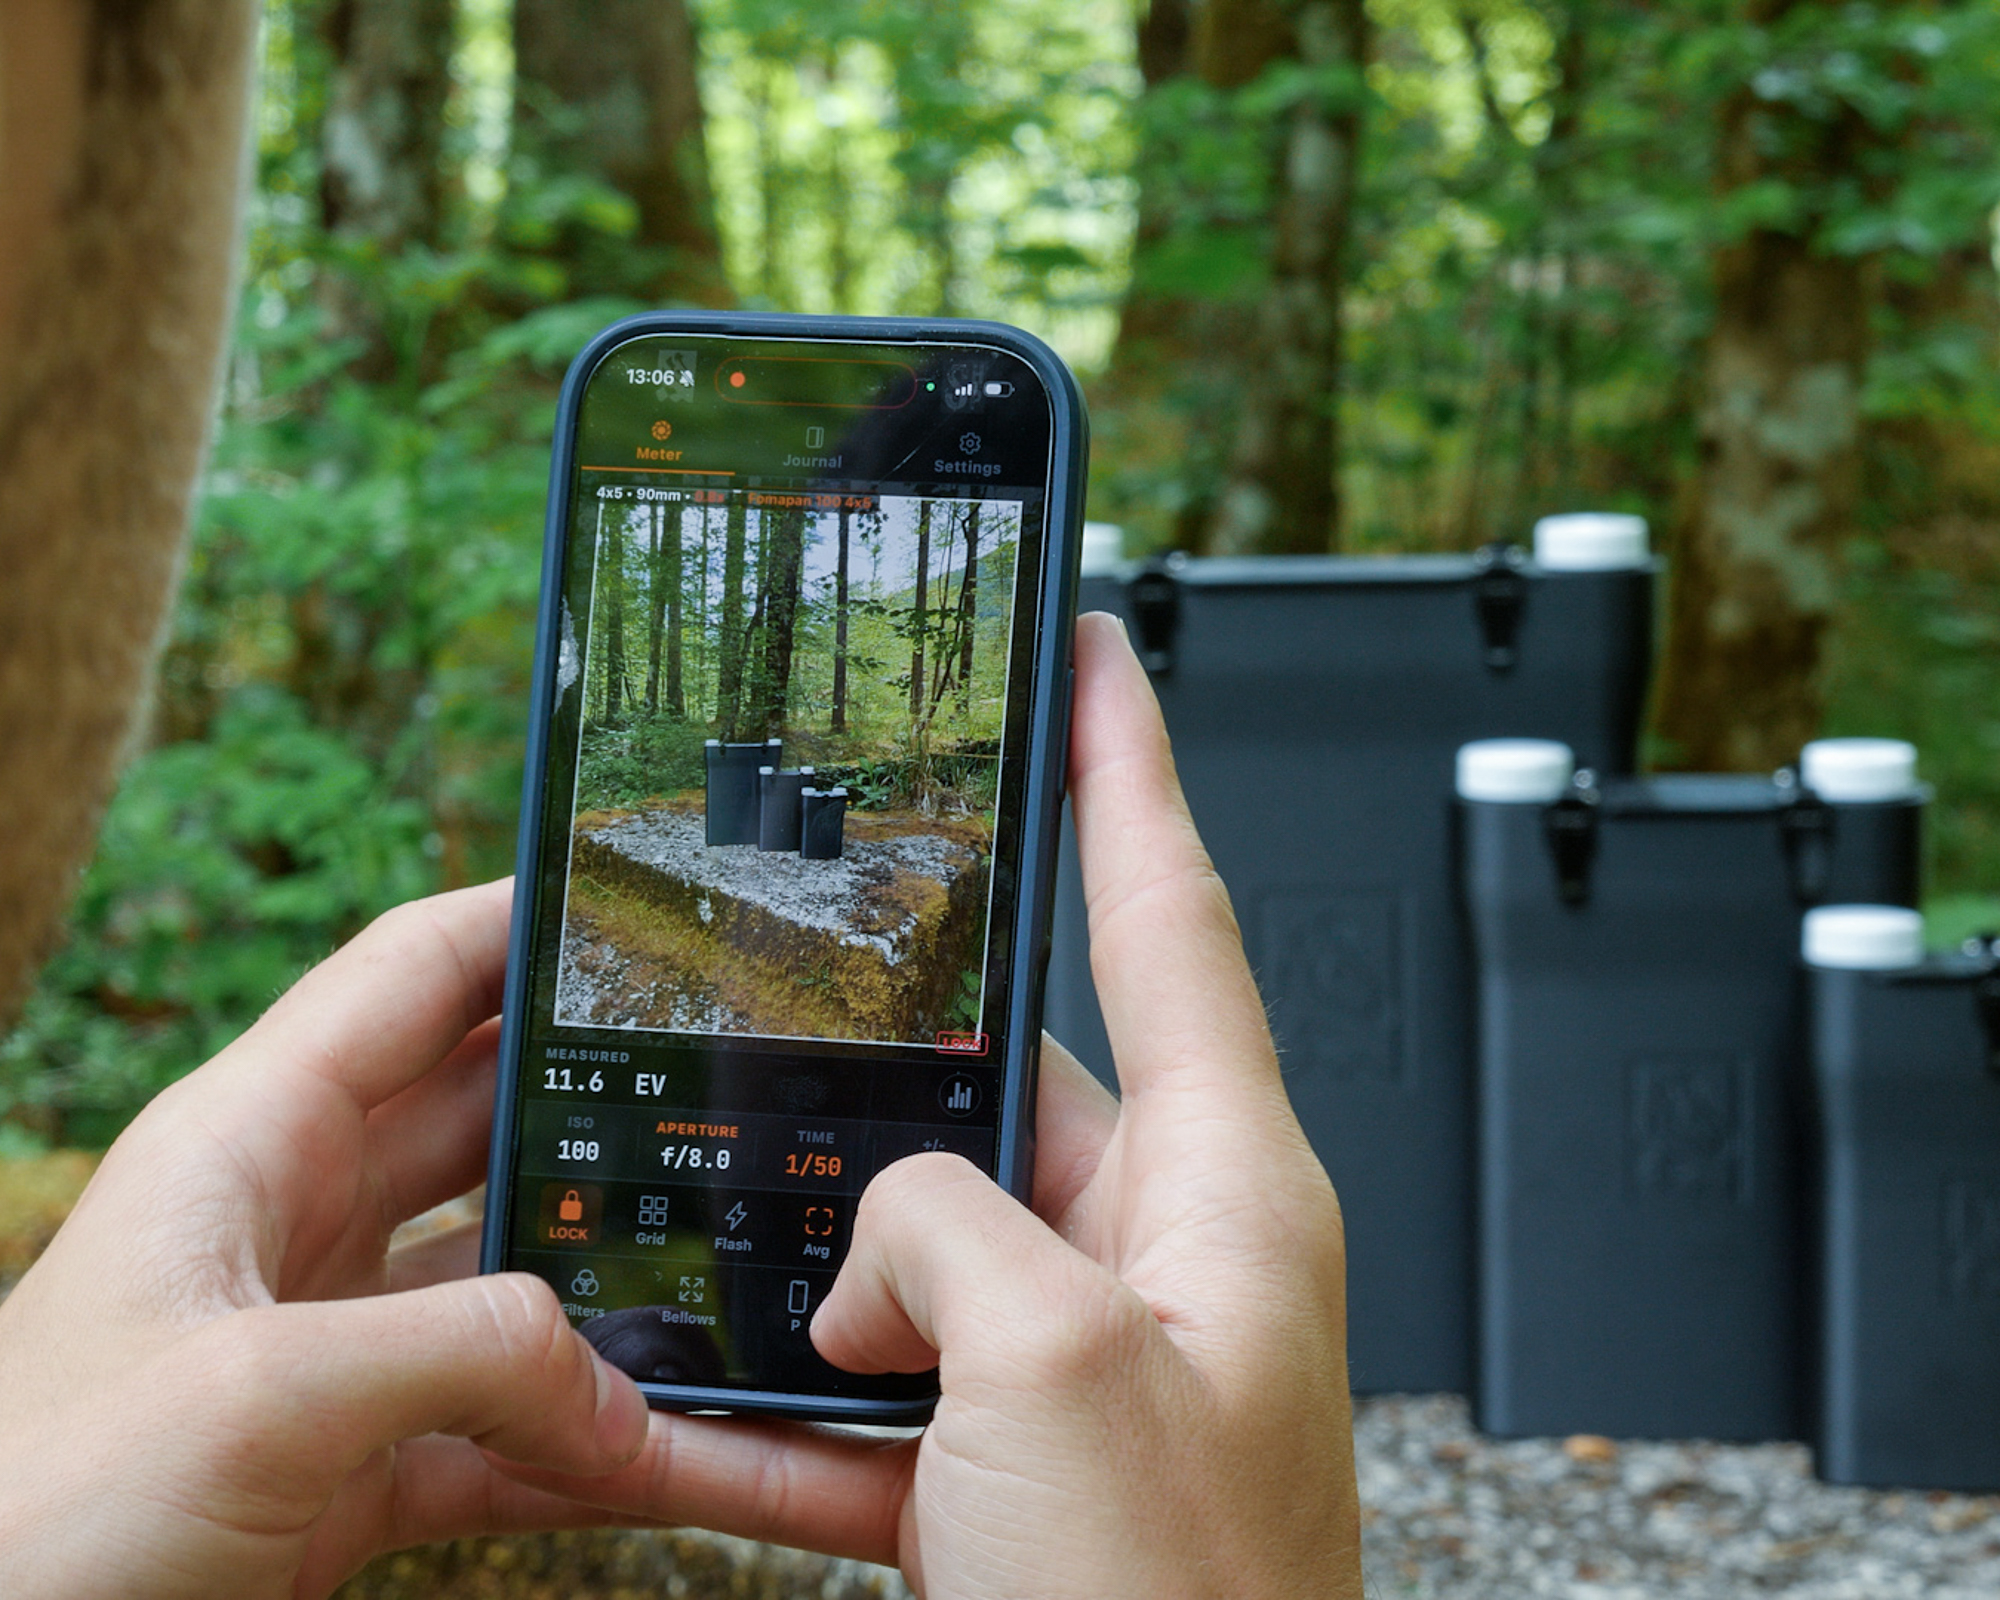
We recommend using the ProFilm light meter app with the Zebra Direct Positive profile. Set the plate speed to ISO 2, apply any necessary bellows extension and expose the plate.
If you’re using another light meter, ISO 2 is an excellent starting point, although you may wish to bracket your first few exposures while learning how the plates respond to different lighting conditions.
4. Prepare Fresh Chemistry
For your first plates we recommend the following developer:
HC-110 (Recommended)
- 200 ml water
- 1.5 ml HC-110 syrup concentrate
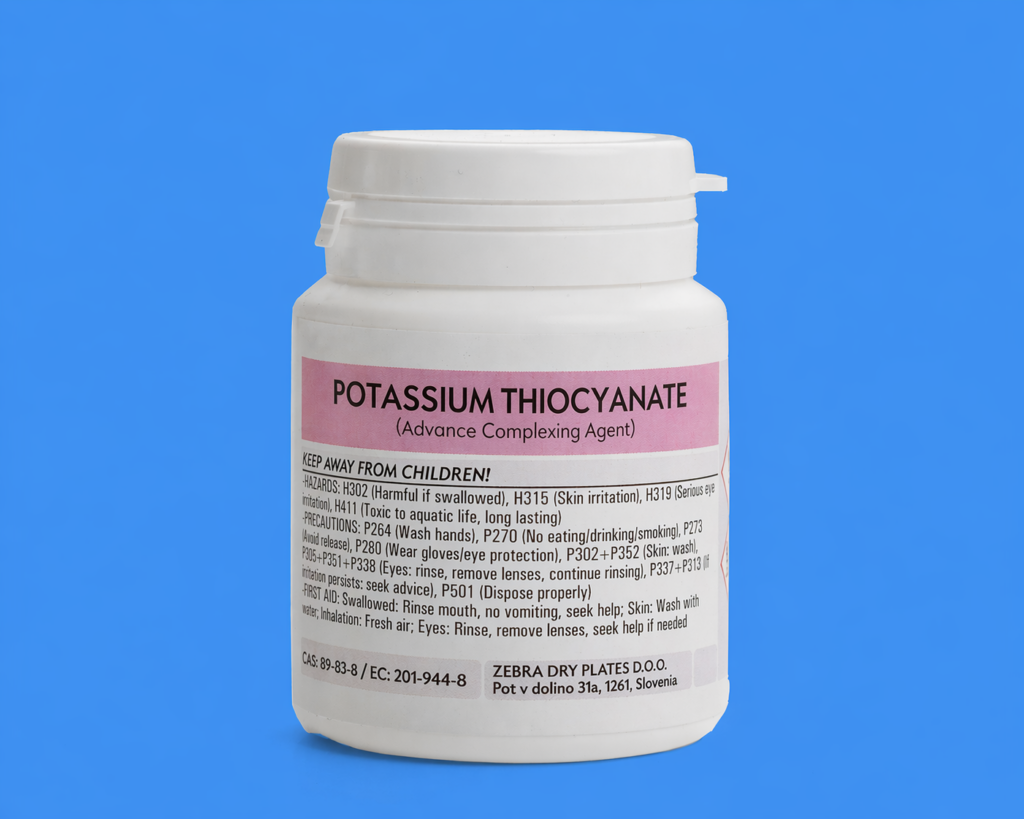
- 1 g potassium thiocyanate
Mix thoroughly until the potassium thiocyanate has completely dissolved before placing the plate into the developer.
5. Develop
Develop for 5 minutes using gentle, continuous agitation.
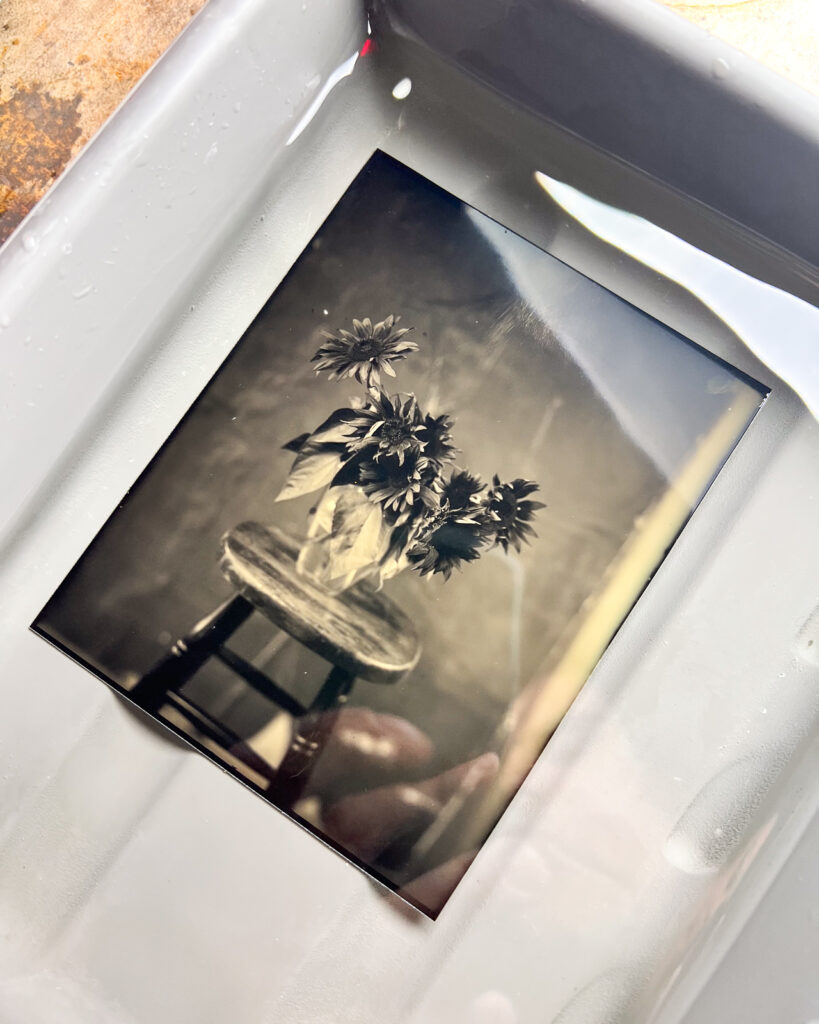
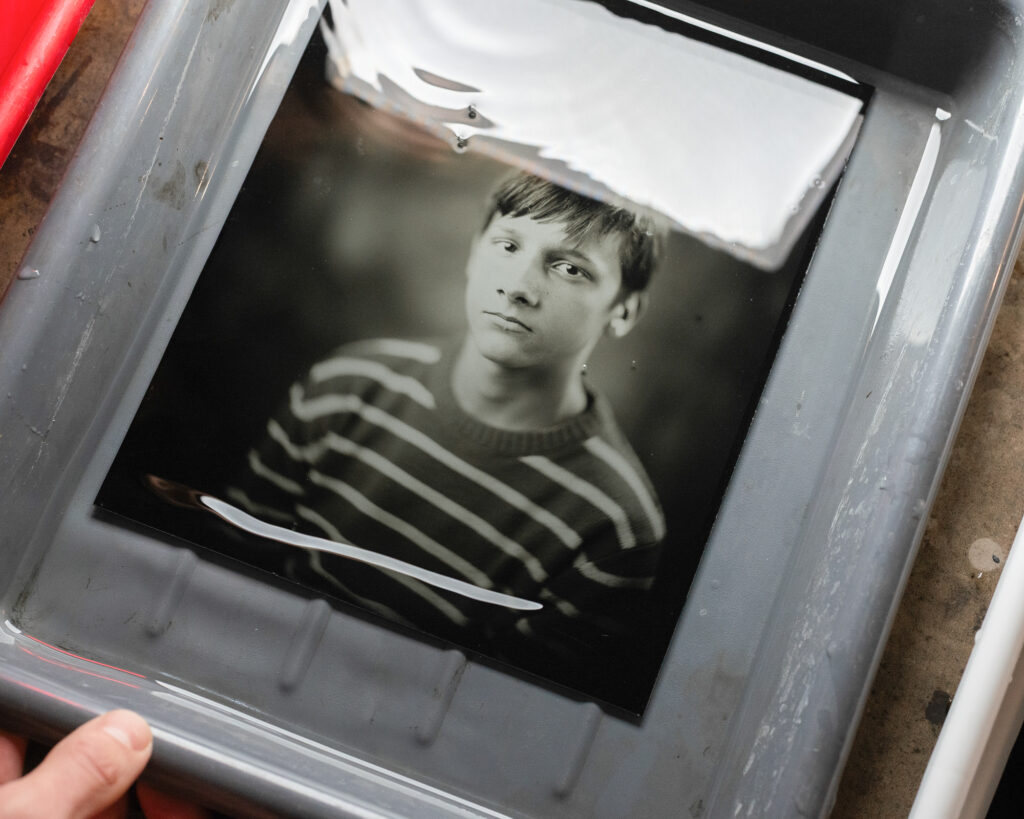
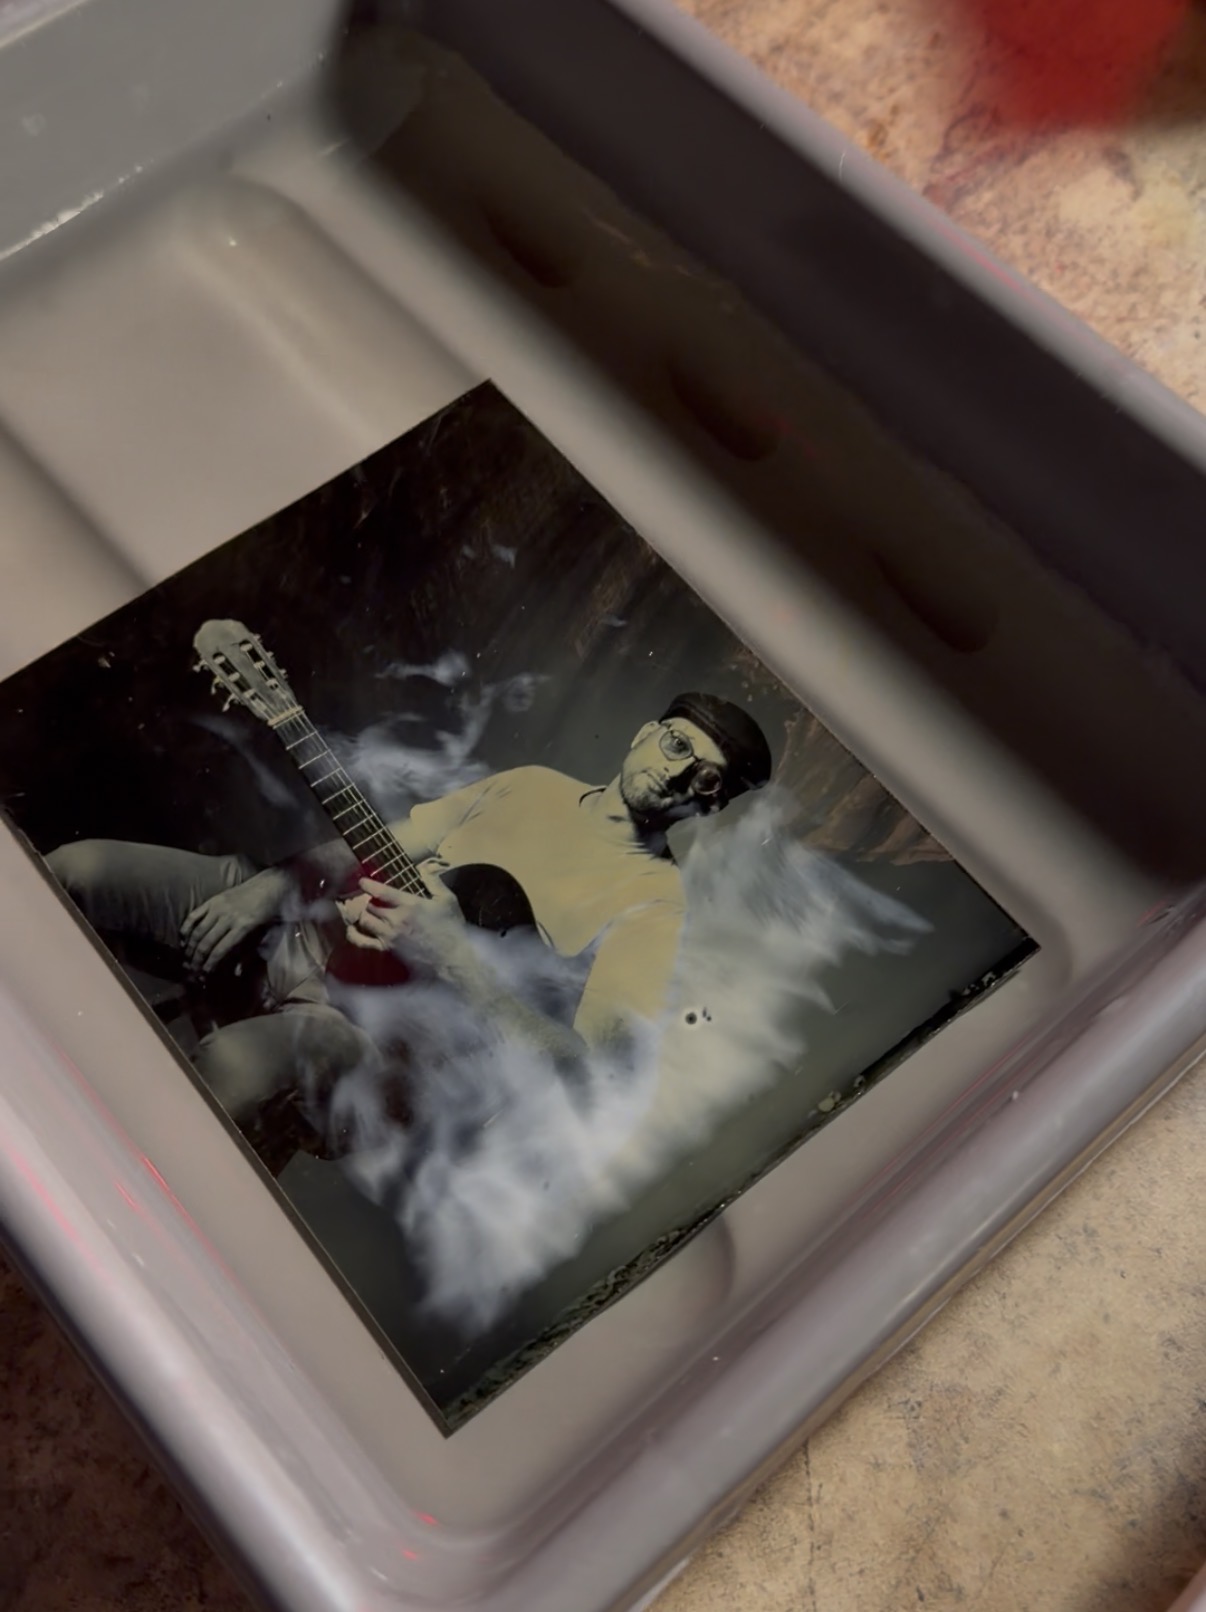
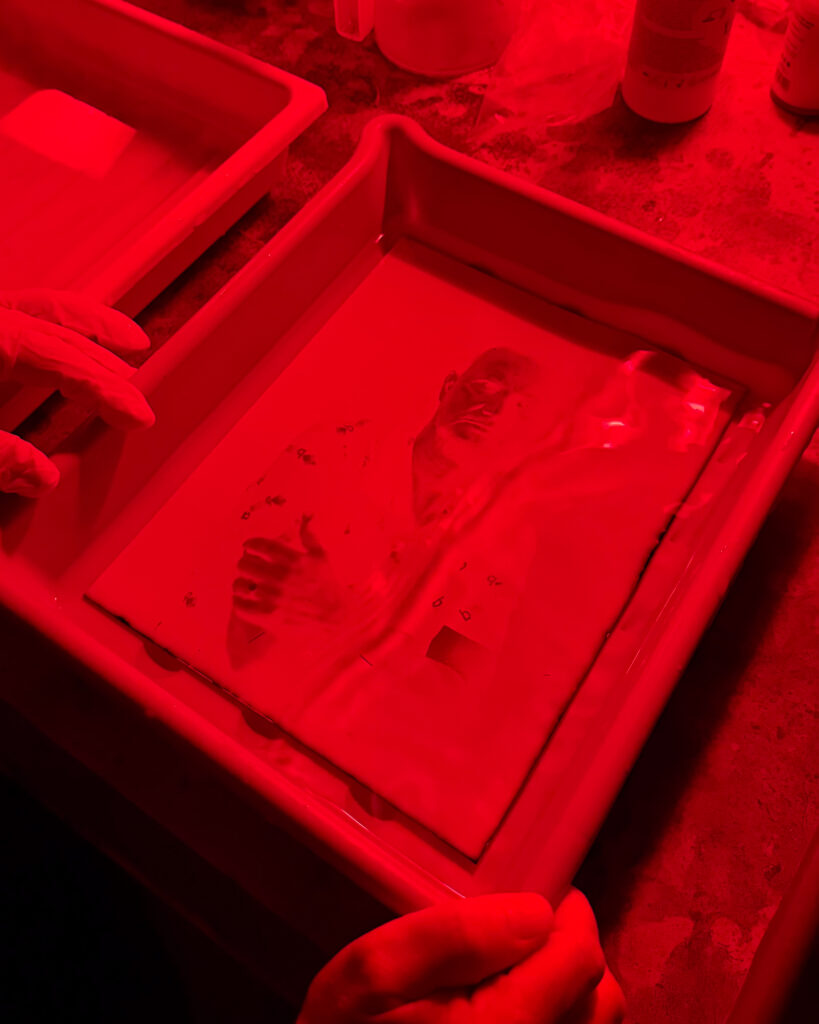
After approximately 90–120 seconds, a soft medium-grey negative should begin to appear. This is exactly what you want to see.
Do not continue developing until the image becomes deep black. If it does, the chemistry is no longer in the ideal balance.
💡 Zebra Tip
If you’re seeing a soft grey negative, you’re on the right track. Resist the temptation to chase a darker image.
6. Stop Bath
To stop the action of the developer we recommend using a water stop bath for 60s with gentle agitation. This step also ensures longevity and proper action of the fixer.
7. Fix
Transfer the plate from stop bath into fresh fixer.
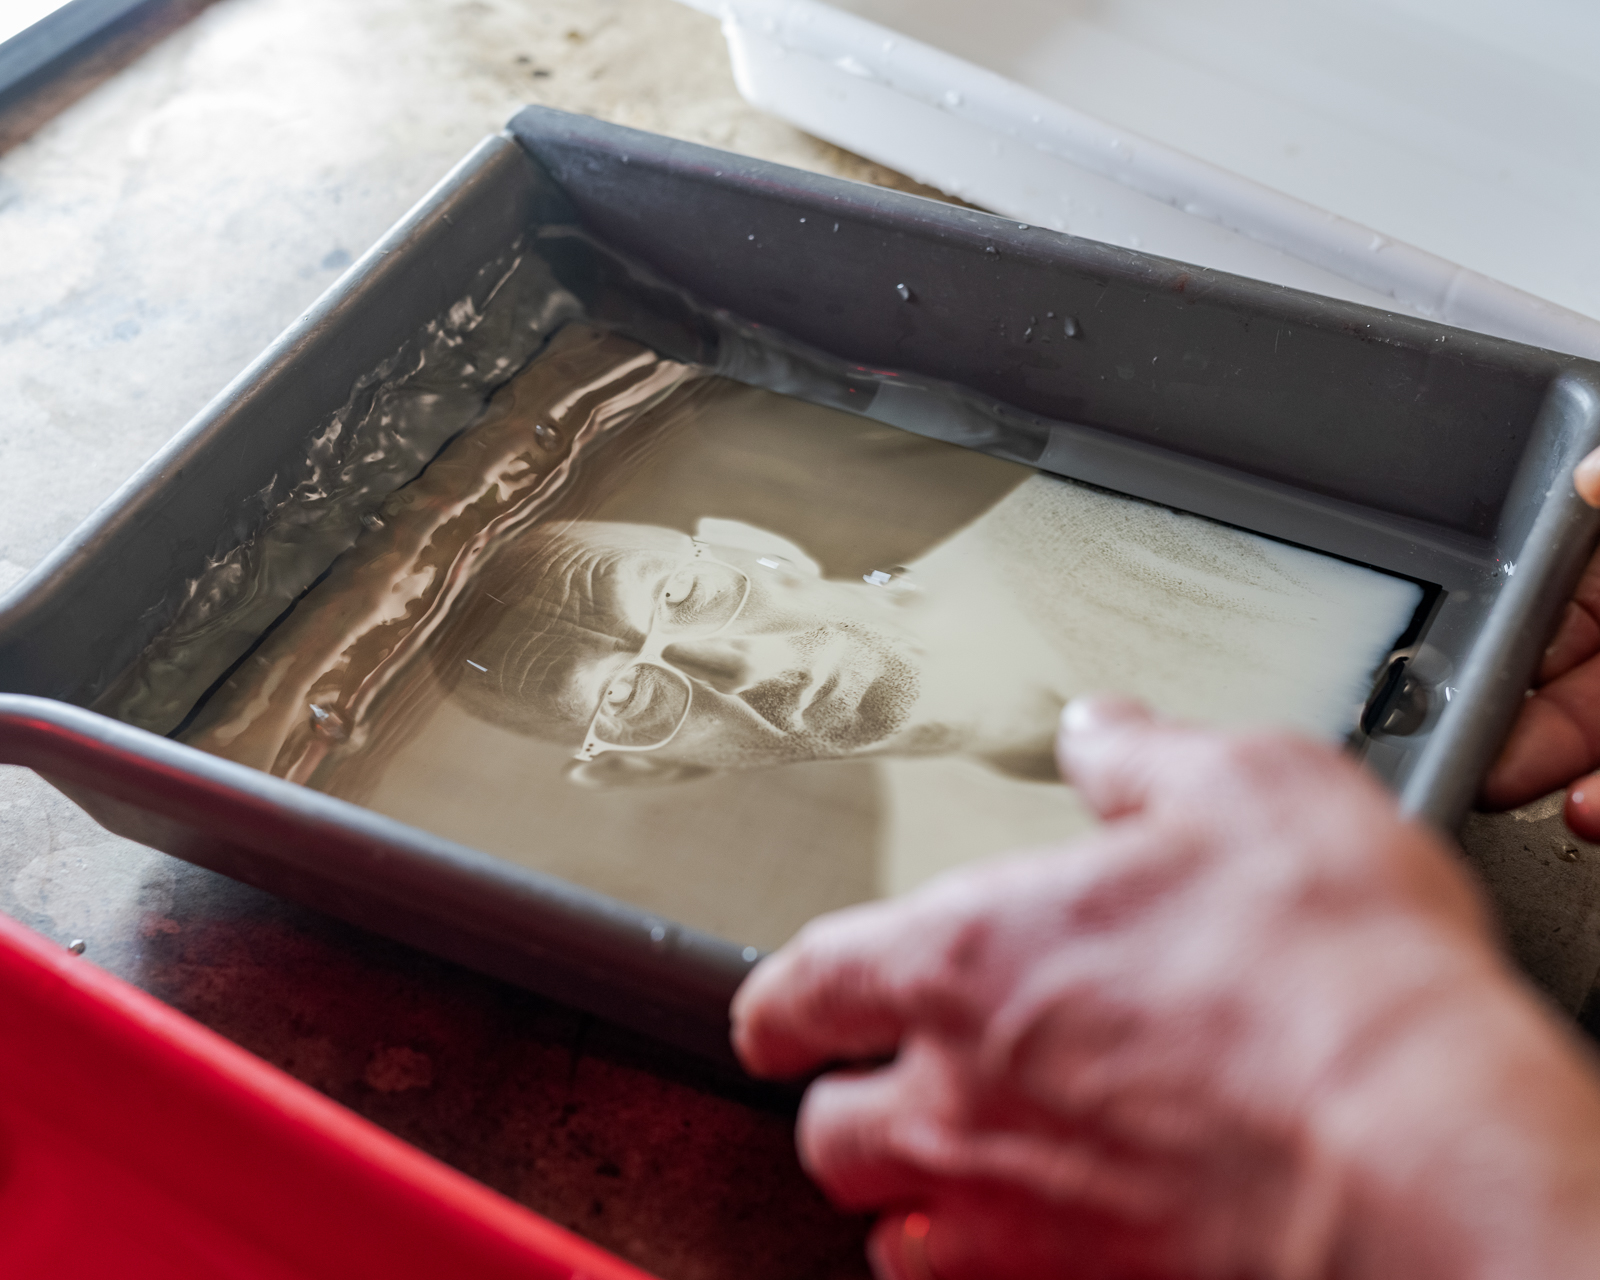
Over the next few moments the negative will gradually transform into a bright positive as the remaining undeveloped silver halides are removed from the emulsion.
Fix for approximately 4 minutes.
7. Wash & Dry
Wash thoroughly under running water before giving the plate a final rinse in distilled water with a wetting agent such as PhotoFlo.
Allow the plate to air dry in a clean, dust-free environment.
8. Enjoy Your Photograph
Congratulations.
You’ve just created a unique silver photograph that exists nowhere else in the world.
Once you’re familiar with this basic workflow, continue reading to better understand the chemistry, improve your consistency and explore the creative possibilities of Zebra Direct Positive Photography.
Understanding Direct Positive Photography
Before loading your first plate, it helps to understand what makes this process so unique. Once you understand what is actually happening inside the emulsion, many of the techniques described later in this guide will feel much more logical.
Unlike conventional photography, where the goal is to produce a negative for printing or scanning, Zebra Direct Positive Plates create the final image directly on the plate itself. Every exposure becomes a one-of-a-kind silver photograph that cannot be perfectly duplicated.
A Brief History
Direct positive photography has its roots in the middle of the nineteenth century, when photographers first began producing unique photographs on metal and glass using the wet plate collodion process.
One of the most popular formats was the Tintype, also known as the Ferrotype. Despite the name, tintypes were never made from tin. Instead, they were produced on thin blackened iron sheets coated with collodion. They were inexpensive, durable and could often be exposed, developed and handed to the customer within a matter of minutes, making them enormously popular for portrait photography.
A closely related process was the Ambrotype. Instead of using blackened metal, photographers exposed a clear glass plate which was then viewed against a dark background. Because the silver image remained partially transparent, the dark backing caused the negative to appear as a beautiful positive image seemingly suspended within the glass.
Both processes remain popular today and continue to inspire photographers around the world.
A Modern Interpretation
Zebra Direct Positive Plates preserve the unique appearance of these historic processes while eliminating much of their complexity.
Instead of coating plates moments before exposure, Zebra plates arrive fully prepared and ready to use. The silver gelatin emulsion has already been professionally coated, dried and packaged under controlled conditions. There is no silver nitrate bath to prepare, no collodion to pour and no race against time before the plate dries.
Simply load the plate into your holder, expose it and develop it whenever it suits your workflow.
This makes direct positive photography considerably more accessible while retaining the unmistakable character that has fascinated photographers for over 170 years.
Tintype or Black Glass?
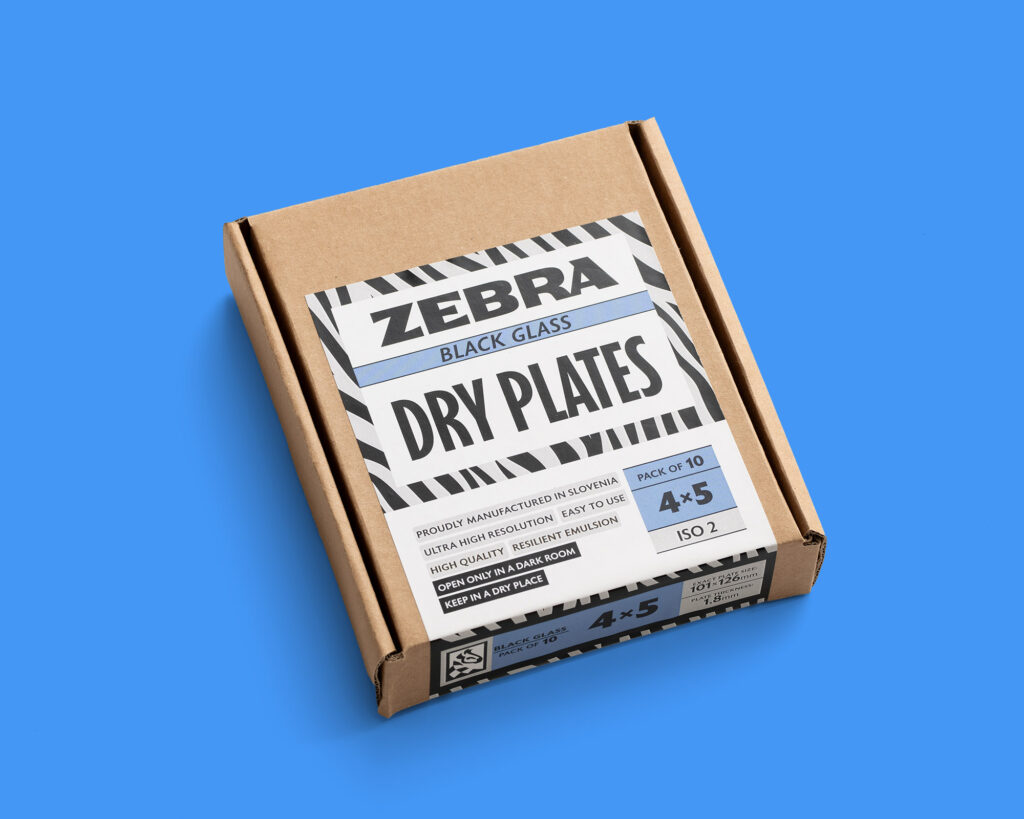
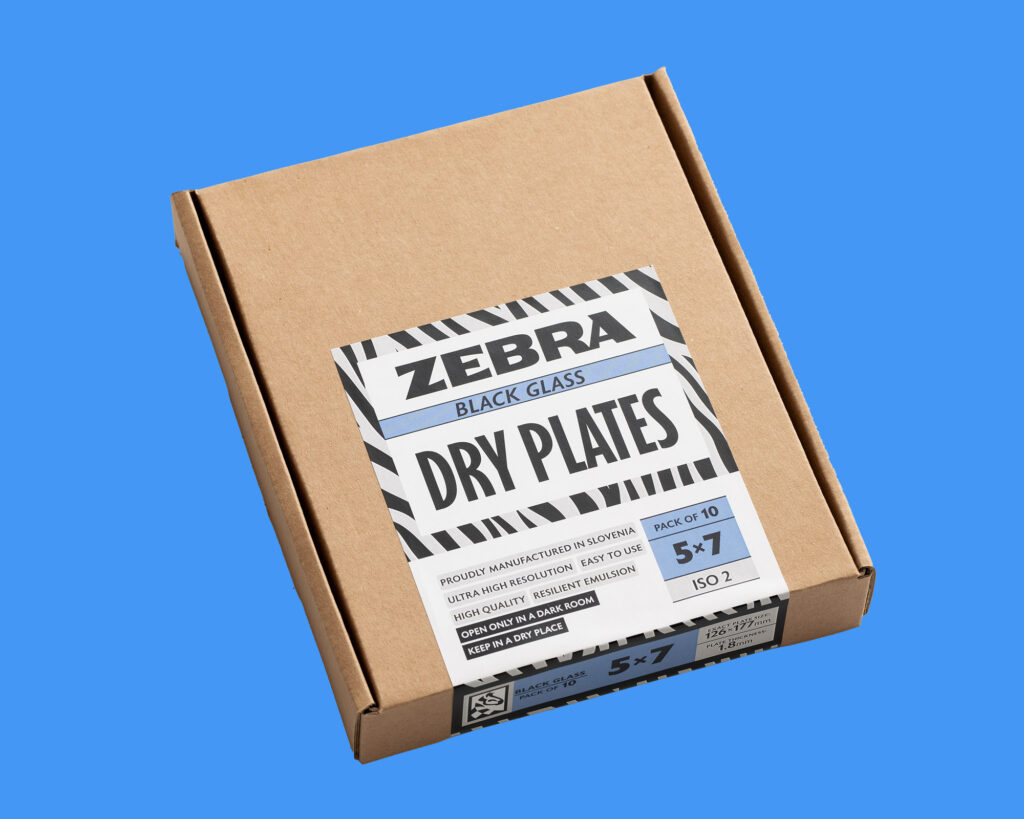
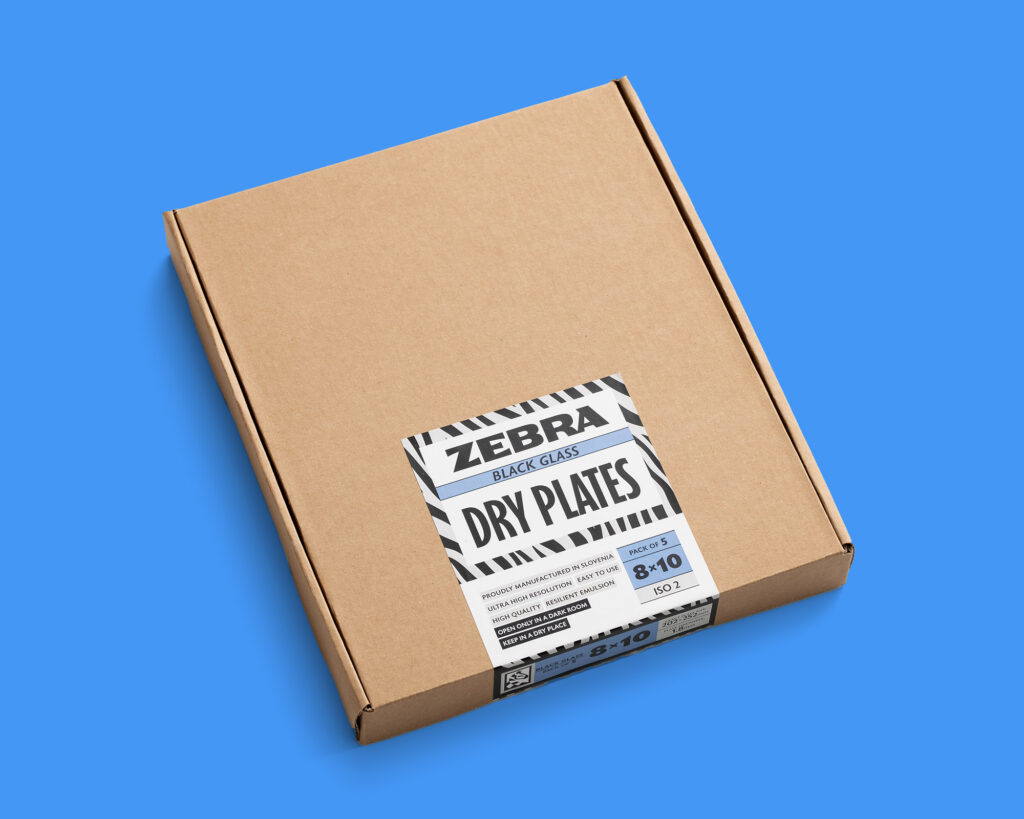
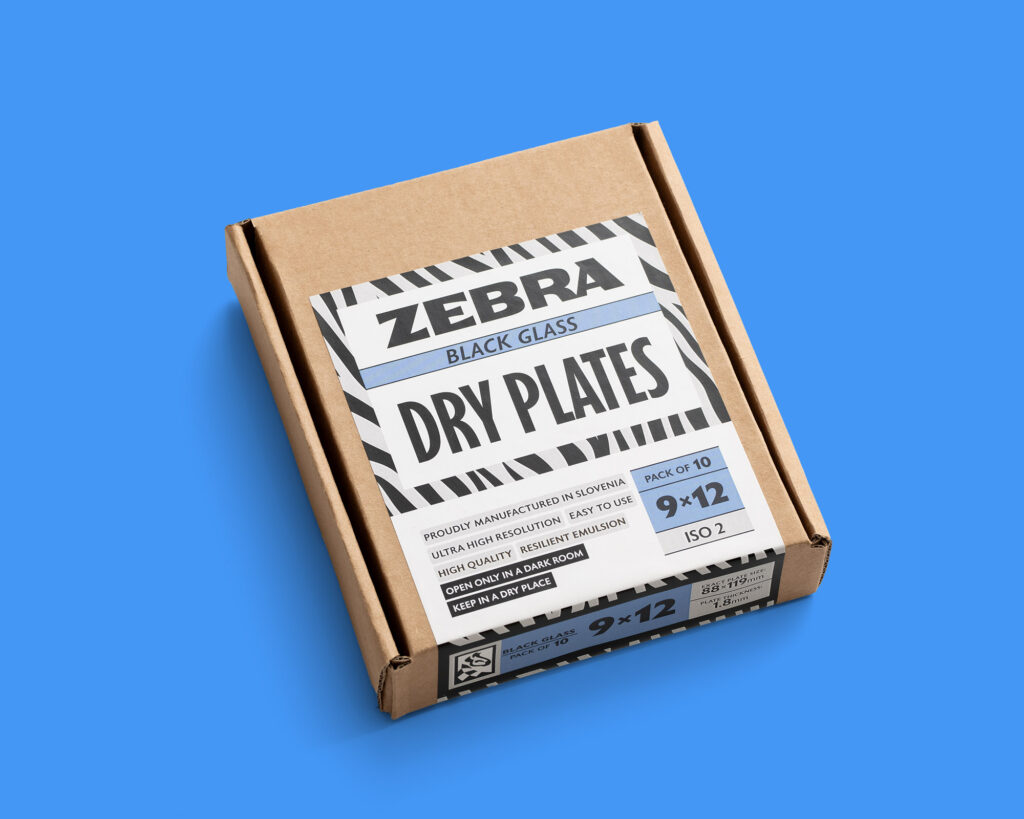
Zebra Direct Positive Plates are available on two different substrates, each offering a slightly different visual character while using exactly the same emulsion.
52,21 € inc. U.S. import fees
84,18 € inc. U.S. import fees
90,47 € inc. U.S. import fees
47,84 € inc. U.S. import fees




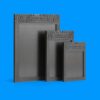
Zebra Tintype
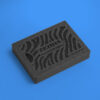
Our Tintype plates are coated onto black anodised aluminium. They are lightweight, robust and ideal for photographers looking for the classic appearance of historical ferrotypes.
The aluminium substrate makes them particularly well suited for portraiture, travel and workshops where durability is important.
Zebra Black Glass
Black Glass Dry Plates are coated onto carefully prepared black glass, producing a slightly different visual experience.
Instead of appearing directly on the surface, the silver image seems to float just above the black background, creating remarkable depth and richness. Many photographers find this presentation particularly beautiful for landscapes and fine art photography.
Processing is identical to the Tintype plates, so choosing between the two is largely a creative decision.
Creating Glass Ambrotypes
In addition to tintypes on black aluminium, Zebra Dry Plates can also be used to create beautiful glass ambrotypes. The process is identical to making a tintype, with the only difference being the choice of substrate.
After development, fixing and drying, the glass plate can either be displayed as a transparent positive or backed with a black material to reveal the image as a traditional ambrotype. Popular backing options include black velvet, painted glass, black card or a permanently painted black backing, each producing a slightly different visual effect.
Glass ambrotypes are renowned for their remarkable depth and luminous highlights, giving images a unique three-dimensional appearance that cannot be replicated with conventional photographic prints.
Whether exposed in a camera or produced through contact printing, glass ambrotypes offer one of the most beautiful ways to showcase the timeless character of silver gelatin photography.
Want to learn more? LINK
How Is a Direct Positive Formed?
One of the biggest misconceptions about direct positive photography is that the developer somehow “turns a negative into a positive.”
That isn’t actually what happens.
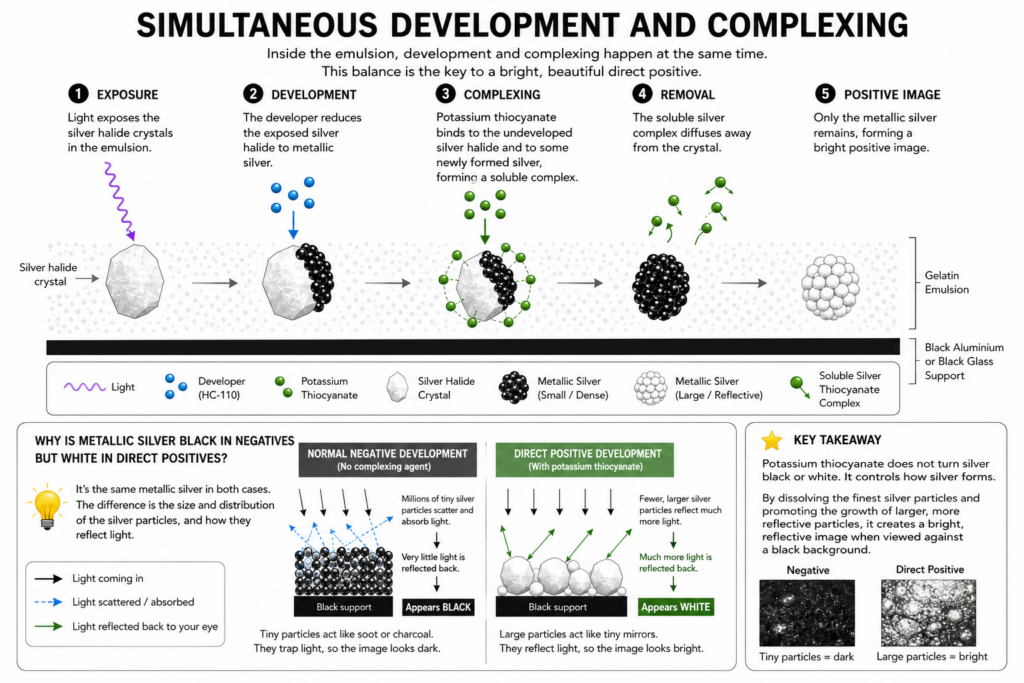
When the exposed plate enters the developer, the developer immediately begins reducing the exposed silver halide crystals into metallic silver, exactly as it would during ordinary negative development.
At the same time, however, a second chemical reaction begins.
The potassium thiocyanate acts as a complexing agent, continuously dissolving and reforming some of the newly created silver. These two reactions occur simultaneously throughout development, carefully balancing one another.
The result is that the image developing in the tray never becomes a normal photographic negative. Instead, it develops into a carefully modified image that will eventually appear as a positive once the remaining undeveloped silver halides are removed during fixing.
Although the chemistry behind this process is fascinating, you don’t need to understand every reaction to produce beautiful photographs. What is important is recognising that the developer and the potassium thiocyanate always work together. Neither performs the process alone.
Later in this guide we’ll explore this relationship in much greater detail and show how changing either component affects the final image.
Why Doesn't the Positive Appear in the Developer?
This is probably the question we receive most often.
Many photographers expect to watch a bright positive slowly emerge in the developing tray.
Instead, what they see is a soft grey negative.
This often leads first-time users to believe something has gone wrong.
In reality, everything is proceeding exactly as it should.
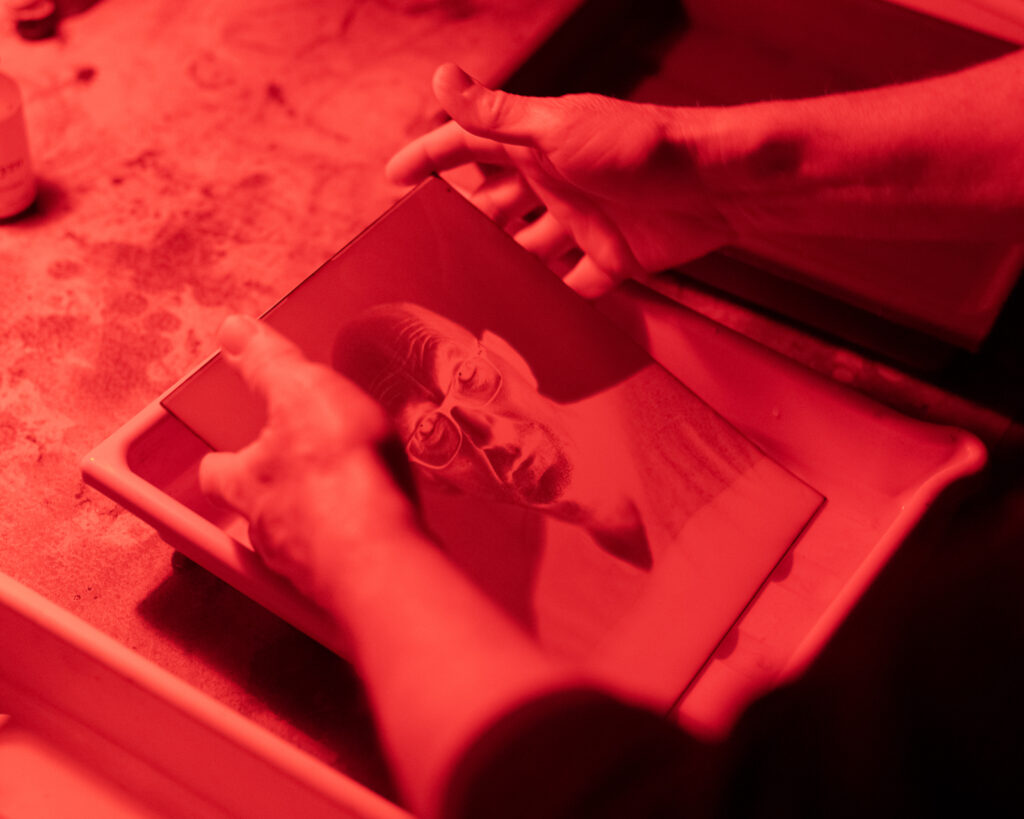
The positive does not appear during development.
It appears in the fixer.
Throughout development you are looking at a negative that is simultaneously being modified by the potassium thiocyanate. Only after the plate enters the fixing bath are the remaining undeveloped silver halides removed, allowing the bright positive image to reveal itself.
Once you understand this, the process immediately becomes much less mysterious.
In fact, later in this guide you’ll learn how to judge whether your development is progressing correctly simply by observing the appearance of this temporary grey negative.
Every Plate Is Unique
One of the most rewarding aspects of direct positive photography is that every photograph is an original.
Unlike film negatives that can be printed repeatedly, or digital photographs that can be copied endlessly, a direct positive exists only as the plate you hold in your hands.
Tiny differences in light, chemistry, temperature and even agitation ensure that no two plates are ever completely identical.
Rather than viewing these variations as imperfections, many photographers come to appreciate them as part of the process itself.
Each finished plate is not simply a photograph.
It is a handcrafted silver object with its own unique character.
💡 Zebra Tip
Don’t compare your first direct positive to a digital photograph.
The beauty of this process lies in its individuality. Small variations in tone, contrast and surface appearance are part of what makes every plate unique and are often the very qualities that draw photographers to alternative processes in the first place.
Now that you understand what Zebra Direct Positive Plates are and how the image is formed, it’s time to prepare them for use.
In the next section we’ll look at proper storage, handling and loading to ensure every plate reaches the camera in perfect condition.
Equipment, Storage & Handling
Your Zebra Direct Positive Plates arrive fully coated, dried and ready to expose. Unlike wet plate collodion, there is no emulsion to pour or sensitising bath to prepare. The work has already been done for you.
Although the plates are easy to use, they should still be treated as a light-sensitive photographic material. Proper storage and handling will ensure they remain in perfect condition and deliver consistent results for years to come.
Storage
Like photographic film, Zebra Direct Positive Plates benefit from cool, dry storage.
For the longest possible shelf life we recommend storing unopened plates in a refrigerator at approximately 13°C or below with a relative humidity below 60%. Under these conditions the plates will remain stable for at least two years, although many users have successfully used considerably older plates without noticeable changes in image quality.
Avoid storing the plates in areas subject to high temperatures, direct sunlight or excessive humidity. Heat gradually increases the natural fog level of photographic emulsions, while moisture can soften the gelatin and increase the risk of surface damage.
We do not recommend freezing the plates. While freezing itself is unlikely to damage the emulsion, condensation that forms during warming can introduce unwanted moisture onto the gelatin surface.
💡 Zebra Tip
If the plates have been stored in the refrigerator, allow the sealed package to warm to room temperature before opening it. This prevents condensation from forming directly on the emulsion.
Opening the Package
Every Zebra Direct Positive Plate is individually wrapped in protective paper and sealed inside a light-tight black bag.
Always open the package under a suitable red safelight.
Although the plates are much slower than photographic paper, they remain sensitive to blue and ultraviolet light. Opening the package under normal room lighting will quickly fog the emulsion.
Remove only the plate you intend to expose and immediately return the remaining plates to their protective bag before placing them back into storage.
Identifying the Emulsion Side
One of the first questions new users ask is:
“Which side is the emulsion?”
Fortunately, the answer is quite simple.
The emulsion has a slightly softer, satin appearance compared to the reverse side of the plate.
On Tintype plates, the back is simply the black anodised aluminium substrate, while the front carries the silver gelatin emulsion.
On Black Glass plates, the emulsion side appears slightly less glossy than the reverse side when viewed under the safelight.
If you are ever unsure, avoid touching either surface. Hold the plate only by its edges while inspecting it.
Handling the Plates
Although the dried gelatin emulsion is surprisingly durable, it should still be treated with care.
Always handle the plates by their edges.
Avoid touching the emulsion with your fingertips, as natural skin oils may leave marks that become visible after development.
Likewise, avoid sliding the plates across work surfaces. While the emulsion is capable of withstanding normal handling, unnecessary abrasion can introduce scratches that permanently become part of the finished photograph.
If dust is present before exposure, remove it using a clean rubber air blower. We generally recommend avoiding brushes unless absolutely necessary, as they can generate static electricity or introduce fine scratches if not perfectly clean.
Handling the Plates
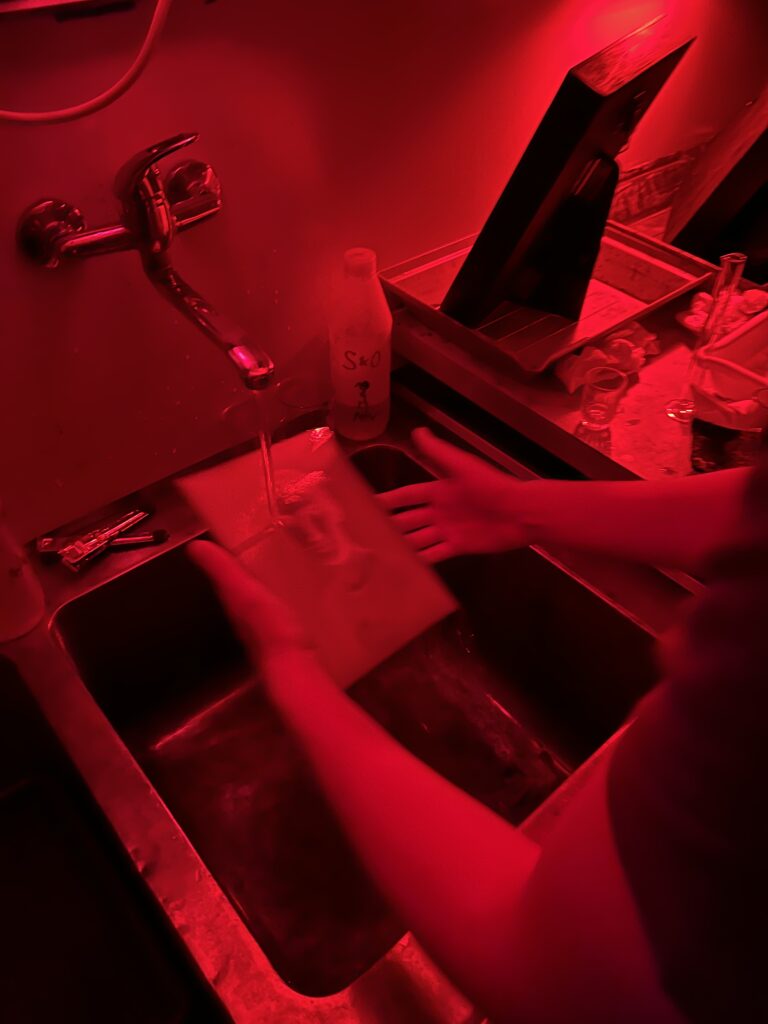
Zebra Direct Positive Plates should always be handled under an appropriate darkroom safelight.
A deep red LED safelight designed for photographic paper is generally suitable and provides enough illumination for loading holders and processing the plates comfortably.
Avoid orange, amber or white safelights unless you have personally tested them with the plates. Different light sources can vary considerably in their spectral output, and a safelight that works well with one photographic material may not necessarily be safe for another.
If you’re unsure whether your safelight is suitable, perform a simple fogging test before exposing valuable photographs.

Choosing the Right Plate Holder
Because Zebra Direct Positive Plates are significantly thicker than sheet film, ordinary film holders are generally unsuitable.
Our Tintype plates are approximately 0.6 mm thick, while Black Glass plates are approximately 1.8 mm thick. Standard film holders are designed for thin sheet film and usually do not provide enough clearance for rigid plates.
For best results we recommend using one of the following:
- Zebra Wet Plate Holder
- Zebra Dual Glass Dry Plate Holder V2
- Any other holder specifically designed for glass or metal plates of similar thickness
Using the correct holder not only protects the plate but also ensures that the emulsion sits precisely in the camera’s focal plane.
Zebra Accessories
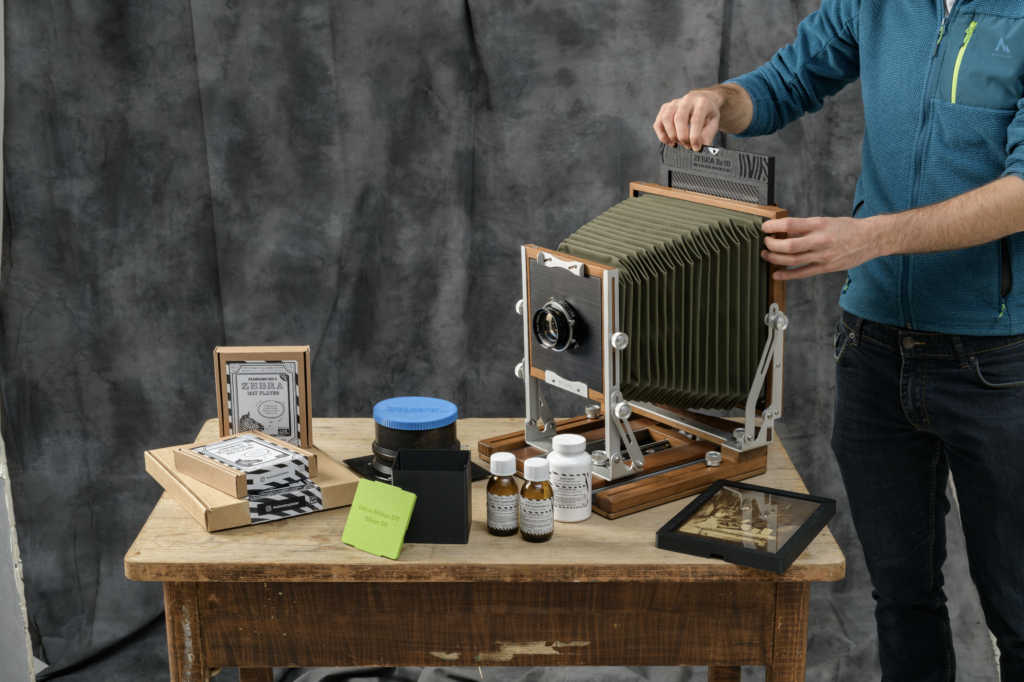
Although Zebra Direct Positive Plates can be used with a variety of equipment, we’ve designed a range of accessories specifically to make the process easier, faster and more repeatable.
These include:
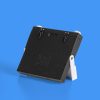
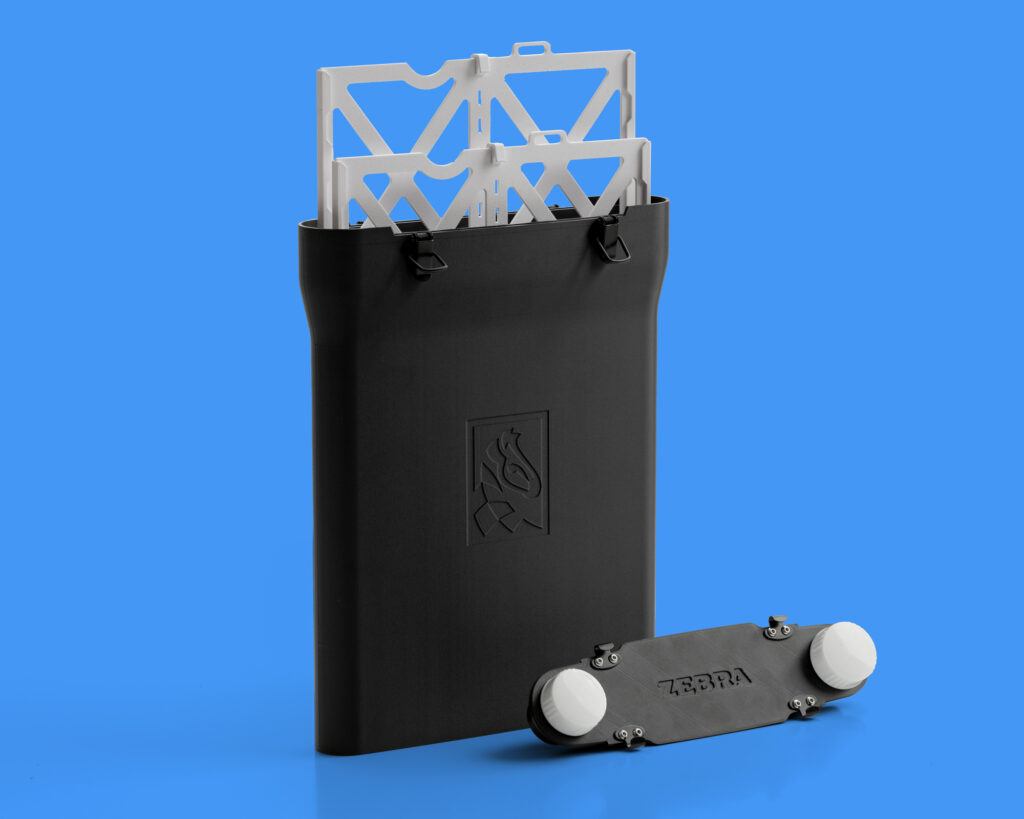
- Zebra Dual Glass Dry Plate Holder V2
- Zebra Wet Plate Holder
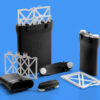
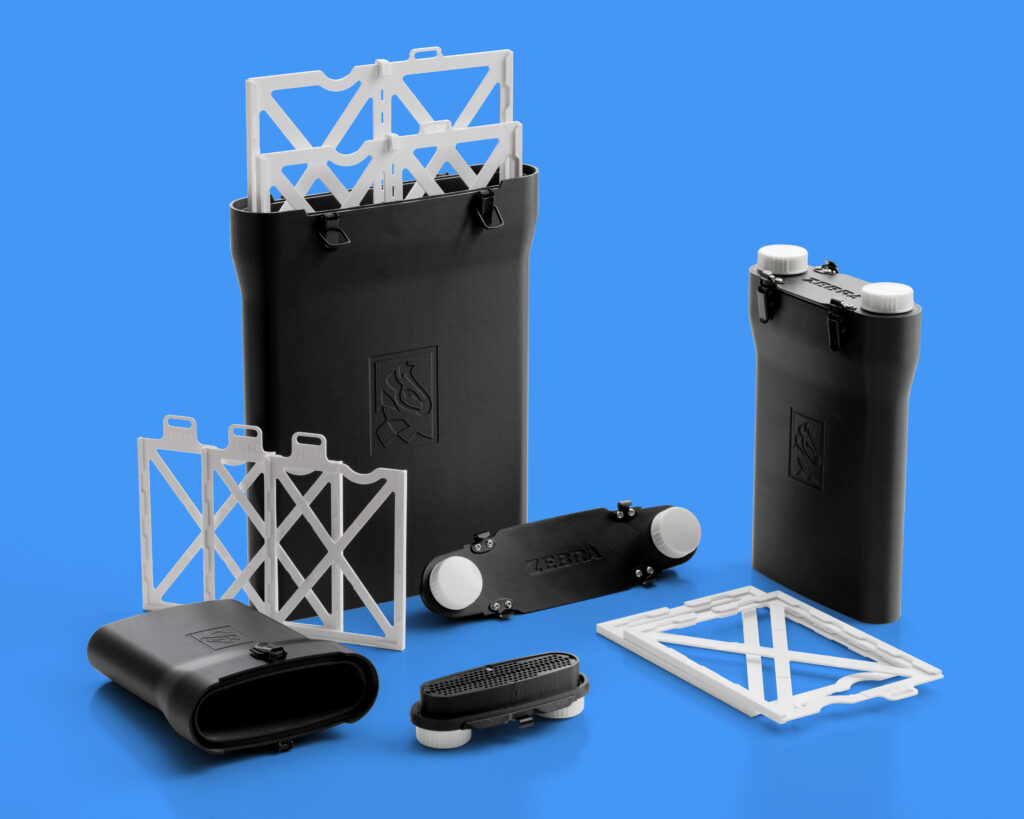
- Zebra Daylight Processing Tank
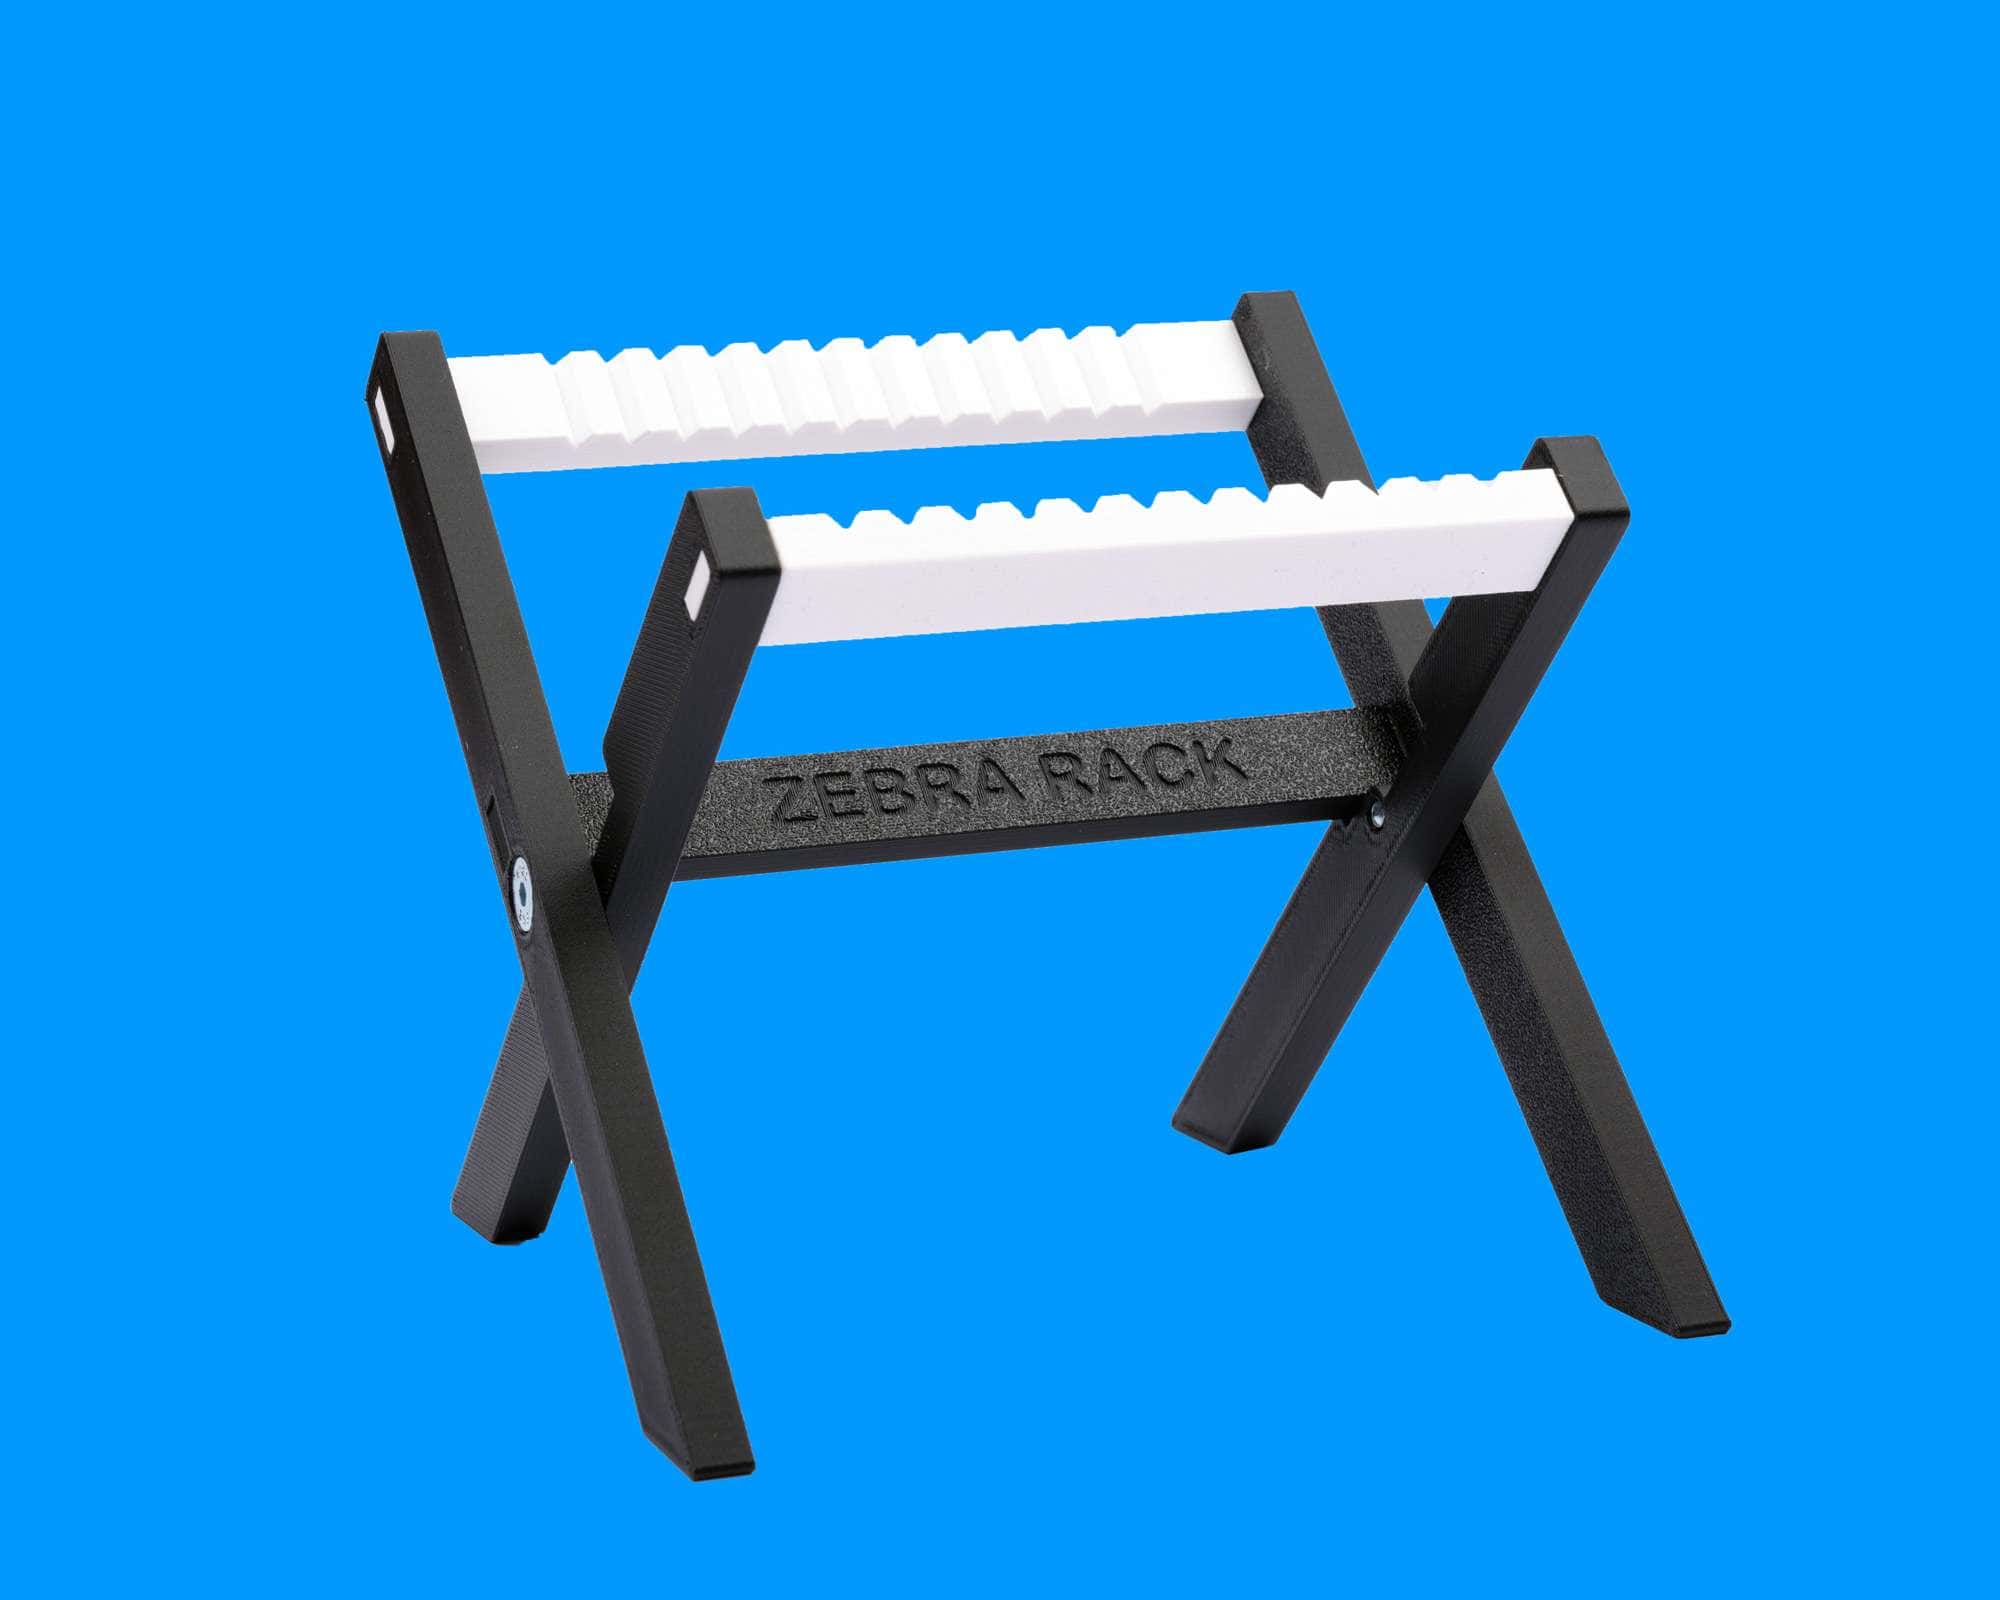
- Zebra Drying Rack
- Zebra Pocket Safelight
Each accessory has been developed through practical use in our own workshop and refined through feedback from photographers around the world.
Whether you’re exposing plates in the field or processing them in the darkroom, these tools help simplify the workflow without changing the photographic process itself.
212,05 € inc. U.S. import fees

94,84 € inc. U.S. import fees

25,47 € inc. U.S. import fees
Loading the Plate
Loading a plate is straightforward, but it’s worth taking a few moments to ensure everything is correctly positioned.
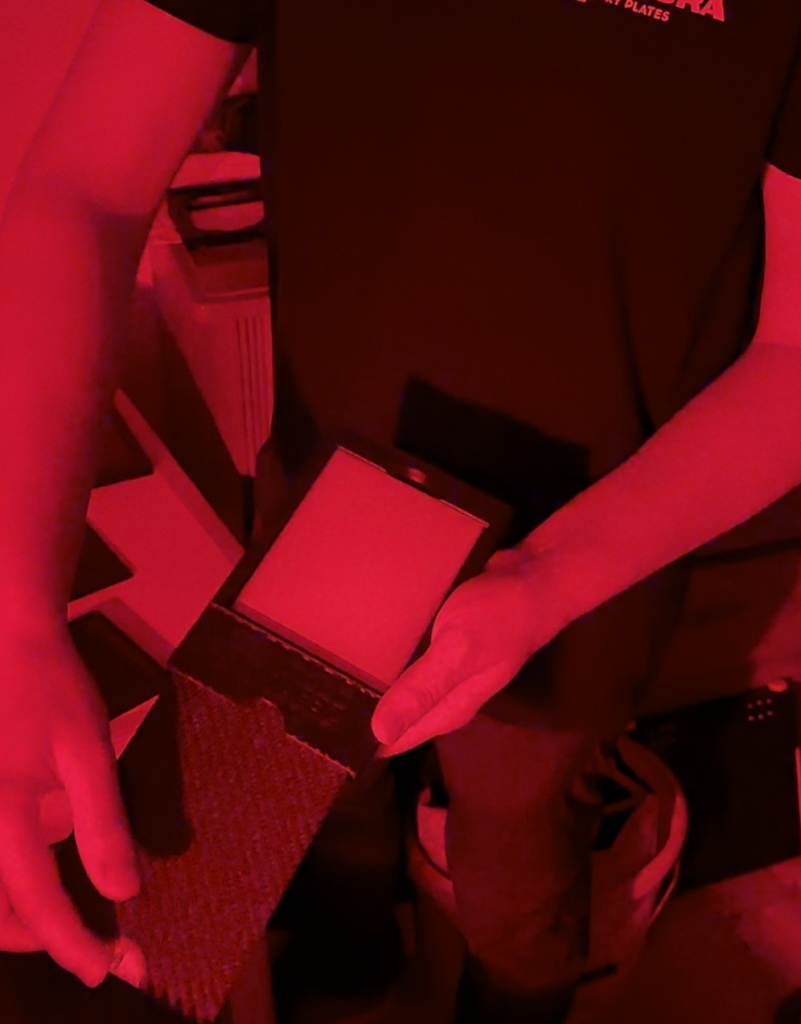
Open the holder under your safelight and carefully place the plate inside with the emulsion facing the lens.
Make sure the plate is fully seated against its locating surfaces before closing the holder. Avoid forcing the dark slide. If you encounter resistance, remove the plate and check that it is sitting correctly.
Once loaded, keep the holder closed until you are ready to expose the plate.
Before Heading Into the Field
Before leaving for a photographic session, take a few moments to check your equipment.
A simple routine can prevent many of the most common mistakes.
✓ Plates packed and stored correctly
✓ Plate holders clean and loaded
✓ Camera focused and working correctly
✓ Dark slides fully inserted
✓ Light meter or ProFilm ready
✓ Notebook for recording exposures
✓ Development chemistry prepared for later
These small checks quickly become second nature and dramatically reduce the chance of losing an otherwise successful photograph.
💡 Zebra Tip
One of the best habits you can develop is recording every exposure. Write down the lens, aperture, shutter speed, lighting conditions and any observations during development. These notes become an invaluable learning tool and make it much easier to refine your technique over time.
Your plates are now loaded and your equipment is ready.
The next step is learning how Zebra Direct Positive Plates respond to light.
Although they have a nominal sensitivity of approximately ISO 2, exposing them successfully involves far more than simply setting a light meter. In the next section we’ll explore how the plates see the world, why ultraviolet light plays such an important role and how to consistently achieve beautiful exposures using both traditional meters and the ProFilm app.
Exposure
A beautiful direct positive always begins with a well-exposed plate. While development often receives most of the attention, our experience has shown that the majority of disappointing positives are actually the result of exposure rather than chemistry. The good news is that once you understand how Zebra Direct Positive Plates respond to light, producing consistent results becomes surprisingly straightforward.
Understanding ISO
Zebra Direct Positive Plates have a nominal sensitivity of approximately ISO 2.
This value provides an excellent starting point for exposure, but unlike modern panchromatic films it should not be considered an absolute speed. The reason lies in the way the emulsion responds to light.
Unlike our eyes, which perceive the entire visible spectrum, Zebra Direct Positive Plates are primarily sensitive to blue and ultraviolet light. They have relatively little sensitivity towards the red end of the spectrum. As a result, two scenes that appear equally bright to us may require noticeably different exposures depending on the amount of ultraviolet light present.
This is one of the reasons photographers often describe dry plates as “seeing the world differently.”
Fortunately, once you understand this behaviour, exposure becomes much more predictable.
Why UV Light Matters
Ultraviolet light is one of the most important factors influencing exposure.
On a bright summer day with a clear blue sky, ultraviolet levels are high and the plates respond very efficiently. Under these conditions the effective speed may feel surprisingly close to the rated ISO.
On an overcast winter afternoon, however, the scene may appear bright enough to your eyes while containing significantly less ultraviolet light. The plates effectively become slower, requiring longer exposures than you might expect.
Several factors influence the amount of ultraviolet light reaching the plate:
- Time of year
- Time of day
- Cloud cover
- Atmospheric haze
- Altitude
- Geographic location
With experience you will begin recognising these conditions instinctively, but during your first few sessions it is perfectly normal to make small exposure adjustments as you learn.

Metering Your Exposure
There are several ways to meter Zebra Direct Positive Plates successfully.
An incident light meter, a reflected light meter or a smartphone application can all produce excellent results when used correctly.
Whatever method you choose, consistency is far more important than absolute accuracy. A photographer who always meters in the same way will learn the behaviour of the plates much faster than someone who changes techniques every session.
For your first few plates we recommend exposing at ISO 2 and carefully recording your results.
Small adjustments can then be made as your experience grows.
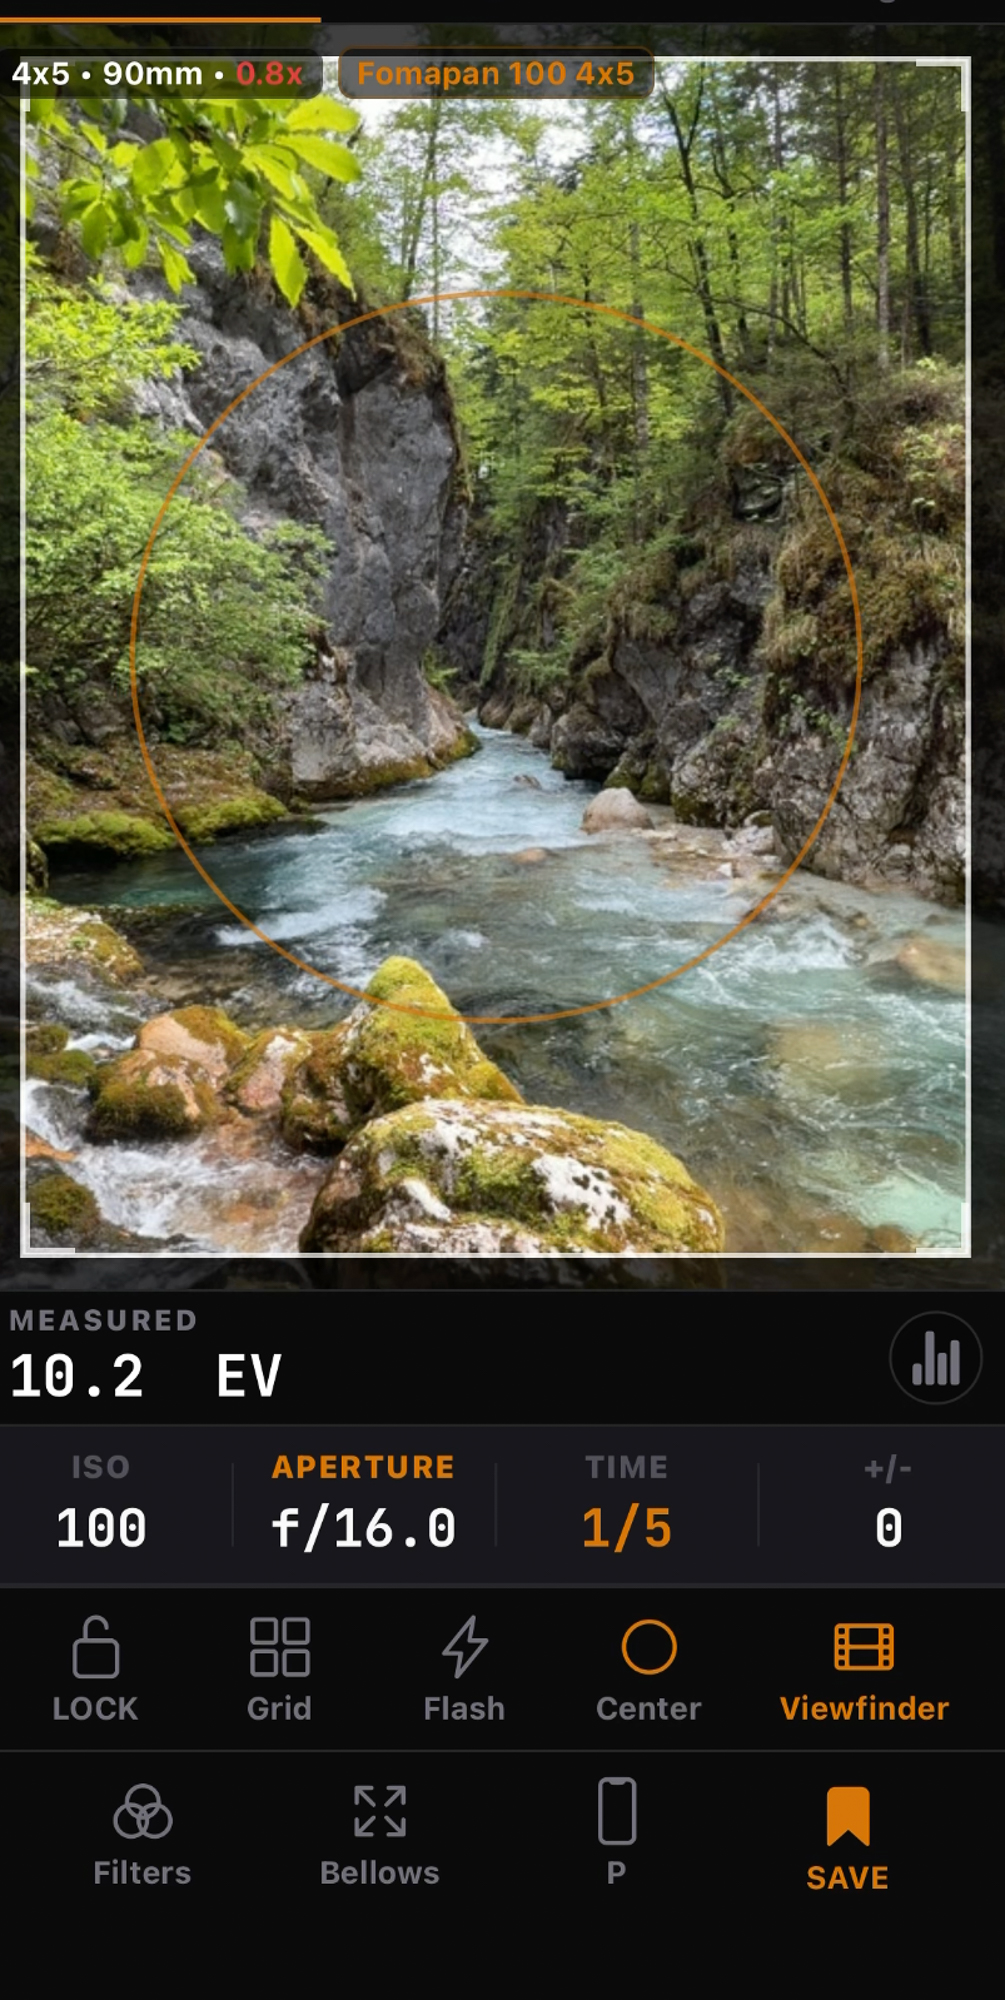
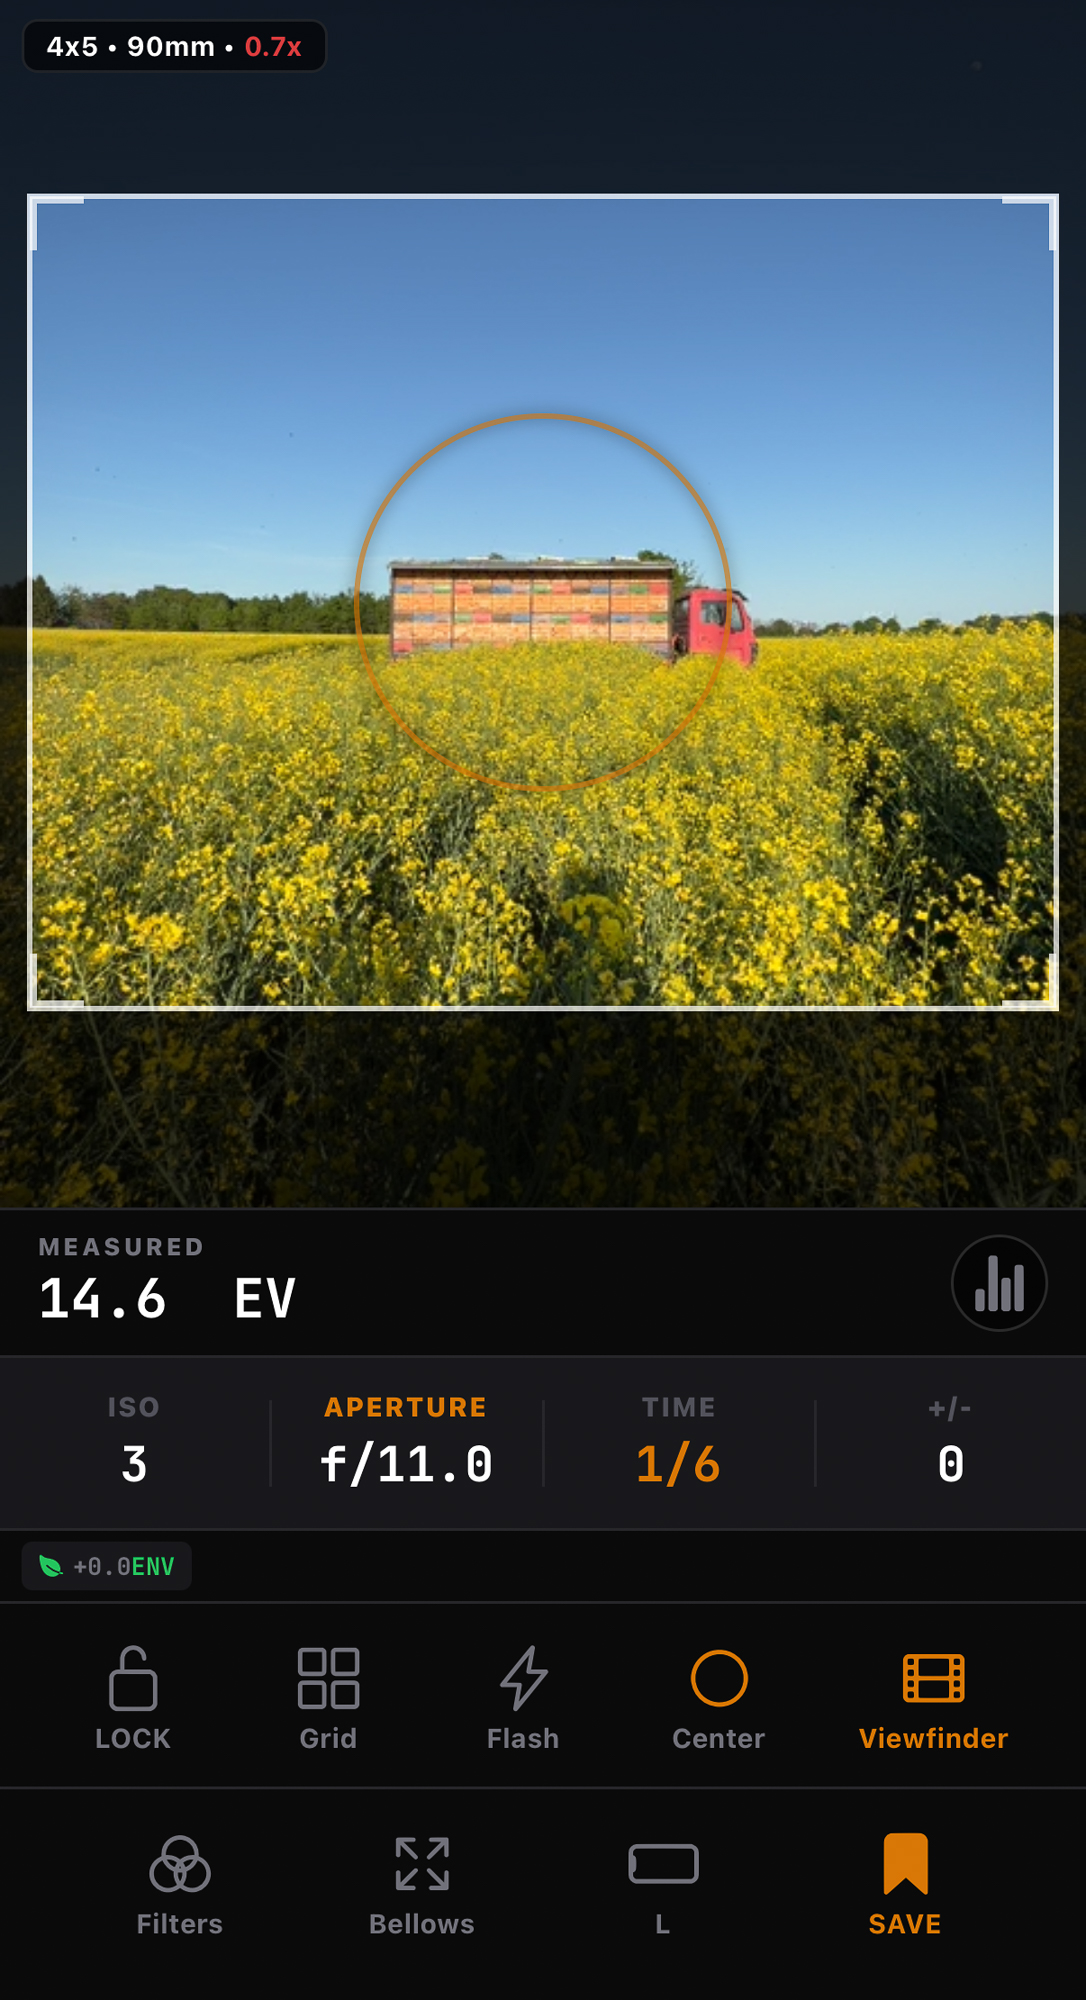
Using ProFilm for Zebra Direct Positive Plates
Exposure is by far the most important part of producing a successful direct positive. While the chemistry described later in this guide is remarkably forgiving when used correctly, even the best developer cannot compensate for a poorly exposed plate.
For that reason we highly recommend using ProFilm, a professional light metering app developed specifically for analogue photography.
Unlike general-purpose light meter applications, ProFilm includes a dedicated Zebra Direct Positive profile, allowing you to meter directly for our plates while automatically taking into account their unique spectral sensitivity.
The app also includes a number of tools particularly useful for large format photographers, including:
- Zebra Direct Positive profile
- UV compensation
- Bellows extension compensation
- Reciprocity correction
- Spot, average and centre-weighted metering
- Flash metering
- Exposure logging
- Filter compensation
Whether you’re photographing landscapes, portraits or historical processes, ProFilm removes much of the guesswork from exposure and allows you to concentrate on making photographs.
It dramatically reduces the amount of trial and error when learning the process.
💡 Zebra Tip
Even with ProFilm, we recommend bracketing your first few plates. Every lens, shutter and lighting condition behaves slightly differently, and those first exposures will quickly teach you how your equipment responds.
A Simple Exposure Workflow
One of the easiest ways to improve consistency is to follow exactly the same routine every time you make a photograph.
- Compose and focus the image.
- Meter the scene using ProFilm or your preferred light meter.
- Set the exposure based on ISO 2.
- Apply any necessary bellows extension or filter compensation.
- Double-check that the plate holder is loaded correctly.
- Make the exposure.
- Record the exposure in your notebook.
Although these steps may seem obvious, following the same routine every time dramatically reduces mistakes and makes it much easier to learn from each photograph.
Bellows Extension
Whenever a large format camera is focused close to the subject, the bellows must be extended further away from the lens.
As the bellows become longer, the light reaching the plate decreases.
Failure to compensate for this additional extension is one of the most common causes of underexposure, particularly in close-up photography.
Fortunately, ProFilm automatically calculates this correction, allowing you to concentrate on composition rather than mathematics.
If you are metering manually, remember to apply the appropriate bellows extension factor before making the exposure.
Studio Flash
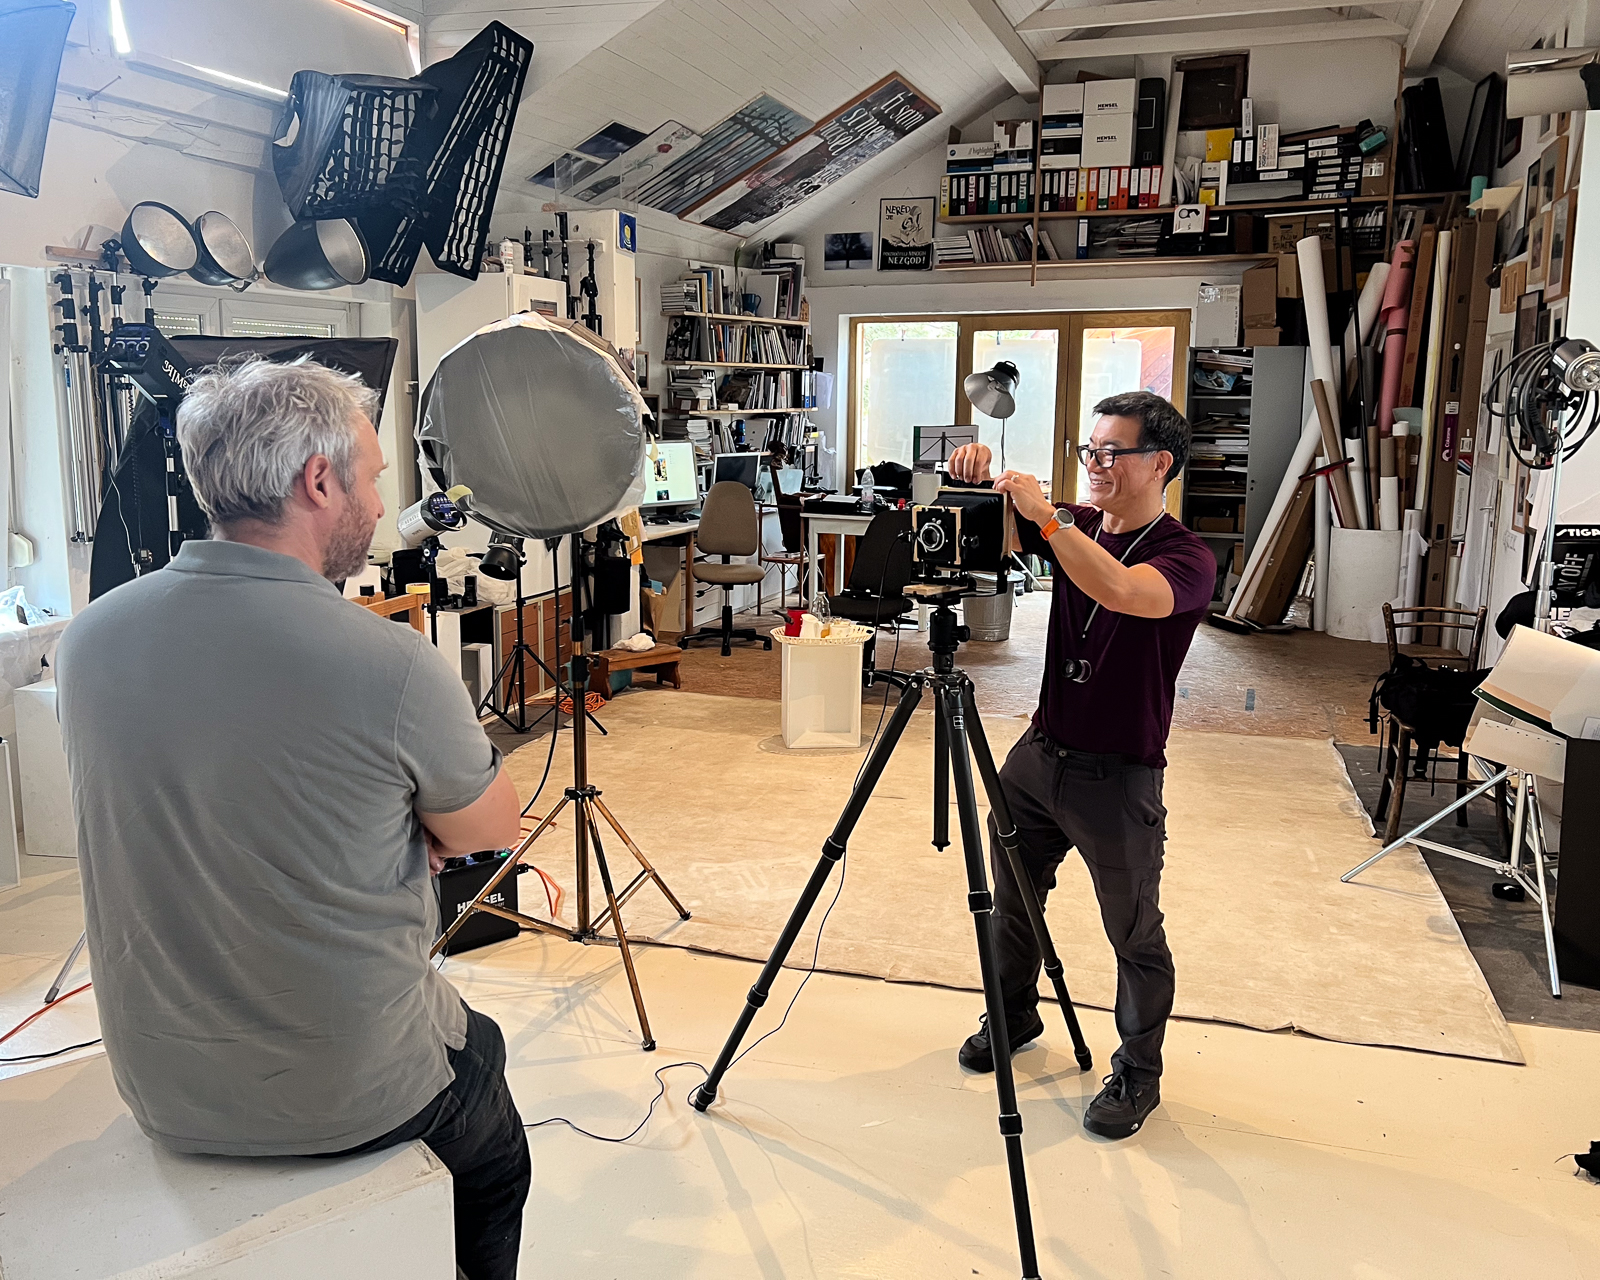
One of the great advantages of Zebra Direct Positive Plates is how beautifully they respond to electronic flash.
Their low sensitivity allows photographers to use powerful studio lighting while maintaining comfortable working apertures and excellent image quality.
For the most consistent results we recommend measuring your flash using either a dedicated flash meter or the ProFilm app. Required power depends a lot on your setup but roughly you will be fine with 800-1500 ws of power
As with daylight photography, keeping careful notes of flash power, aperture and subject distance will quickly help you refine your workflow.

Bracketing / Step wedge
Even experienced photographers occasionally encounter unfamiliar lighting conditions.
Whenever you are unsure, bracket your exposures or do a step wedge.
A simple series consisting of the metered exposure, one stop under and one stop over will usually reveal the optimum exposure for a particular subject.
While this requires an additional plate or two, the information gained is often far more valuable than the cost of the materials.
As your experience grows, you’ll find yourself relying on bracketing less frequently.
Exposure Is Everything
Throughout our years of research one lesson has become increasingly clear.
Most disappointing positives are not caused by poor chemistry.
They are caused by poor exposure.
Before adjusting your developer, changing the amount of potassium thiocyanate or experimenting with new formulas, always ask yourself one simple question:
Was the plate exposed correctly?
In many cases, the answer to that question solves the problem before the chemistry ever needs to be changed.
In the next section we’ll explore what happens after the exposed plate enters the developer and explain why the image you see is not yet the positive you’re expecting, but a carefully balanced stage in one of the most fascinating photographic processes ever developed.
No Large Format Camera? No Problem!
Owning a large format camera is not a requirement for working with Zebra Dry Plates. If you don’t have access to one, you can still create stunning one-of-a-kind glass or tintype positives through contact printing.
Instead of exposing the plate in a camera, simply place a positive transparency or glass positive directly against the emulsion and expose it using a flash, enlarger or another suitable light source. The plate is then developed exactly the same way as a camera-exposed dry plate, making this an affordable and highly repeatable way to experience the beauty of silver gelatin photography.
Whether you’re printing from digital images, film negatives or historic glass negatives, contact printing opens up a whole new creative workflow without the need for expensive camera equipment.
If you’d like to explore this technique, we’ve put together a comprehensive step-by-step guide covering everything from preparing your transparencies and making the exposure to developing the finished plate. You can read the full tutorial here: The Art of Contact Printing on Zebra Dry Plate Tintypes (LINK)
Development
This is where the magic happens.
Watching a direct positive develop for the first time is unlike any other photographic process. If you’ve previously developed film, you’ll probably expect to see a beautiful positive slowly emerge in the tray.
Instead, you’ll see a negative.
Don’t worry.
This is exactly what should happen.
One of the biggest misconceptions about direct positive photography is that the developer somehow creates a positive image. In reality, the image forming in the developer is a negative that is simultaneously being modified by a complexing agent. The final positive only appears once the plate enters the fixer.
Understanding this single concept makes the entire process much easier to master.
How Direct Positive Development Works
In conventional black and white development, the developer reduces exposed silver halide crystals into metallic silver, creating a negative image.
Direct positive development begins in exactly the same way.
However, Zebra Direct Positive Plates introduce a second chemical reaction at the same time.
Alongside the developer, we add potassium thiocyanate, a complexing agent that continuously dissolves and reforms part of the newly developed silver image. Rather than allowing the negative to build normally, both reactions work together throughout the entire development.
The balance between these two reactions determines the appearance of the final positive.
If the developer dominates, the image becomes darker.
If the complexing action becomes too aggressive, highlight detail begins to disappear and eventually solarise.
Beautiful positives are produced when both reactions remain in equilibrium.
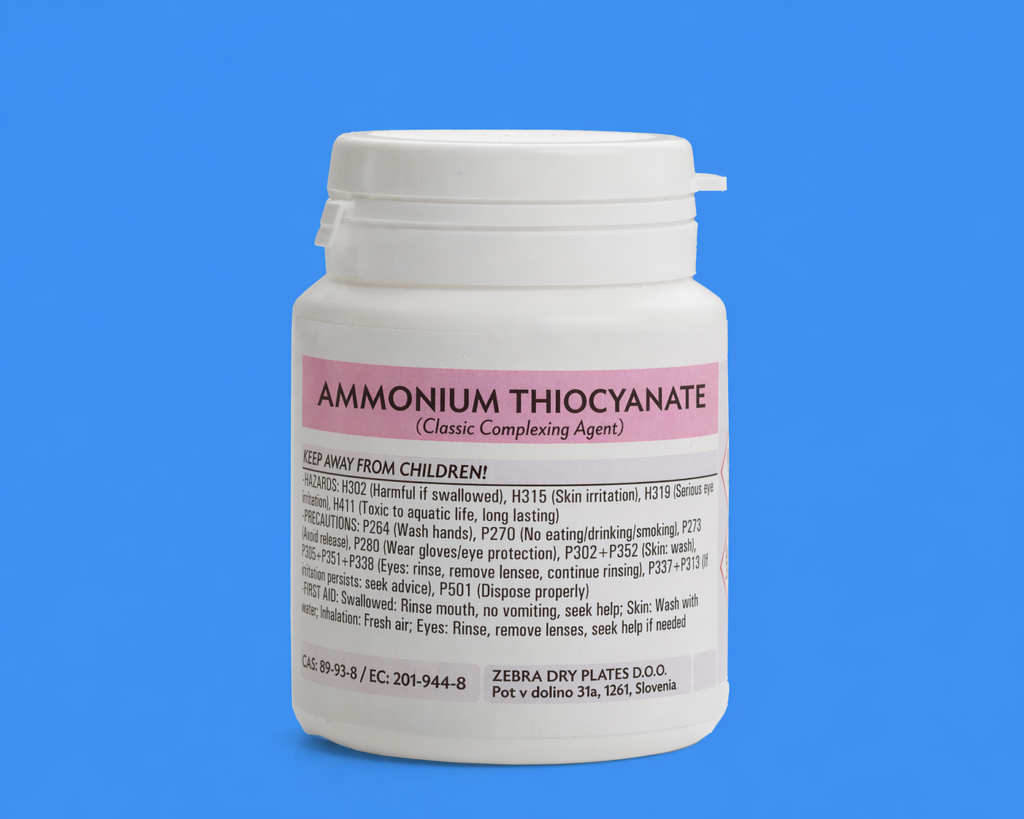
Potassium Thiocyanate - Our Recommended Complexing Agent
Earlier versions of this manual recommended ammonium thiocyanate, and excellent results can certainly still be achieved using it.
However, after extensive testing over the past year we have transitioned to potassium thiocyanate as our recommended complexing agent.
During our experiments we compared both compounds using several different developers while varying only a single parameter at a time.
Although both work on the same principle, potassium thiocyanate consistently produced:
- Brighter and cleaner highlights
- More neutral whites
- Smoother tonal transitions
- Better repeatability
- More even bleaching across the image
For these reasons all of the formulas in this guide are based on potassium thiocyanate.
Photographers who are already comfortable using ammonium thiocyanate are welcome to continue doing so, but for anyone starting today we strongly recommend potassium thiocyanate.
🔬 Research Note
Our recommendations are not based on a single successful formula. They are the result of several hundred experimental plates processed while systematically changing only one variable at a time. Although our research continues, potassium thiocyanate has consistently delivered the most repeatable and visually pleasing results.
14,81 € – 106,45 €Price range: 14,81 € through 106,45 € inc. U.S. import fees
Select options
This product has multiple variants. The options may be chosen on the product page
10,55 € – 74,48 €Price range: 10,55 € through 74,48 € inc. U.S. import fees
Select options
This product has multiple variants. The options may be chosen on the product page
Our Three Recommended Developers
After testing numerous developers, we eventually settled on three formulas that consistently produced excellent direct positives.
Each has its own character, but all share the same development time and use the same amount of potassium thiocyanate.
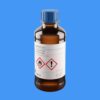
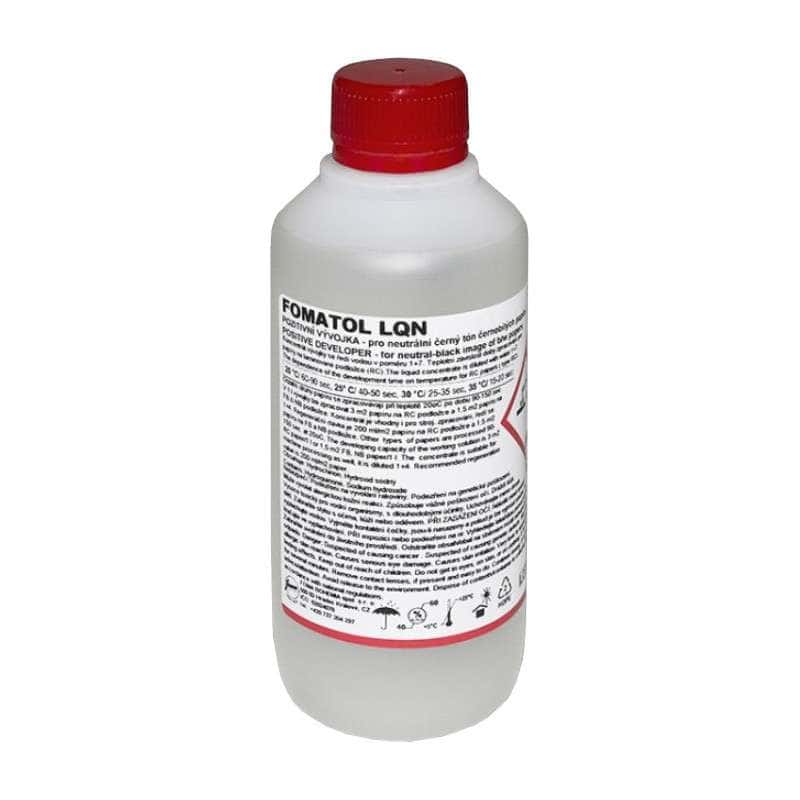
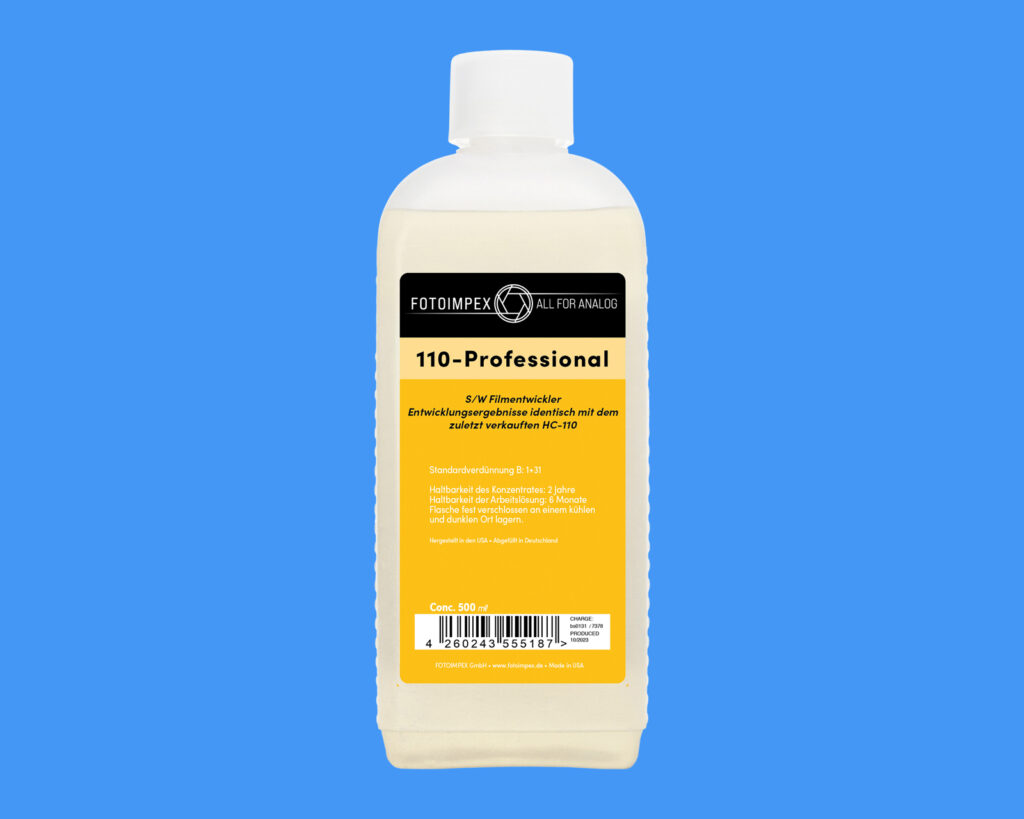
HC-110 (Our Recommendation)
Working Solution
- 200 ml water
- 1.5 ml HC-110 syrup concentrate
- 1 g potassium thiocyanate
Development time: 5 minutes
If we had to recommend only one developer for Zebra Direct Positive Plates, this would be it.
HC-110 produces beautiful, slightly warmer positives with excellent highlight brilliance and rich tonal separation. It is easy to mix, has exceptional shelf life and delivers remarkably consistent results from one session to the next.
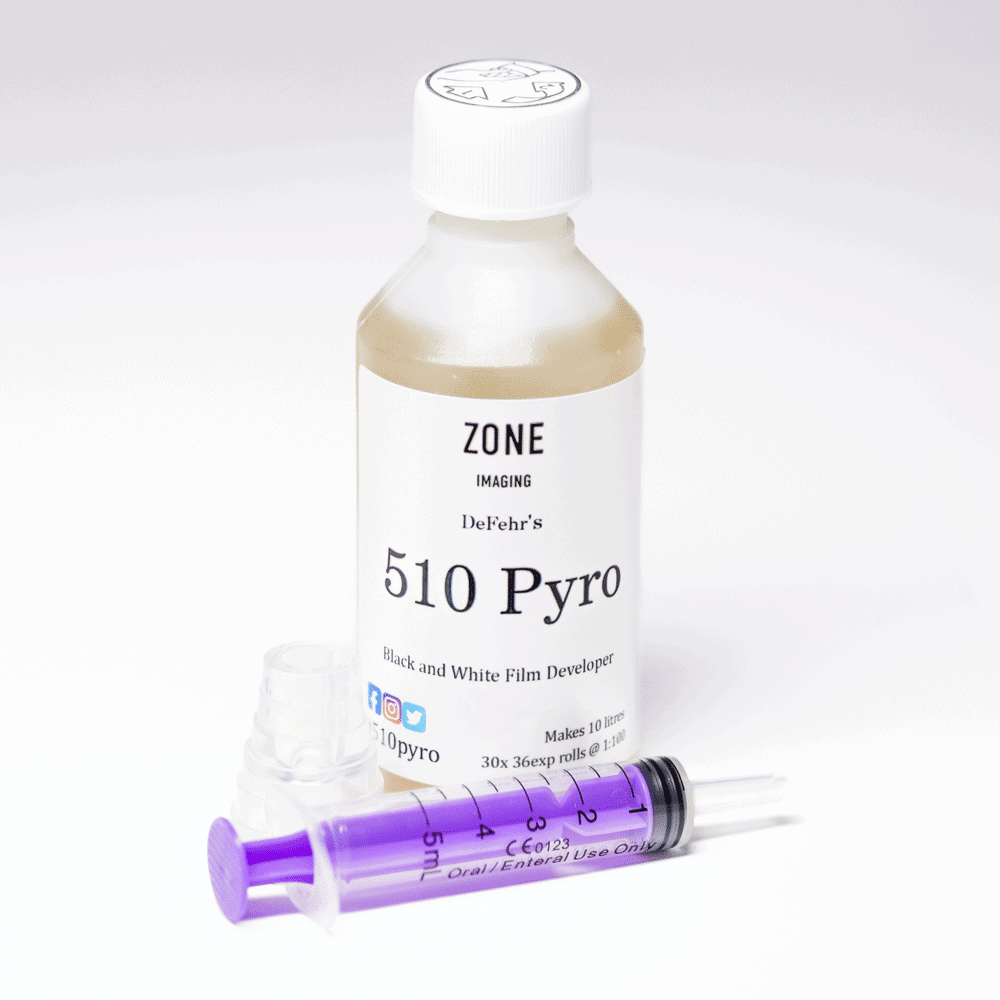
510 Pyro
Working Solution
- 200 ml water
- 1.5 ml 510 Pyro
- 1 g potassium thiocyanate
Development time: 5 minutes
510 Pyro produces a slightly different interpretation of the image. Many photographers appreciate its rich tonal separation and distinctive rendering, particularly for landscapes and fine art subjects.
Fomatol LQN
Working Solution
- 200 ml water
- 2 ml Fomatol LQN
- 1 g potassium thiocyanate
Development time: 5 minutes
Fomatol LQN produces beautiful positives with smooth tonal transitions and a slightly cooler character compared to HC-110.
Like the other recommended developers, it performs exceptionally well when combined with potassium thiocyanate.
Our Three Recommended Developers
Throughout this guide we’ve presented the exact formulas we currently recommend.
Many photographers enjoy sourcing the individual chemicals themselves and experimenting with different developers. That spirit of experimentation has always been an important part of alternative photography and we encourage it.
However, if you’d rather spend your time making photographs than measuring chemicals, we also offer many of the components described throughout this guide, including potassium thiocyanate, developers and other darkroom chemistry.
We’re also currently working on a ready-to-use Zebra Direct Positive Developer, designed to provide the same balanced chemistry described in this guide without requiring any measuring or mixing.
31,86 € inc. U.S. import fees

Three Developers, Three Characters
Although all three developers produce excellent direct positives, they are not identical.
HC-110 has become our favourite because of its slightly warmer rendering, excellent highlight brilliance and exceptionally simple mixing procedure.
510 Pyro produces beautiful local contrast and rich tonal depth that many landscape photographers enjoy.
Fomatol LQN sits somewhere between the two, offering smooth tonal transitions with a slightly cooler overall appearance.
None of them is objectively “better.”
Choosing between them ultimately comes down to personal preference.
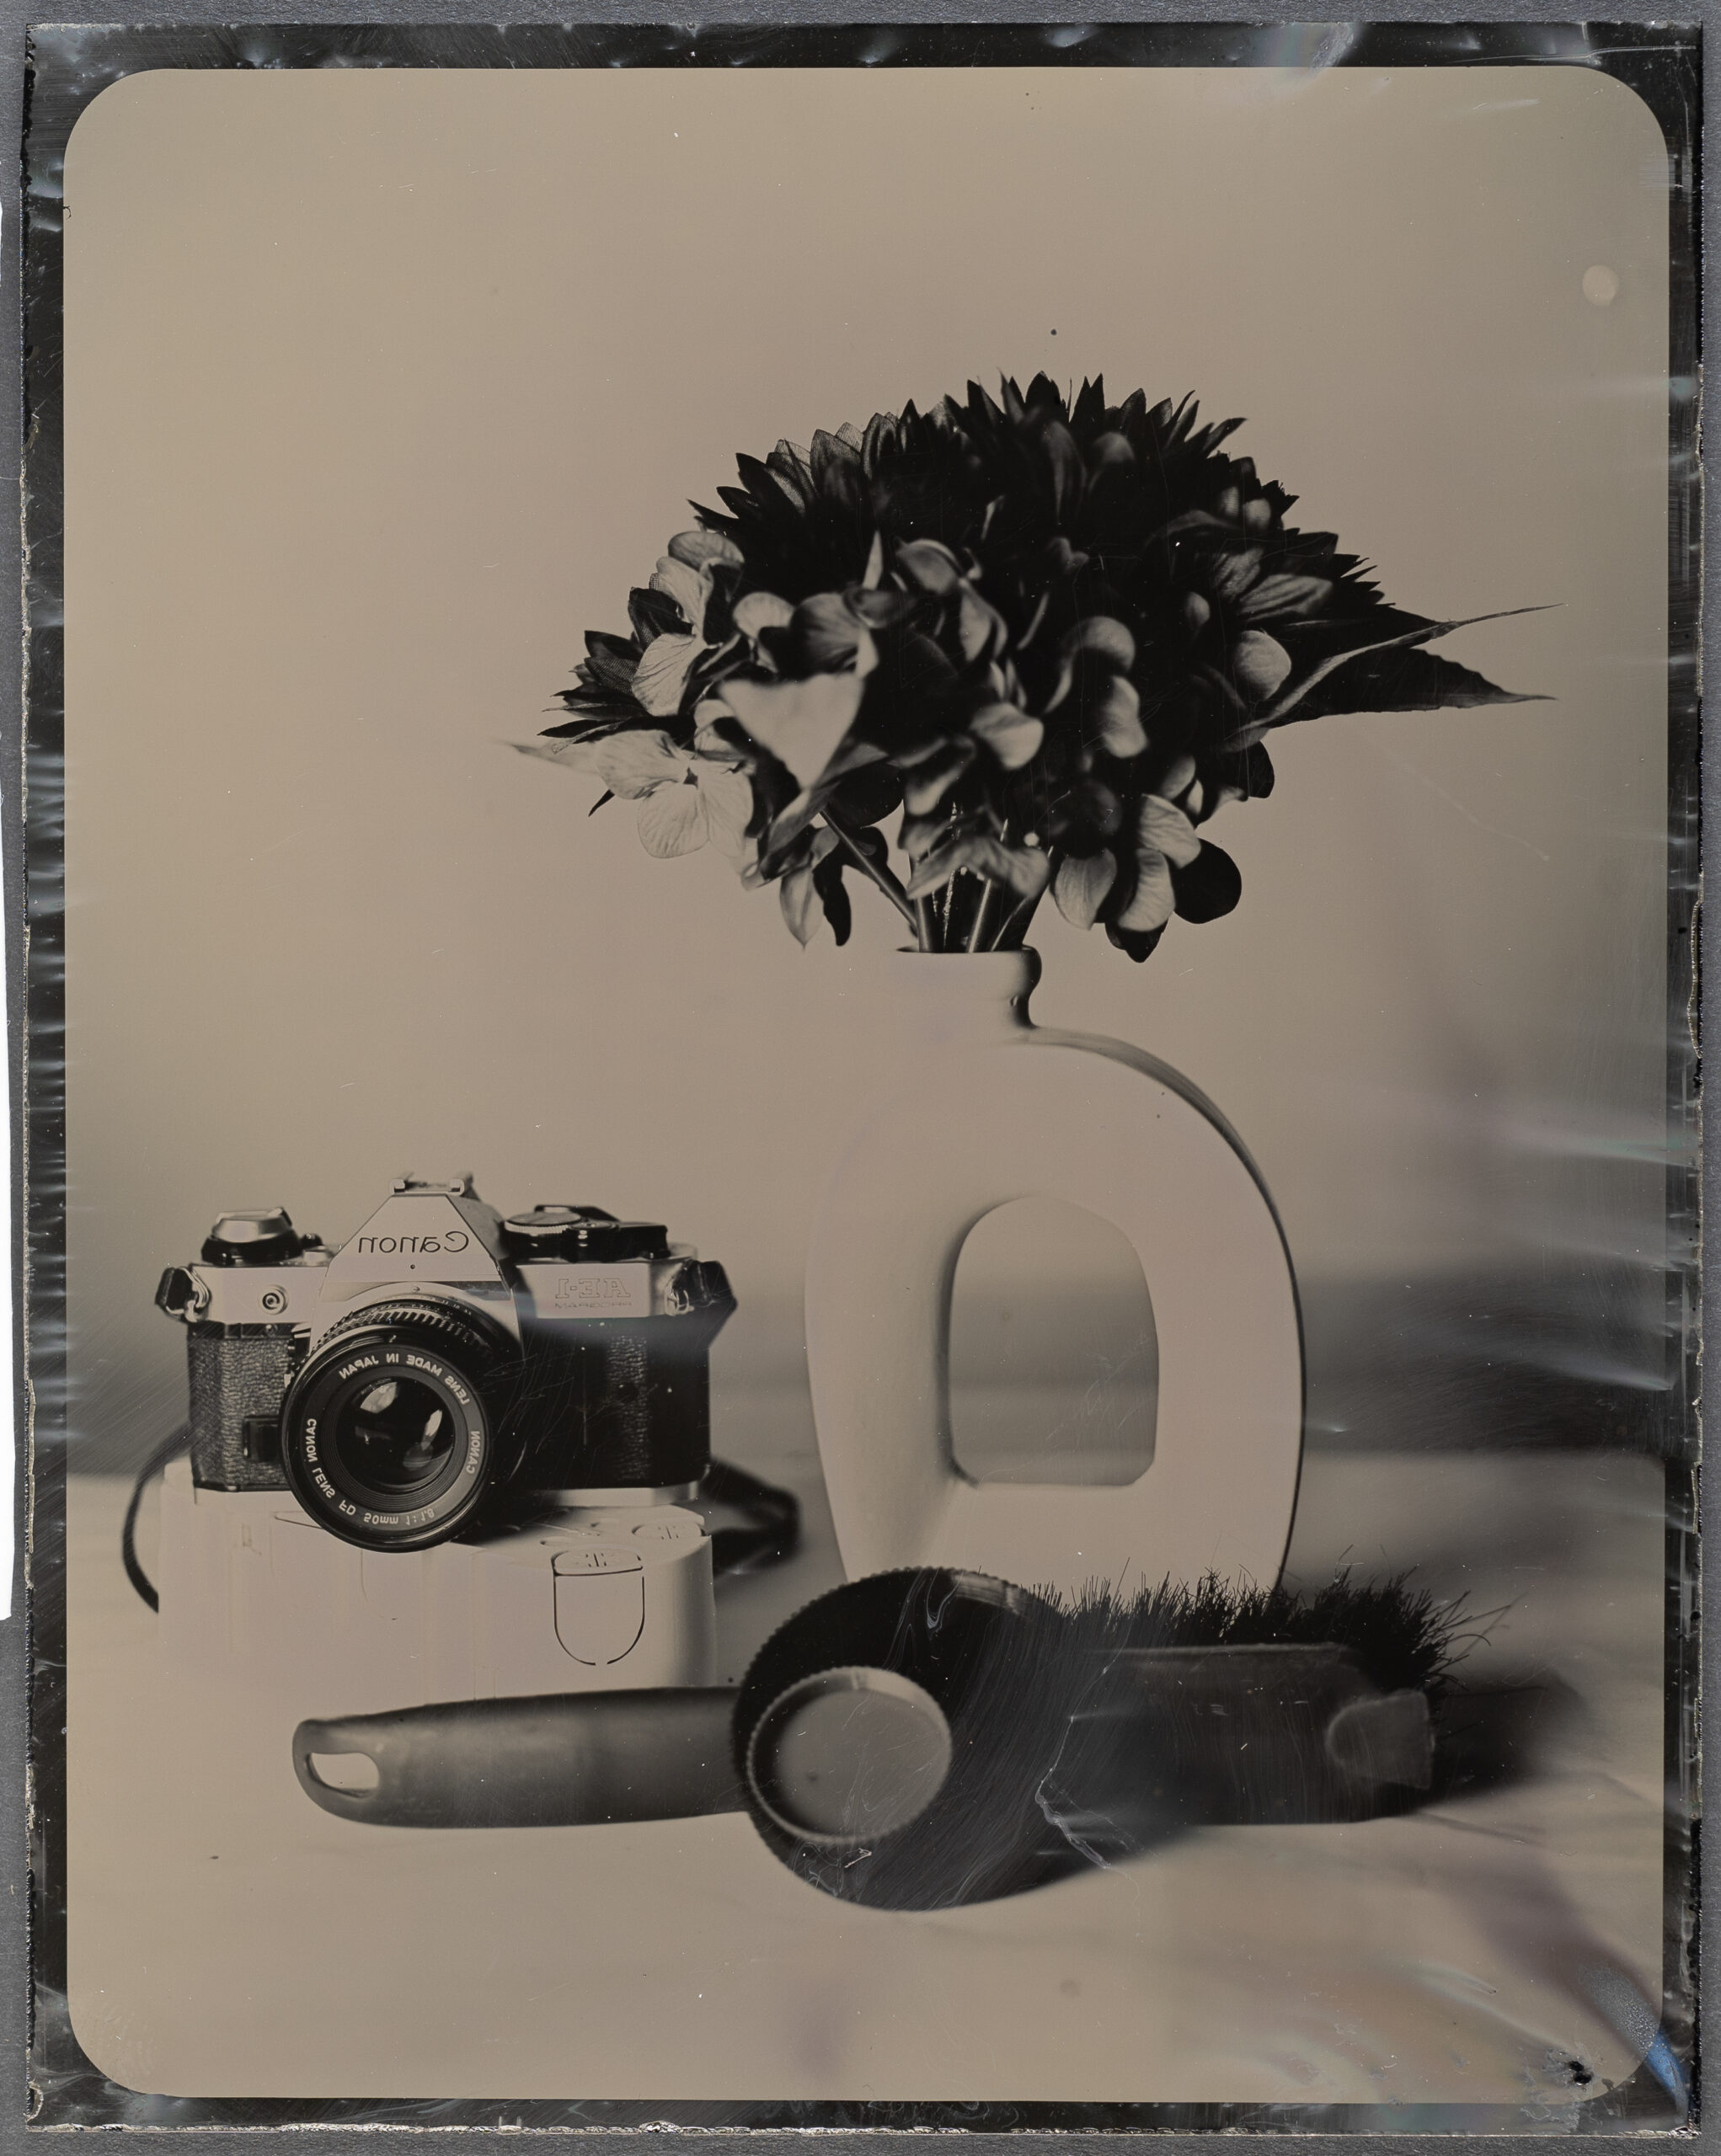
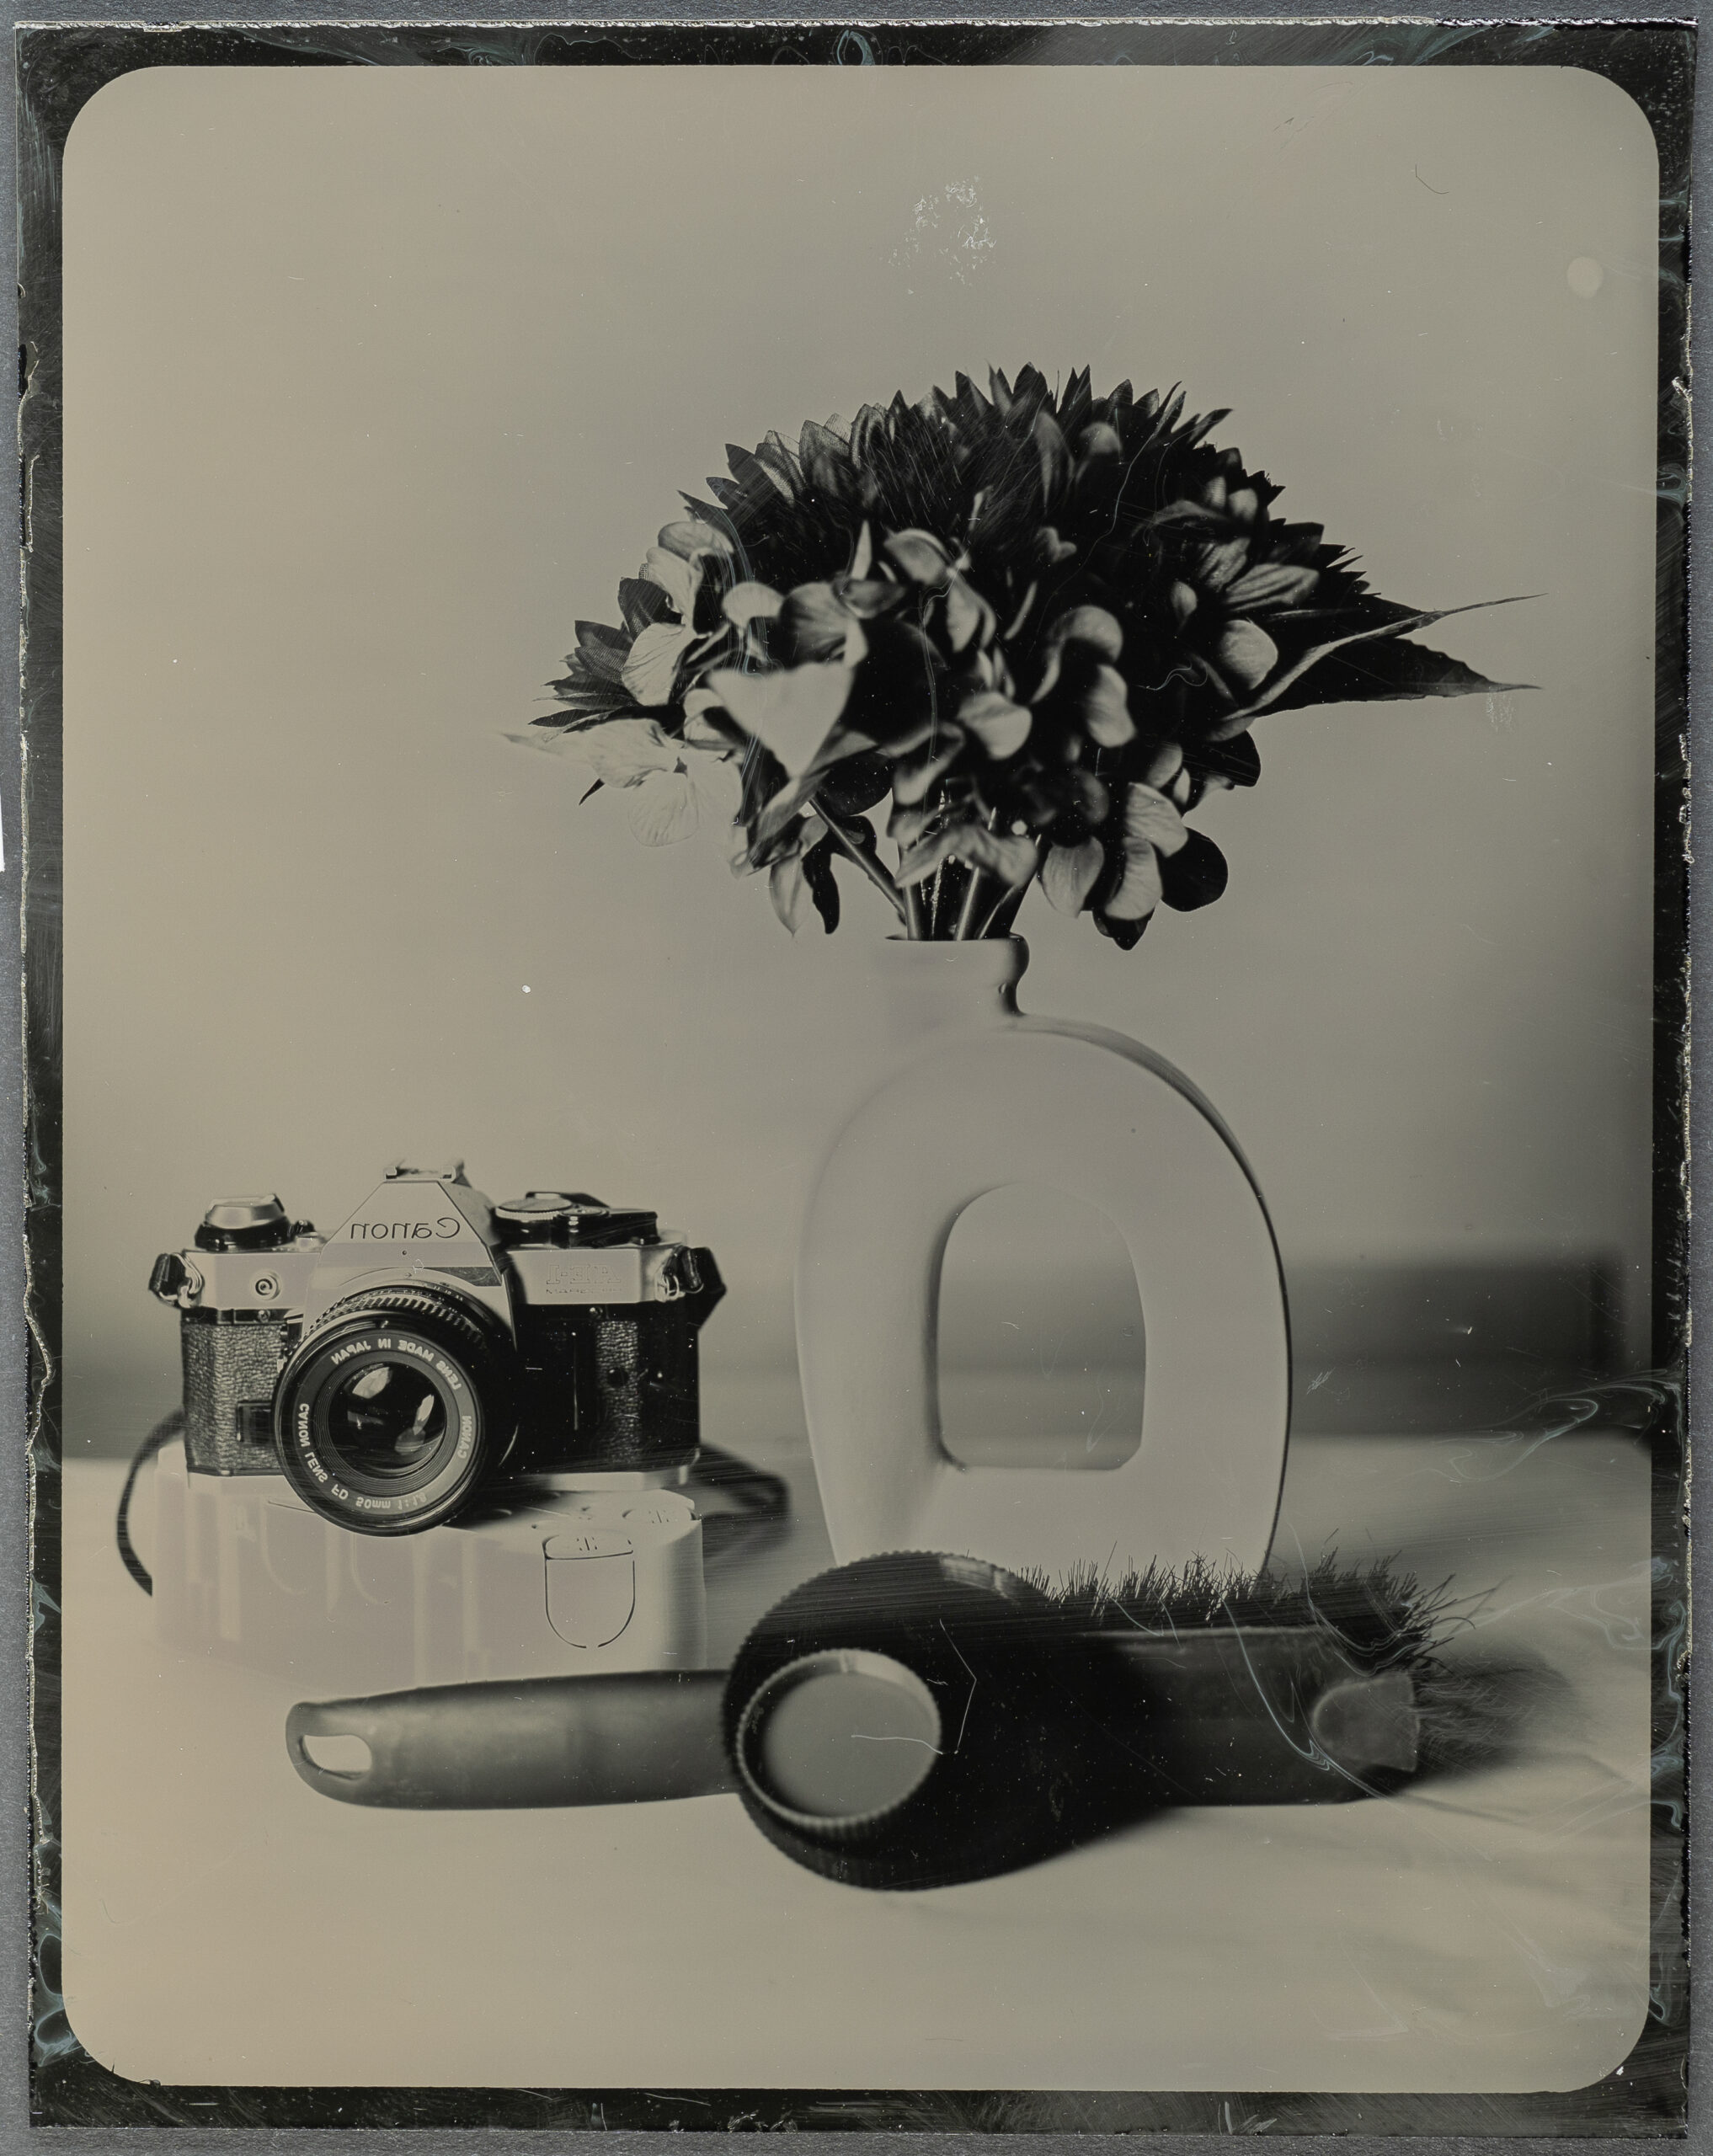
Mixing Matters
One lesson became very clear during our research.
The potassium thiocyanate must be completely dissolved before development begins.
If crystals remain undissolved, the concentration of the working solution changes continuously throughout development. As the remaining crystals gradually dissolve, different parts of the plate experience different chemical conditions, leading to uneven bleaching, inconsistent highlights and poor repeatability.
Always stir the solution thoroughly before placing the plate into the developer.
A few extra seconds spent mixing properly can prevent an otherwise excellent photograph from being ruined.
Fresh Chemistry Produces Better Results
Throughout our testing we also investigated how many plates could be developed in the same working solution.
The answer surprised us.
While the developer itself remains active, the potassium thiocyanate gradually becomes exhausted as it forms soluble silver complexes during development.
The consequence is immediately visible.
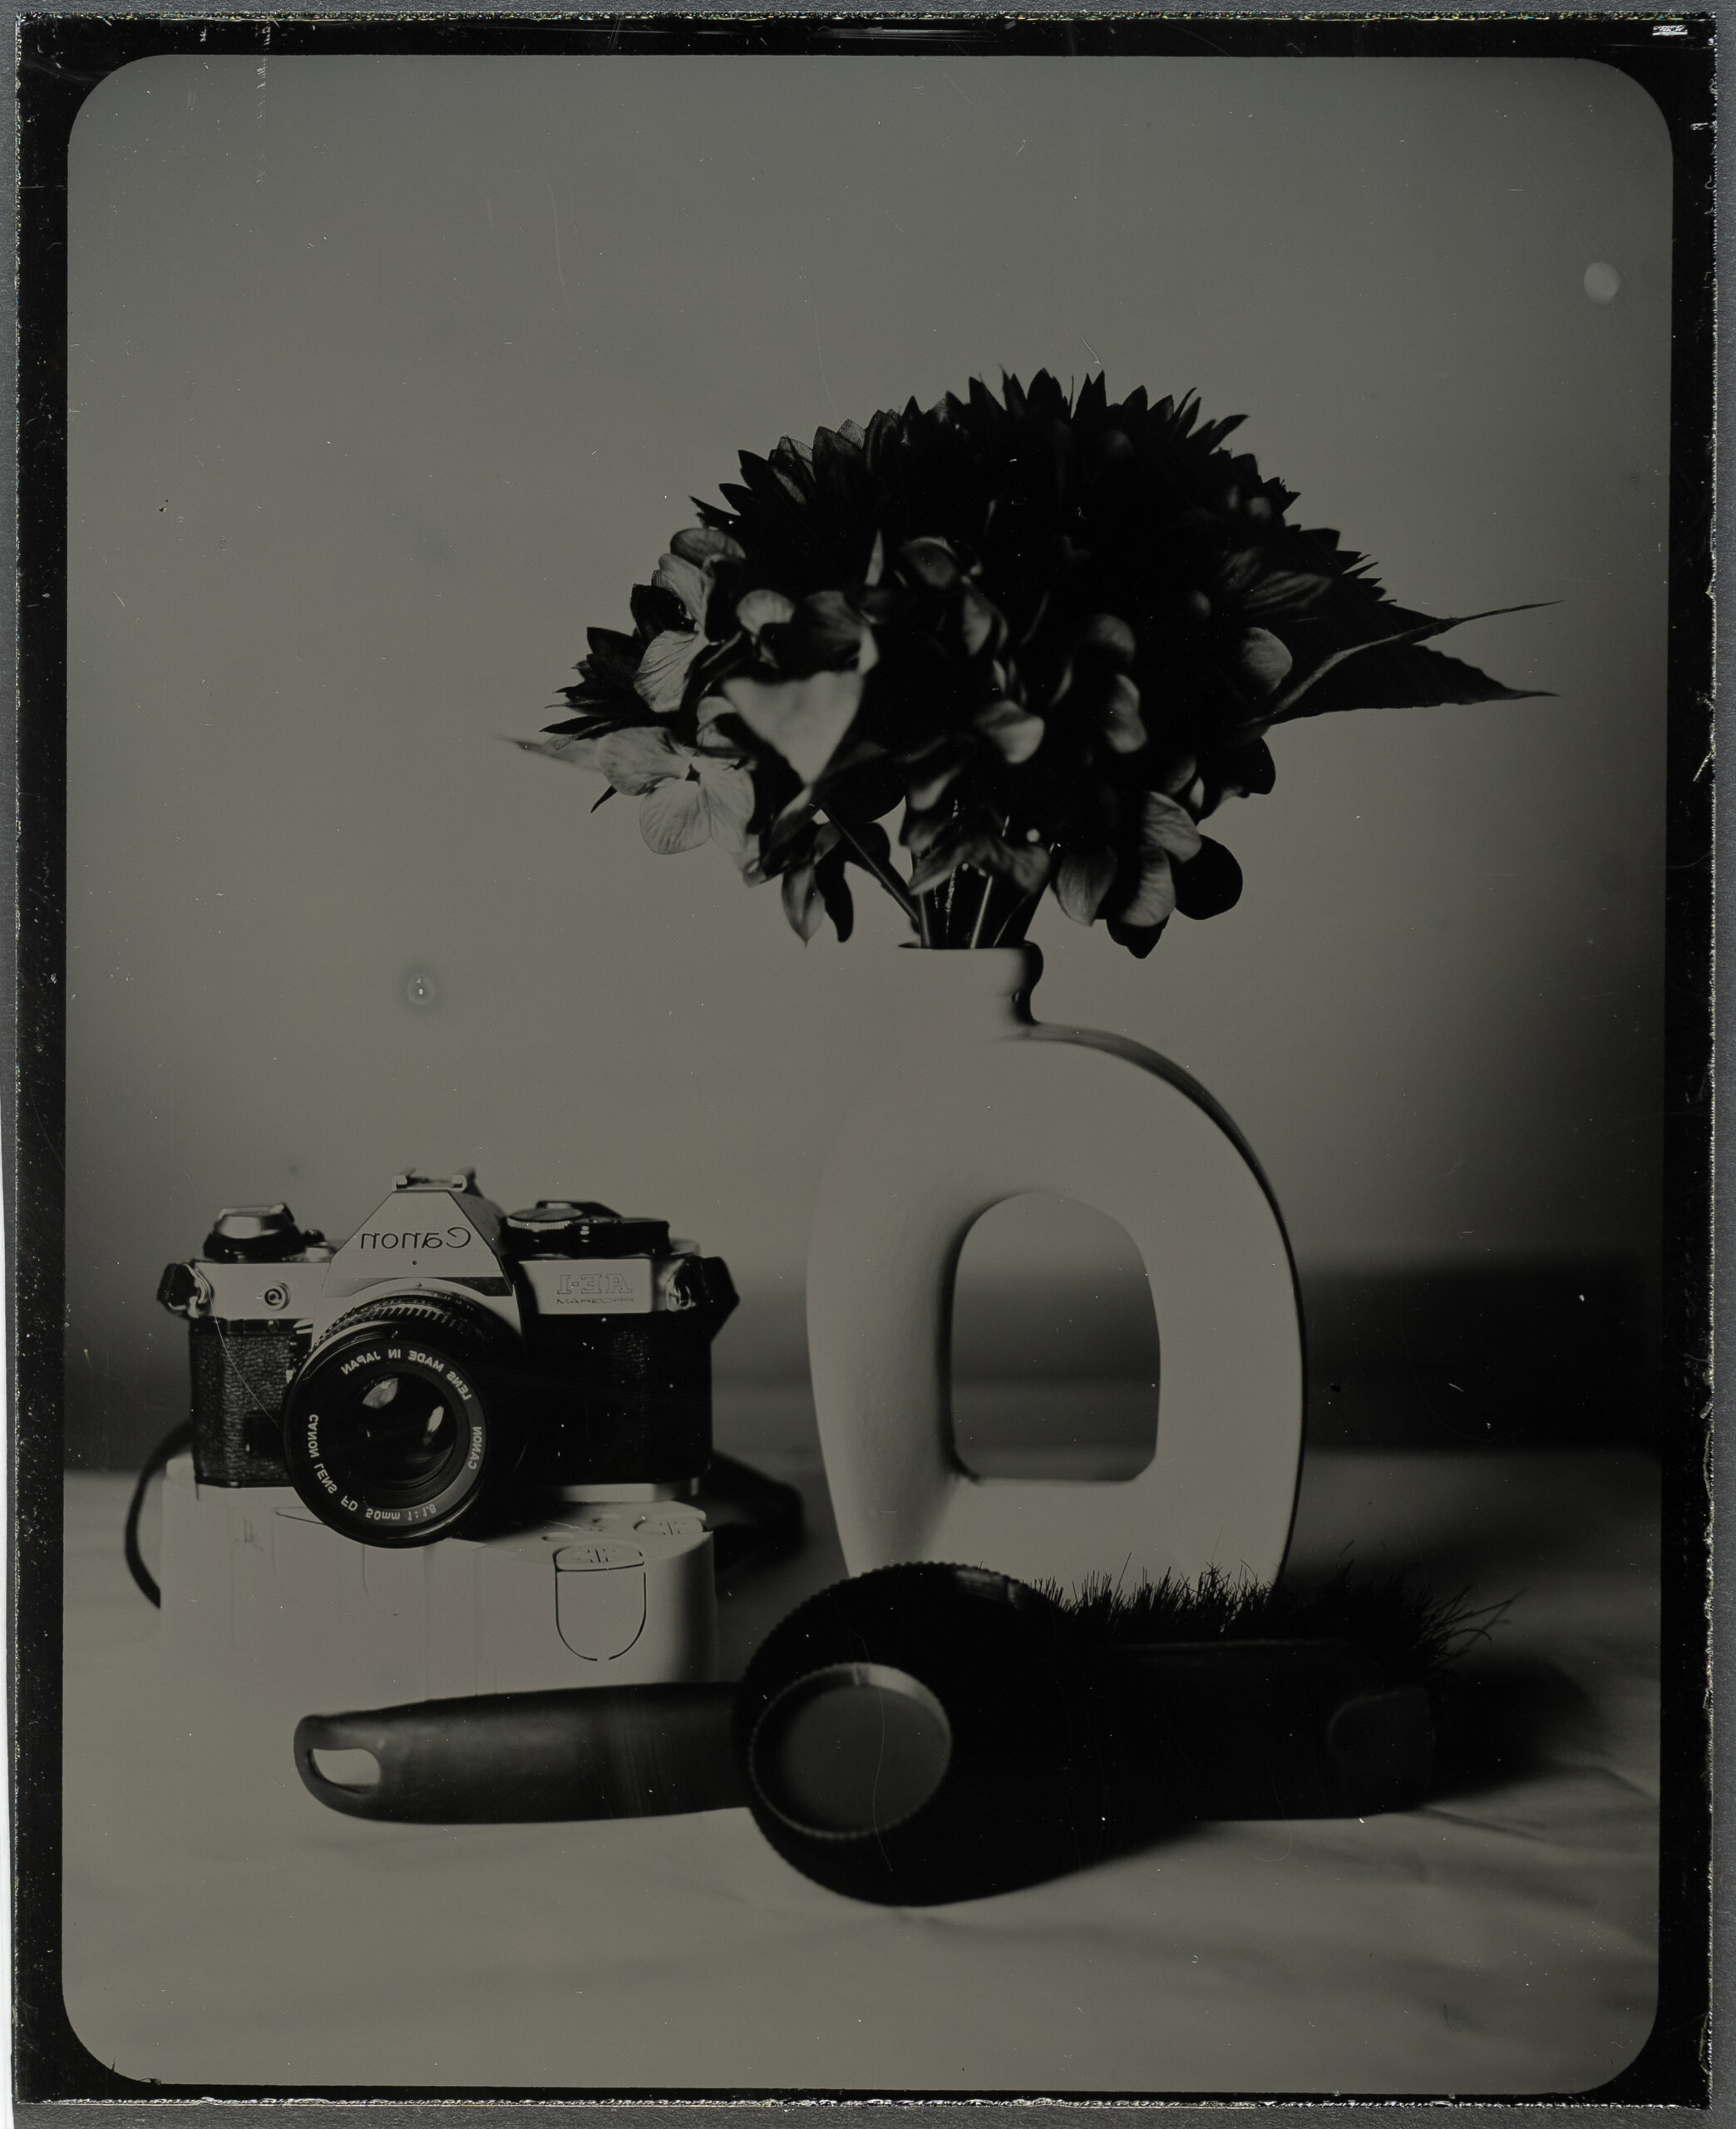
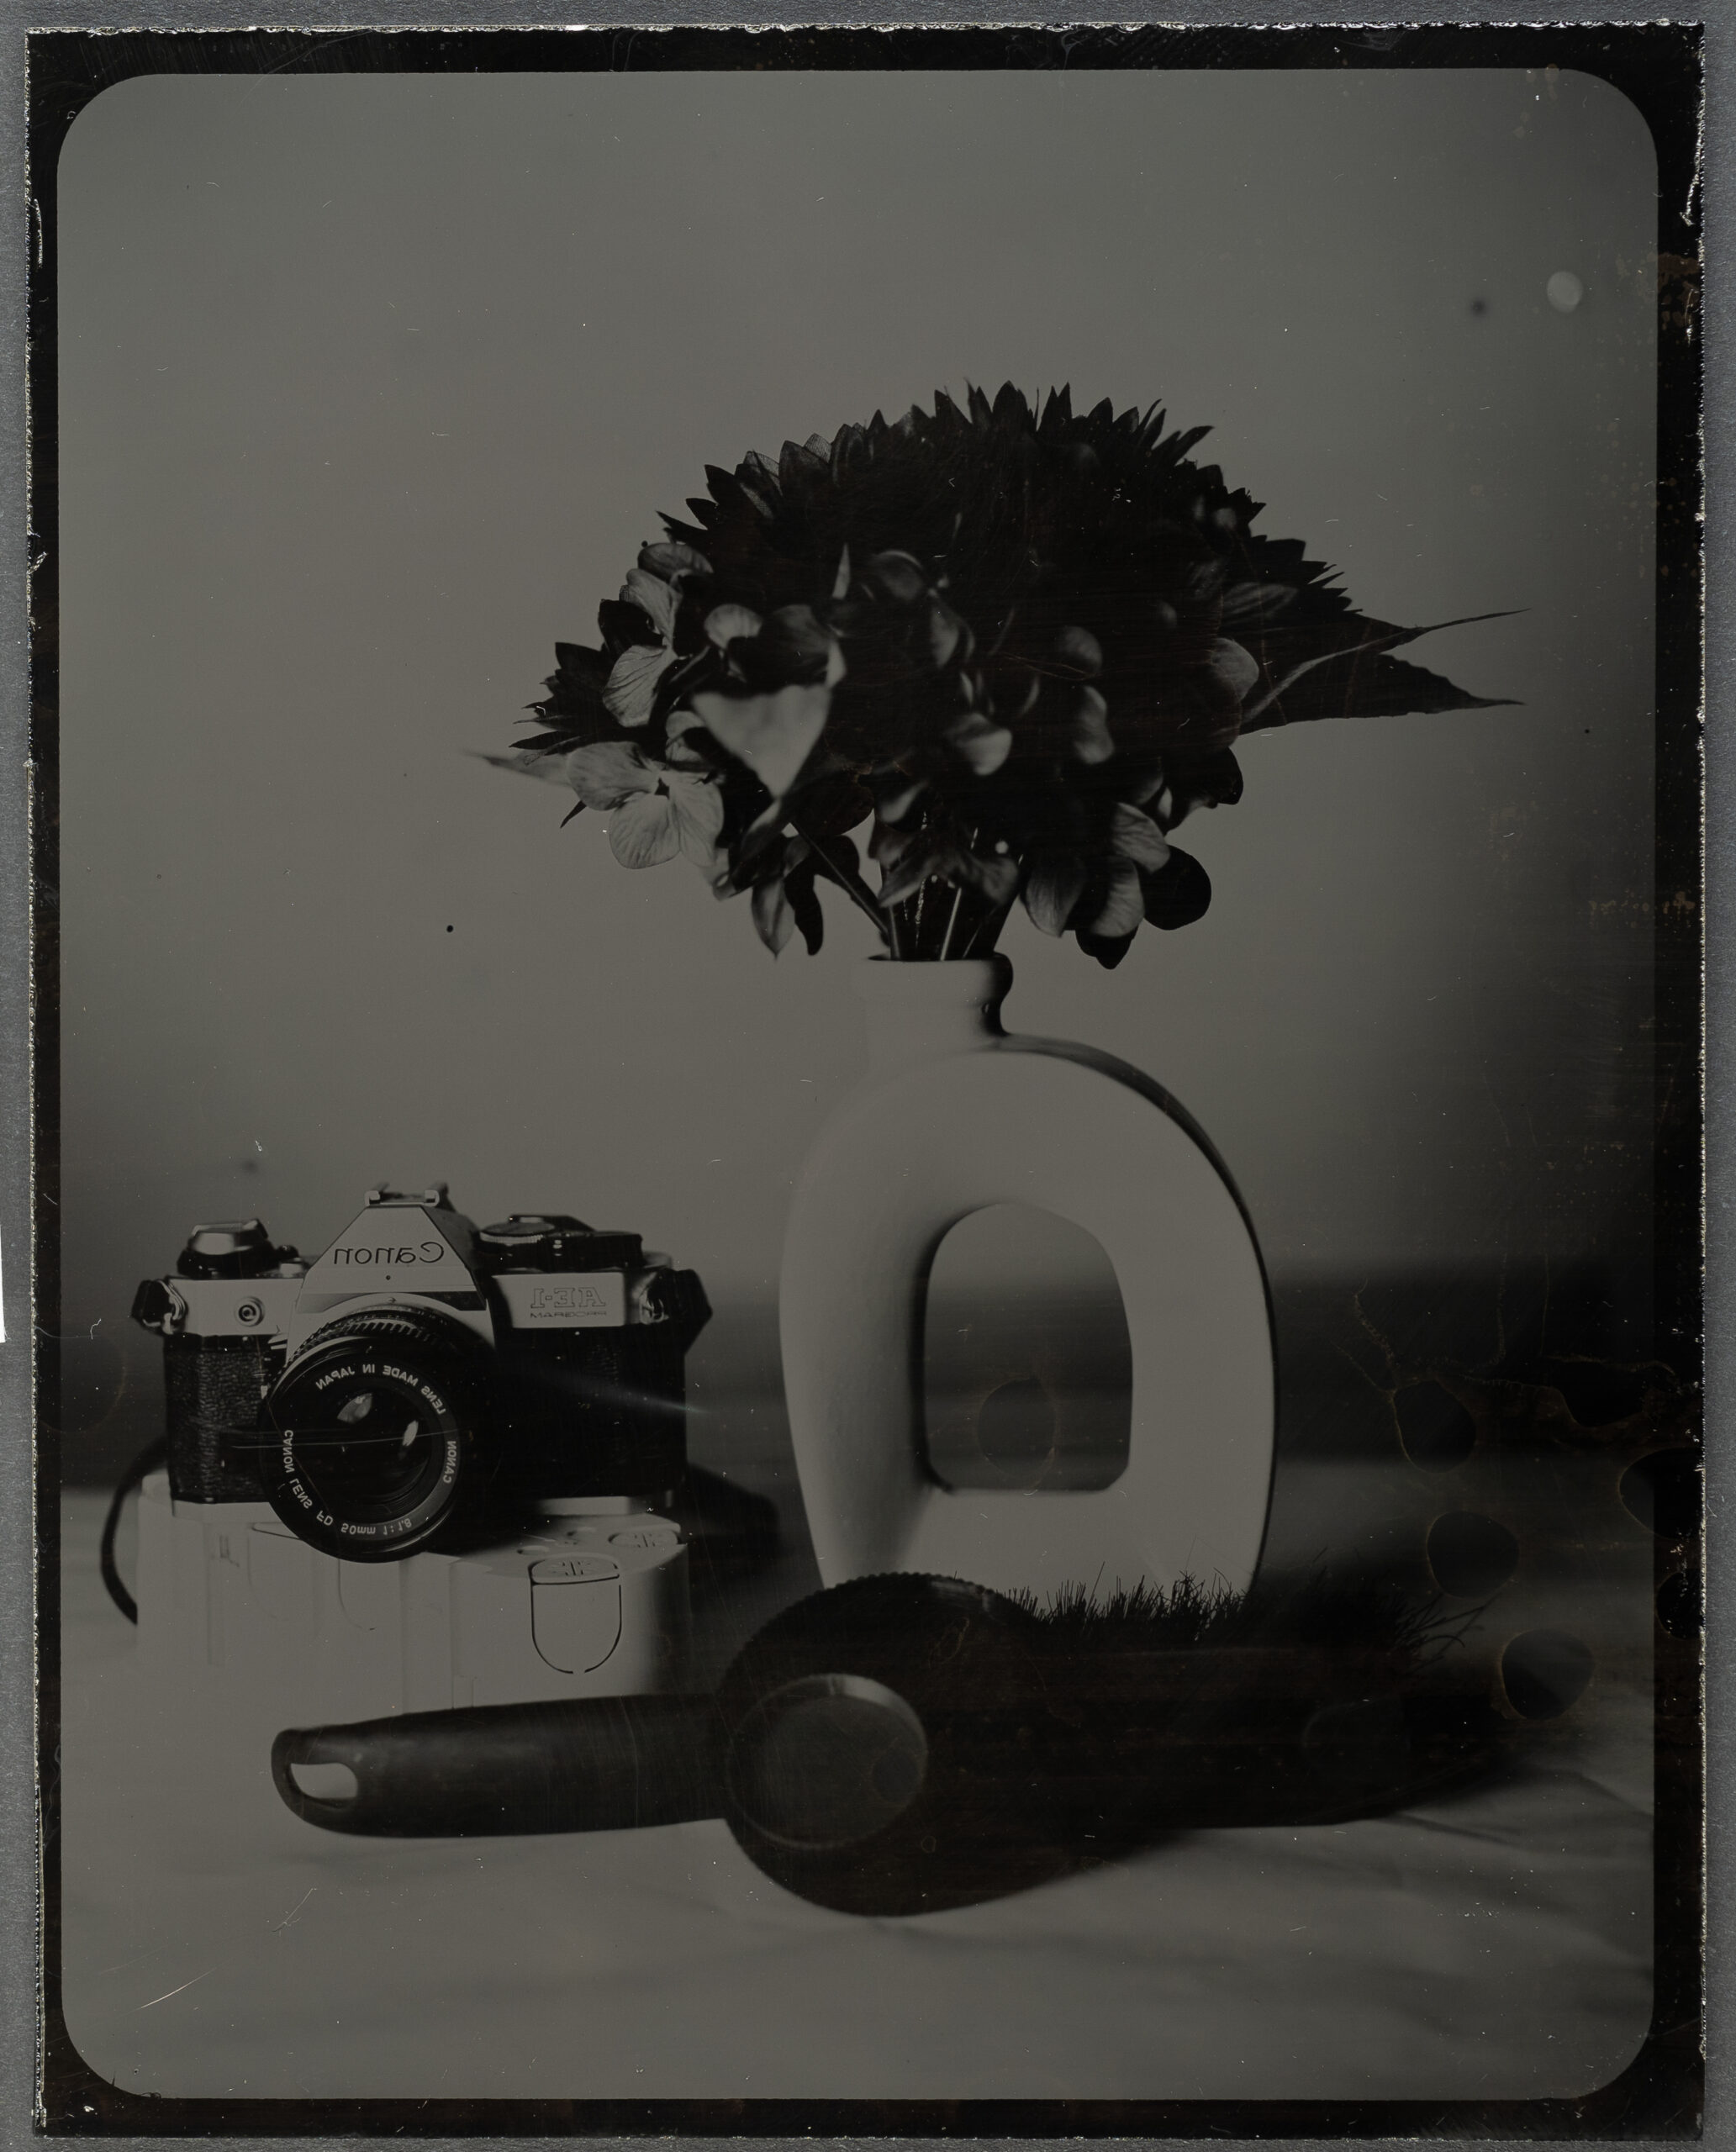
The first plate developed in fresh chemistry consistently displays brighter highlights, greater brilliance and better tonal separation.
The second plate, despite identical exposure and development time, becomes noticeably darker.
For this reason we recommend preparing fresh working solution for every plate whenever maximum image quality and repeatability are desired.
Considering the relatively small amount of chemistry required, fresh developer is one of the simplest ways to achieve consistently beautiful results.
💡 Zebra Tip
If you’re evaluating a new developer or experimenting with exposure, always use fresh chemistry. Reusing the developer introduces another variable that can make your results much more difficult to interpret.
Processing in Daylight
Although Zebra Direct Positive Plates can be developed successfully in open trays, many photographers now choose to process them using the Zebra Daylight Processing Tank.
After loading the plate in darkness, the remaining development, fixing and washing steps can all be completed in normal room light.
Besides making the workflow considerably cleaner, the tank offers:
- Excellent agitation consistency
- Reduced chemical consumption
- Cleaner working environment
- Greater repeatability
- Multi-format compatibility
If you regularly process multiple plates, it is one of the simplest ways to improve both convenience and consistency.
In the next section we’ll look at one of the most valuable skills you can develop: learning to read the plate while it’s still in the developer. Once you understand what a correctly developing plate should look like, you’ll often know whether the final positive will be successful long before it reaches the fixer.
Reading the Plate During Development
One of the most valuable skills you can develop when working with Zebra Direct Positive Plates is learning to judge the image before it reaches the fixer.
Experienced photographers can often predict the quality of the finished positive long before development has been completed simply by observing the appearance of the plate in the developer.
At first this may seem impossible, especially since you are not looking at the final positive. However, once you understand what the developing image should look like, the process becomes remarkably predictable.
What Should You Be Seeing?
Approximately 90 to 120 seconds after placing the plate into the developer, a faint image should begin to emerge.
Remember that this is not the final positive.
What you are seeing is a negative that is simultaneously being modified by the potassium thiocyanate.
The ideal appearance is a soft, medium-grey negative. It should have good contrast and clearly visible detail, but it should never become a dense black negative.
This often surprises photographers who are developing their first plate. Instinctively, many continue developing until the negative looks strong and dark, believing that a darker image must produce a better positive.
Unfortunately, the opposite is usually true.
Why Grey Instead of Black?
The goal of direct positive development is not to build the strongest possible negative.
Instead, the developer and potassium thiocyanate are working together to carefully balance silver reduction and silver complexing.
If the developer dominates, the negative continues becoming darker and denser. By the time the plate reaches the fixer, much of the delicate highlight information has already been lost.
A correctly balanced process therefore produces a surprisingly gentle-looking negative.
Don’t be tempted to chase a darker image.
Trust the chemistry.
💡 Zebra Tip
One of the biggest mistakes beginners make is judging the plate while it is still in the developer.
The finished photograph simply doesn’t exist yet.
Wait until the plate has entered the fixer before deciding whether the exposure and chemistry were successful.
When the Negative Looks Too Dark
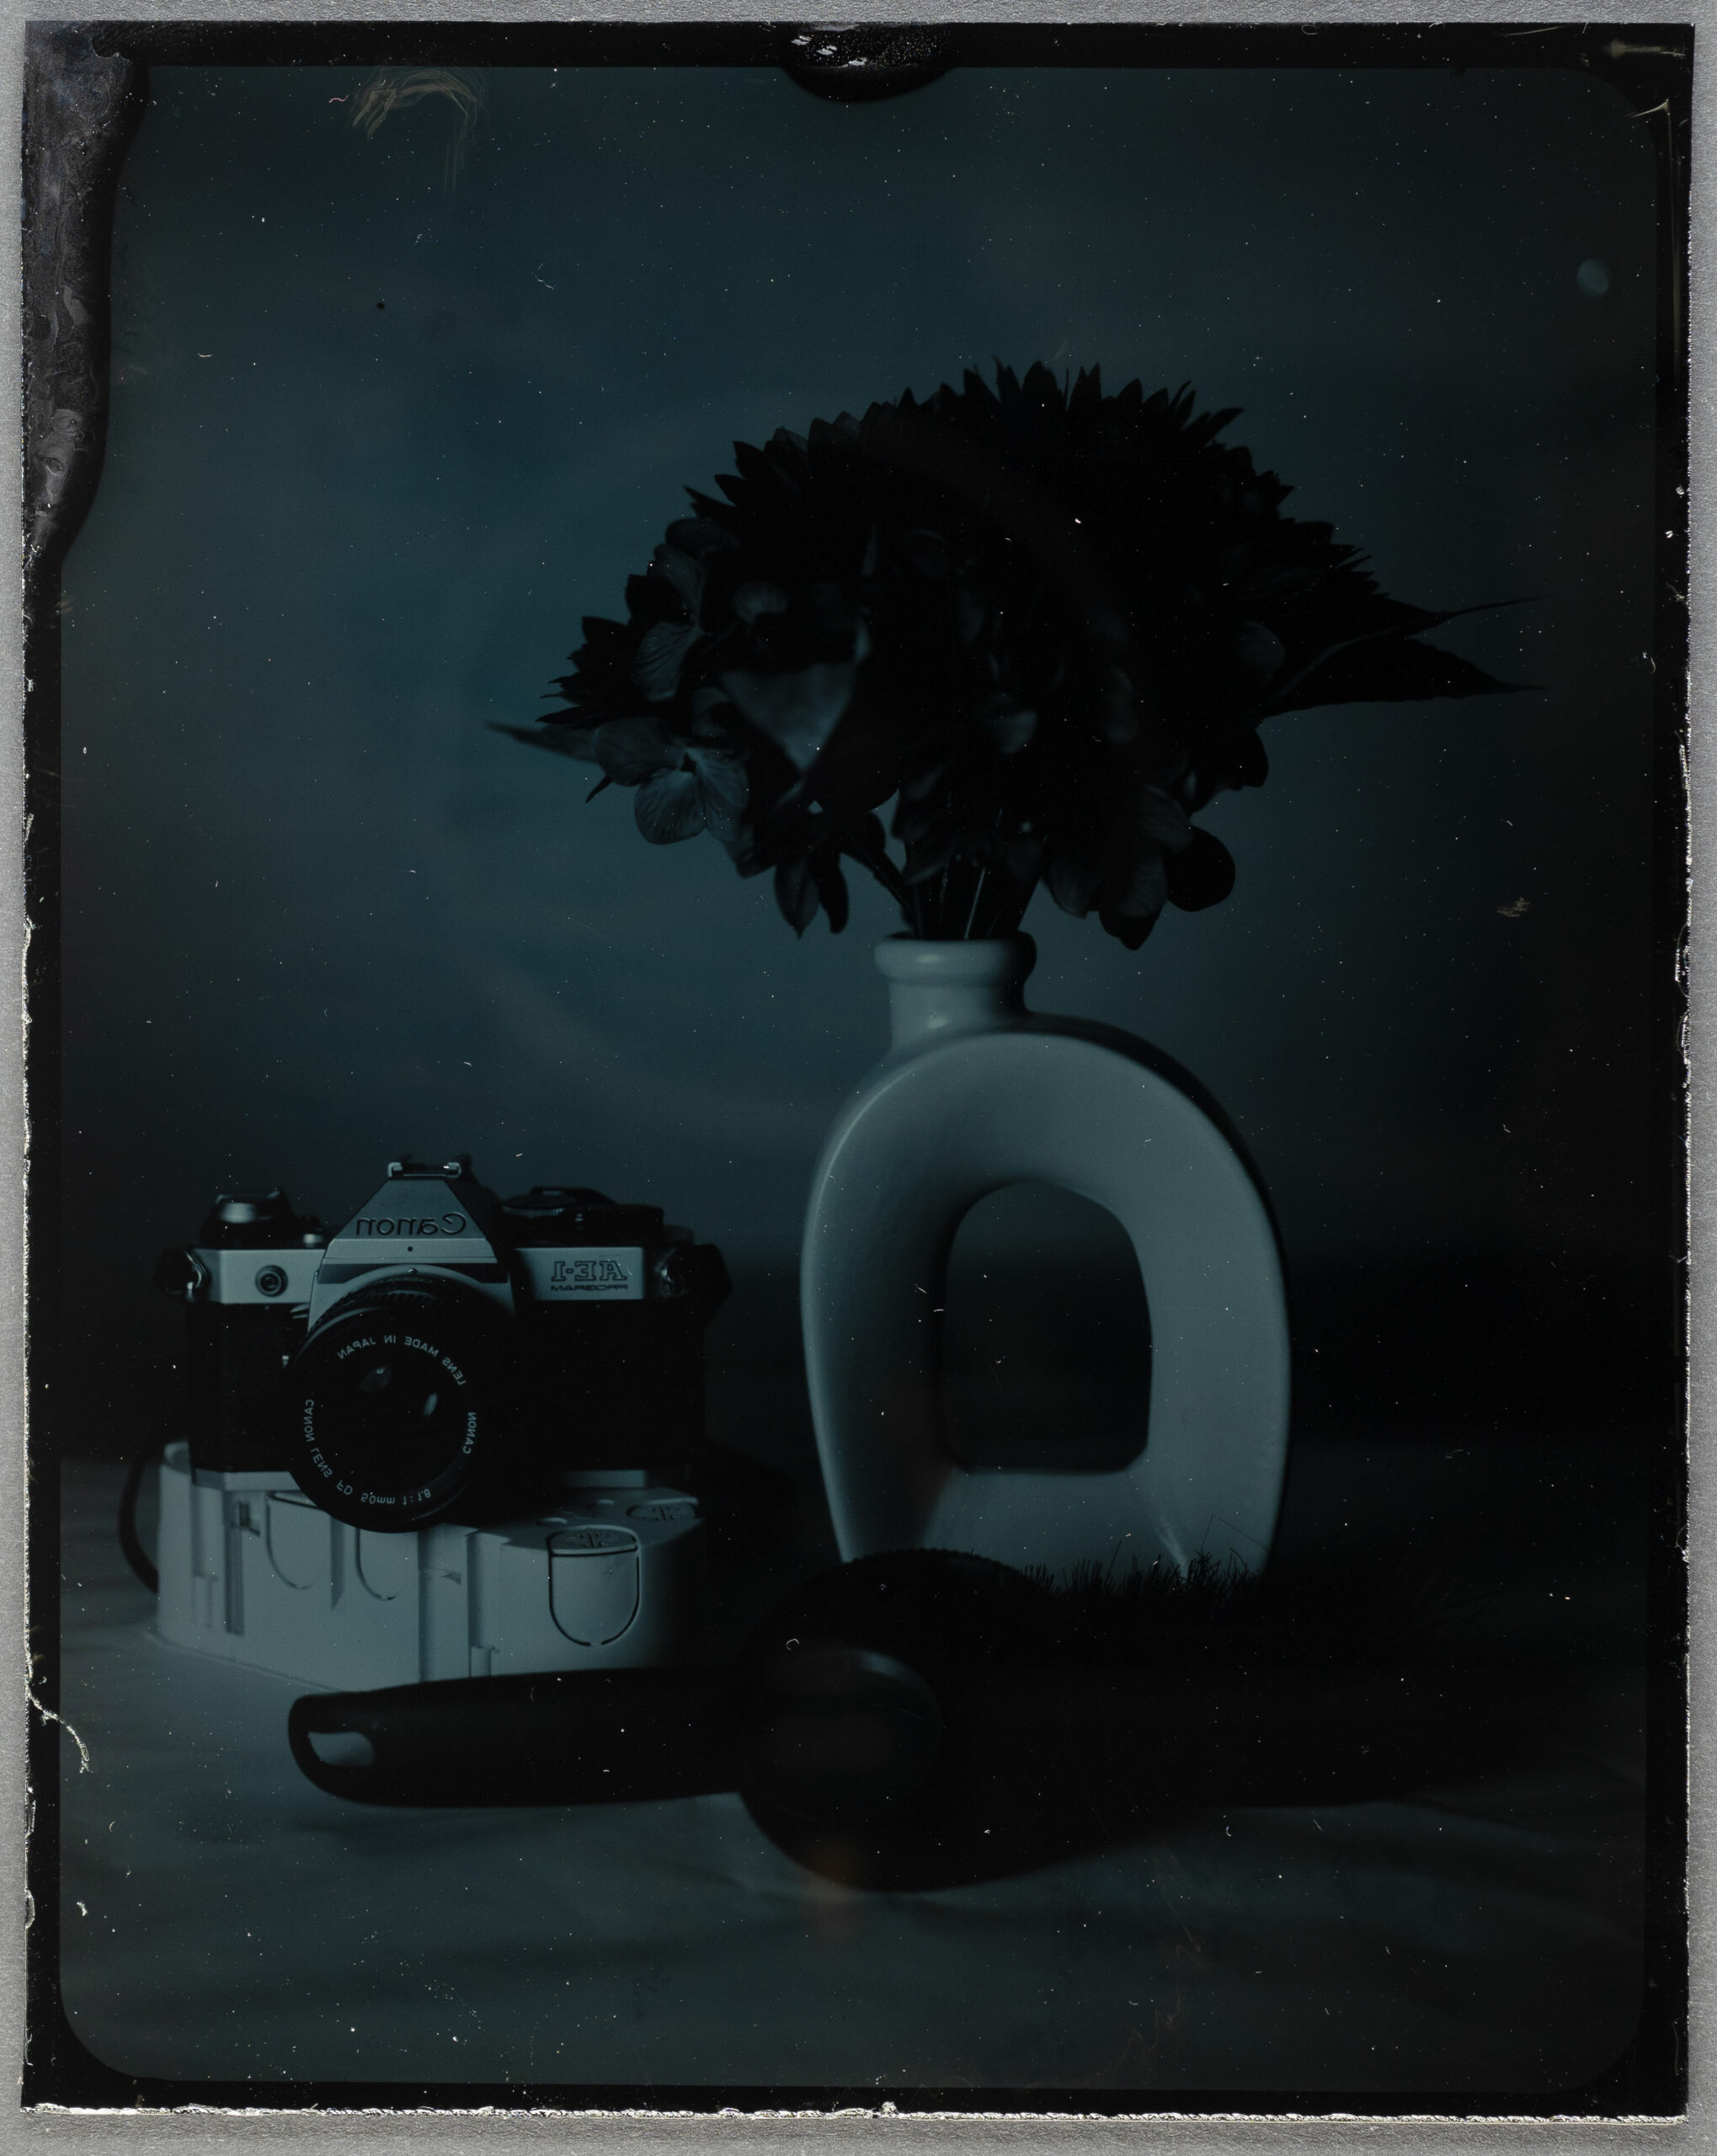
If the image begins developing into a dense black negative rather than remaining a soft grey, something is no longer in balance.
Although the appearance is similar, the underlying cause can be very different.
In our experience there are three common possibilities.
1. Too Much Developer
This is perhaps the most common cause.
Increasing the amount of developer causes metallic silver to form more rapidly than the potassium thiocyanate can modify it.
The developer begins overpowering the complexing action, producing darker positives with reduced highlight brilliance.
📷 Correct developer concentration compared with excessive developer concentration
2. Too Much Potassium Thiocyanate
At first glance this seems contradictory.
If potassium thiocyanate brightens the image, surely adding more should produce even brighter positives?
Our testing showed that this is not the case.
Once the concentration becomes too high, the chemistry begins acting too aggressively. Highlights develop unnaturally before progressing into visible solarisation. Instead of smooth tonal transitions, bright areas become harsh and lose detail.
More potassium thiocyanate does not necessarily produce brighter positives.
Like every part of the process, success lies in finding the correct balance.
3. Overexposure
The third possibility has nothing to do with chemistry at all.
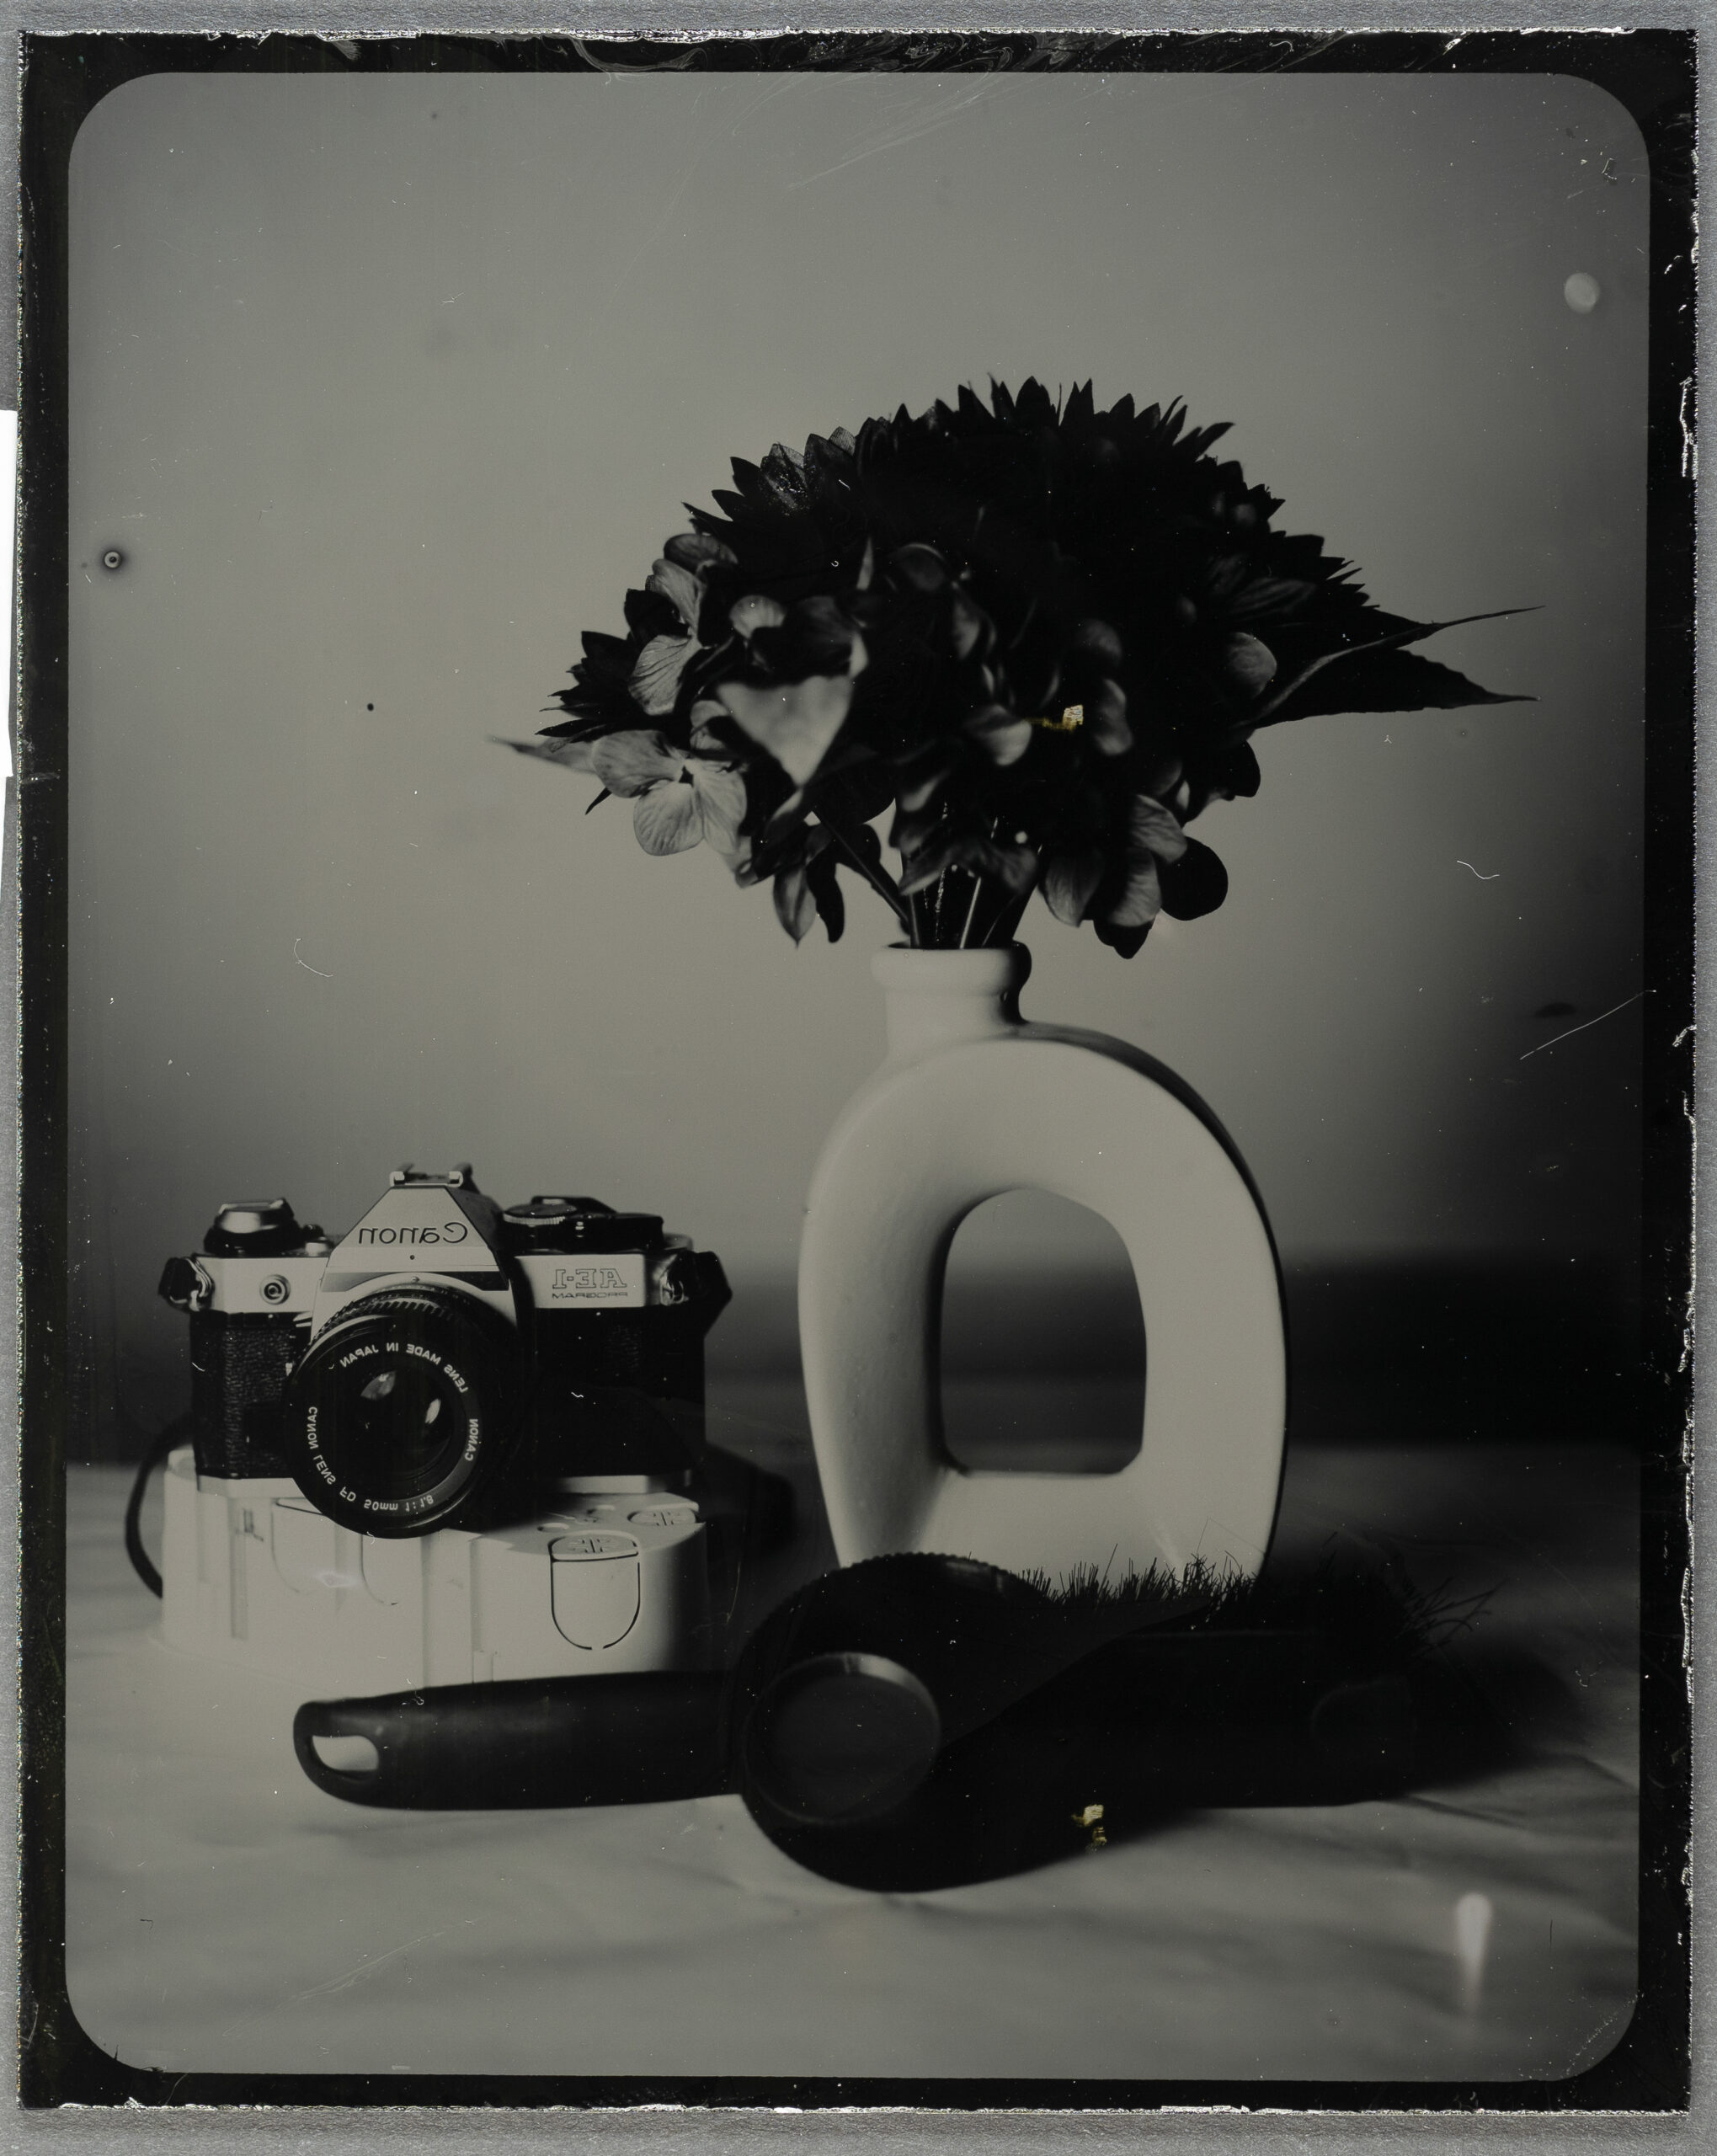
If the plate has received too much exposure, a much larger quantity of silver begins developing immediately. Even perfectly balanced chemistry struggles to compensate, and the negative quickly appears darker than expected.
Whenever you encounter this situation, consider your exposure before changing the developer formula.
Exposure is almost always easier to correct than chemistry.
📷 Correct exposure compared with overexposure
The Importance of Balance
Perhaps the biggest lesson we’ve learned throughout our research is that direct positive development is all about balance.
Early in our experiments we spent considerable time searching for the “perfect developer.”
Eventually we realised we were asking the wrong question.
The developer alone does not create a beautiful positive.
Neither does the potassium thiocyanate.
The image is created by the relationship between them.
Too little potassium thiocyanate and the chemistry behaves increasingly like conventional negative development.
Too much potassium thiocyanate and the highlights begin to solarise.
Too little developer produces weak negatives that struggle to build sufficient image density.
Too much developer overwhelms the complexing action and darkens the finished positive.
Every successful formula we have tested shares one characteristic.
It maintains the balance between these two competing reactions.
Once this principle is understood, developing direct positives becomes much less about memorising recipes and much more about understanding the chemistry.
Why We Recommend Our Standard Formula
After hundreds of experimental plates we eventually settled on our current recommendations because they consistently maintain this balance.
Could other formulas work?
Absolutely.
In fact, we encourage experimentation.
However, we strongly recommend becoming familiar with the standard formulas first. Once you understand how a correctly balanced plate should behave, experimenting with alternative developers becomes far easier and much more enjoyable.
Think of the recommended formulas not as limitations, but as a reliable starting point from which you can confidently explore your own creative workflow.
Research Note
One of the reasons direct positive dry plate photography can seem confusing is that there are very few modern references describing the process in detail. Much of the historical knowledge has been lost, and published formulas rarely explain why they work.
Everything presented in this guide is based on our ongoing research and practical experience. As we continue refining our emulsions and testing new chemistry, our recommendations will continue to evolve. We therefore encourage you to download the latest version of this guide from time to time to benefit from our newest findings.
With development complete, it’s finally time for the most exciting stage of the entire process.
In the next section we’ll place the plate into the fixer and watch the negative transform into the finished positive before our eyes.
Fixing, Washing & Drying
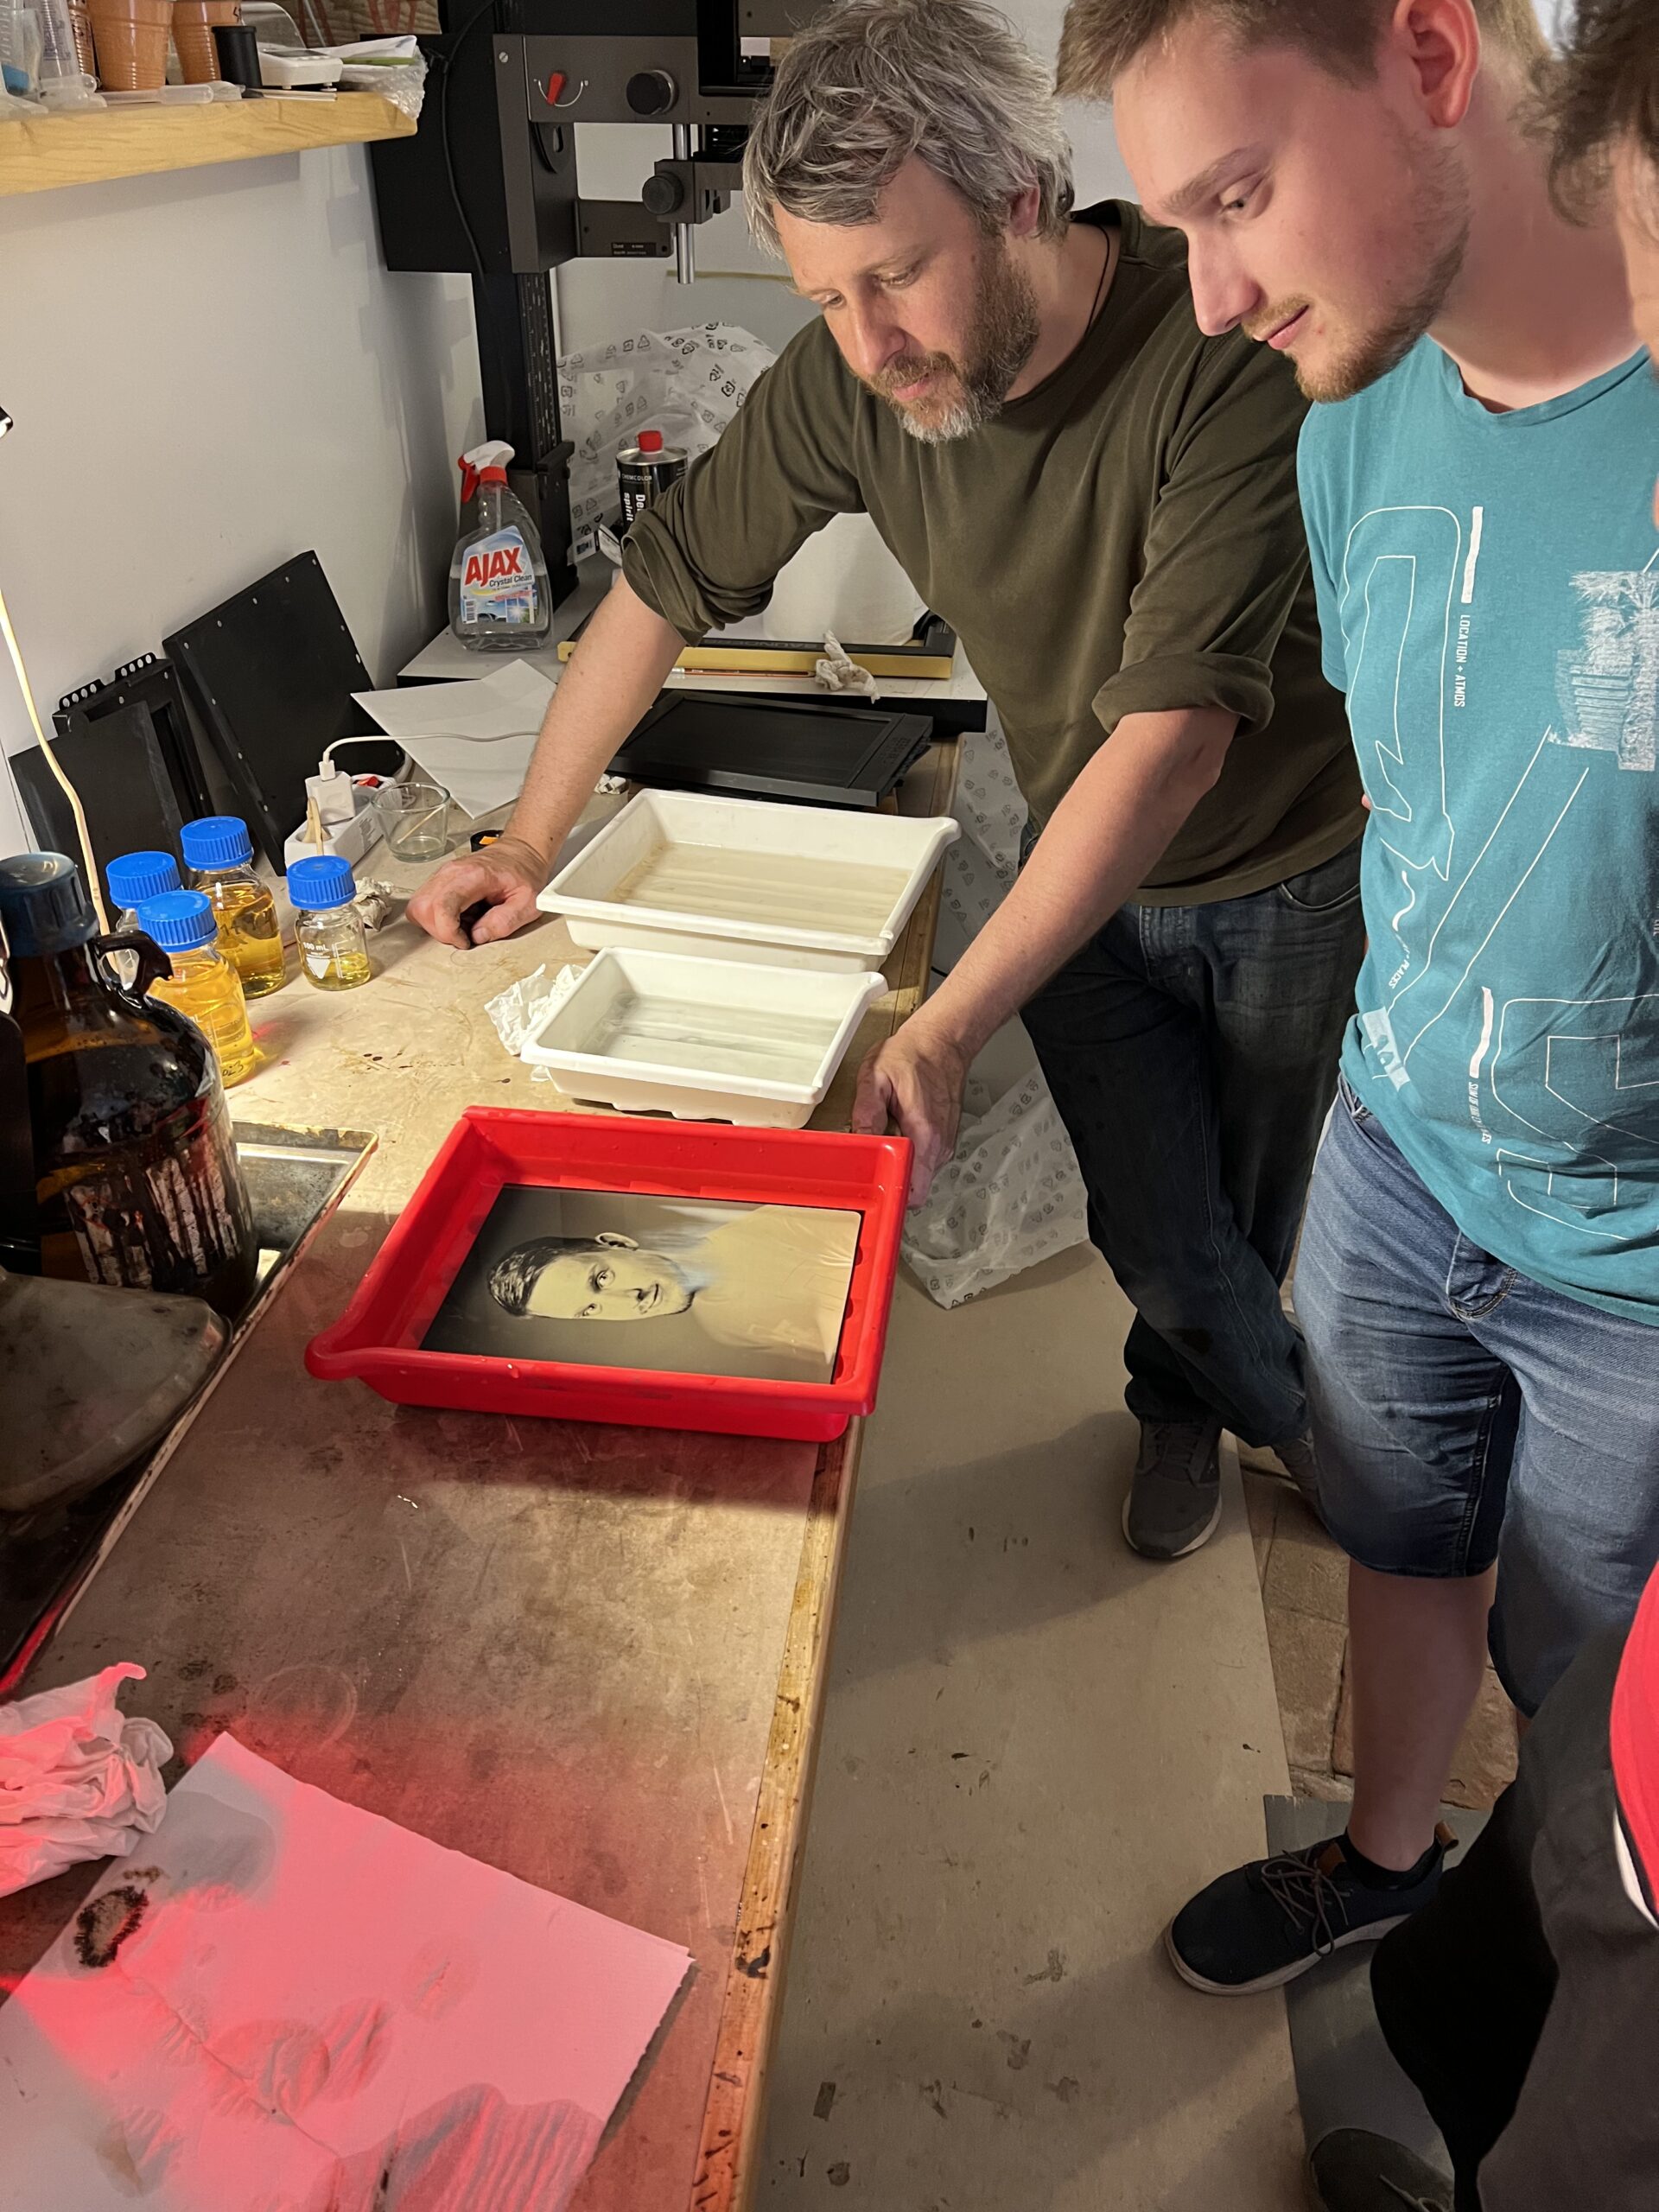
Development creates the image, but fixing reveals it. For many photographers this is the most exciting moment of the entire process, as the soft grey negative suddenly transforms into a beautiful direct positive.
Watching the Positive Appear
After approximately 5 minutes of development, remove the plate from the developer and allow the excess solution to drain for a few seconds.
Transfer the plate directly into a tray containing fresh rapid fixer.
Within seconds the transformation begins.
The grey negative slowly disappears as the remaining undeveloped silver halides dissolve away, revealing the finished positive beneath. Highlights become brighter, shadows deepen and the photograph takes on the unique appearance that makes direct positive photography so captivating.
Even after thousands of plates, this moment never loses its magic.
Recommended Fixing Time
Although the positive usually appears quite quickly, the plate should remain in the fixer long enough for all remaining silver halides to be completely removed.
For most rapid fixers we recommend a fixing time of approximately 4 minutes, following the dilution recommended by the manufacturer.
Removing the plate too early may leave residual silver halides within the emulsion, reducing archival stability and potentially causing staining or gradual deterioration over time.
Even if the image already looks complete, always allow the fixing process to finish.
💡 Zebra Tip
The photograph may appear finished after only a minute or two in the fixer.
Resist the temptation to remove it early.
The extra few minutes ensure the plate will remain stable for many years to come.
Understanding the Milky Veil
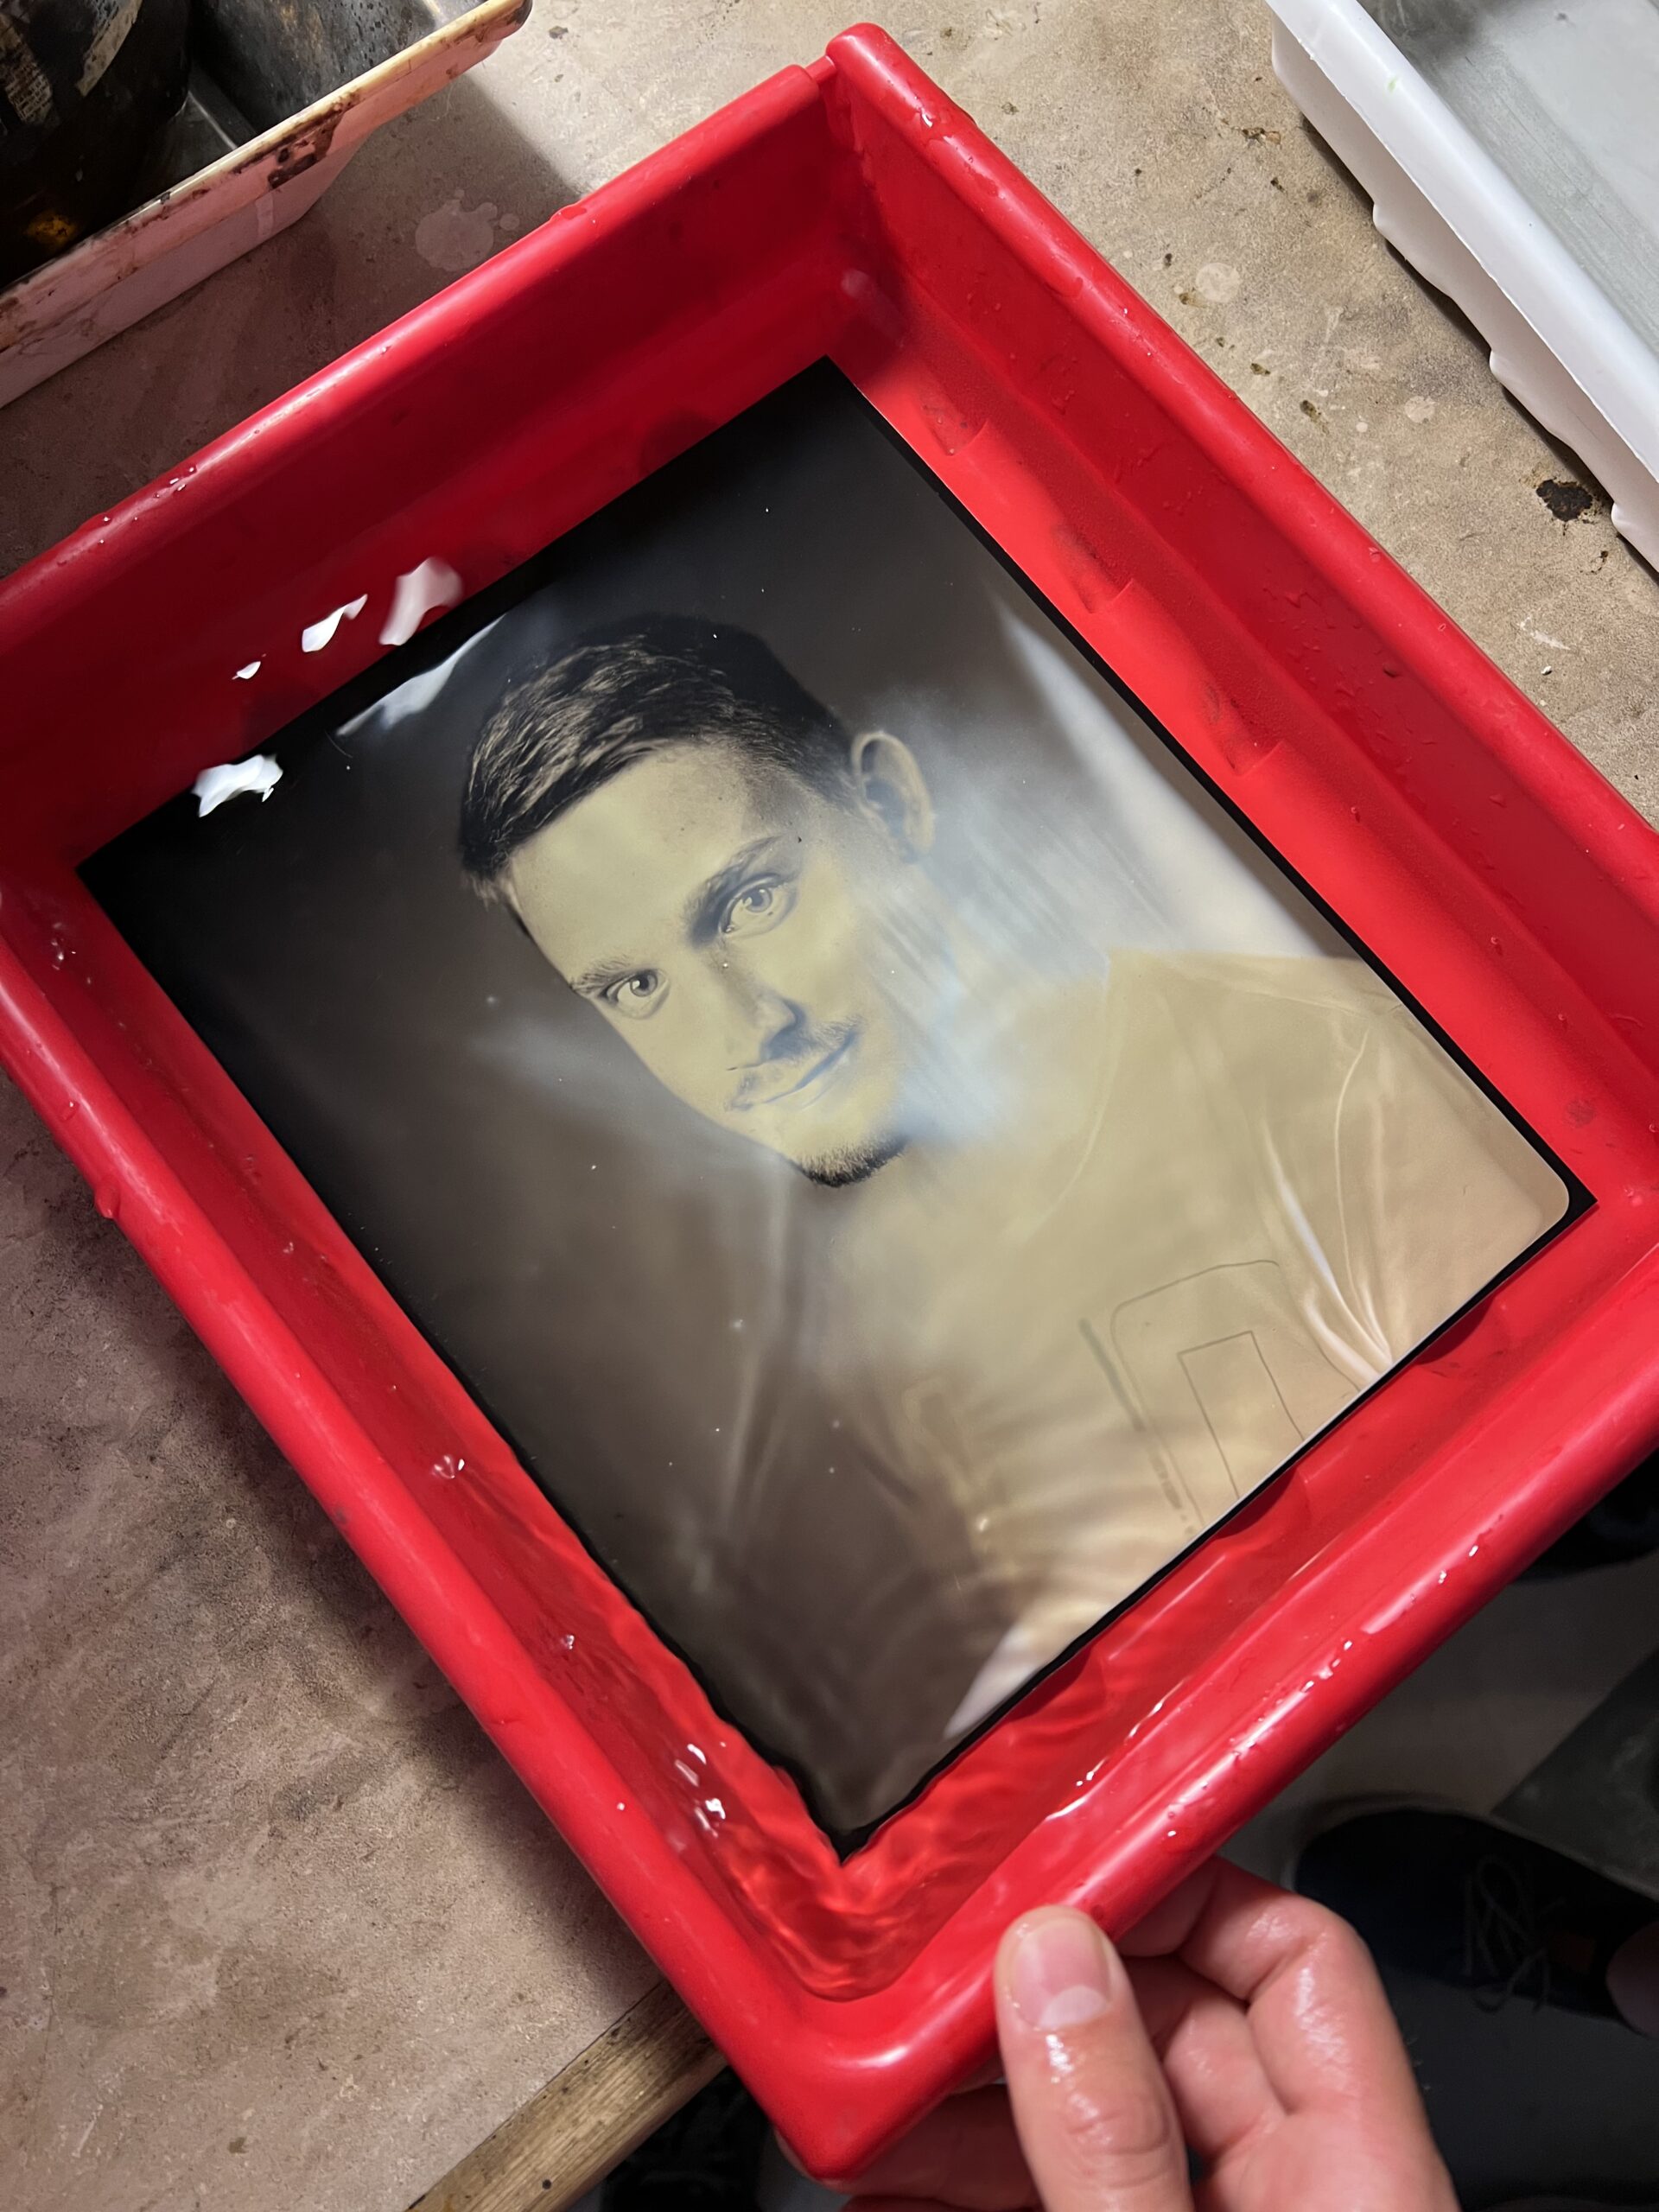
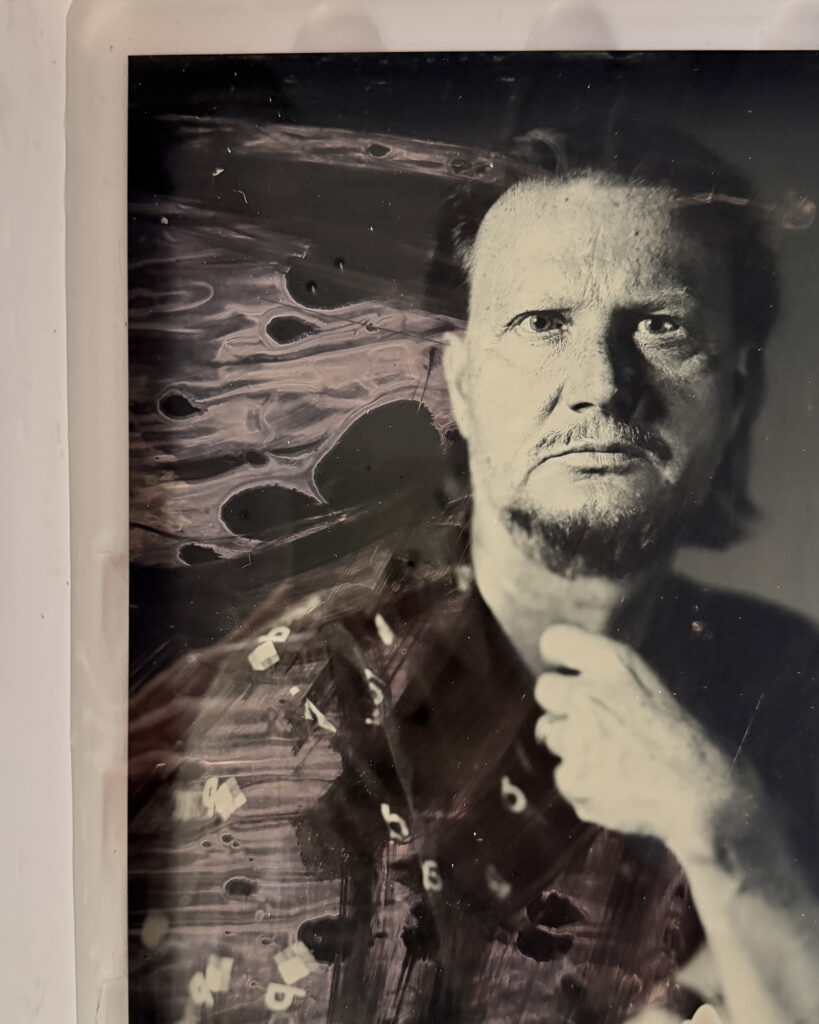
One issue that occasionally surprises photographers is the appearance of a soft milky or foggy veil over the finished image.
This usually begins near the edges of the plate before gradually extending further into the photograph, reducing contrast and muting the brilliant highlights that give direct positives their characteristic appearance.
Once this veil has formed, it unfortunately cannot be removed.
Understanding why it occurs is therefore far more valuable than trying to correct it afterwards.
What Causes It?
For quite some time we believed this haze originated during development.
After extensive testing, however, we reached a different conclusion.
The single biggest cause we have identified is exhausted or contaminated fixer.
As more plates are processed, the fixing bath gradually becomes loaded with dissolved silver compounds. Although it may continue fixing photographs, its efficiency steadily decreases.
Eventually this imbalance allows a permanent veil to form within the gelatin layer itself.
This behaviour is remarkably similar to silver veiling known in wet plate collodion photography.
There is, however, one important difference.
In wet plate collodion the silver image forms primarily on the surface of the collodion film. If veiling occurs, it can often be gently removed while the plate is still immersed in the fixer using a piece of clean cotton.
Silver gelatin dry plates behave differently.
The metallic silver image extends throughout the thickness of the gelatin emulsion. Once the veil forms, it becomes embedded between the gelatin layers rather than simply sitting on the surface.
As a result, it cannot be wiped away.
Prevention is therefore essential.
Our Recommendation
Whenever maximum image quality is important, use fresh fixer.
Considering the relatively small amount of chemistry required to process a single plate, replacing the fixer regularly is one of the simplest ways to improve consistency.
If you begin noticing a slight milky haze on otherwise correctly exposed plates, replacing the fixing bath should be one of your very first troubleshooting steps.
Throughout our testing this single change solved the problem in the overwhelming majority of cases.
Washing the Plate
Once fixing has been completed, thoroughly wash the plate to remove all remaining fixer.
Running water is ideal.
A washing time of approximately 15–20 minutes is generally sufficient, although this may vary depending on the flow rate and water temperature.
If running water is unavailable, several complete water changes with gentle agitation will also produce excellent results.
Proper washing is essential for long-term image stability.
Any residual fixer left within the emulsion will gradually attack the silver image over time.
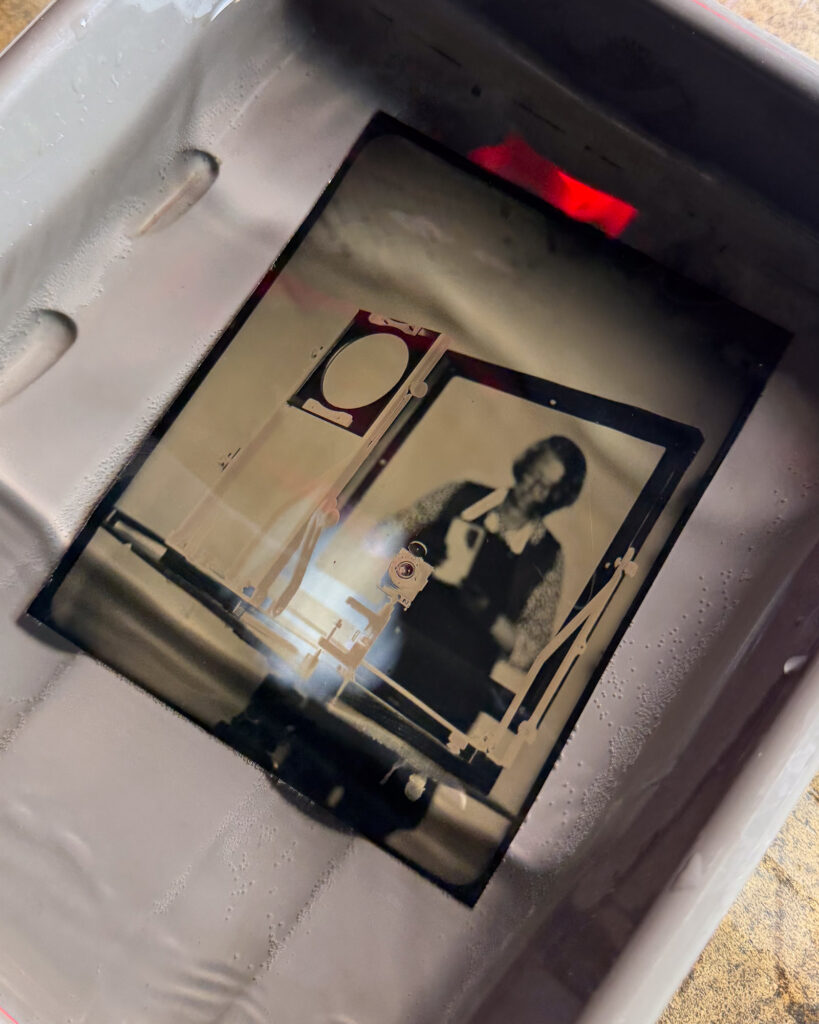
Final Rinse
Although optional, we strongly recommend finishing with a rinse in distilled or demineralised water.
Adding a few drops of a wetting agent such as PhotoFlo allows the water to flow evenly across the surface, significantly reducing drying marks and mineral deposits.
This simple final step often makes a noticeable difference, particularly on larger plates.
💡 Zebra Tip
Use fresh distilled water for your final rinse.
The cleaner the water during the last stage of processing, the cleaner your finished plate will be once dry.
Drying
Place the washed plate in a clean, dust-free environment and allow it to air dry naturally.
We recommend standing the plate vertically in a drying rack that supports only the edges, allowing air to circulate freely around both sides.
Avoid wiping the emulsion while it is still wet.
Although the dried gelatin is surprisingly durable, it remains vulnerable to scratches until completely dry.
Caring for Your Finished Photograph
Once dry, your Zebra Direct Positive becomes a permanent silver photograph.
Handle the plate by its edges whenever possible and store it in a protective sleeve or presentation box away from excessive humidity and direct sunlight.
When properly exposed, processed and stored, silver gelatin photographs are capable of lasting for generations.
Unlike digital files that rely on constantly changing technology, your direct positive is a physical object that can be viewed exactly as it is today decades into the future.
That permanence is one of the reasons photographers continue returning to alternative photographic processes.
There is something deeply satisfying about creating a photograph that exists not as data, but as a handcrafted silver object.
At this point your photograph is complete.
Now comes perhaps the most important learning step of all.
How do you know whether your exposure, chemistry and processing were actually correct?
In the next section we’ll learn how to read the finished plate, identify the most common mistakes and understand what every photograph is trying to tell you. Once you develop this skill, every plate successful or otherwise becomes another step towards mastering the process.
Reading Your Results
Every finished plate tells a story. Learning to recognise what your photograph is telling you is one of the fastest ways to improve. Rather than simply seeing a successful or unsuccessful image, experienced photographers learn to recognise subtle clues that reveal what happened during exposure, development and fixing.
Unlike digital photography, where mistakes can often be corrected afterwards, direct positive photography rewards understanding. Every plate provides valuable feedback that helps refine your technique for the next exposure.
The examples below illustrate the most common results you may encounter and explain what they usually indicate.
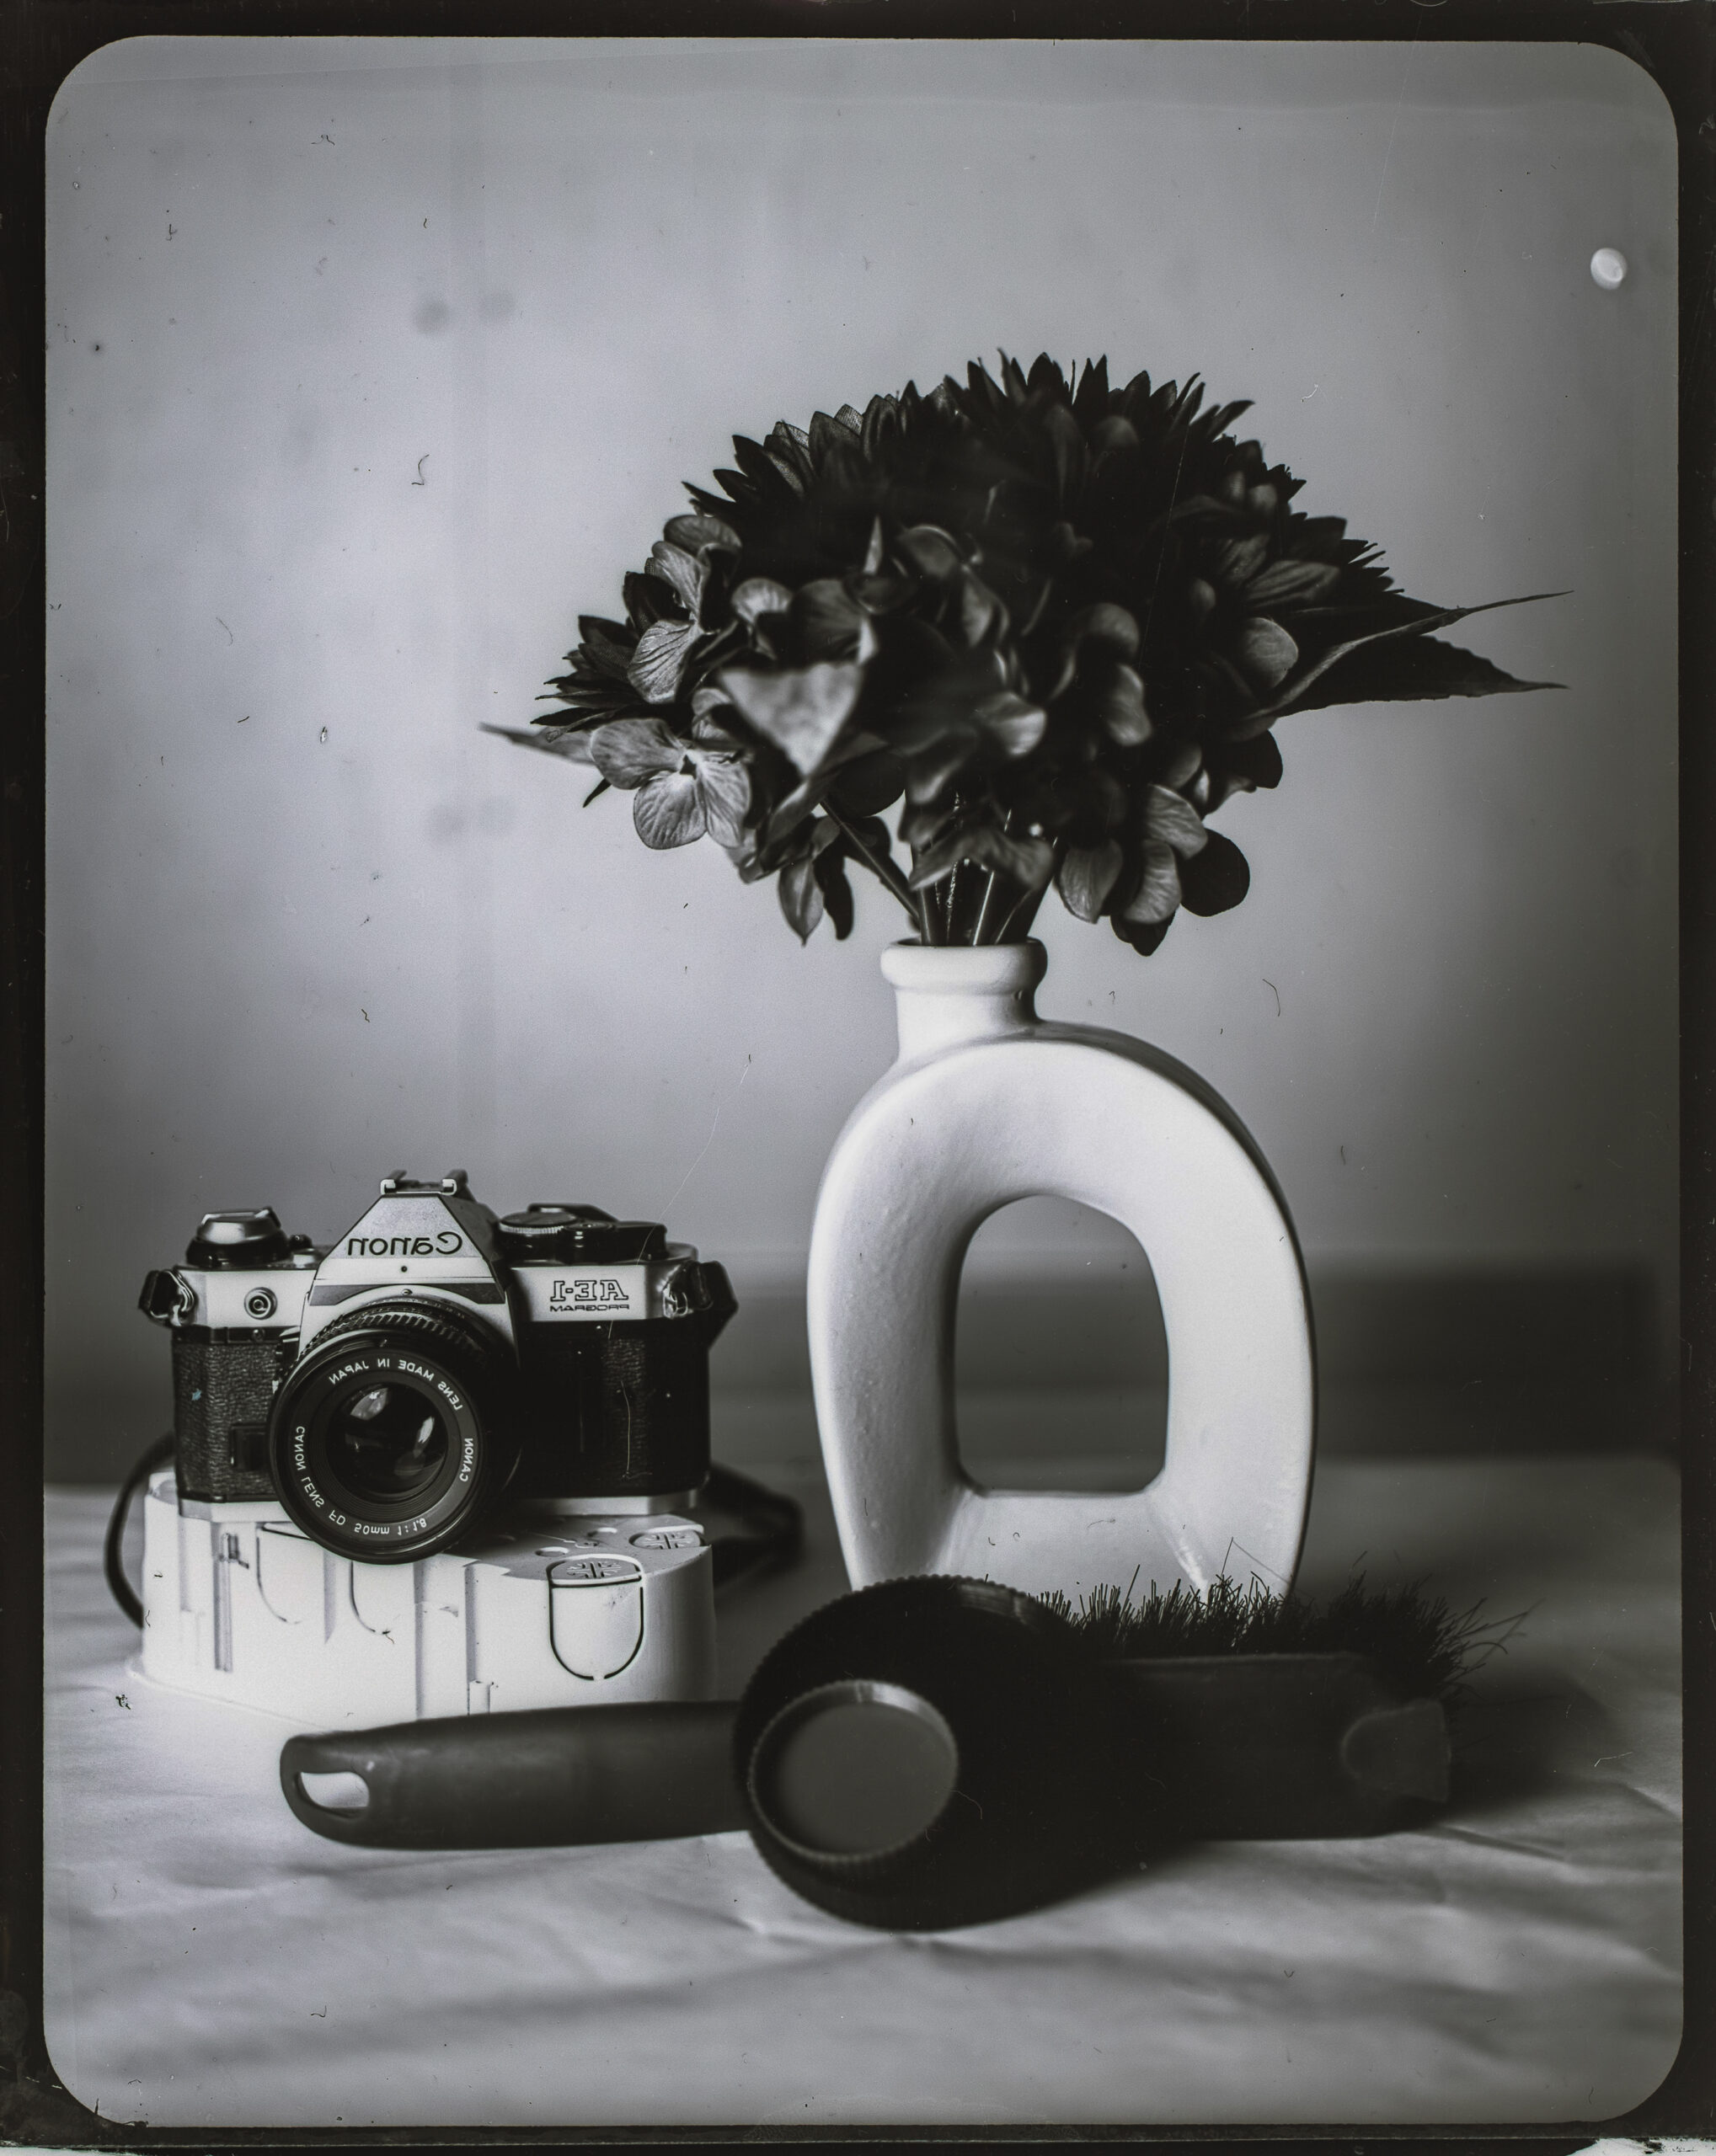
The Reference Image
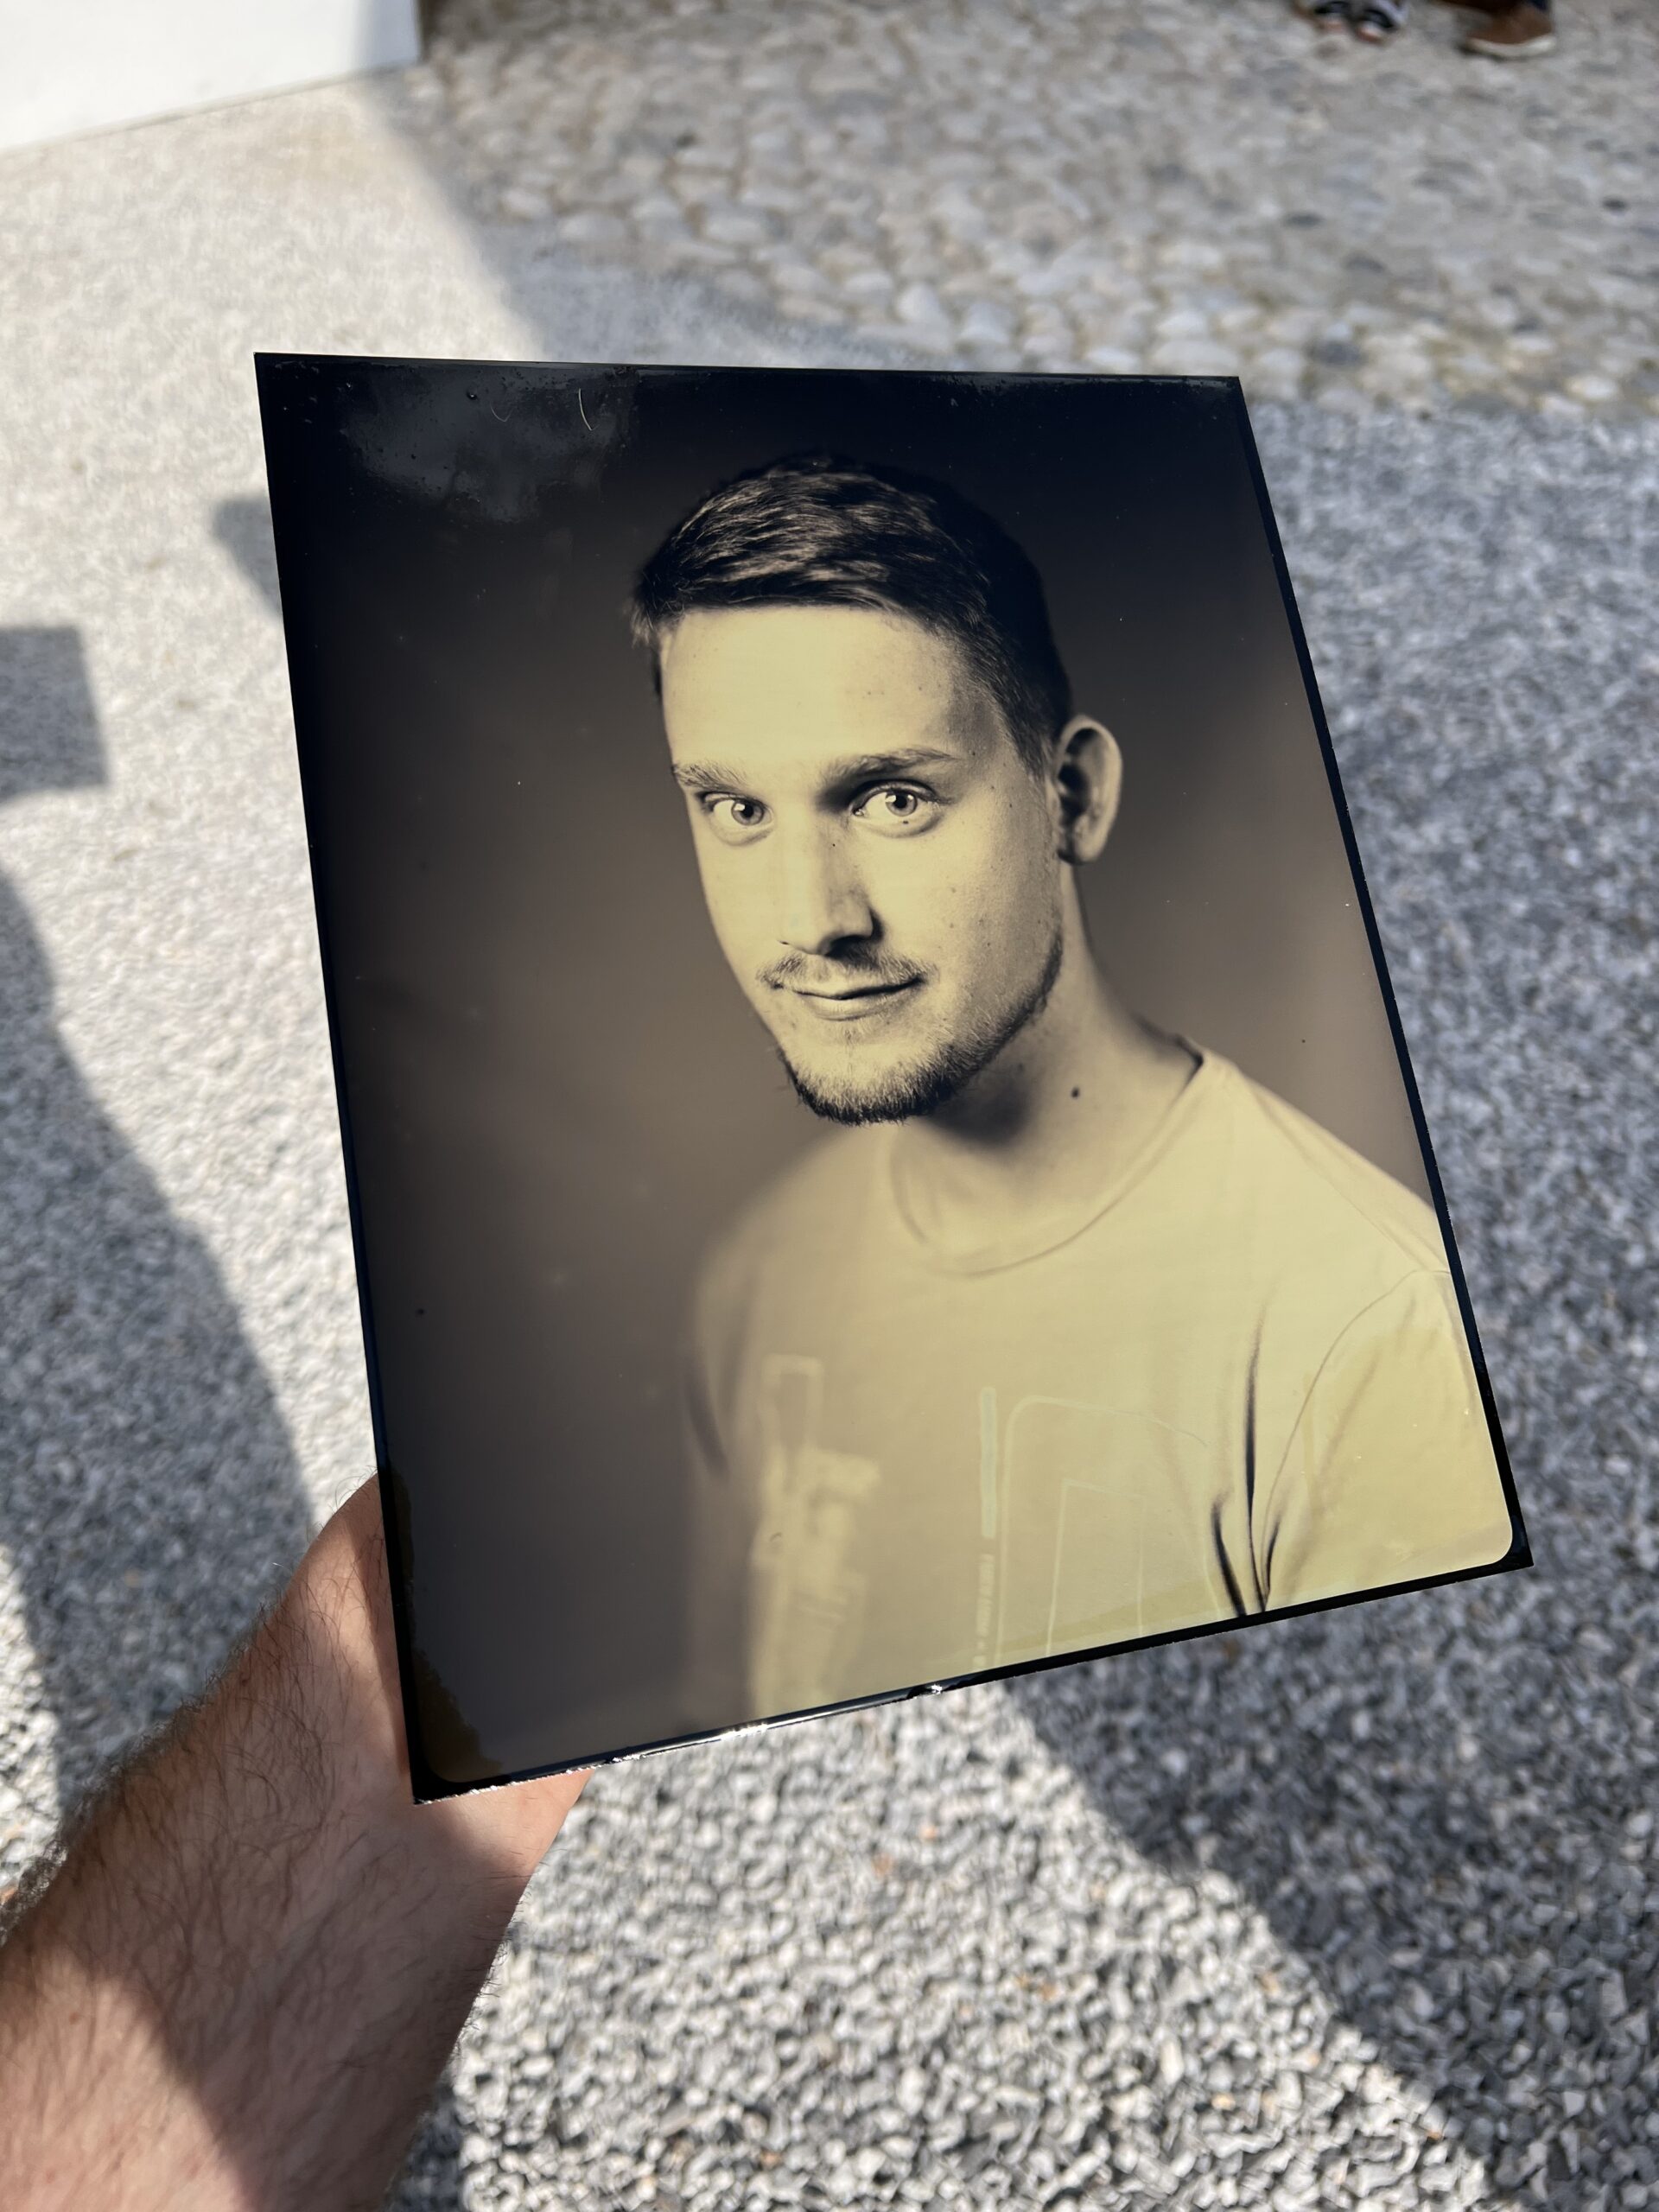
Before looking at common problems, it’s important to know what a successful Zebra Direct Positive should look like.
A correctly exposed and processed plate should display:
- Bright, creamy highlights
- Rich, deep blacks
- Smooth tonal transitions
- Excellent separation between highlights and midtones
- Clean, even development across the entire plate
- No visible fogging or milky haze
Remember that direct positives are not intended to have paper-white highlights. A slight creaminess is completely normal and forms part of the distinctive character of the process.
Underexposure
Underexposure is by far the most common problem encountered by photographers using Zebra Direct Positive Plates for the first time.
Because the plates have a nominal sensitivity of approximately ISO 2, it is natural to become cautious with exposure. In practice, however, the plates are often capable of accepting considerably more exposure than beginners initially expect.
A typical underexposed positive displays:
- Dark overall appearance
- Weak highlights
- Limited shadow detail
- Flat tonal separation
- Lack of brilliance
If the image looked only faintly visible during development and remains dark after fixing, underexposure should be your first suspicion.
Increasing development time will not recover information that was never recorded.
The solution is almost always more exposure, not stronger chemistry.
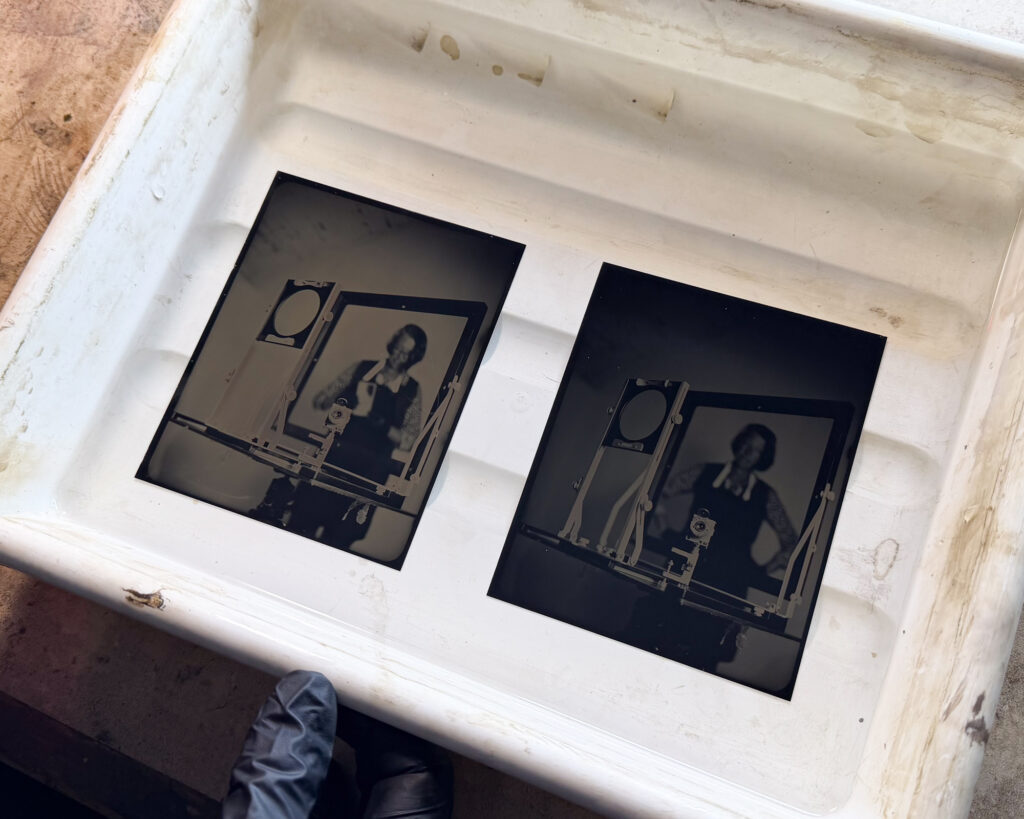
Overexposure
Excessive exposure produces a very different appearance.
The photograph often feels heavy, with muddy highlights and reduced overall brilliance.
Typical signs include:
- Grey or muddy highlights
- Heavy overall density
- Reduced highlight separation
- Lower apparent contrast
Overexposure is frequently confused with excessive developer concentration because both can produce remarkably similar results.
When evaluating your plate, always consider both possibilities before changing your chemistry.
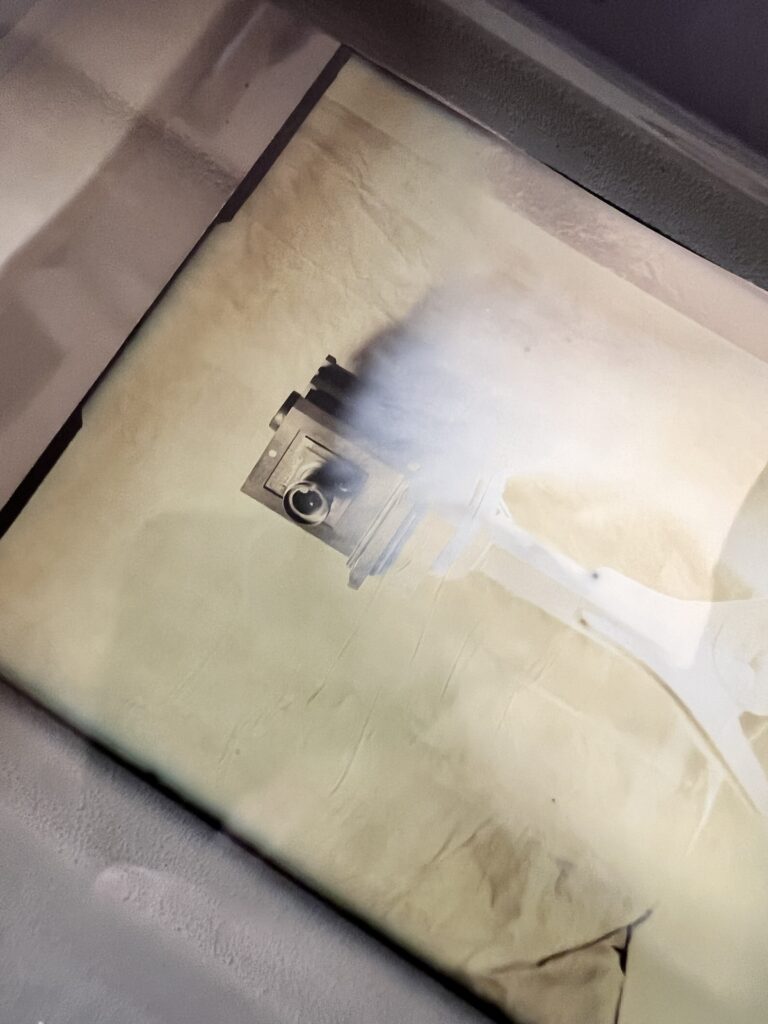
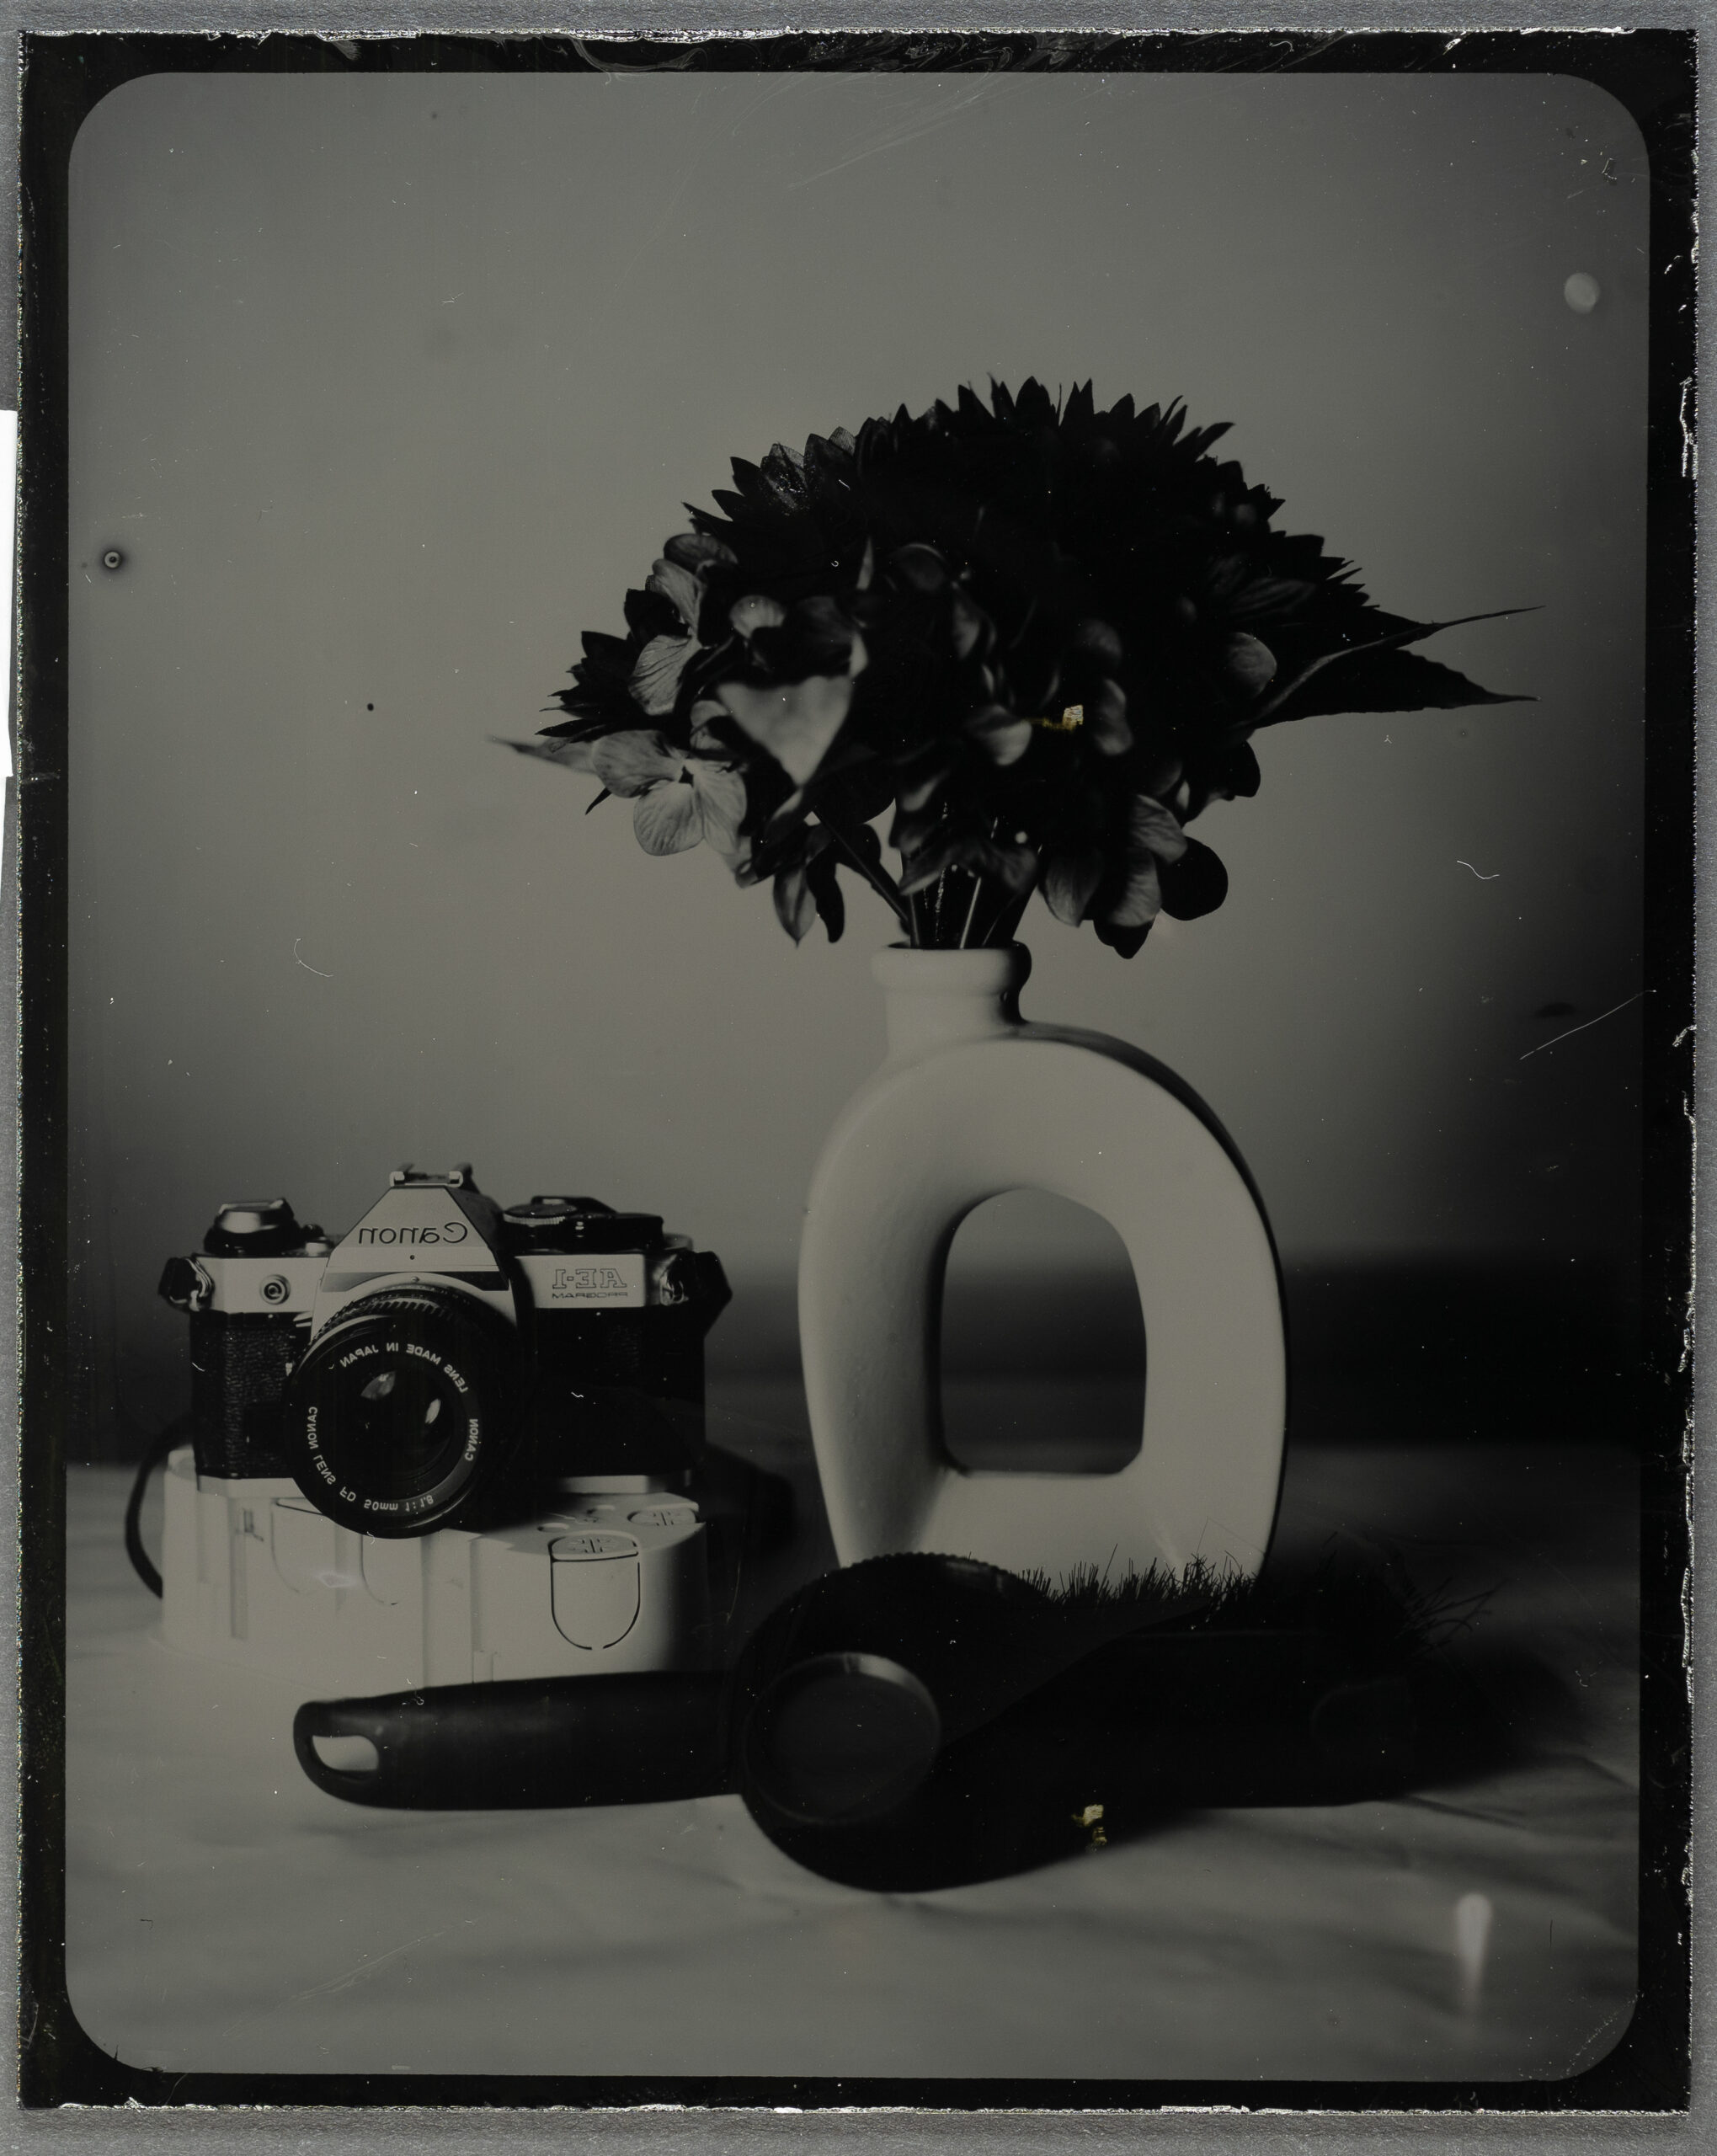
Too Much Developer
One of the biggest discoveries during our recent research was that increasing the amount of developer does not simply make development faster.
Instead, the developer gradually begins to overpower the potassium thiocyanate.
As this balance shifts, the finished positive becomes progressively darker while the beautiful highlight brilliance begins to disappear.
Common symptoms include:
- Dark positive
- Compressed tonal range
- Reduced highlight brilliance
- Heavy midtones
If your exposure was correct but the image still appears unusually dark, the developer concentration should be one of the first things to investigate.
Too Much Potassium Thiocyanate
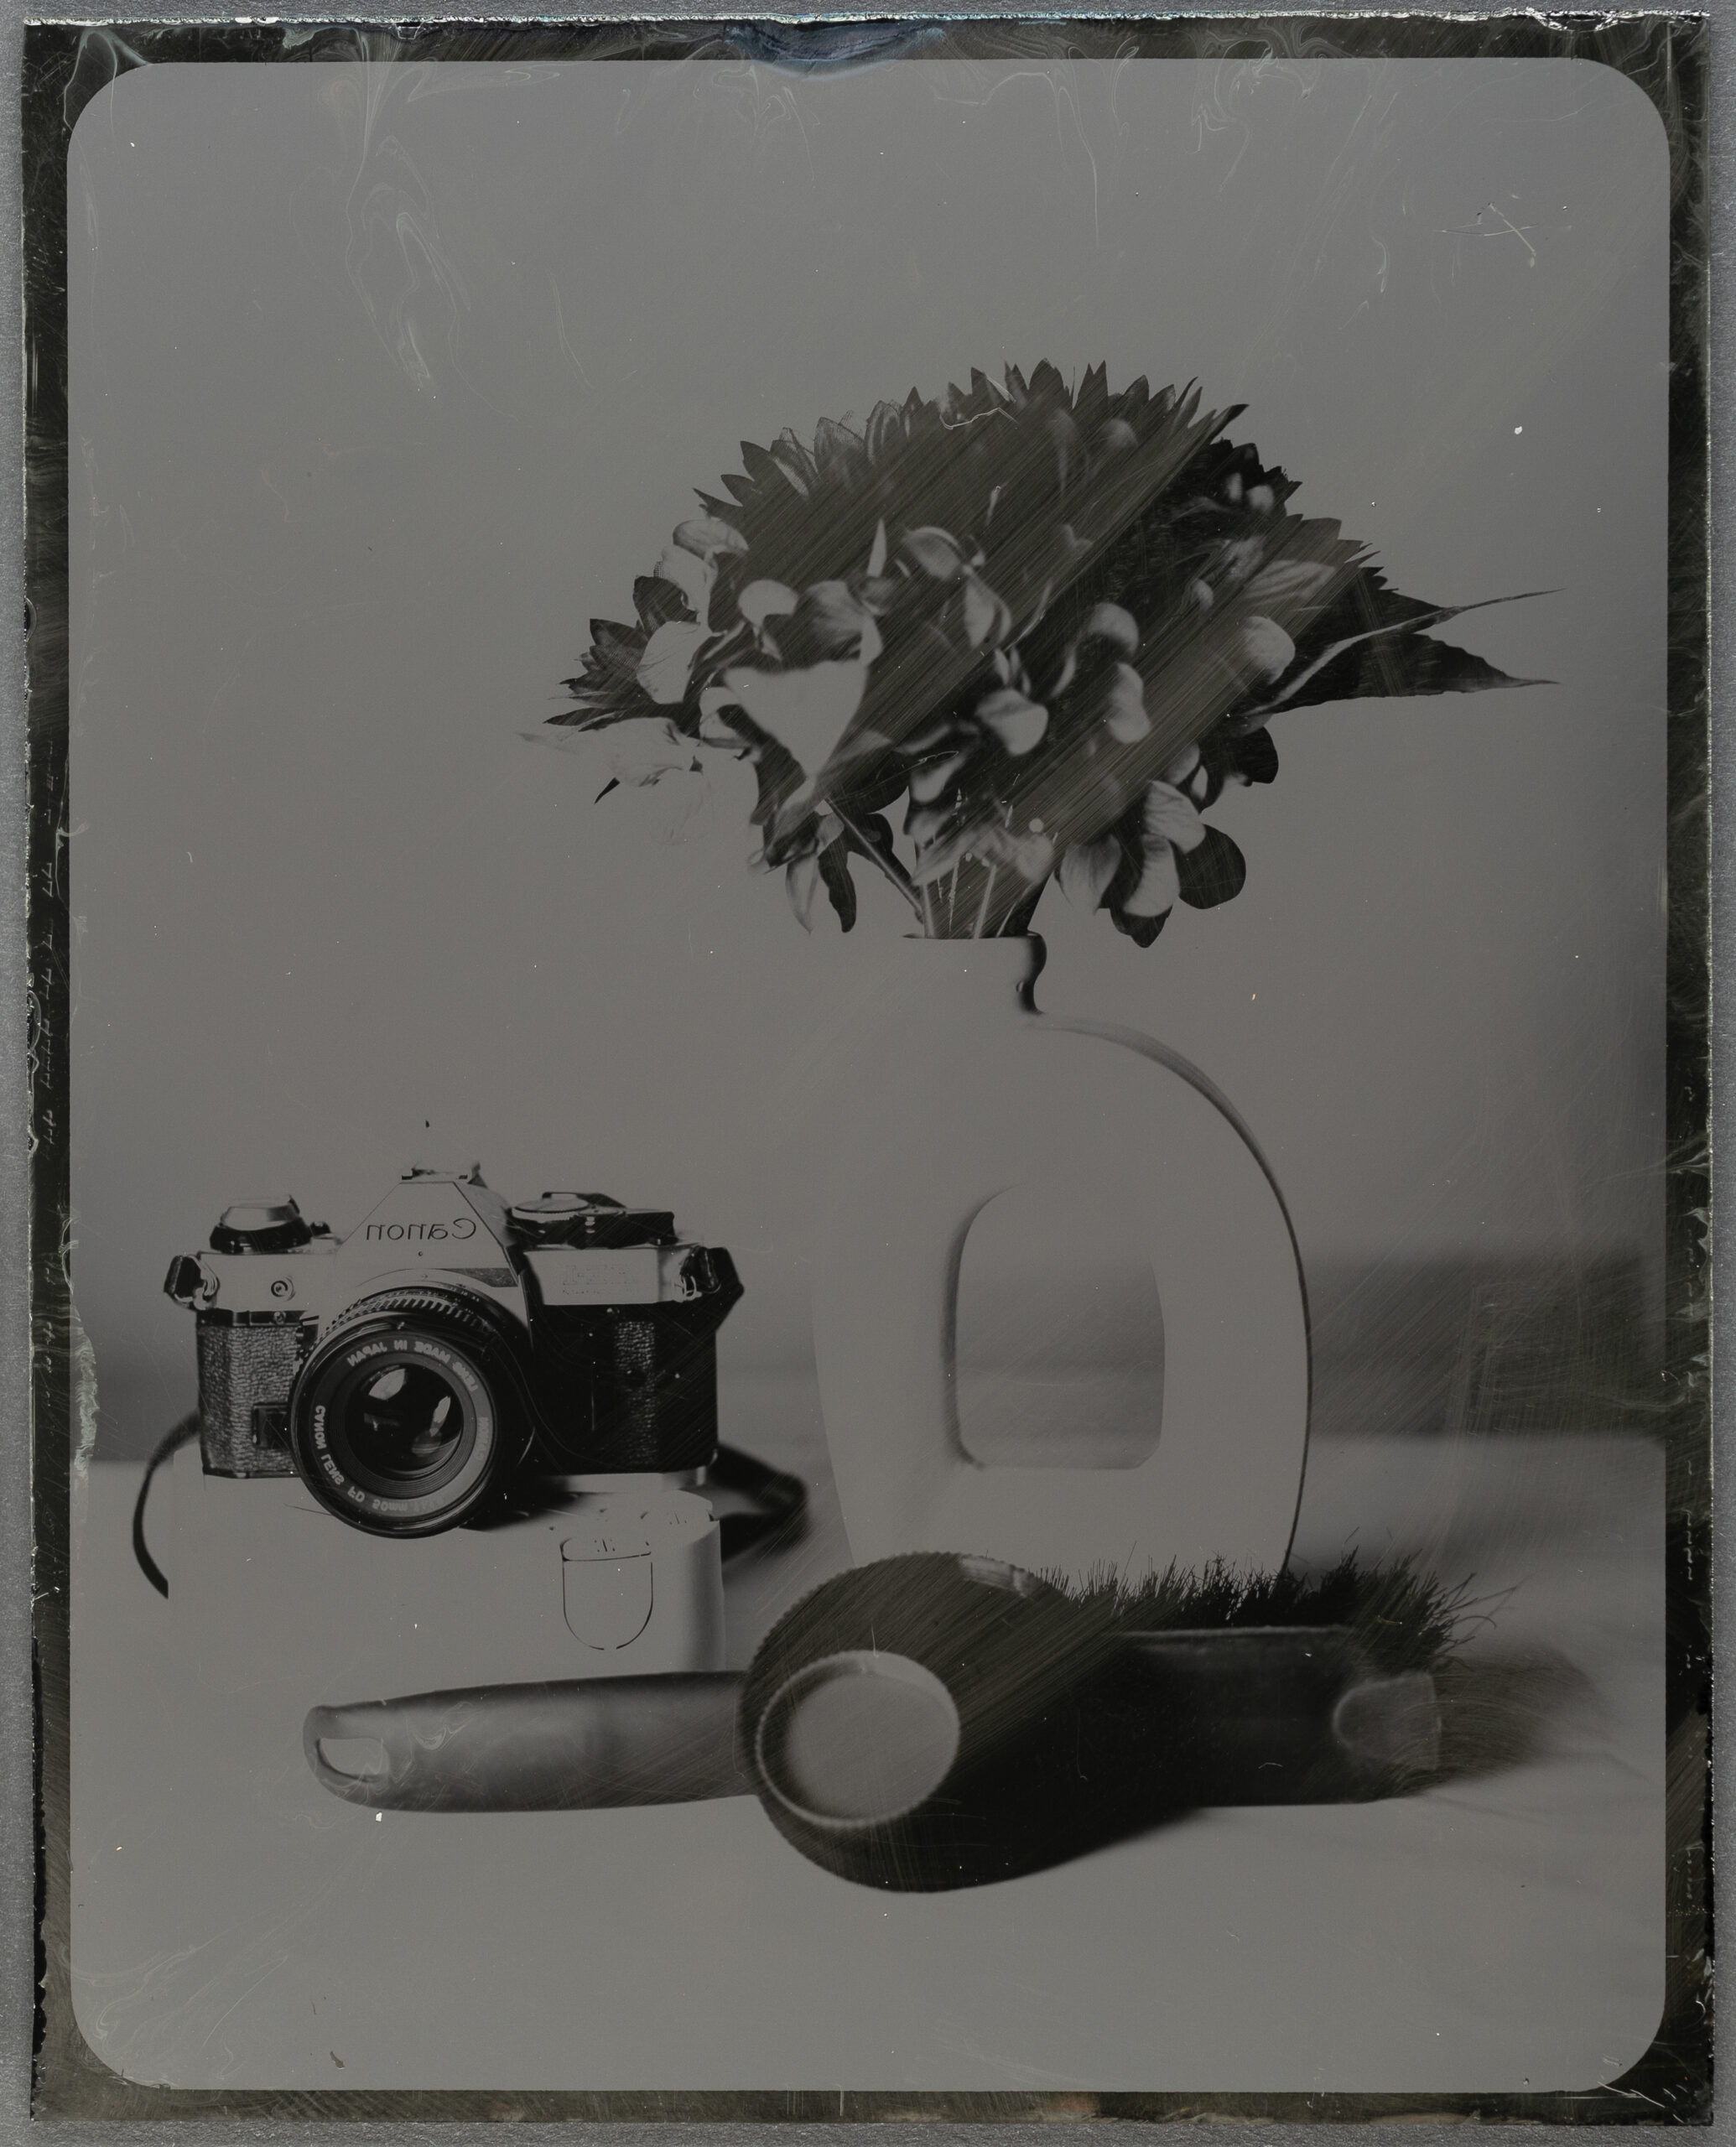
This result surprised us during our own experiments.
Initially we assumed that increasing the amount of potassium thiocyanate would simply produce brighter positives.
Instead, we discovered that once the concentration becomes too high, the chemistry begins working too aggressively.
Highlights start to lose their smooth tonal transitions before eventually becoming solarised.
The result is often characterised by:
- Bright but harsh highlights
- Solarisation
- Loss of highlight detail
- Abrupt tonal transitions
More potassium thiocyanate does not necessarily produce better positives.
Finding the correct balance is far more important than increasing the amount.
Developer Exhaustion
Another important discovery concerns the reuse of developer.
During our testing we repeatedly developed two identical plates in the same working solution.
Although the exposure and development time remained exactly the same, the second plate consistently appeared darker.
The reason is not that the developer has become exhausted.
Instead, the potassium thiocyanate has already been partially consumed while forming soluble silver complexes during development of the first plate.
As a result, the balance between the developer and the complexing agent gradually changes.
For the brightest highlights and the most repeatable results we therefore recommend preparing fresh working solution for every plate.
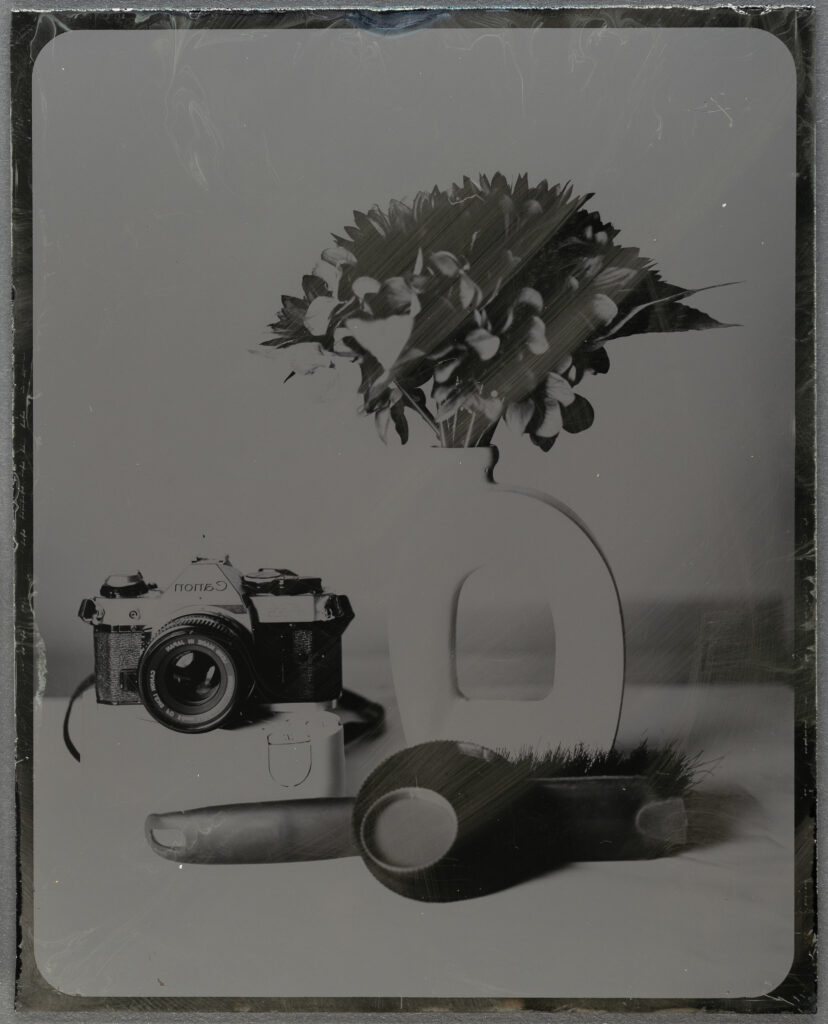
Milky Veil
If a soft foggy veil appears across the image, particularly beginning around the edges, the most likely cause is exhausted fixer.
Unlike surface deposits seen in wet plate collodion, this veil forms within the gelatin emulsion itself and unfortunately cannot be removed after processing.
Replacing the fixing bath usually solves the problem immediately.
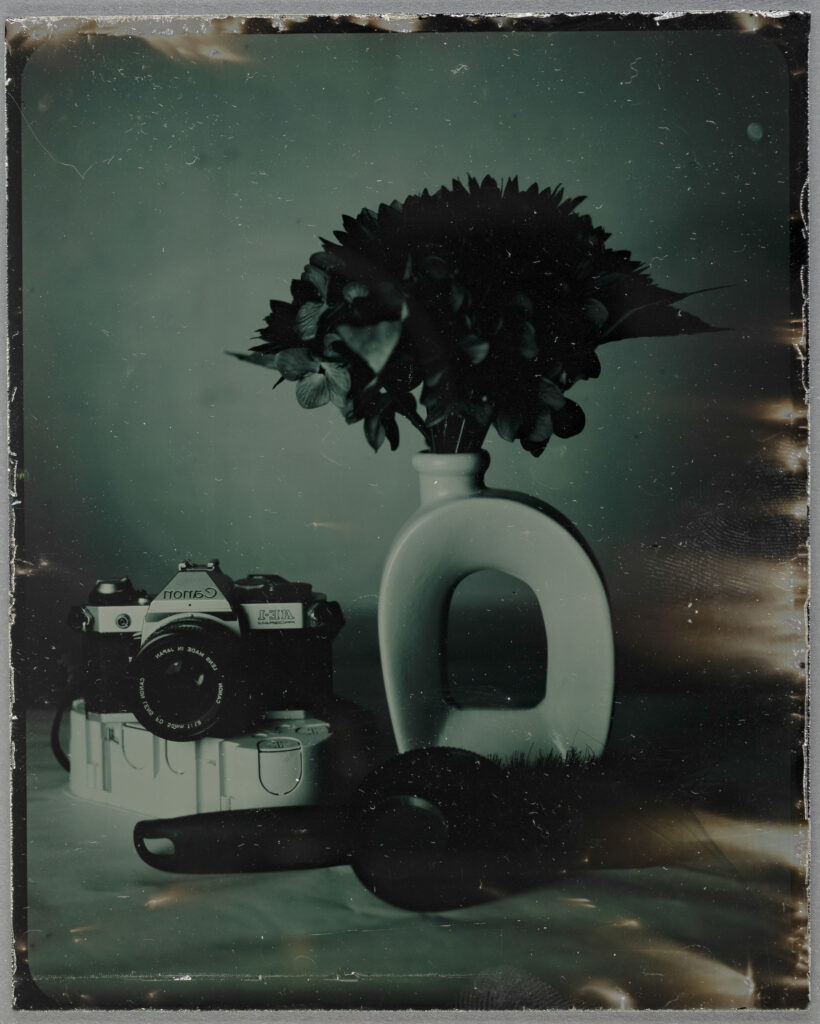
Uneven Development
Uneven density across the plate is usually caused by one of three factors:
- Insufficient agitation
- Poorly mixed chemistry
- Incomplete dissolution of the potassium thiocyanate
Always ensure the working solution is thoroughly mixed before placing the plate into the developer.
Gentle but continuous agitation throughout development helps maintain even chemistry across the entire surface.
Learn From Every Plate
Perhaps the most important lesson we can share is this:
Don’t think in terms of successful and failed photographs.
Think in terms of information.
A dark positive tells you something about your exposure or chemistry.
Solarised highlights tell you something about your potassium thiocyanate concentration.
A milky veil points towards your fixer.
Every plate teaches you something.
The more carefully you observe your results, the faster your understanding grows.
Eventually you’ll find yourself recognising small problems immediately and instinctively knowing which adjustment to make next.
That confidence is what transforms direct positive photography from a process of trial and error into a deeply rewarding photographic craft.
The following section provides a quick troubleshooting reference summarising the most common issues and their solutions, allowing you to quickly identify problems while working in the darkroom.
Troubleshooting
Even experienced photographers occasionally encounter unexpected results. The good news is that most issues have a straightforward explanation once you understand the process. This section is intended as a quick reference while working in the darkroom. If you’d like a more detailed explanation of any topic, refer back to the relevant chapter.
My Positive Is Too Dark
Possible causes
- Underexposure
- Too much developer
- Reused developer
- Overexposure (less common)
- Excessive development time
Recommended solution
Begin by evaluating your exposure. In our experience, underexposure is by far the most common cause of dark positives.
If your exposure is correct, prepare fresh chemistry and verify that the recommended amount of developer has been used.
If you are developing a second or third plate in the same solution, remember that the potassium thiocyanate gradually becomes exhausted, producing progressively darker positives.
My Highlights Are Solarised
Possible causes
- Excessive potassium thiocyanate
- Excessive exposure
- Developer and complexing agent no longer in balance
Recommended solution
Reduce the amount of potassium thiocyanate to the recommended concentration and prepare fresh chemistry.
Remember that more complexing agent does not necessarily produce brighter positives. Once the optimum concentration has been exceeded, highlight quality begins to deteriorate.
My Whites Are Weak
Possible causes
- Underexposure
- Developer overpowering the complexing agent
- Reused chemistry
Recommended solution
Increase exposure slightly before making changes to the chemistry.
If the problem persists, prepare fresh developer and ensure the recommended formulas are being followed accurately.
My Plate Has a Milky Haze
Possible causes
- Exhausted fixer
- Contaminated fixer
- Insufficient fixing
Recommended solution
Prepare fresh rapid fixer and ensure the full recommended fixing time is completed.
Unfortunately, once the veil has formed it cannot be removed from the finished photograph.

Development Is Uneven
Possible causes
- Inadequate agitation
- Incomplete mixing
- Potassium thiocyanate not fully dissolved
- Insufficient developer volume
Recommended solution
Ensure the potassium thiocyanate has dissolved completely before introducing the plate.
Maintain gentle but continuous agitation throughout development and always use enough chemistry to completely cover the plate.
The Second Plate Looks Different
Possible causes
- Potassium thiocyanate exhaustion
Recommended solution
This behaviour is completely normal.
As the first plate develops, the potassium thiocyanate gradually forms soluble silver complexes, reducing its effectiveness for subsequent plates.
For the brightest highlights and the most repeatable results we recommend preparing fresh working solution for every plate.
My Plate Has Small Edge Frilling
Possible causes
- Minor emulsion disturbance during post-coating cutting
- Large temperature differences between the plate and developer
- Vigorous agitation during development
Recommended solution
Small edge frilling extending no more than approximately 1 mm into the plate is considered normal and should not affect the photograph.
To minimise the effect, allow refrigerated plates to reach room temperature before processing and avoid aggressive agitation.
I Can't Tell Which Variable Caused the Problem
This is perhaps the most common mistake when learning direct positive photography.
A disappointing result often encourages photographers to change everything at once:
- More exposure
- Different developer
- Different development time
- Different amount of potassium thiocyanate
Unfortunately, this makes it almost impossible to identify what actually caused the improvement.
Our recommendation
Change only one variable at a time.
If you’re testing exposure, keep the chemistry identical.
If you’re testing chemistry, keep the exposure identical.
This simple habit will teach you more about direct positive photography than any formula ever will.
Still Having Trouble?
If you’ve carefully followed the recommendations in this guide and are still struggling, don’t worry.
Direct positive photography has a learning curve, and every experienced photographer has produced disappointing plates while mastering the process.
We’re always happy to help.
When contacting us, including the following information makes troubleshooting much easier:
- A photograph of the finished plate
- A photograph of the plate during development (if available)
- Exposure details
- Developer formula
- Development time
- Fixer used
- Plate size
- Camera and lens
The more information you provide, the easier it becomes for us to identify the cause and help you achieve the results you’re looking for.
Going Further
Once you’ve mastered the basic workflow, Zebra Direct Positive Plates offer an enormous amount of creative potential.
Many photographers begin with simple daylight portraits before gradually exploring larger formats, studio flash, historical lenses, ambrotypes, contact printing and alternative developers.
As your confidence grows, we encourage you to experiment.
The formulas presented in this guide are the result of extensive testing and provide an excellent starting point, but they should not be viewed as limitations. Every photographer eventually develops a personal workflow that suits their equipment, subjects and creative style.
Continuing Our Research
One of the things that makes Zebra unique is that our research doesn’t stop once a product is released.
We continue testing new emulsions, developers, complexing agents and processing techniques in an effort to better understand direct positive silver gelatin photography and to make the process more accessible for everyone.
Recent research has led to several significant improvements, including:
- Transition from ammonium thiocyanate to potassium thiocyanate
- Optimised formulas for HC-110, 510 Pyro and Fomatol LQN
- Improved understanding of developer exhaustion
- New recommendations for fresh fixer
- Better understanding of reading the plate during development
This guide will continue evolving as we learn more.
Whenever major discoveries are made, the online version of this manual will be updated accordingly.
Looking Ahead
We’re also actively exploring the development of a ready-to-use Zebra Direct Positive Developer, designed to eliminate the guesswork of measuring separate chemicals while maintaining the same image quality and repeatability described throughout this guide.
For photographers who enjoy experimentation, individual formulas and alternative developers will always remain part of the Zebra ecosystem. However, we also recognise that many photographers simply want a reliable, straightforward workflow that lets them concentrate on making photographs rather than measuring chemistry.
As our research continues, we’ll share these developments through updated manuals, articles and product releases.
Share Your Work
One of the most rewarding aspects of Zebra Direct Positive Photography is seeing the incredible work created by photographers around the world.
Whether you’ve just developed your very first plate or completed a long-term project, we’d love to see your results.
Share your photographs with us on social media, tag Zebra Dry Plates and inspire the next generation of alternative photographers.
Every plate tells a story.
We look forward to seeing yours.
Thank you for choosing Zebra Dry Plates.
We hope this guide helps you enjoy the process as much as we’ve enjoyed developing it.
Happy photographing.