


From Shipping Container to Darkroom Factory: The New Darkroom in Action
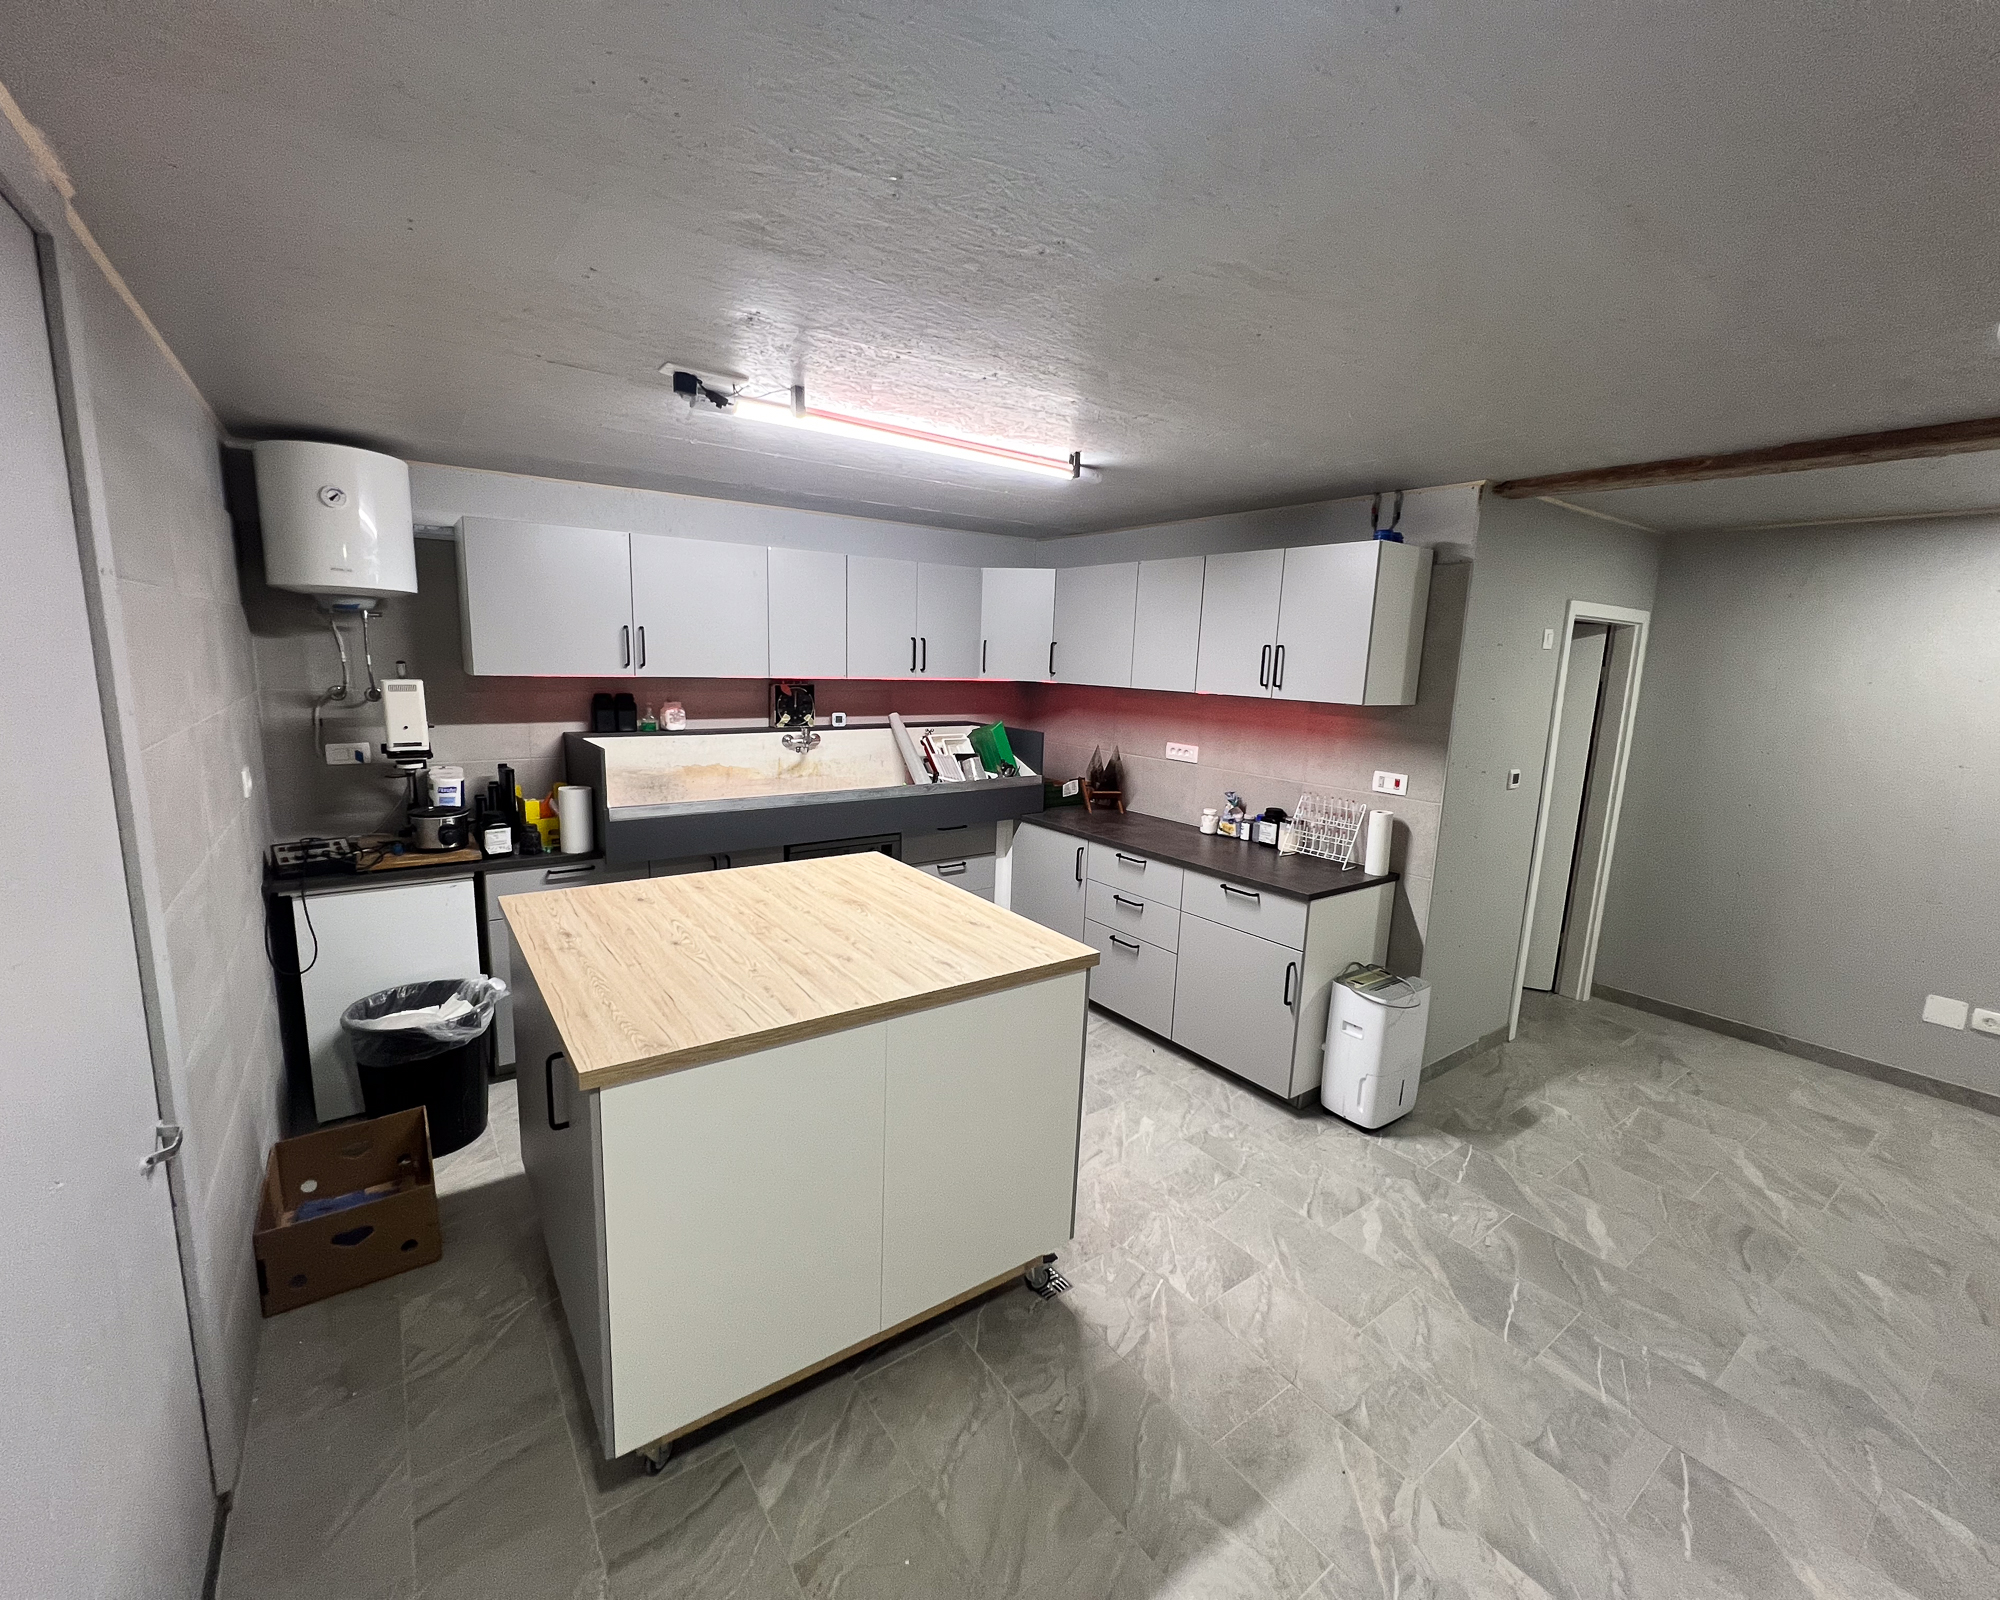
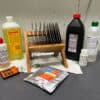
In the last blog, I wrapped up most of the darkroom essentials, furniture, sink, safelights, and more. With those foundations in place, it was finally time to move everything from my tiny shipping container darkroom into the spacious new Zebra Factory darkroom. It’s been a long time coming!
The move wasn’t exactly light work. Chemicals, photographic paper, dark bags, stickers, labware, you name it, I made several trips back and forth. The old darkroom will now be repurposed into a raw plate storage and cleaning unit, which is much needed as our raw plate stock has grown massively over the last few months!
I’m sure we’ll keep refining the space once it’s in full use. One improvement already on my mind is installing a small stainless steel sink under the main faucet of the darkroom sink. Right now, if I want to rinse just one beaker, I end up needing to clean the entire sink. A compact kitchen-style basin would make things far more efficient.
Preparing for the Coating Machine
The arrival of the new Zebra coating machine will be a game changer. Compared to my current setup, where I’m still hand-coating every plate by myself. This machine will take our production capacity to a whole new level. To prepare for this, I’ve already built a drying cabinet with integrated ventilation that suits my current coating needs. If you’re curious about how I made it, stay tuned to the blog for a detailed walkthrough.
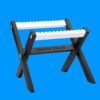
For the larger-scale output that the new machine demands, I had to come up with a much bigger drying solution. Right now, the darkroom may look half-empty, but once that 2x4m coating machine rolls in, every bit of space will matter. That’s why I’ve mounted the main cabinet island and new drying cabinets on wheels, for maximum flexibility.
You might be wondering how I built these cabinets. The answer: Ikea. I picked up their cheapest tall kitchen cabinets, removed the back panels to improve airflow, and packed them with custom-fitted shelves. It sounds a bit DIY (and it is!), but one cabinet can hold nearly 1,000 4×5 plates. Of course, one isn’t enough, so I’m planning to install four of them. We won’t be coating daily anymore, maybe just once a month, so having the capacity to batch-dry this many plates is crucial.
Once mounted on wheels, the cabinets were still too unstable to move safely. So I permanently fixed a couple of shelves and reinforced the back with aluminum cross-bracing. Now they roll around easily and safely.

Ventilation & Final Touches
I also finally got around to finishing the ventilation system. Ducting is now installed directly above the most critical work areas, the sink and main coating counter, to ensure fumes and moisture are pulled out efficiently. If you’d like to learn more about the ventilation unit itself, check out the previous darkroom update.
The hoses are held in place using simple wall clips and zip ties. I even drilled a few holes through the cabinets and designed some custom 3D-printed covers to keep things looking tidy. In the future, I might box in the ducting for a cleaner look, but for now, I’m just happy that everything works as intended!


Just in Time for a Workshop
While the coating machine won’t arrive until the end of the month, I was under pressure to wrap up the current upgrades because I had a private dry plate workshop scheduled just a few days later. Luckily, everything came together in time.
Teaching in the new darkroom was a completely new experience for me. The spacious layout allowed for much more freedom to move, work, and explain things compared to the cramped shipping container setup I used before. It really made me appreciate the scale and potential of this new space.


First Coating Session – A New Approach
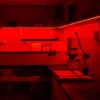
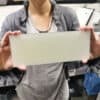
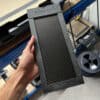
To finish off the week, I ran the darkroom through its first official coating session, and tried something brand new. With the upcoming machine, we won’t be able to coat small plates like 4×5″ directly, as they’re too small to run smoothly on conveyor belts. So, we’re adopting a classic dry plate factory approach from the early 20th century: coating large plates first, then cutting them to size after drying.
We’ve been testing this method over the last few months with great success, at least for glass plates. Tin plates remain more of a challenge, but we’re getting there. The efficiency boost has been massive, and the new cabinet setup performed beautifully during the test.
So that’s a big ✅ on our to-do list and a great way to end another productive week in the new Zebra darkroom.
