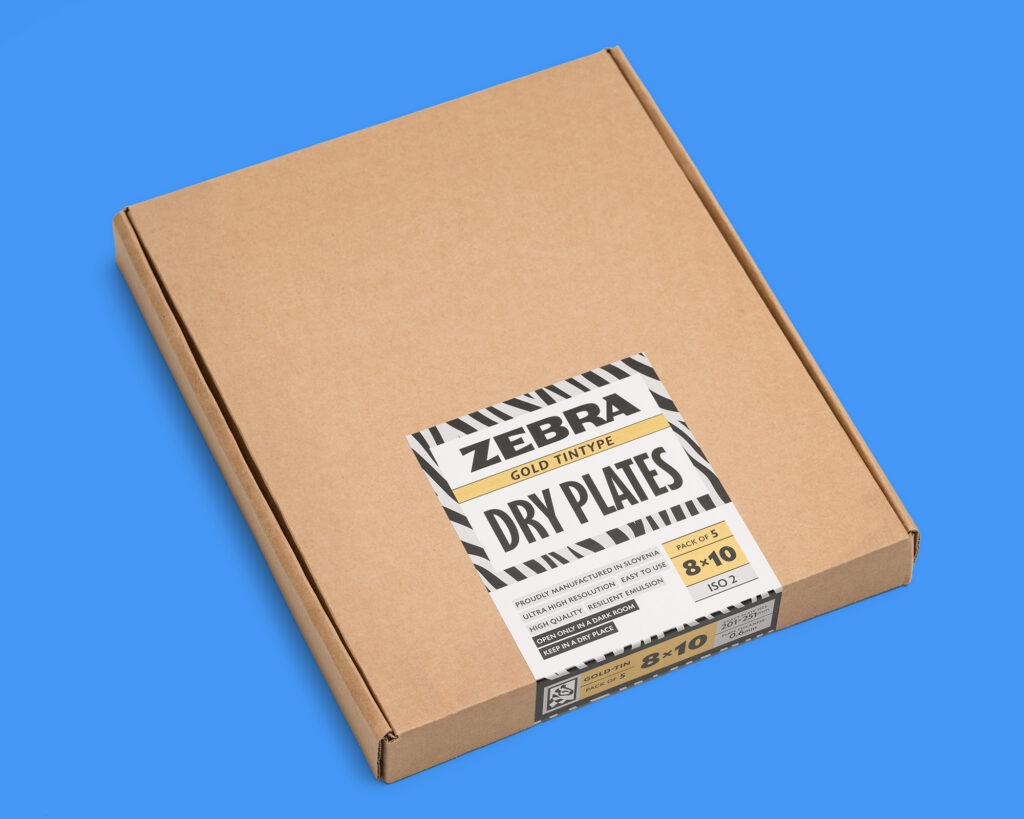


Features
- Hand-coated and ready to use – Each plate is individually cotaed with ISO 2 Silver Gelatine Emulsion.
- Simple contact printing & developing – Works with camera-made negatives or even ones printed on transparency (no camera required).
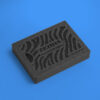
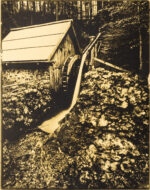
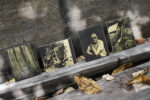
- Unique golden aesthetic – Produces dramatic black positives on a radiant gold surface.
- Perfect for artists and experimenters – Ideal for fine art, alternative photography, and one-of-a-kind keepsakes.
How to Use Them
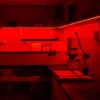
These plates are not sensitive to red light, meaning you can handle them and watch the magic unfold safely under darkroom safelights!
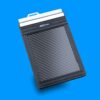
- Prepare your negative – Place it directly on top of the unwrapped golden plate, emulsion side facing down so it contacts the plate emulsion for maximum sharpness. The unexposed plate should face your light source, with the negative in direct contact.
- If you are using a film negative or a printed transparency, it’s best to apply gentle pressure with an additional piece of glass or, ideally, a contact printing frame.
- If you’re using Zebra Glass Dry Plate negatives, no additional pressure is needed.
- Make the exposure – Begin by creating a step wedge with wide exposure steps to find your optimal exposure time.
- For reference: using a 150W enlarger positioned 35 cm from the printing area, at aperture f/11, the exposure is typically around 1 second.
- Exposure time will vary depending on your negative’s density and the type of light source, so testing is essential.
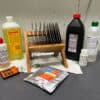
- Develop your image – Process your exposed plate following standard negative development techniques: develop → rinse → fix → final wash.
- Recommended developers: HC-110 or Pyro 510 Developer, with Ilford Rapid Fixer.
- Refer to our developing chart for times and alternative chemistry options.
- Finish & enjoy – After processing, simply dry the plate and admire the beauty of your unique golden tintype. Display it in a Zebra plate stand or frame it for a stunning, one-of-a-kind photographic artwork.